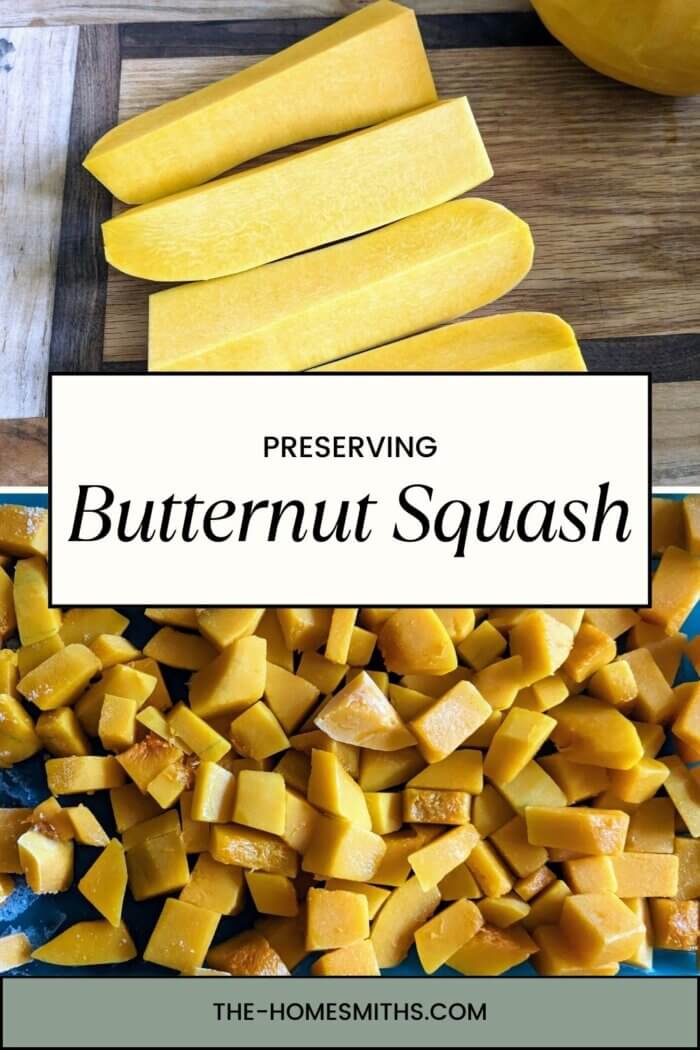
Preserving butternut squash when you don’t have a root cellar is a simple process that, although time-consuming, is worth it in the end!
I spent a lot of time this summer researching how to preserve, cure, and store butternut squash. Last year we had a poor squash harvest. I thought that I had done a good job curing what we had harvested but I did not. It was gross and mushy very quickly into the fall/winter season.
Almost all of the research on curing though was in vain. When I harvested the butternut squash this year, I unfortunately lost the stems to all but two squash. This means that they aren’t good for cellar storage. I think I was too zealous when I tried to hack the stem from the vine and just tore the stem off. It might have been something with the nutrients in the plant too though. All of the canteloupe died and out of all our pumpkin plants we only got one pumpkin and I associate that to some drought conditions we had early in the spring. Maybe that contributed to the stem issue? If you have any ideas, let me know in the comments below, I would appreciate it!
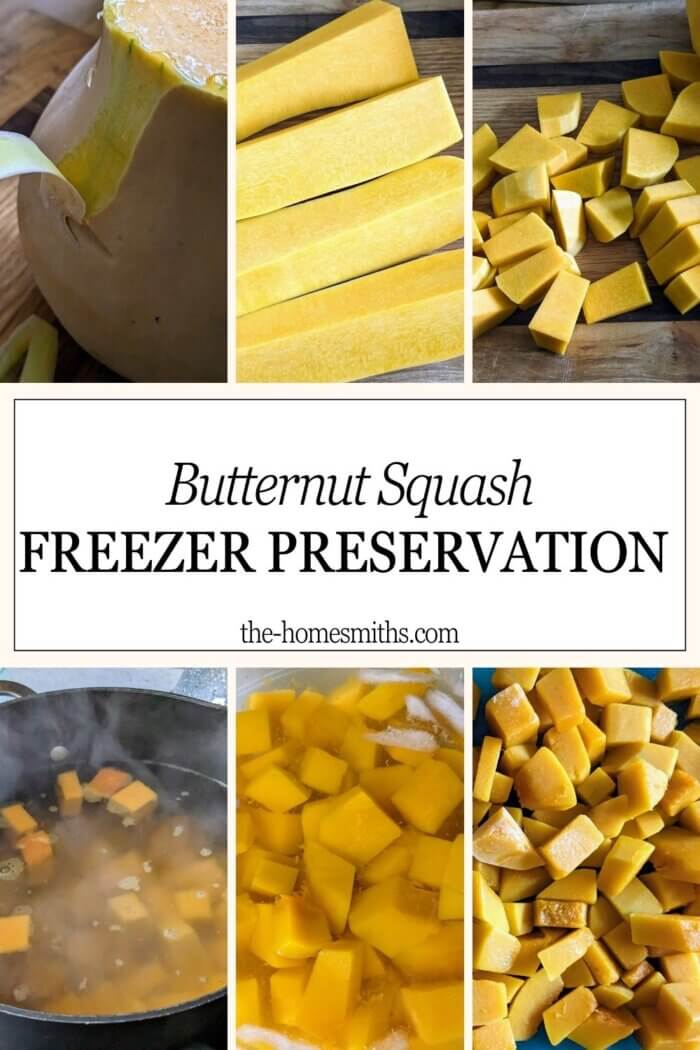
So I started doing new research about freezing squash. I know how to blanch and freeze kale so I looked into the process of doing the same with squash. Overall it is a simple process, it just takes a while to peel the squash and clean out the seeds. The most time-consuming part for me though was the actual freezing. I placed the blanched squash cubes on a tray to freeze before putting it in a bag. This prevents the squash from freezing in large clumps in the bag so that I can use it more easily in certain recipes.
Should you blanch the squash before freezing?
I could not find a solid yes or no answer to this question, so I went the blanching route. I plan on using the squash for soups, baked goods, and sheet pan dinners so I wanted to attempt to maintain the texture if possible, and from what I understand, blanching is the best way to maintain the texture.
How long should you blanch squash for?
I found that 3-4 minutes is how long you should blanch squash for. I don’t start the timer though until the water has returned to a boil.
What is blanching?
Blanching is preserving a vegetable’s color, texture, and flavor. It’s the process of dunking vegetables in boiling water for a short time and then putting them in ice water to stop the cooking process.
How to blanch butternut squash:
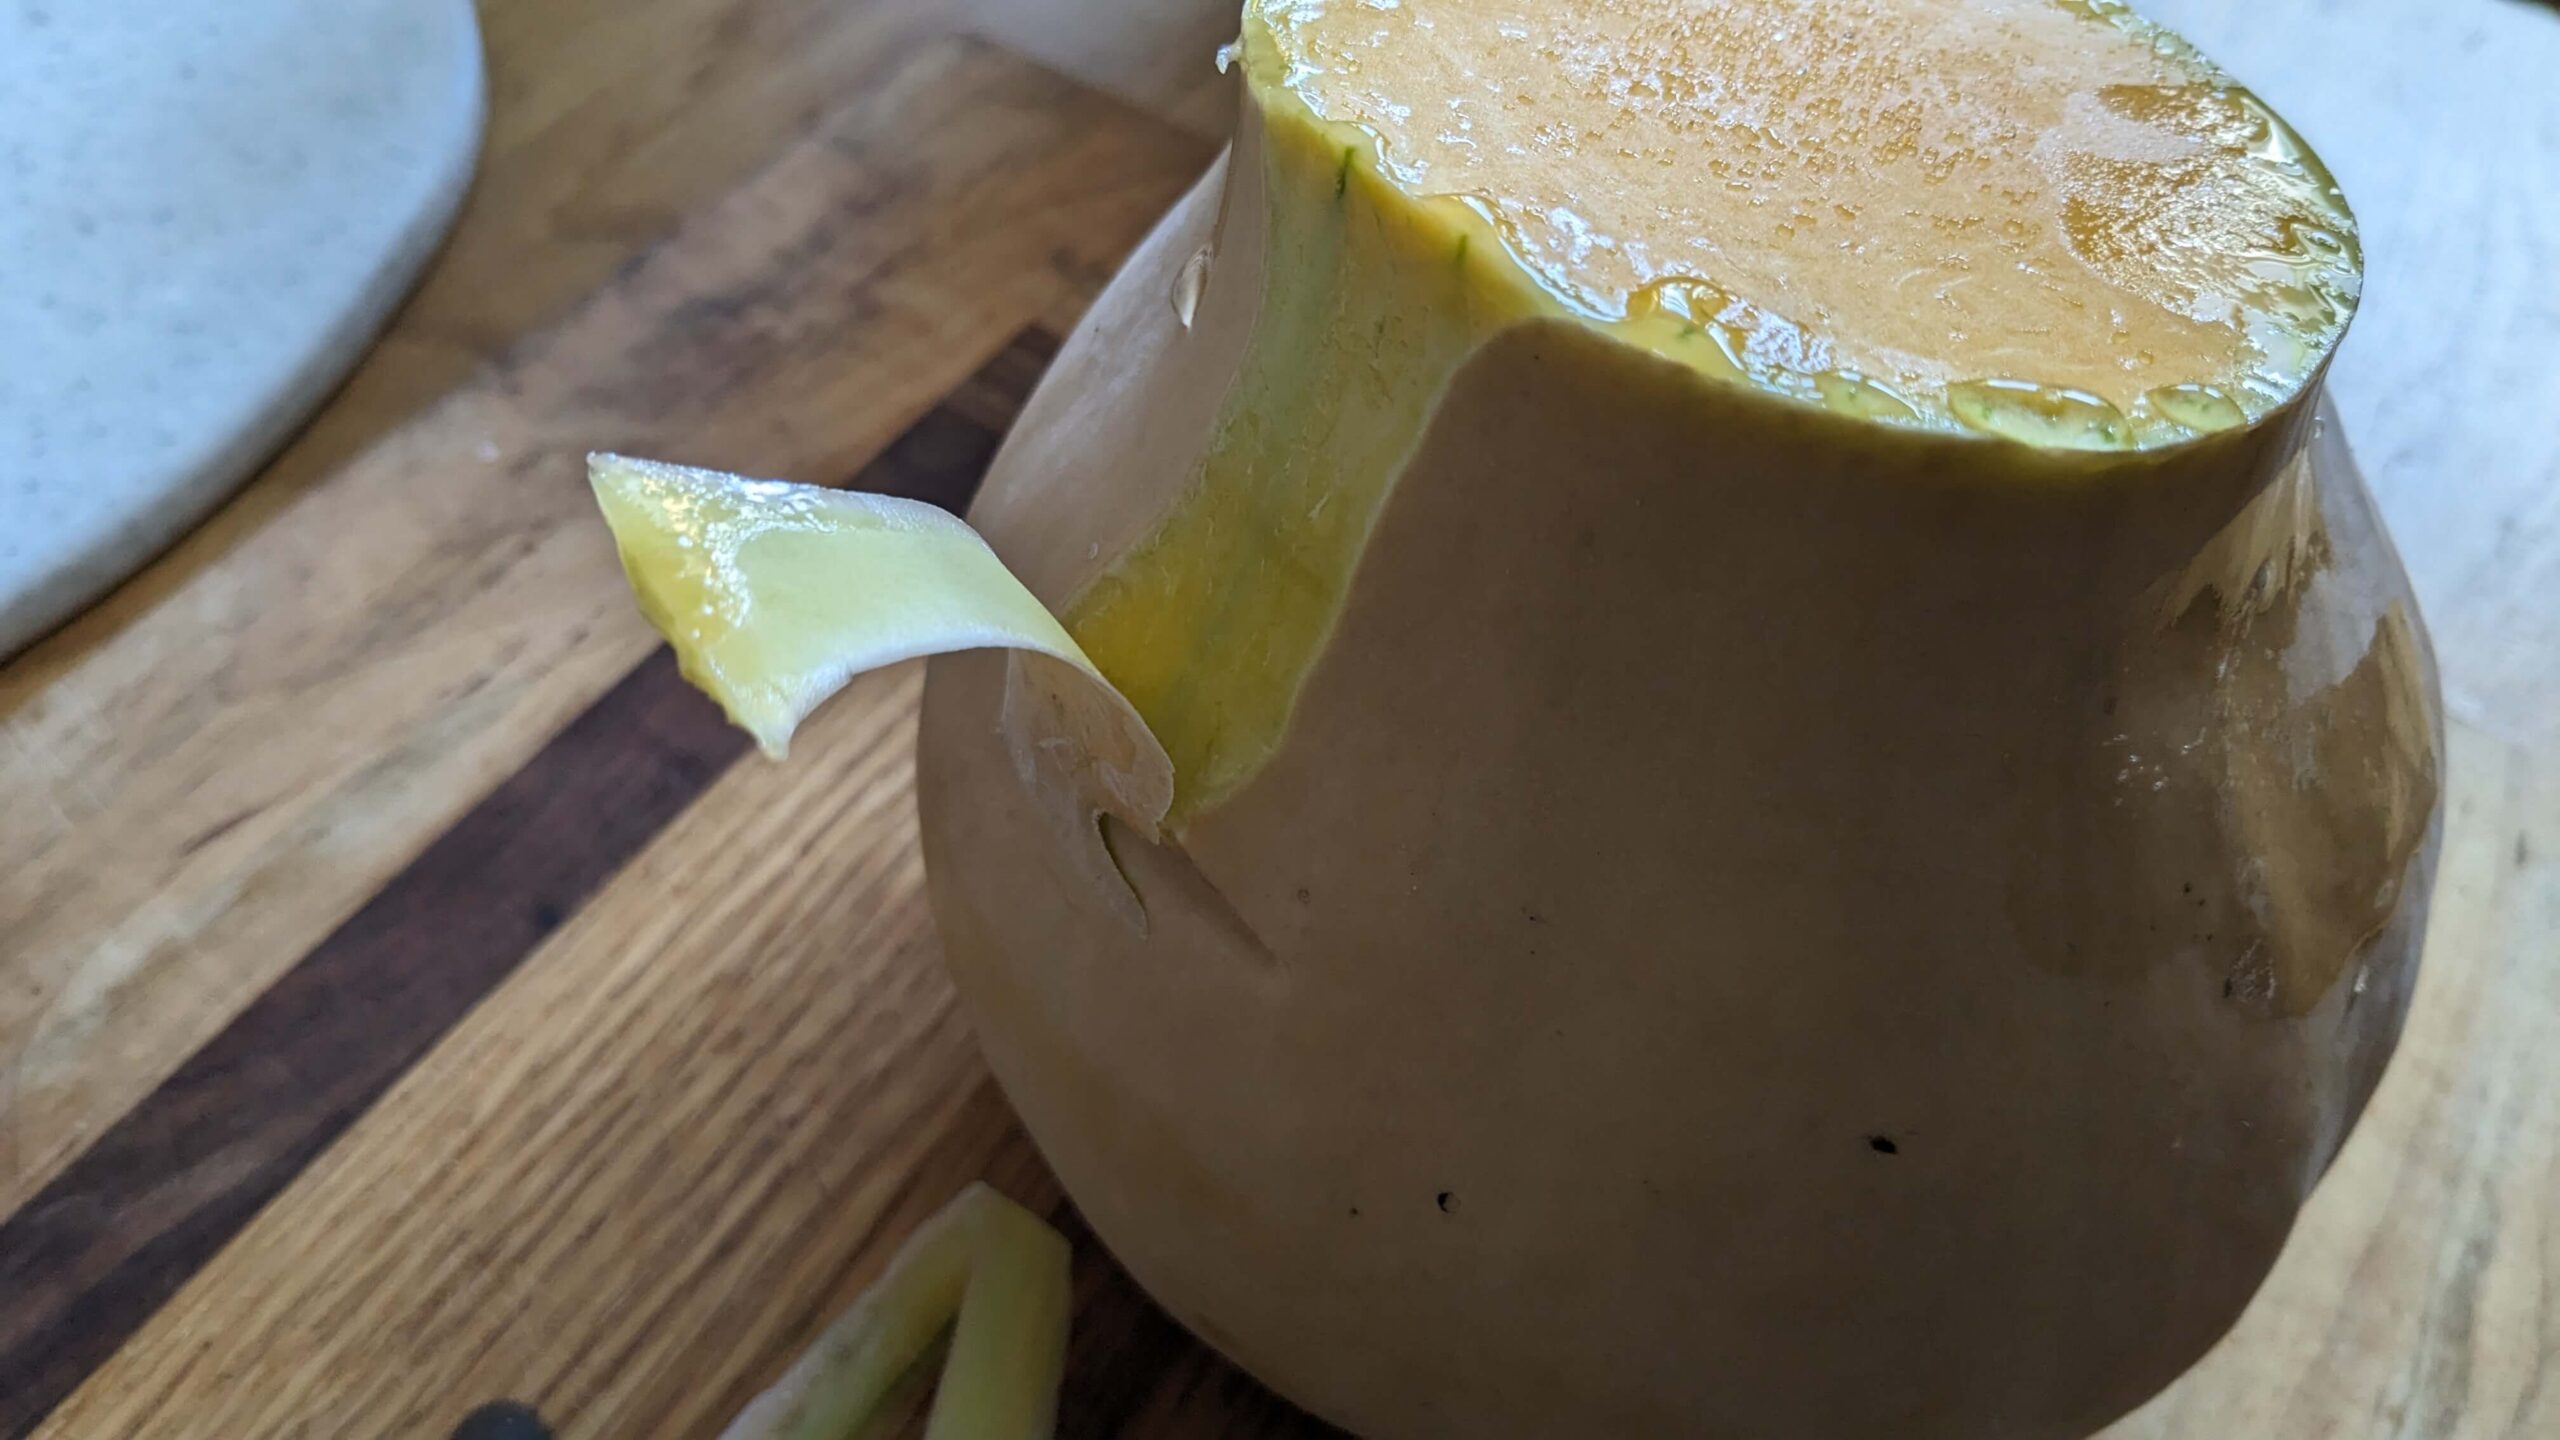
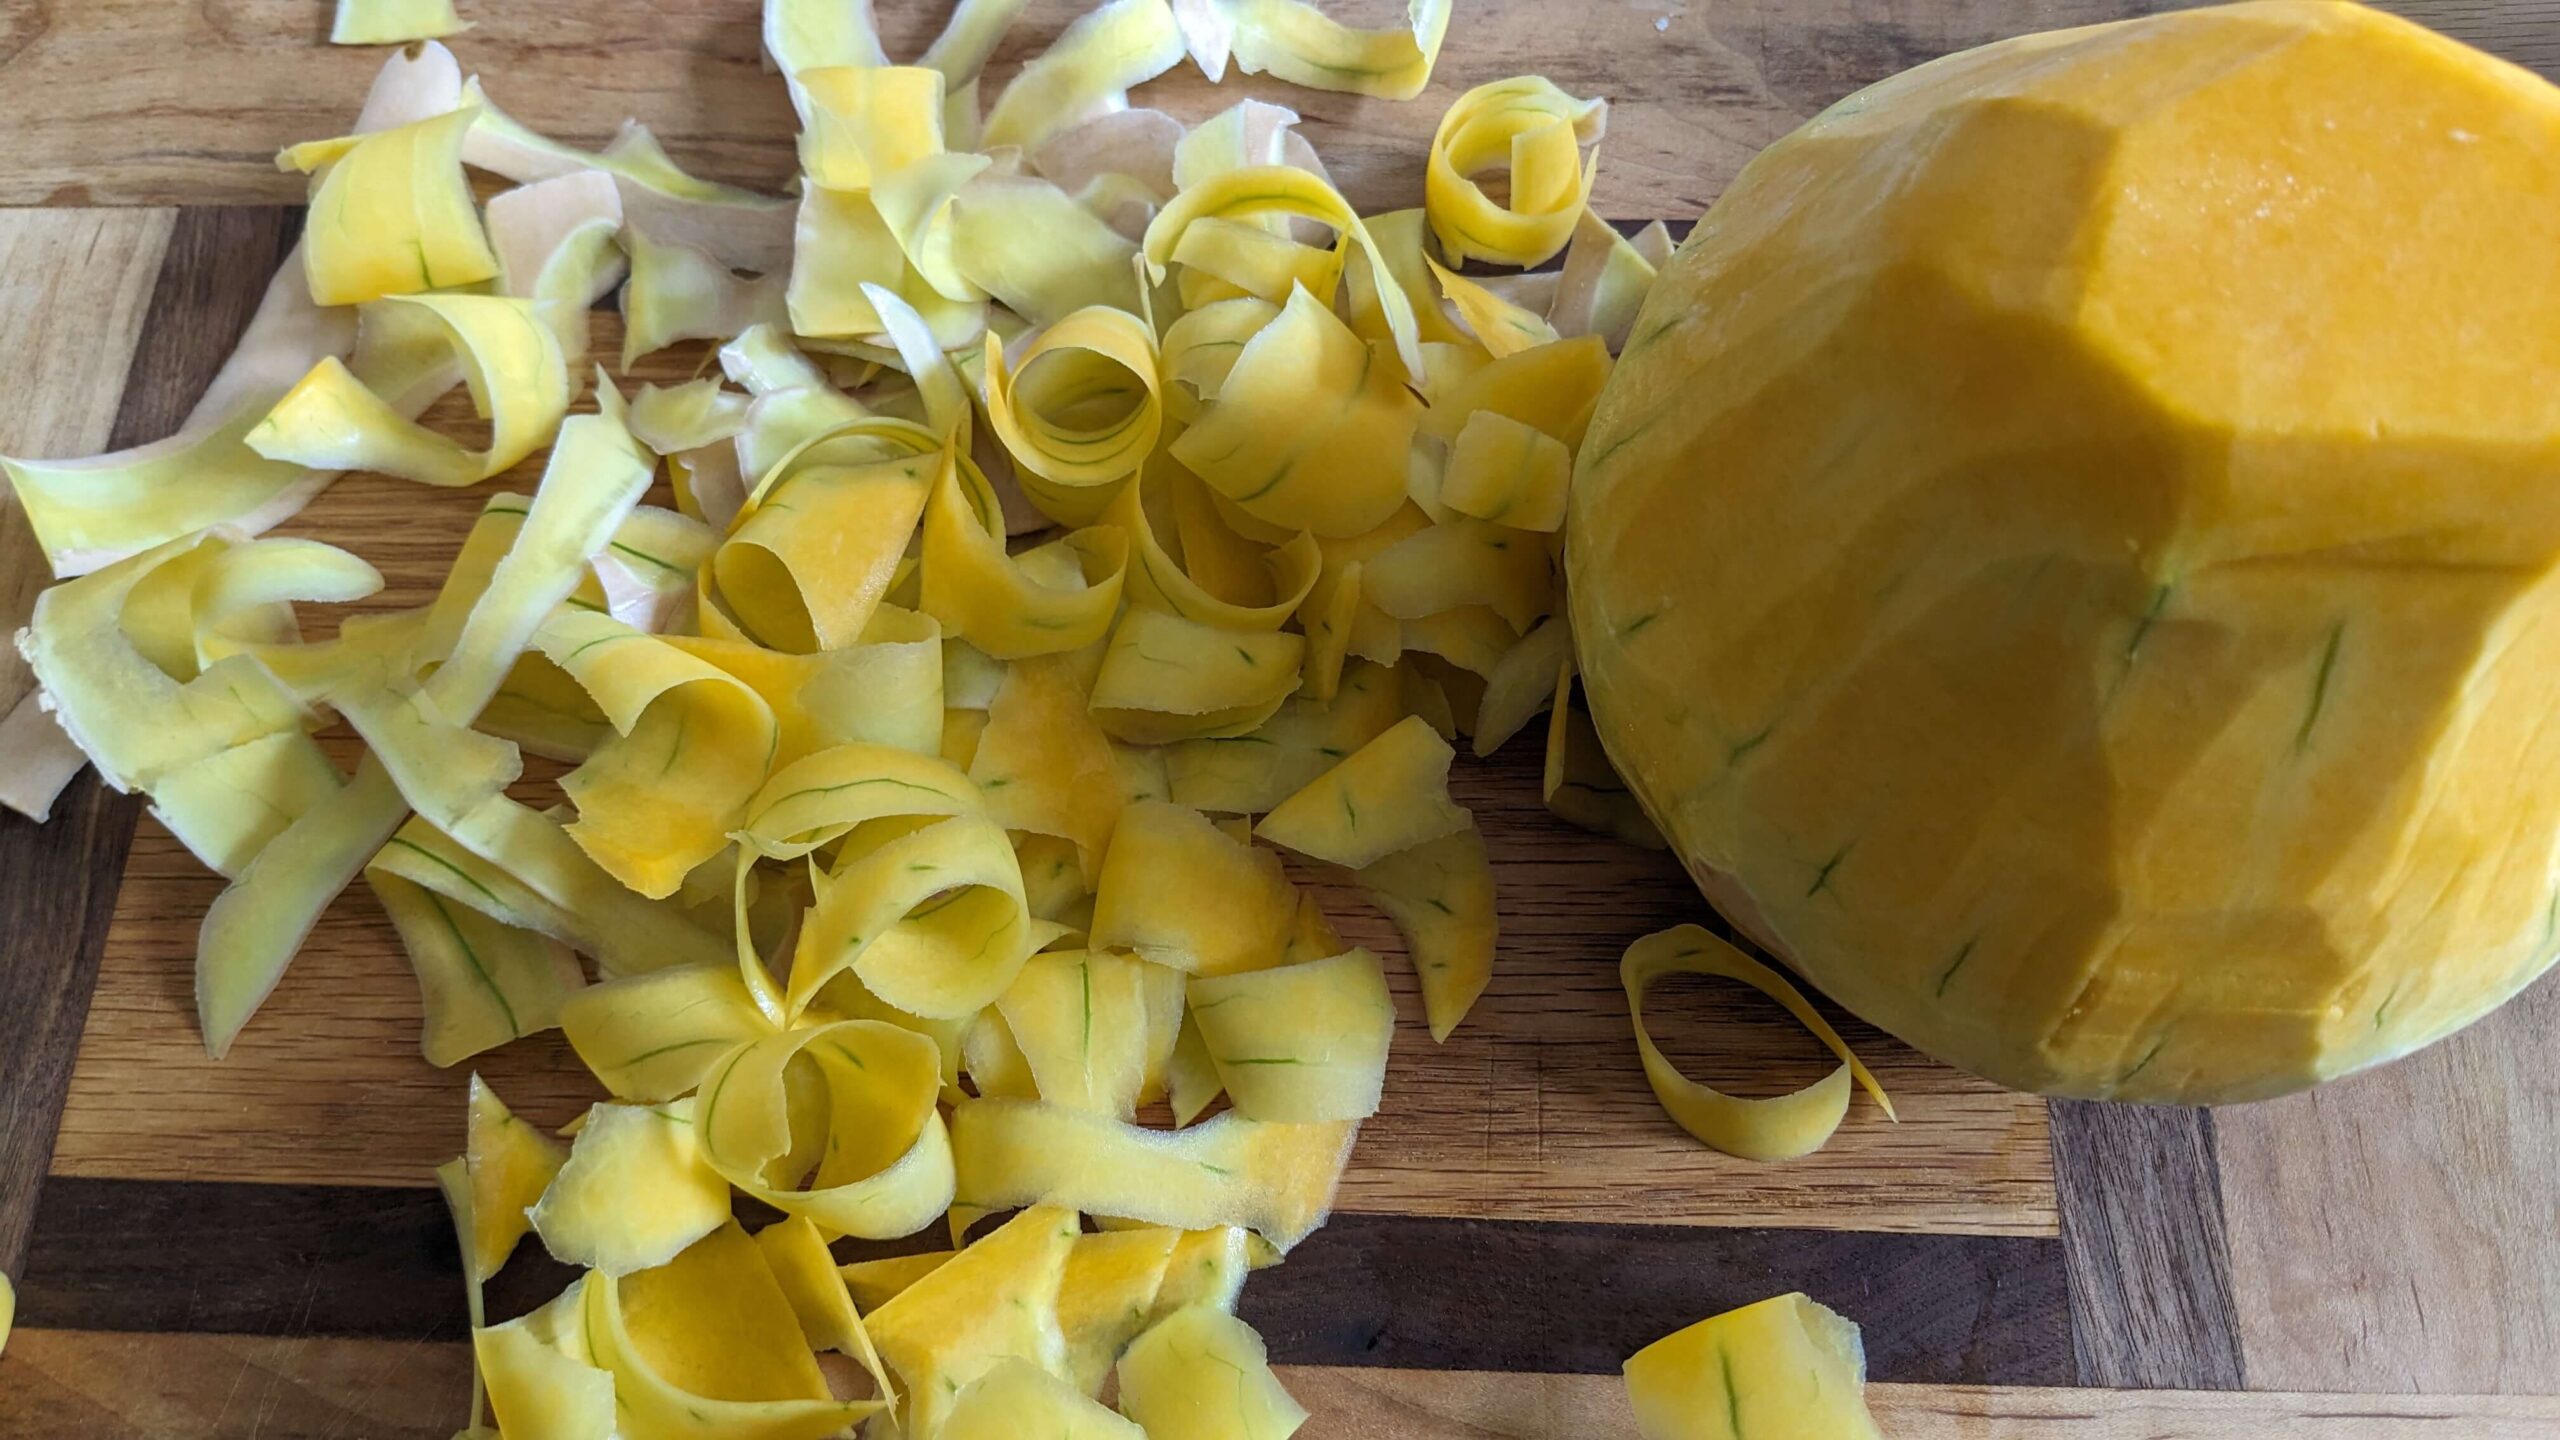
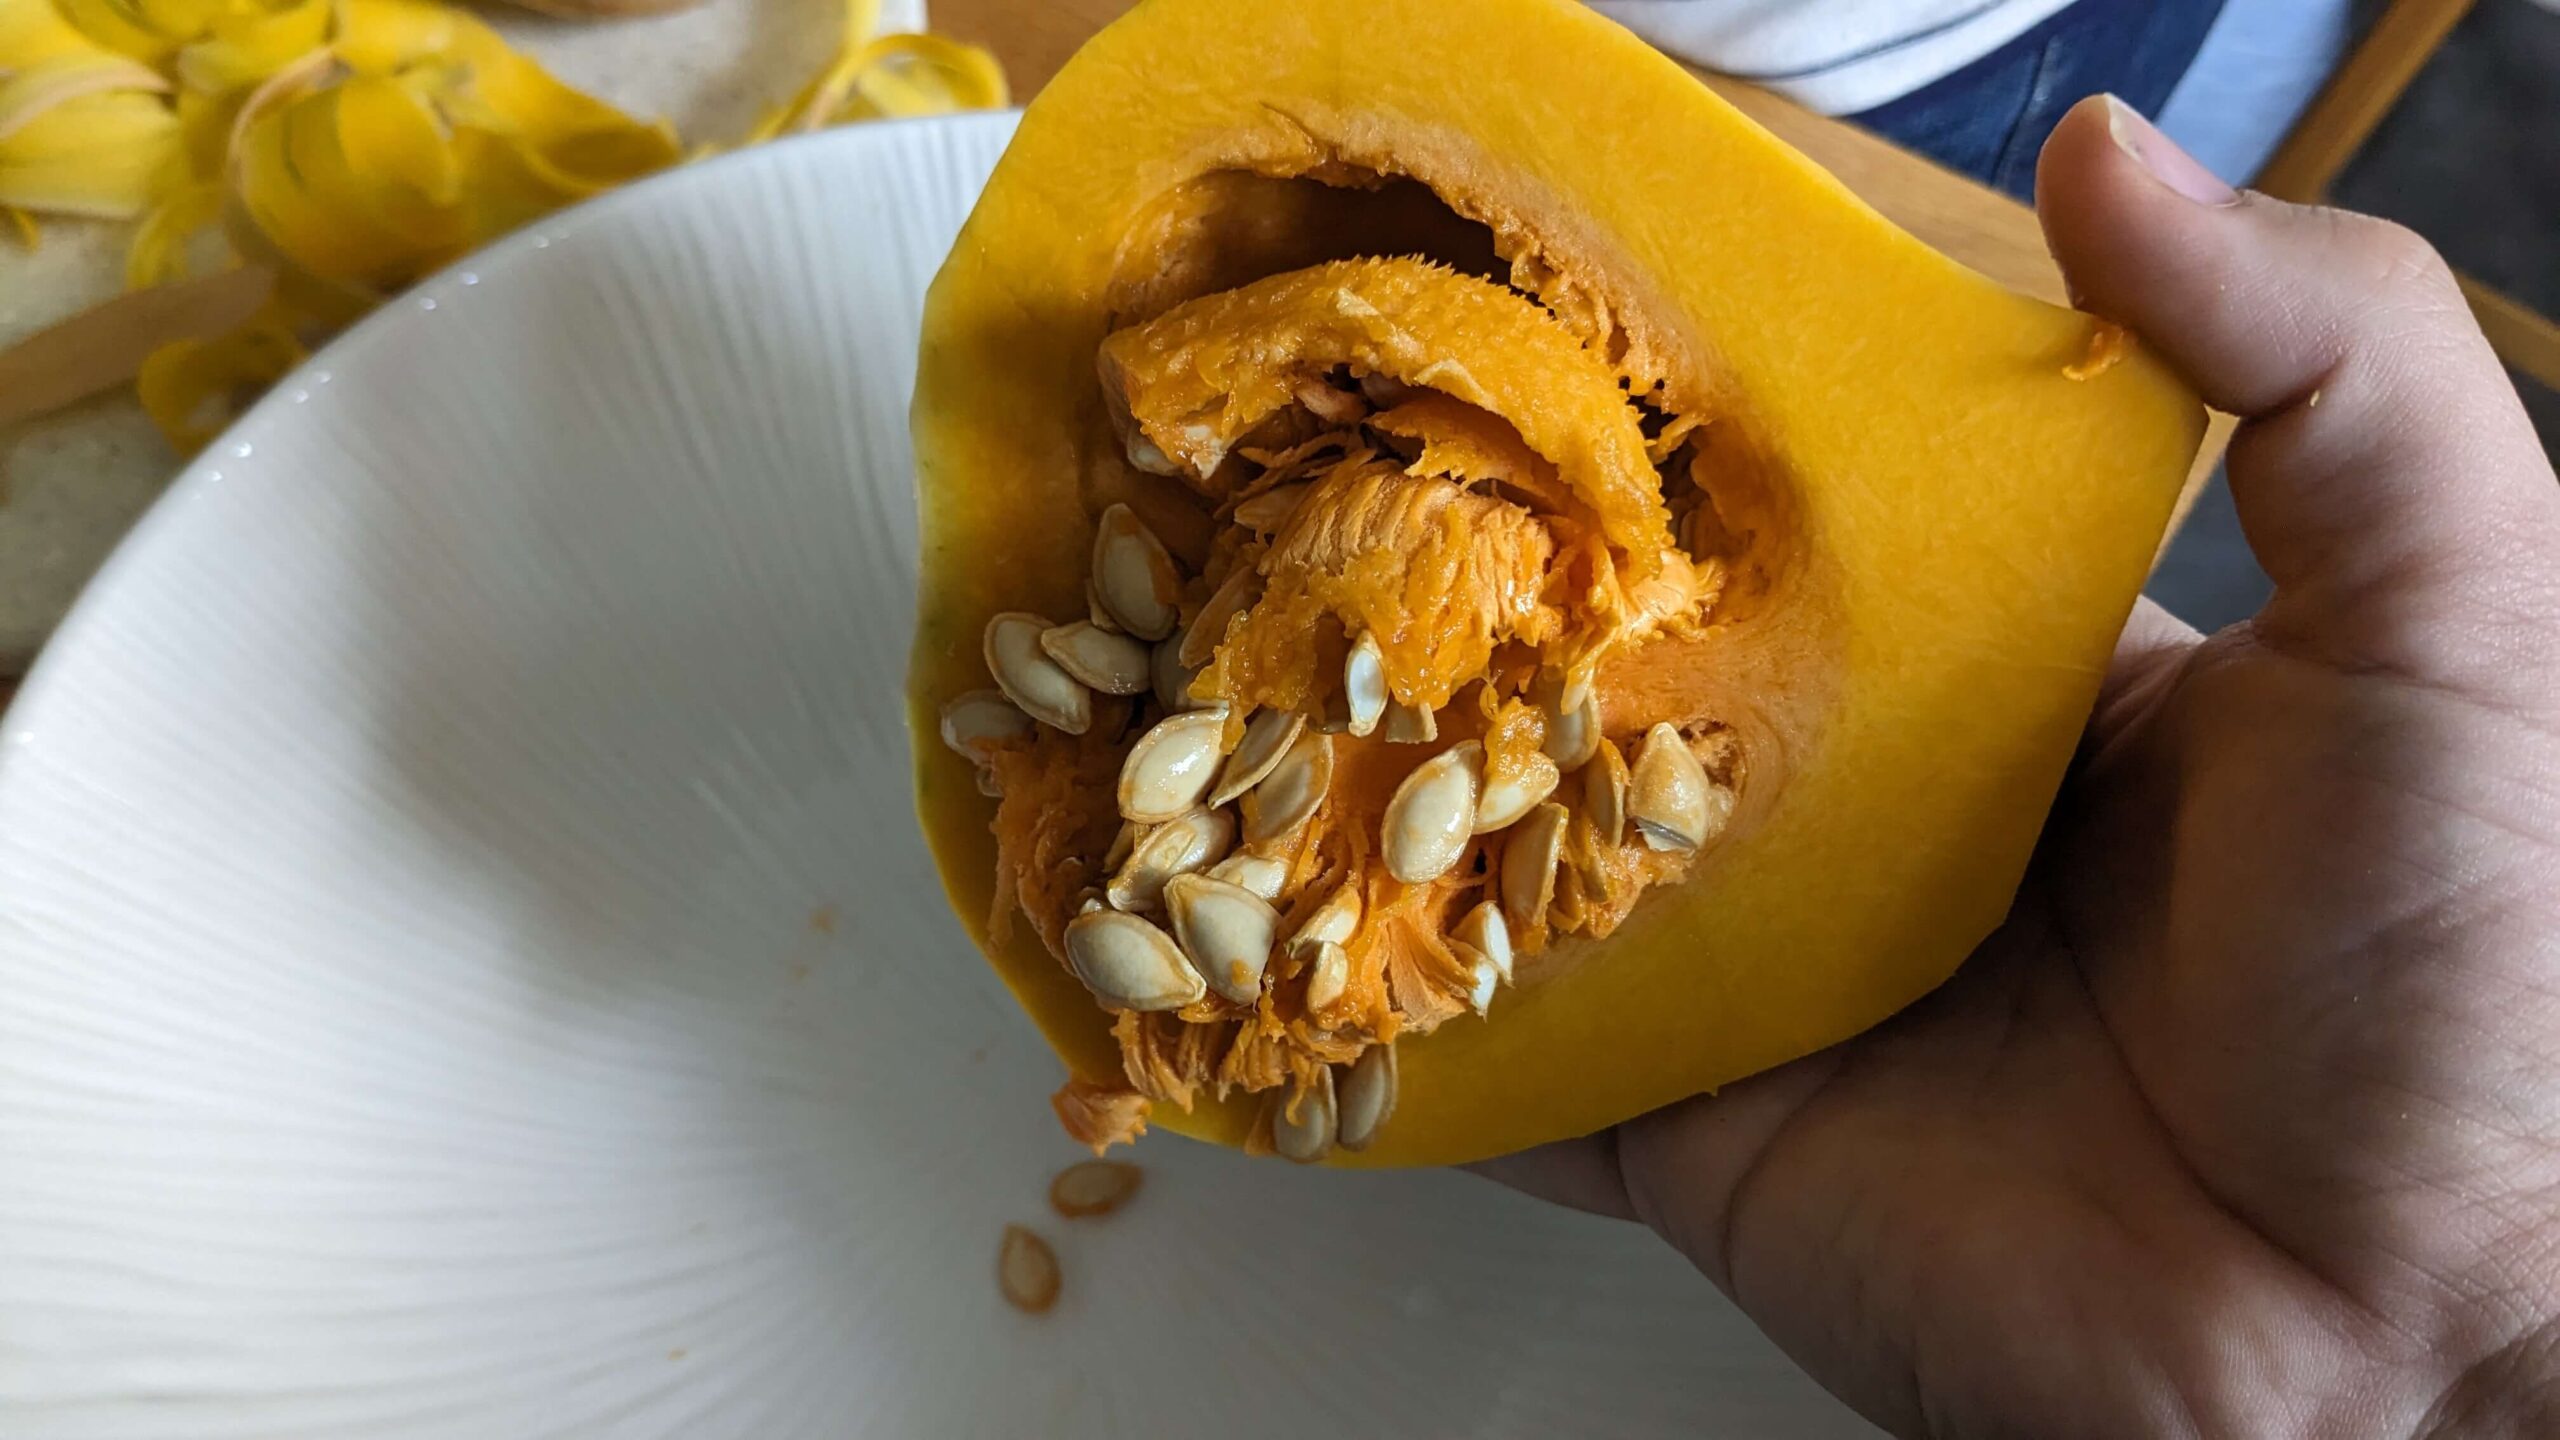
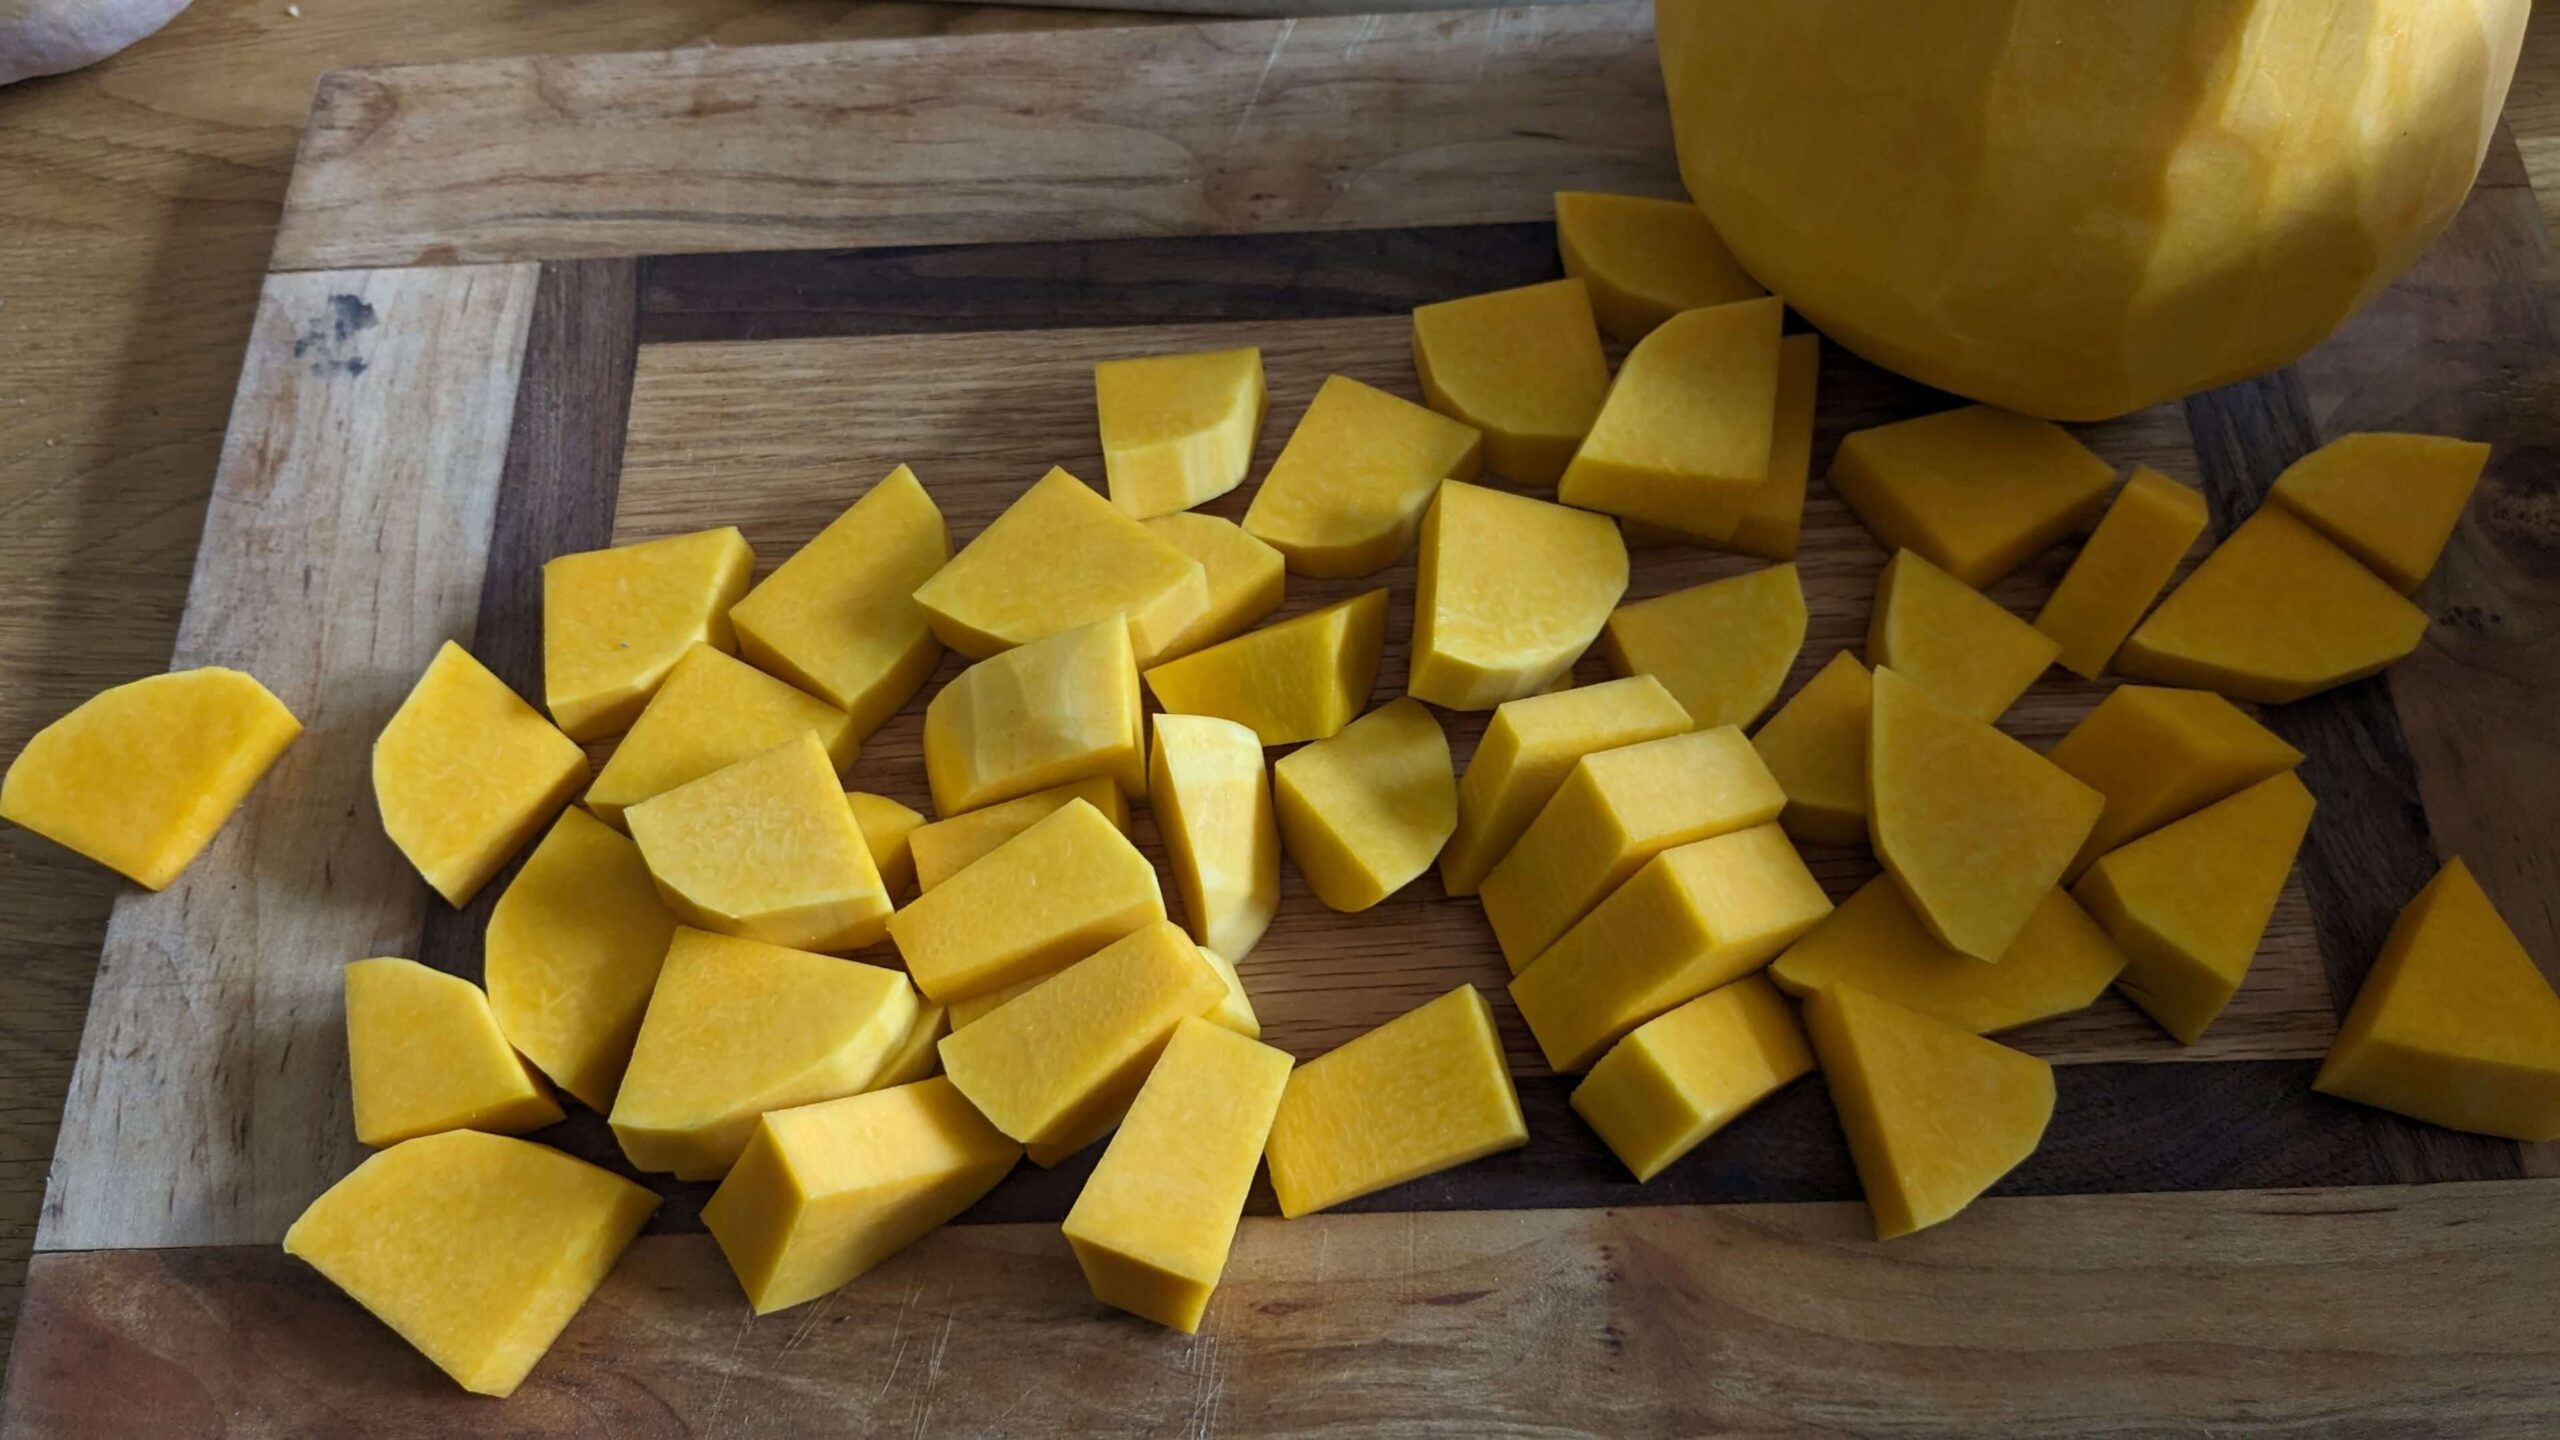
After thoroughly rinsing my squash, I used a peeler to remove the skin/rind of the squash. I also tried a coring knife and that worked too, but the peeler worked a lot better. The peels were set aside for squash rind chips. I cut the squash down the center and took the seeds out of the center, setting those aside for roasted squash seeds later on. We try to use as much of what we have with as little waste as possible.
![]() Family Forging Tip: We got our daughter involved in this one! You can let your toddler help out by picking through the seeds, peeling the rind, and gathering up the scraps. We bought a child-safe peeler in a Montessori kitchen kit and let her help with the peeling process. She was able to make good progress on one of the squash and had a lot of fun doing it!
Family Forging Tip: We got our daughter involved in this one! You can let your toddler help out by picking through the seeds, peeling the rind, and gathering up the scraps. We bought a child-safe peeler in a Montessori kitchen kit and let her help with the peeling process. She was able to make good progress on one of the squash and had a lot of fun doing it!

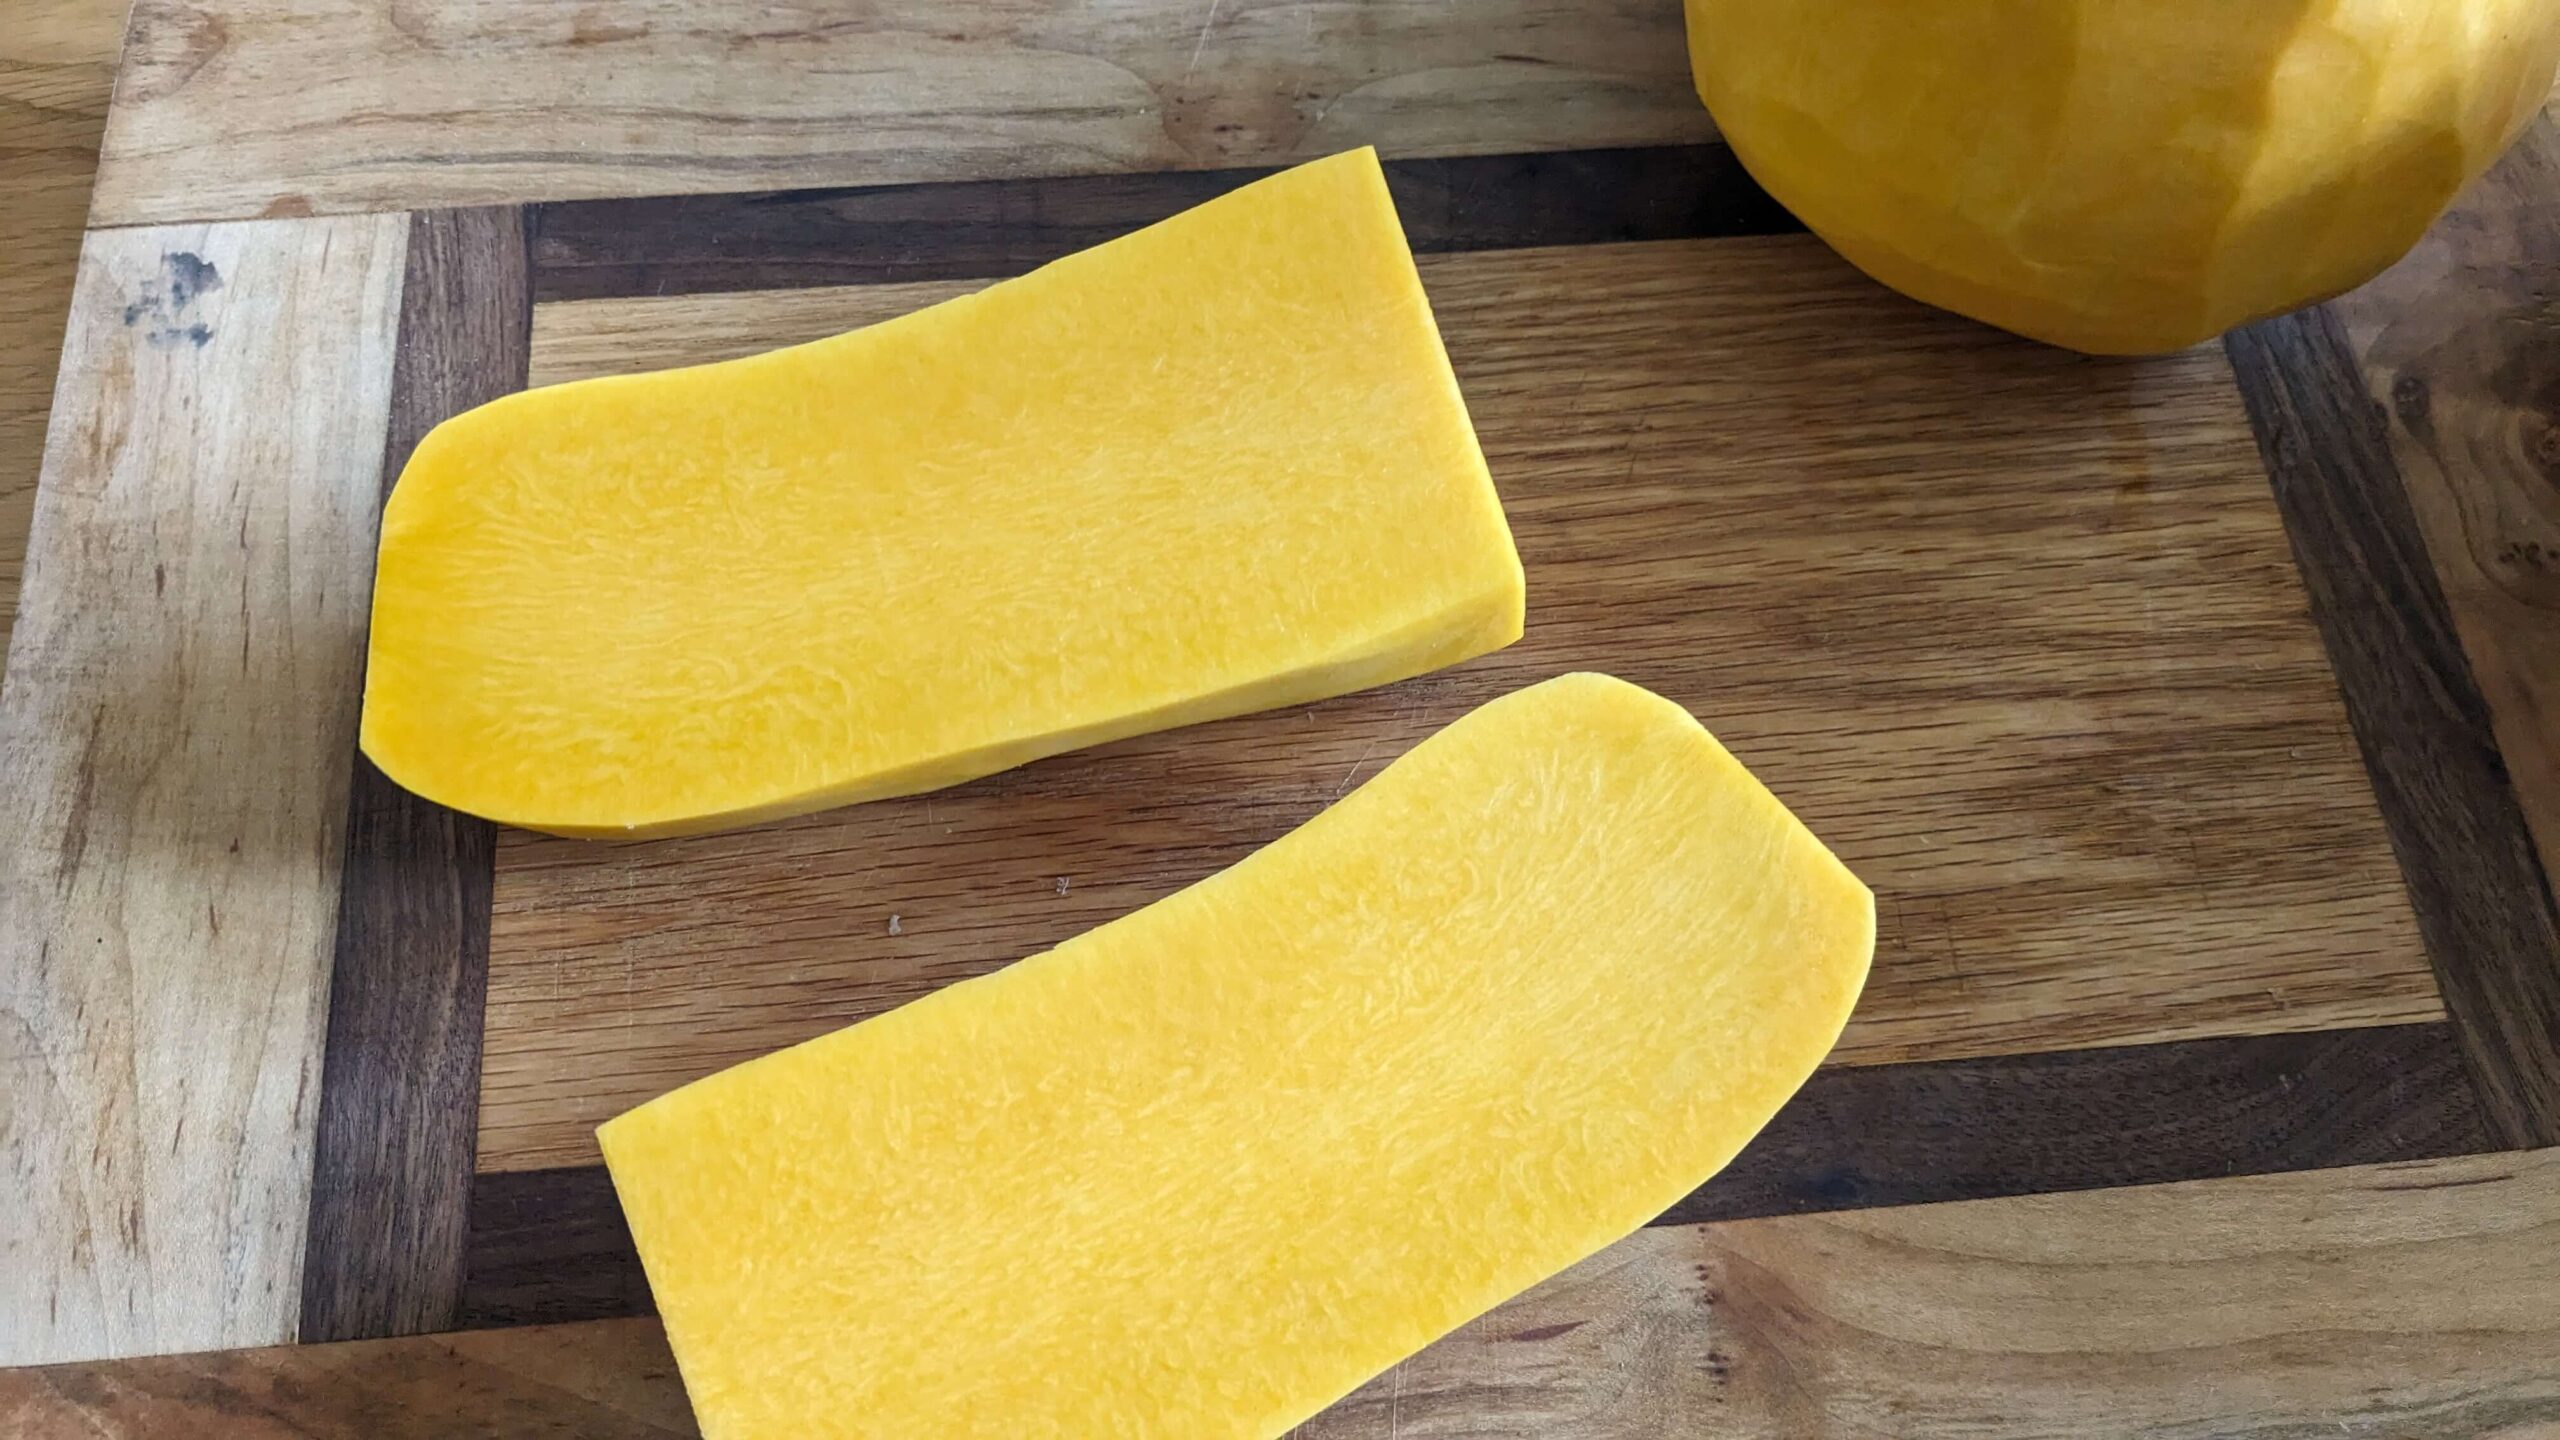
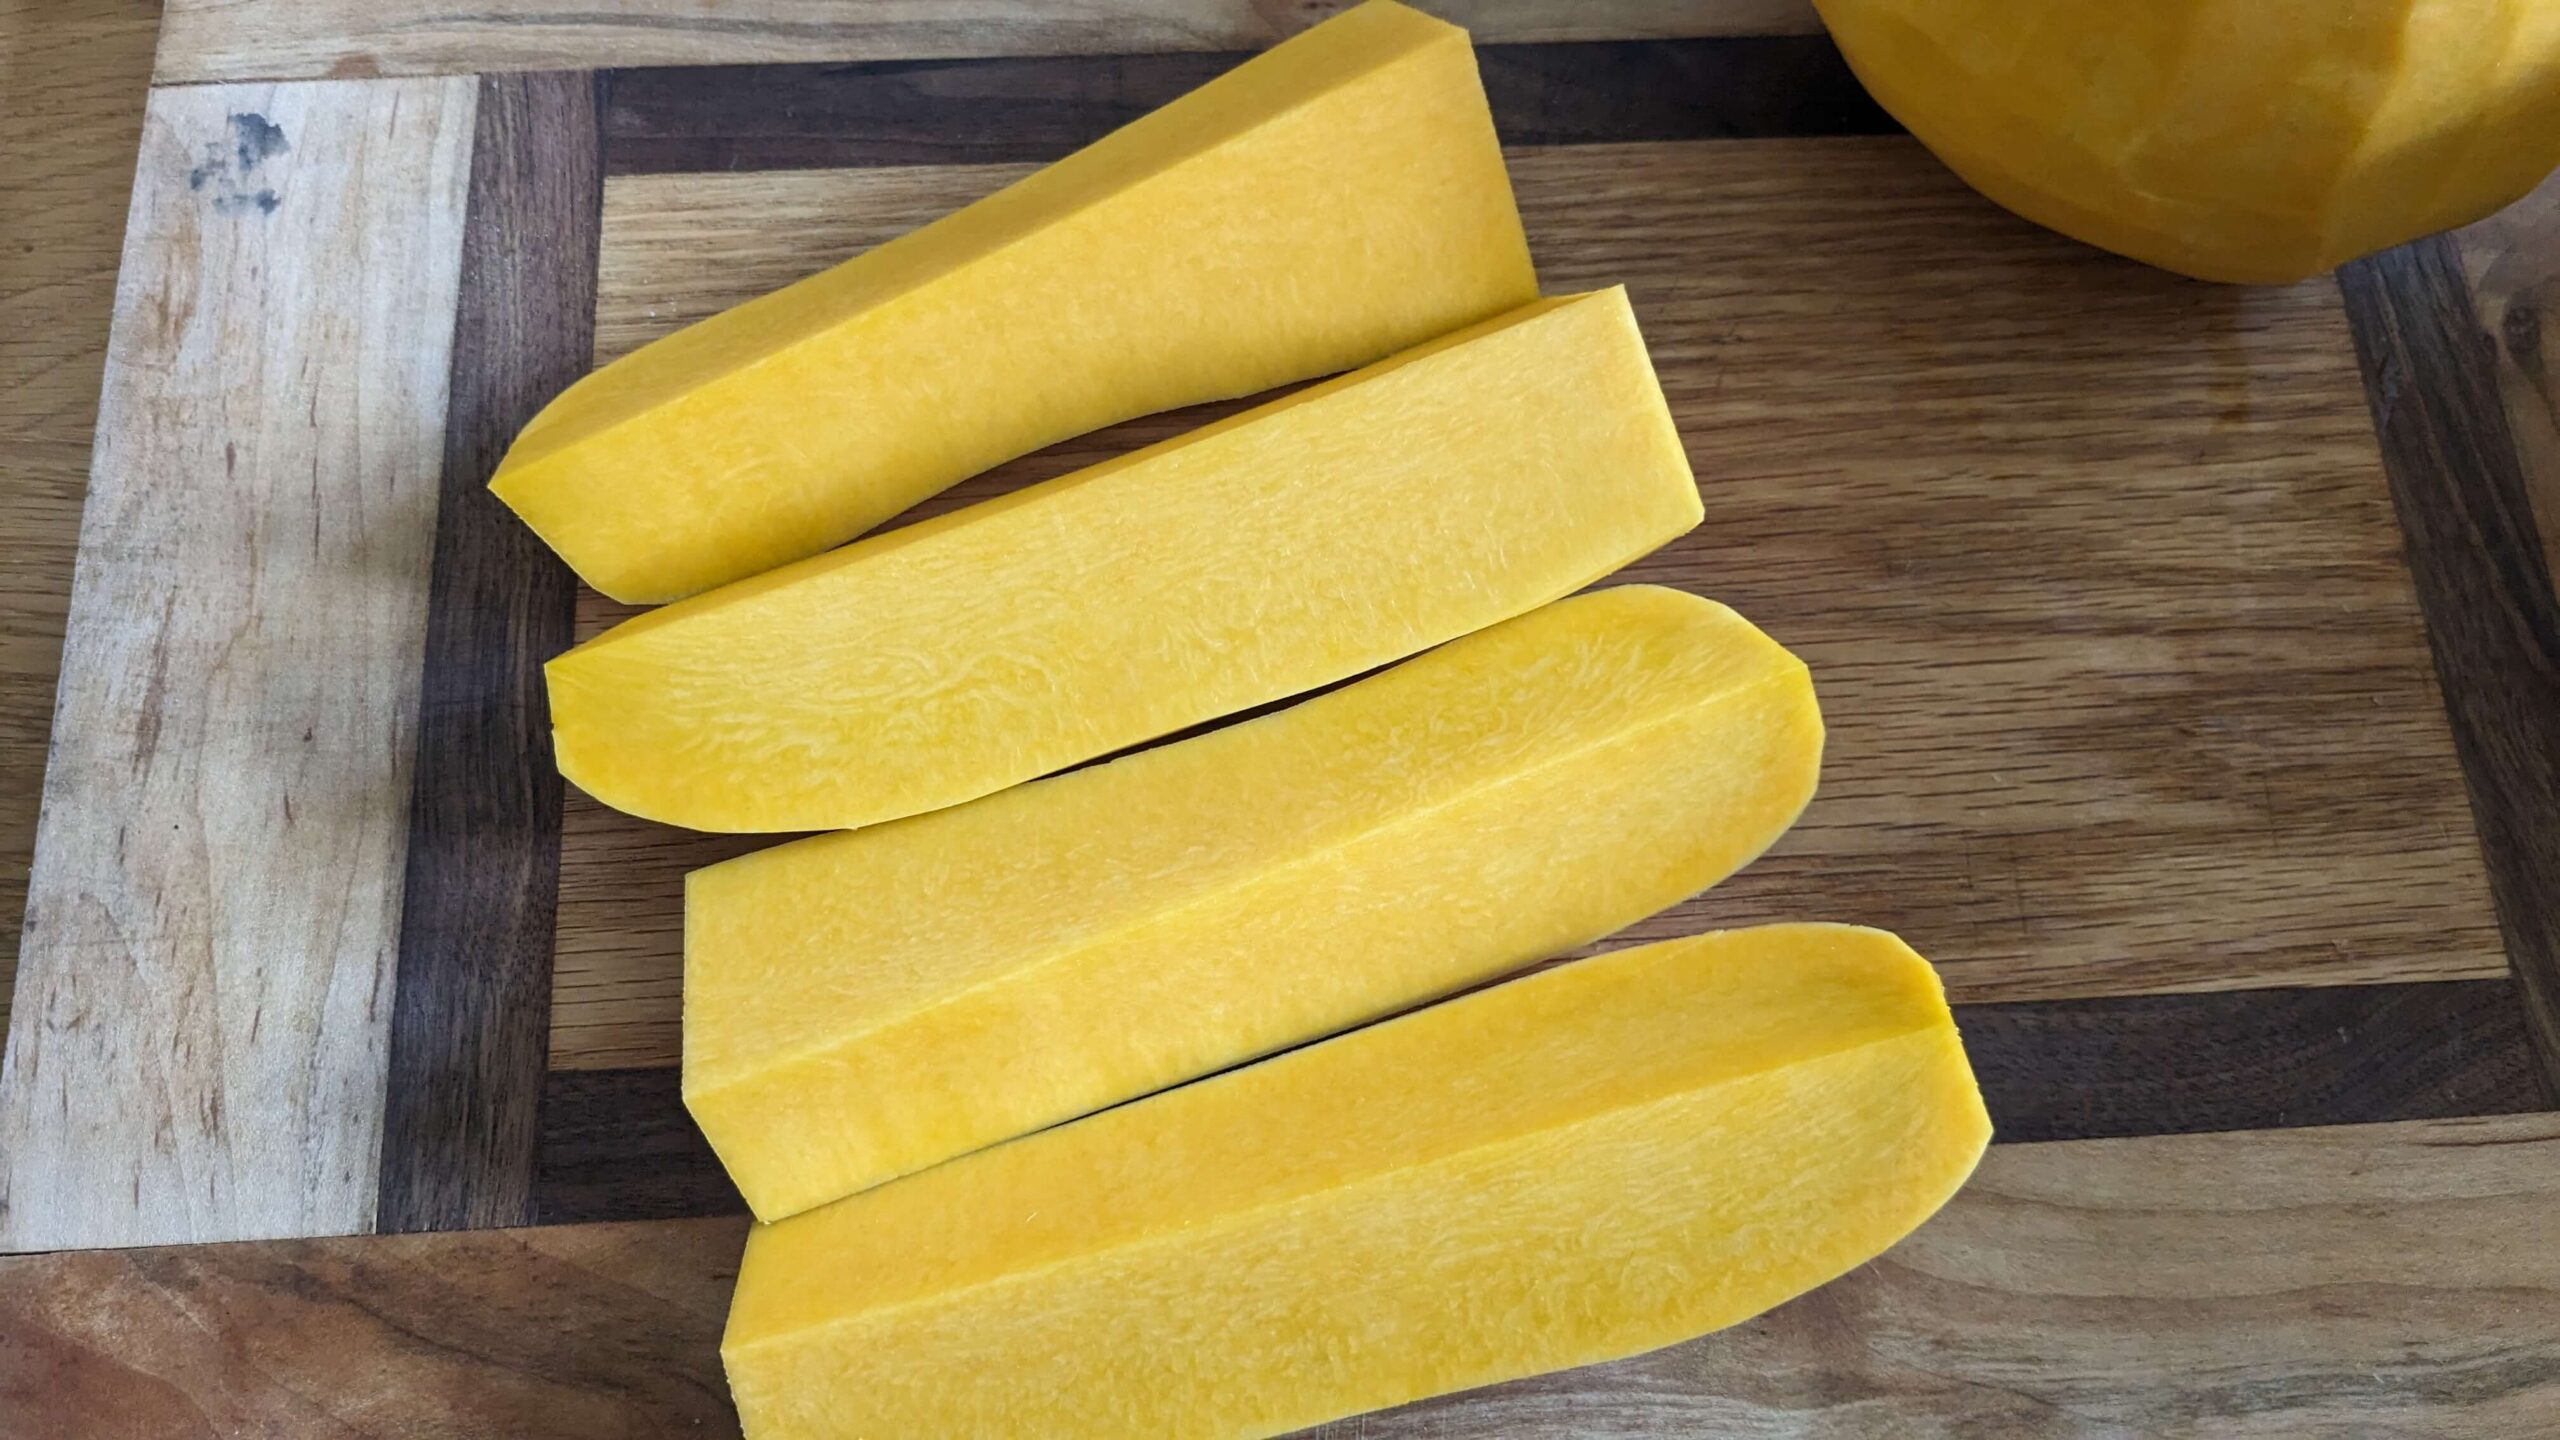
I cut the squash into 1-inch-sized cubes (approximately). The goal is to have the cubes be as close to the same size as possible so that they blanch at the same rate.

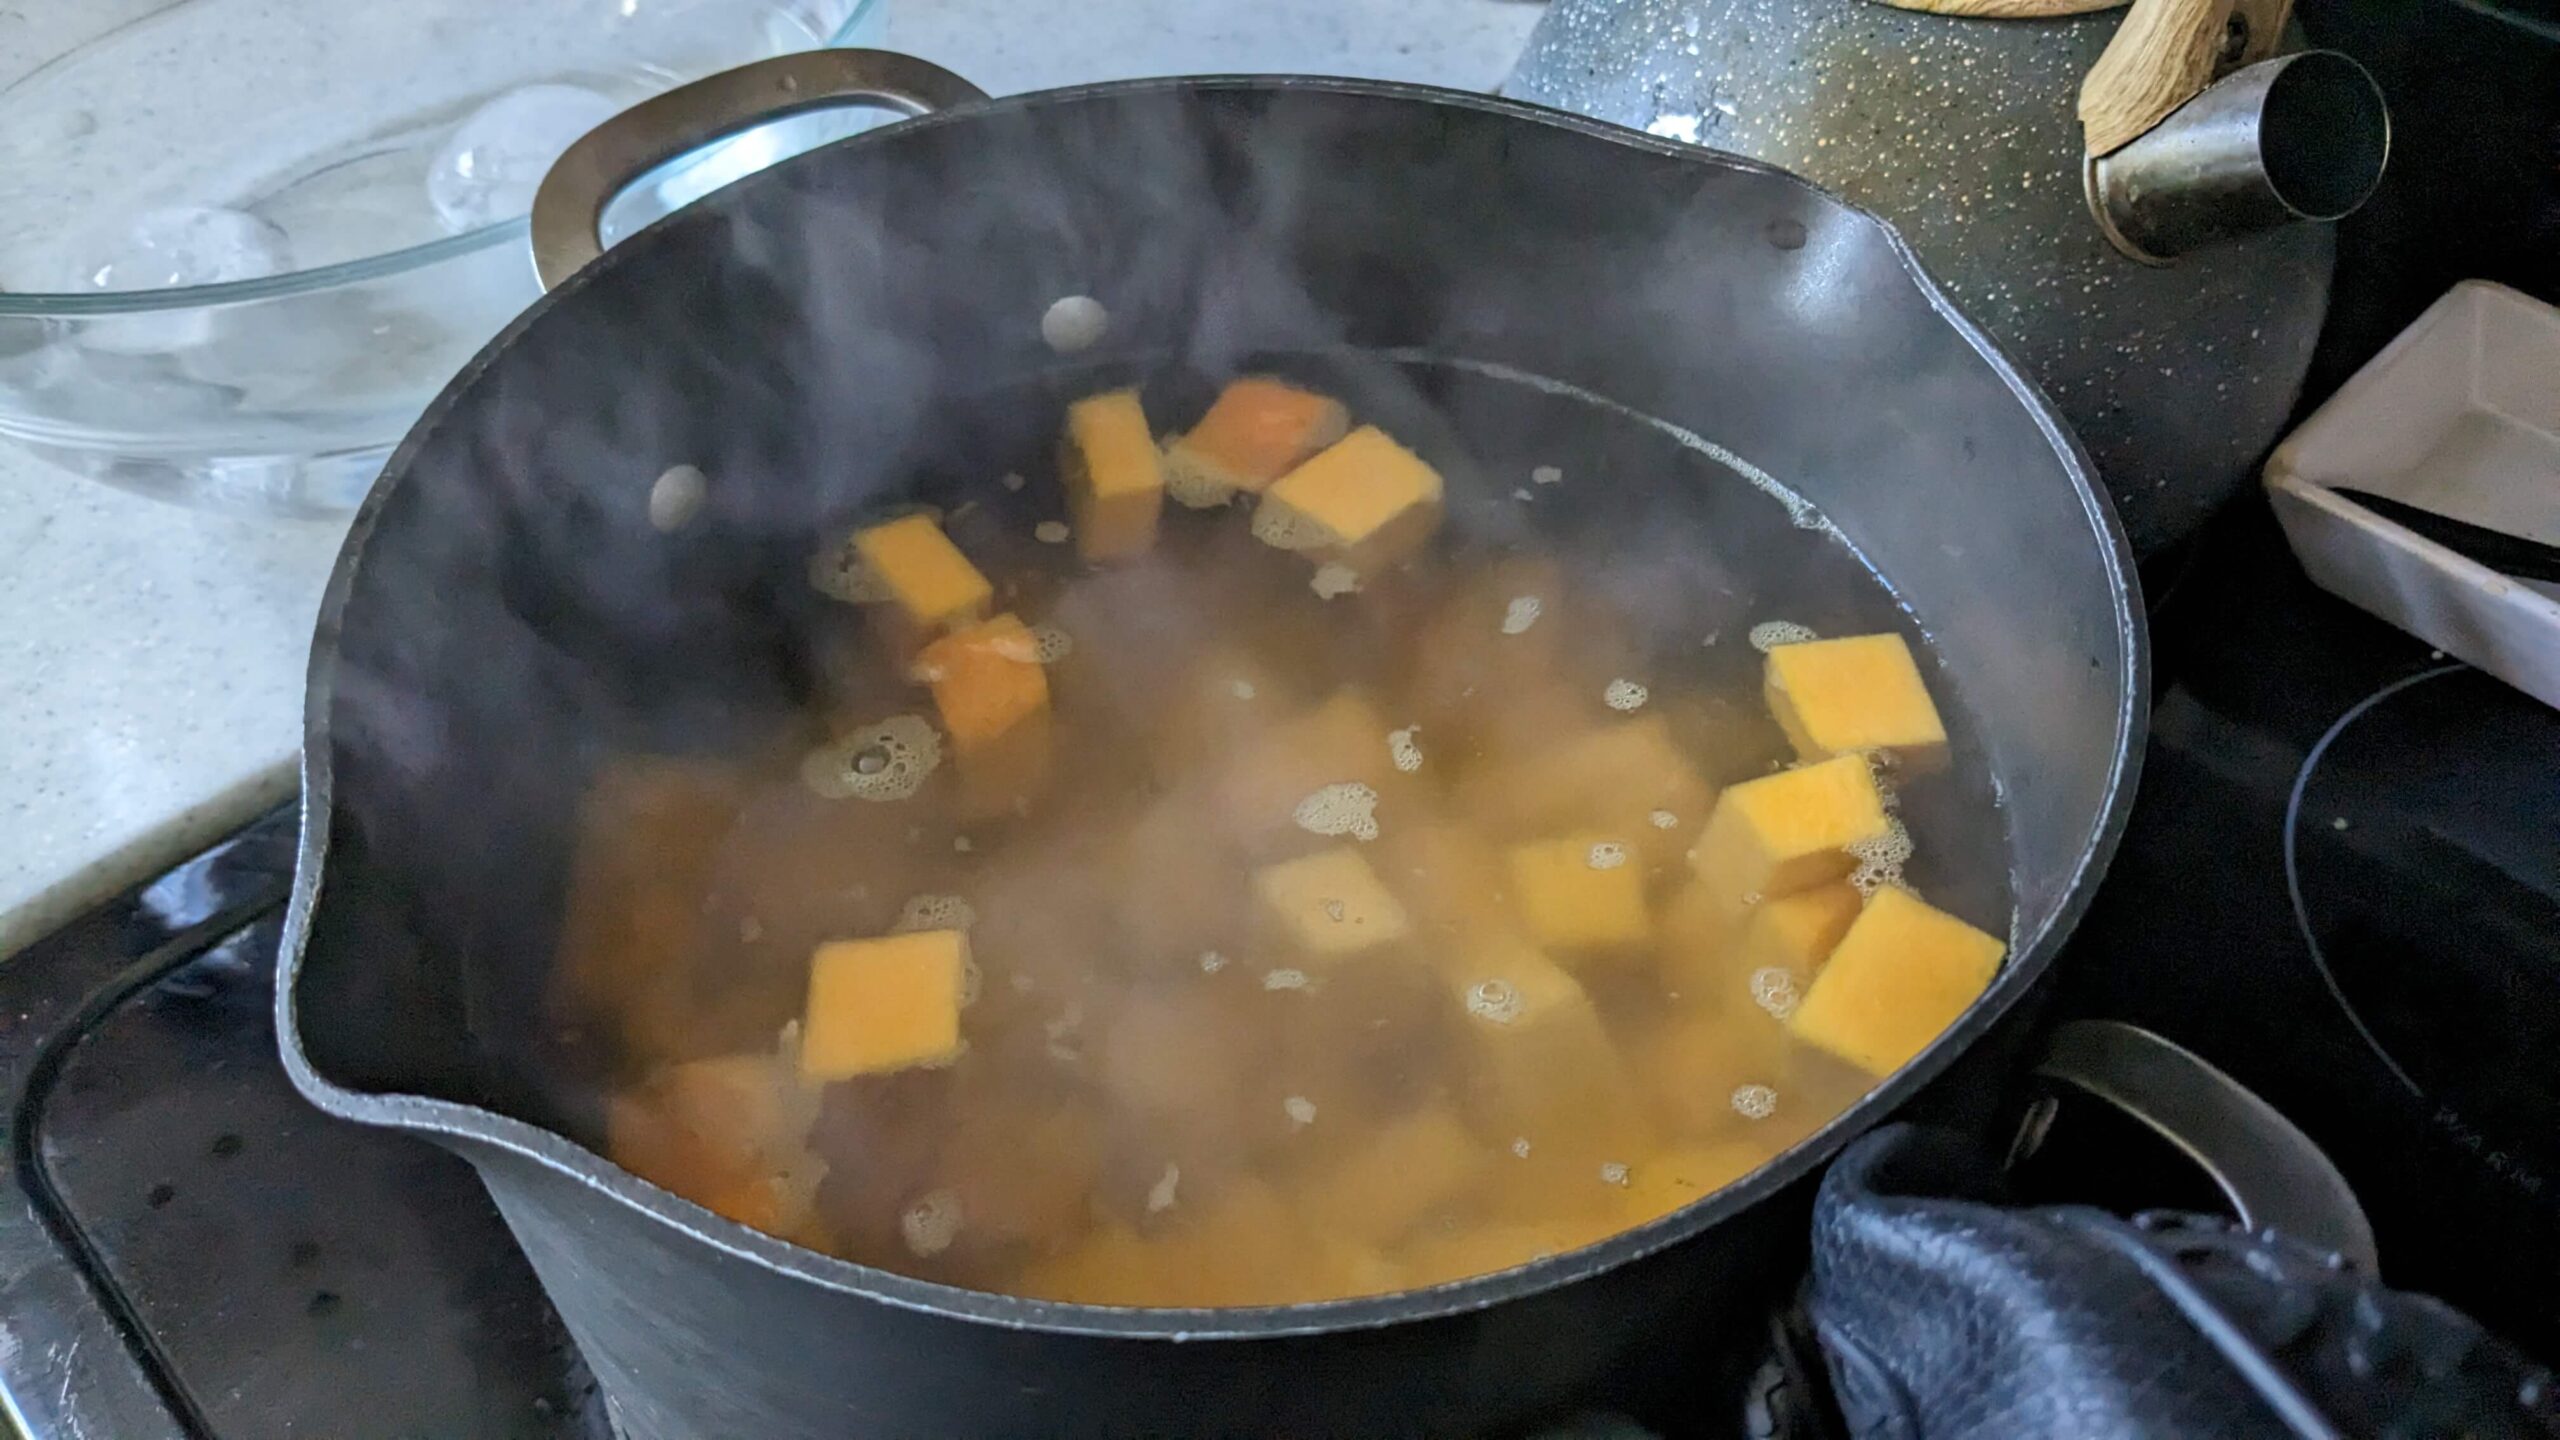
I then filled a pot with water and brought it to a rolling boil. Then I added about 1-2 cups of the chopped butternut squash and stirred it gently until it was brought to a boil. Once it was at a boil I started a timer for 3 minutes.
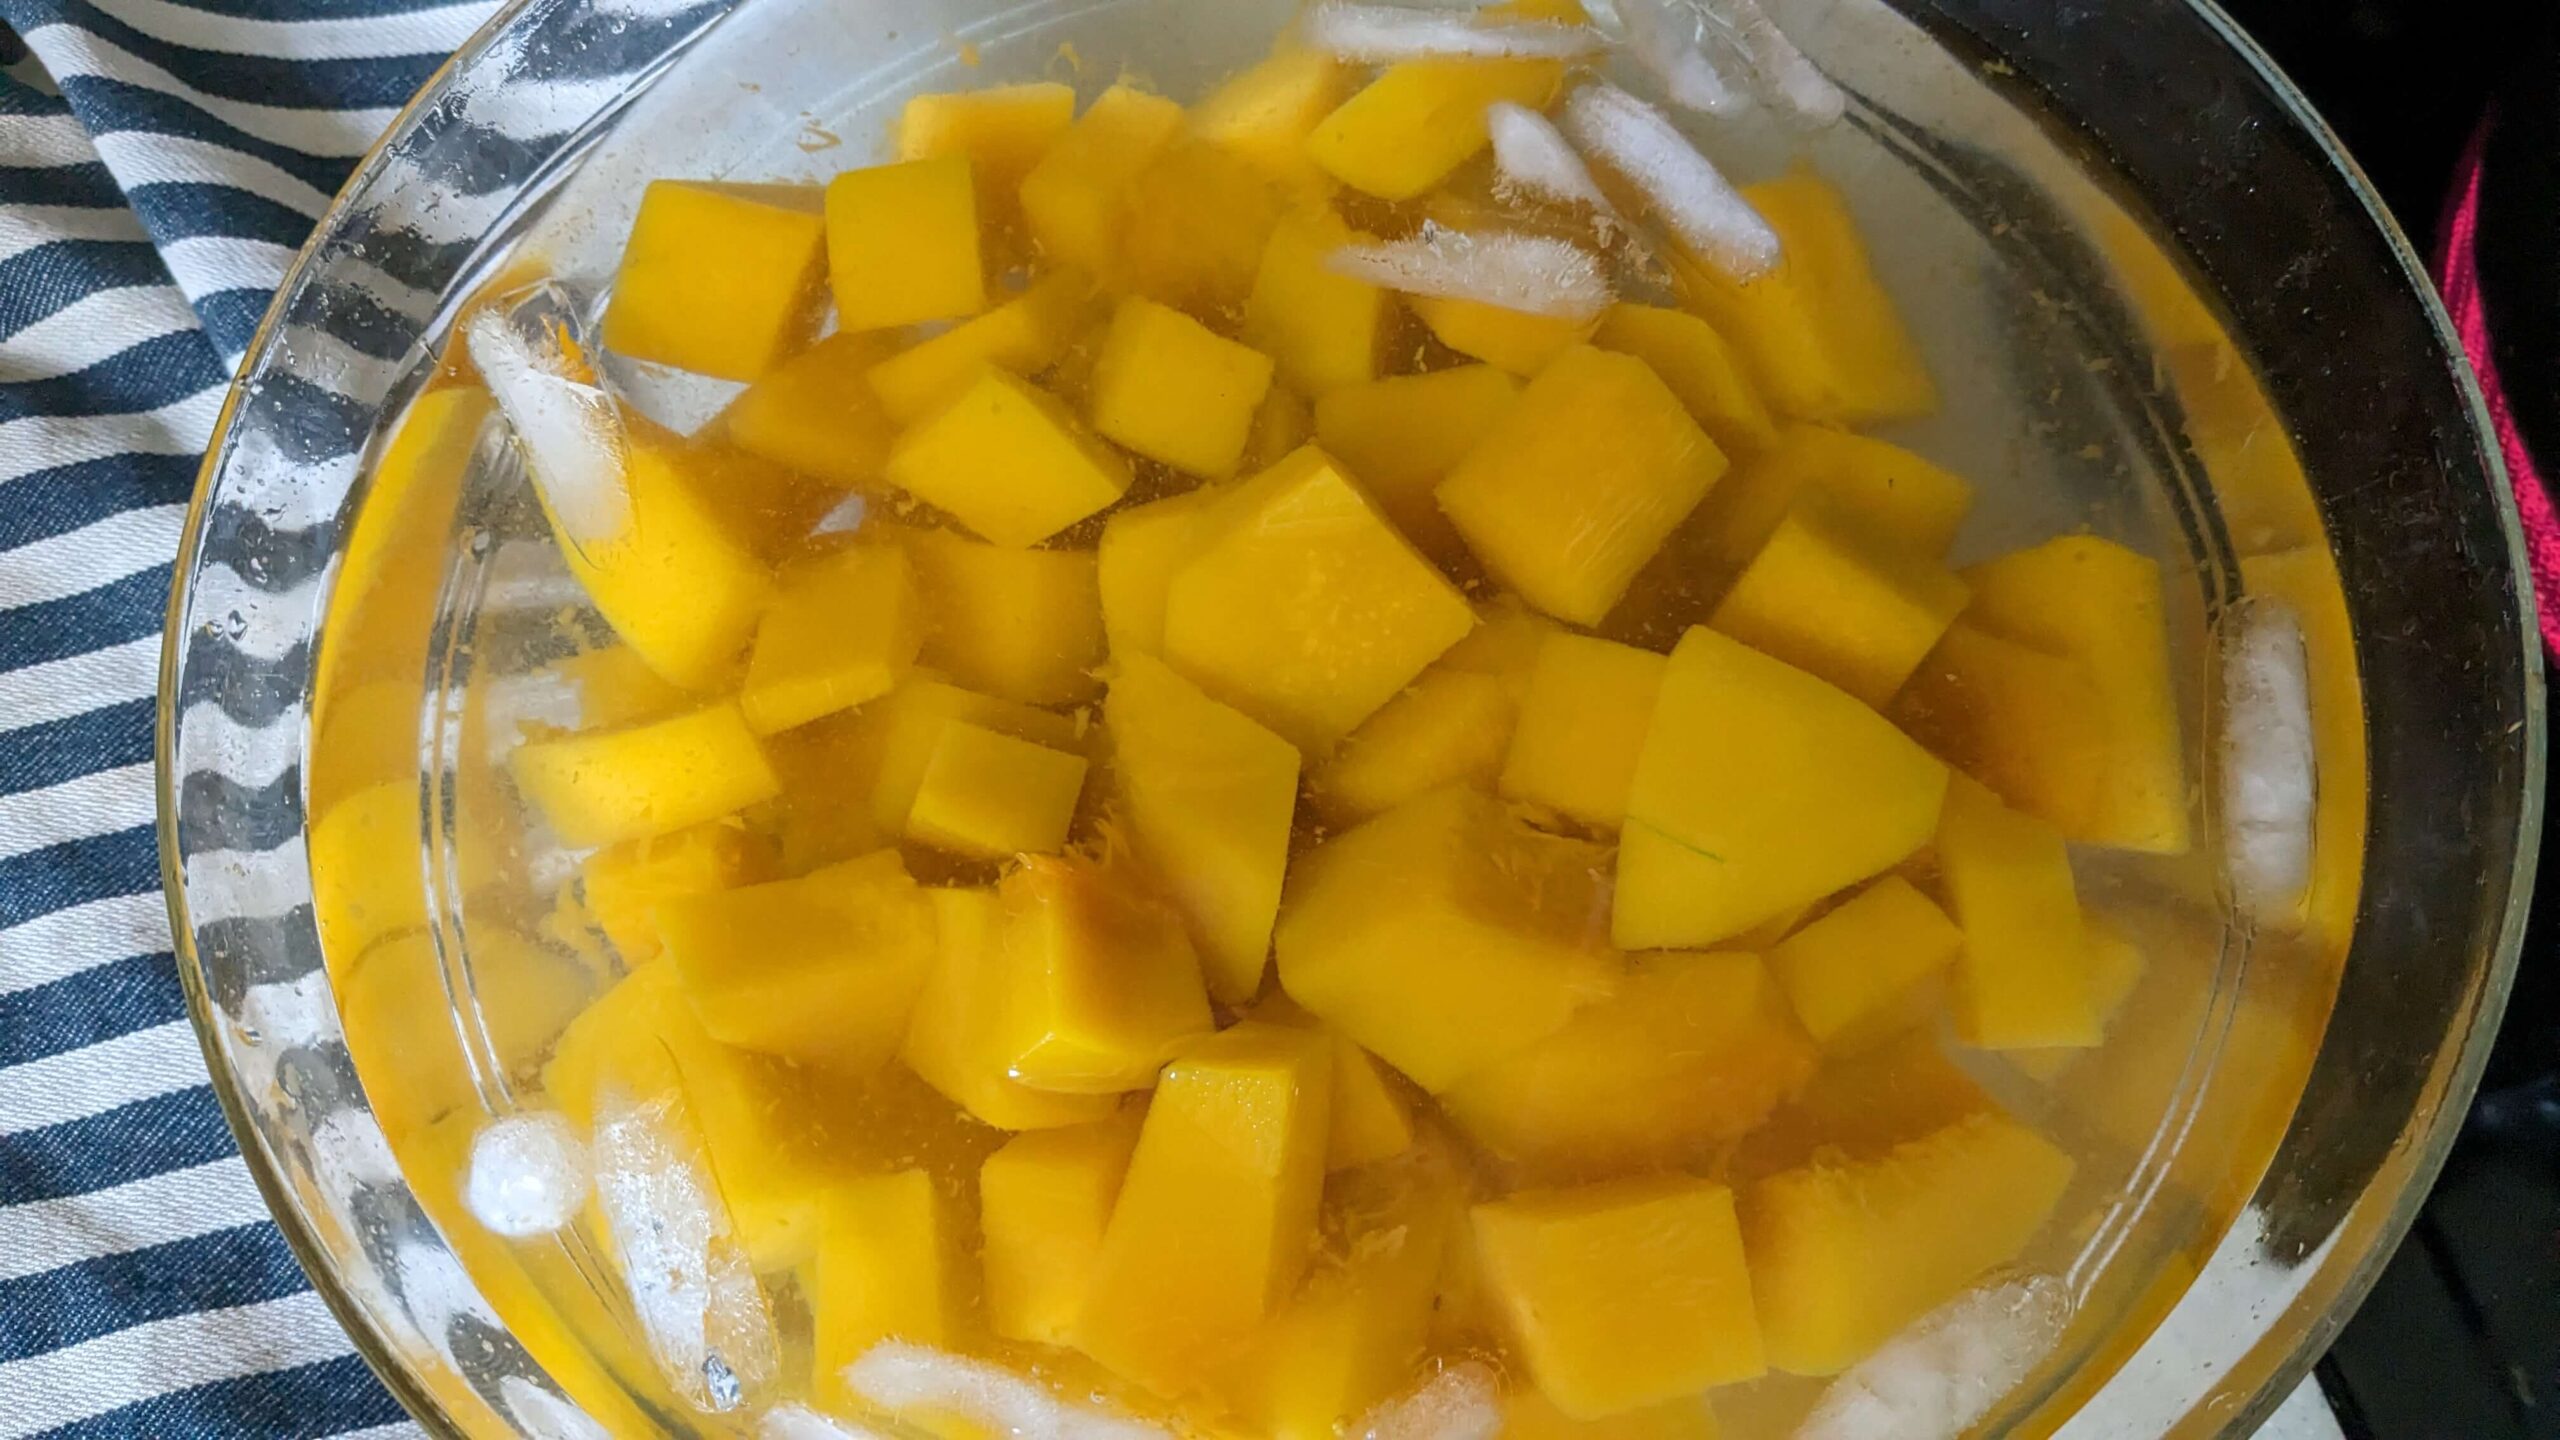
While it was boiling, I filled a bowl with cold water and ice and placed it right next to the stove. The goal of the ice water is to bring the temperature of the squash down as quickly as possible to prevent the squash from continuing to cook.
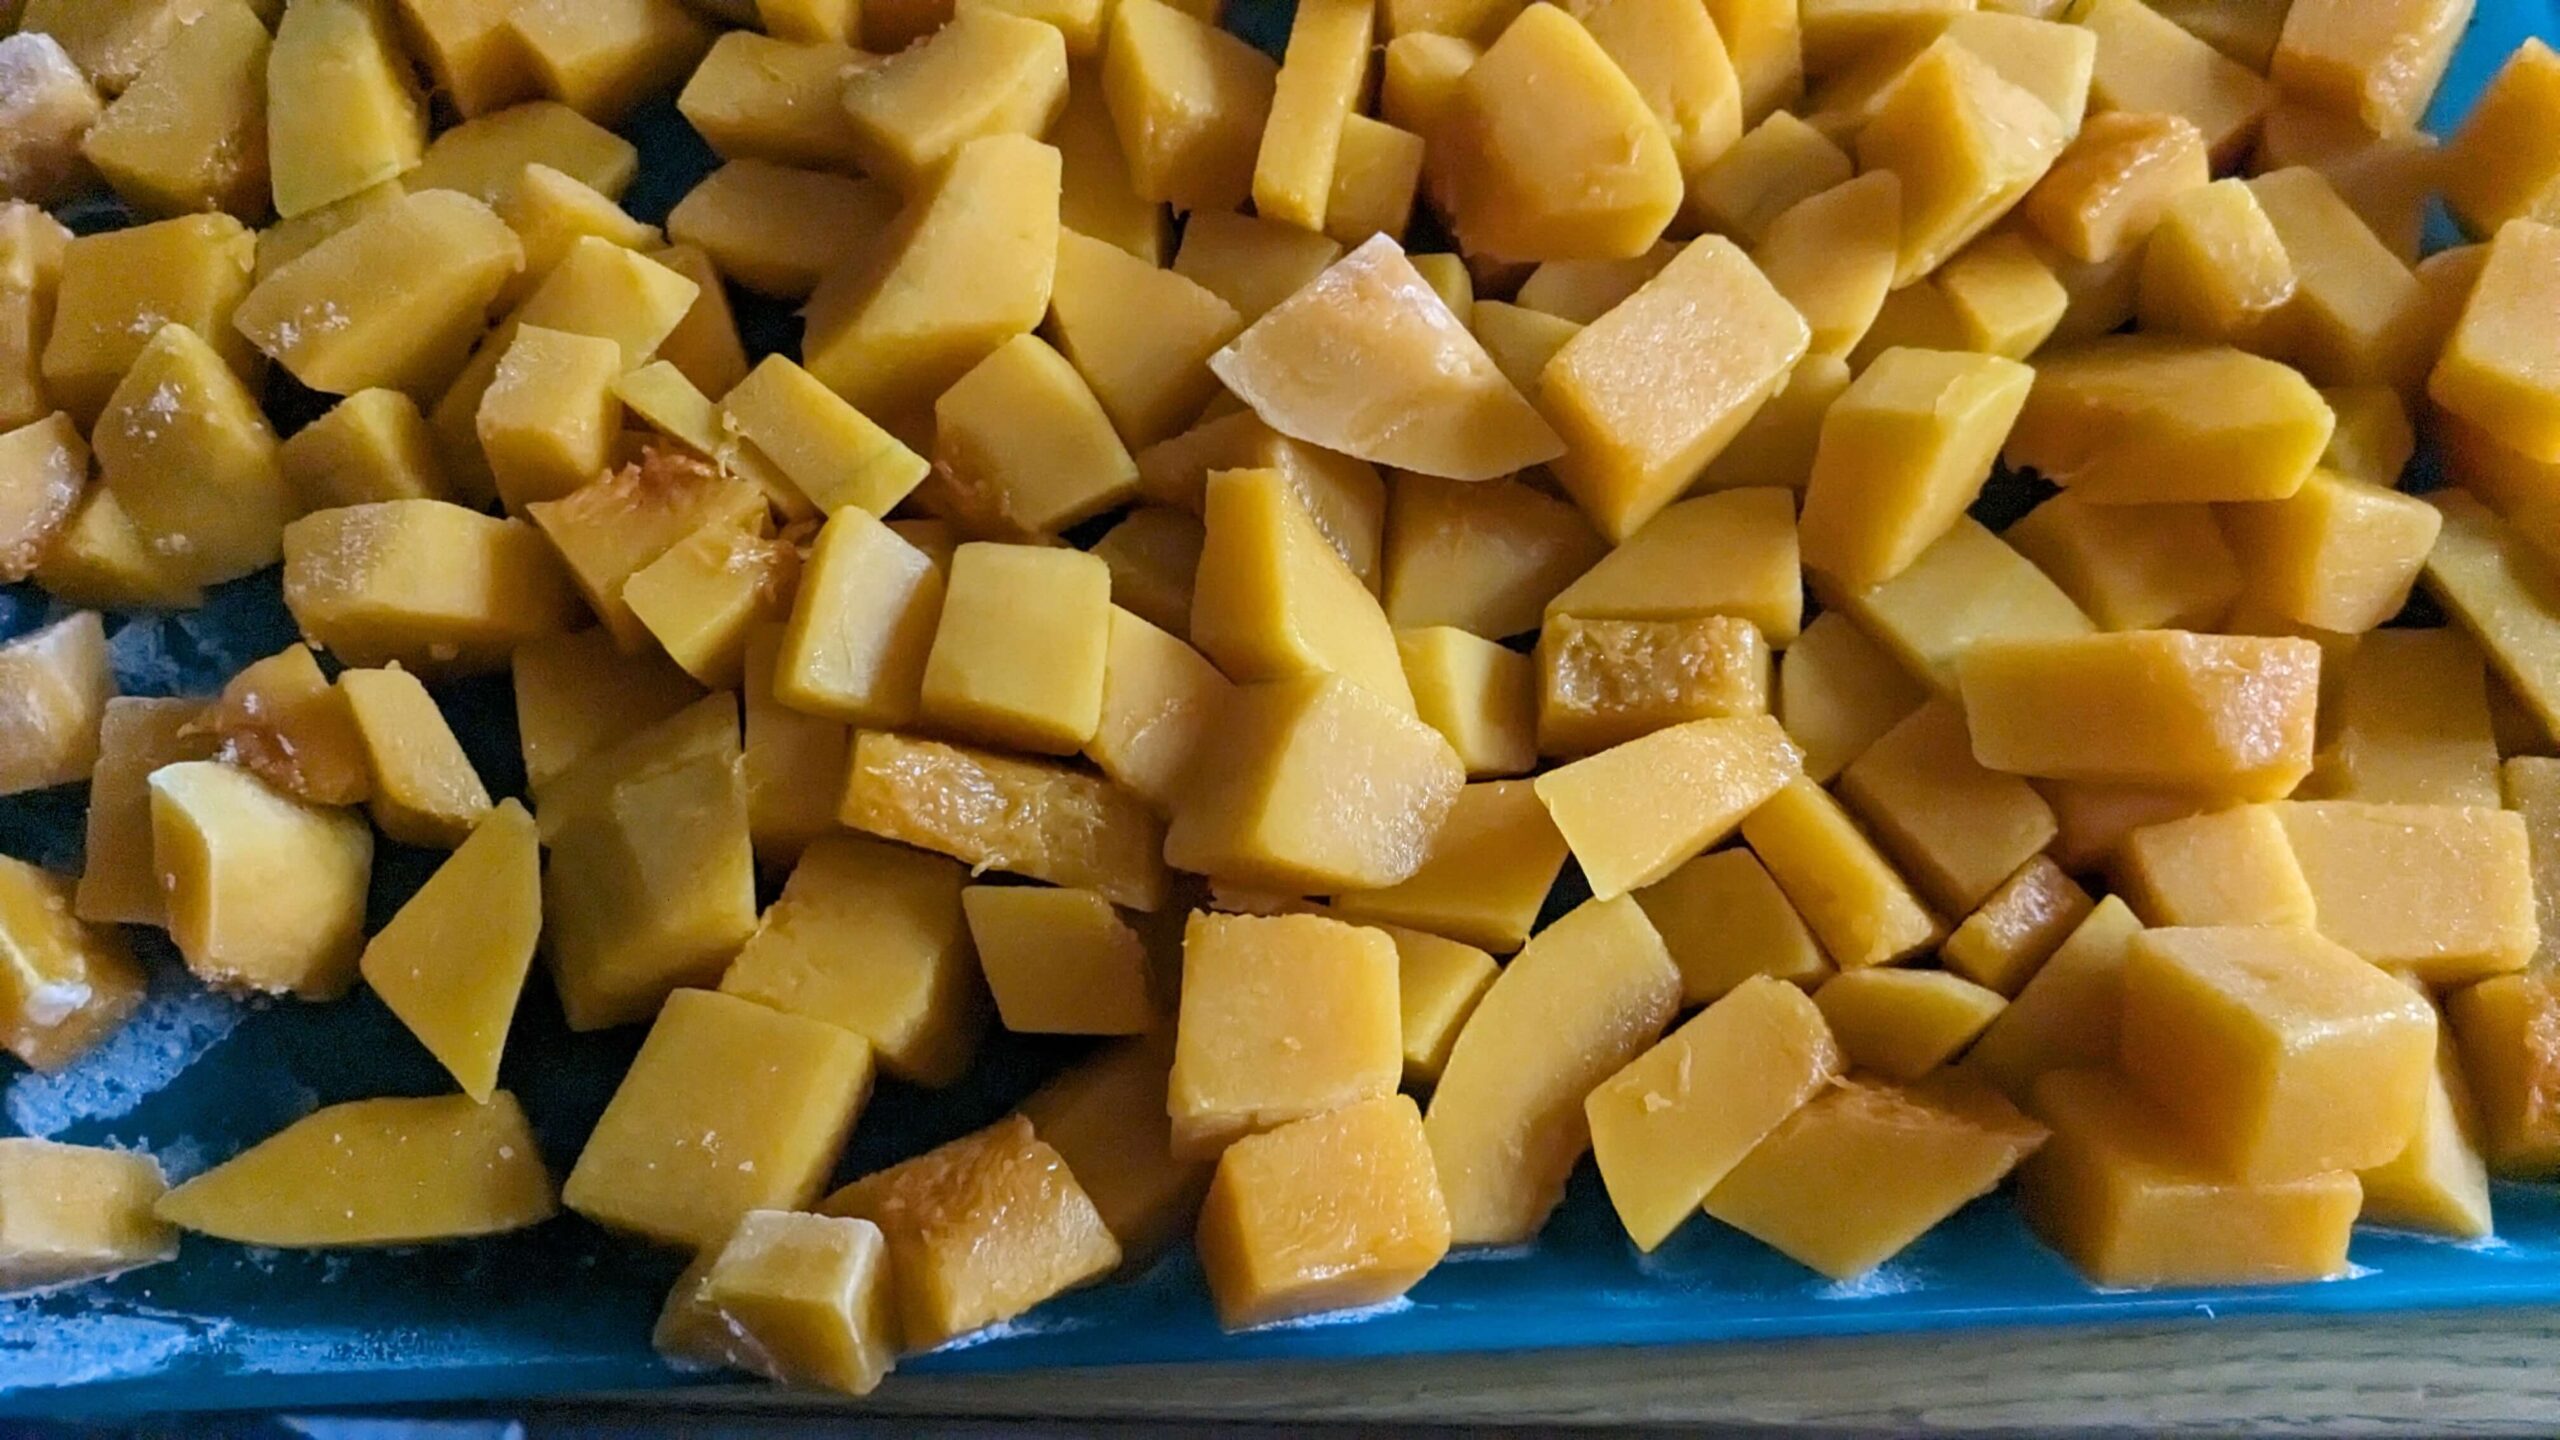
Once the three minutes were up, I used a frying spider to get all of the butternut squash out of the boiling water and into the ice bath. I stirred and tossed the squash in the ice water until it was all chilled. Then, using the same spider, I transferred the squash to a clean towel to dry off.
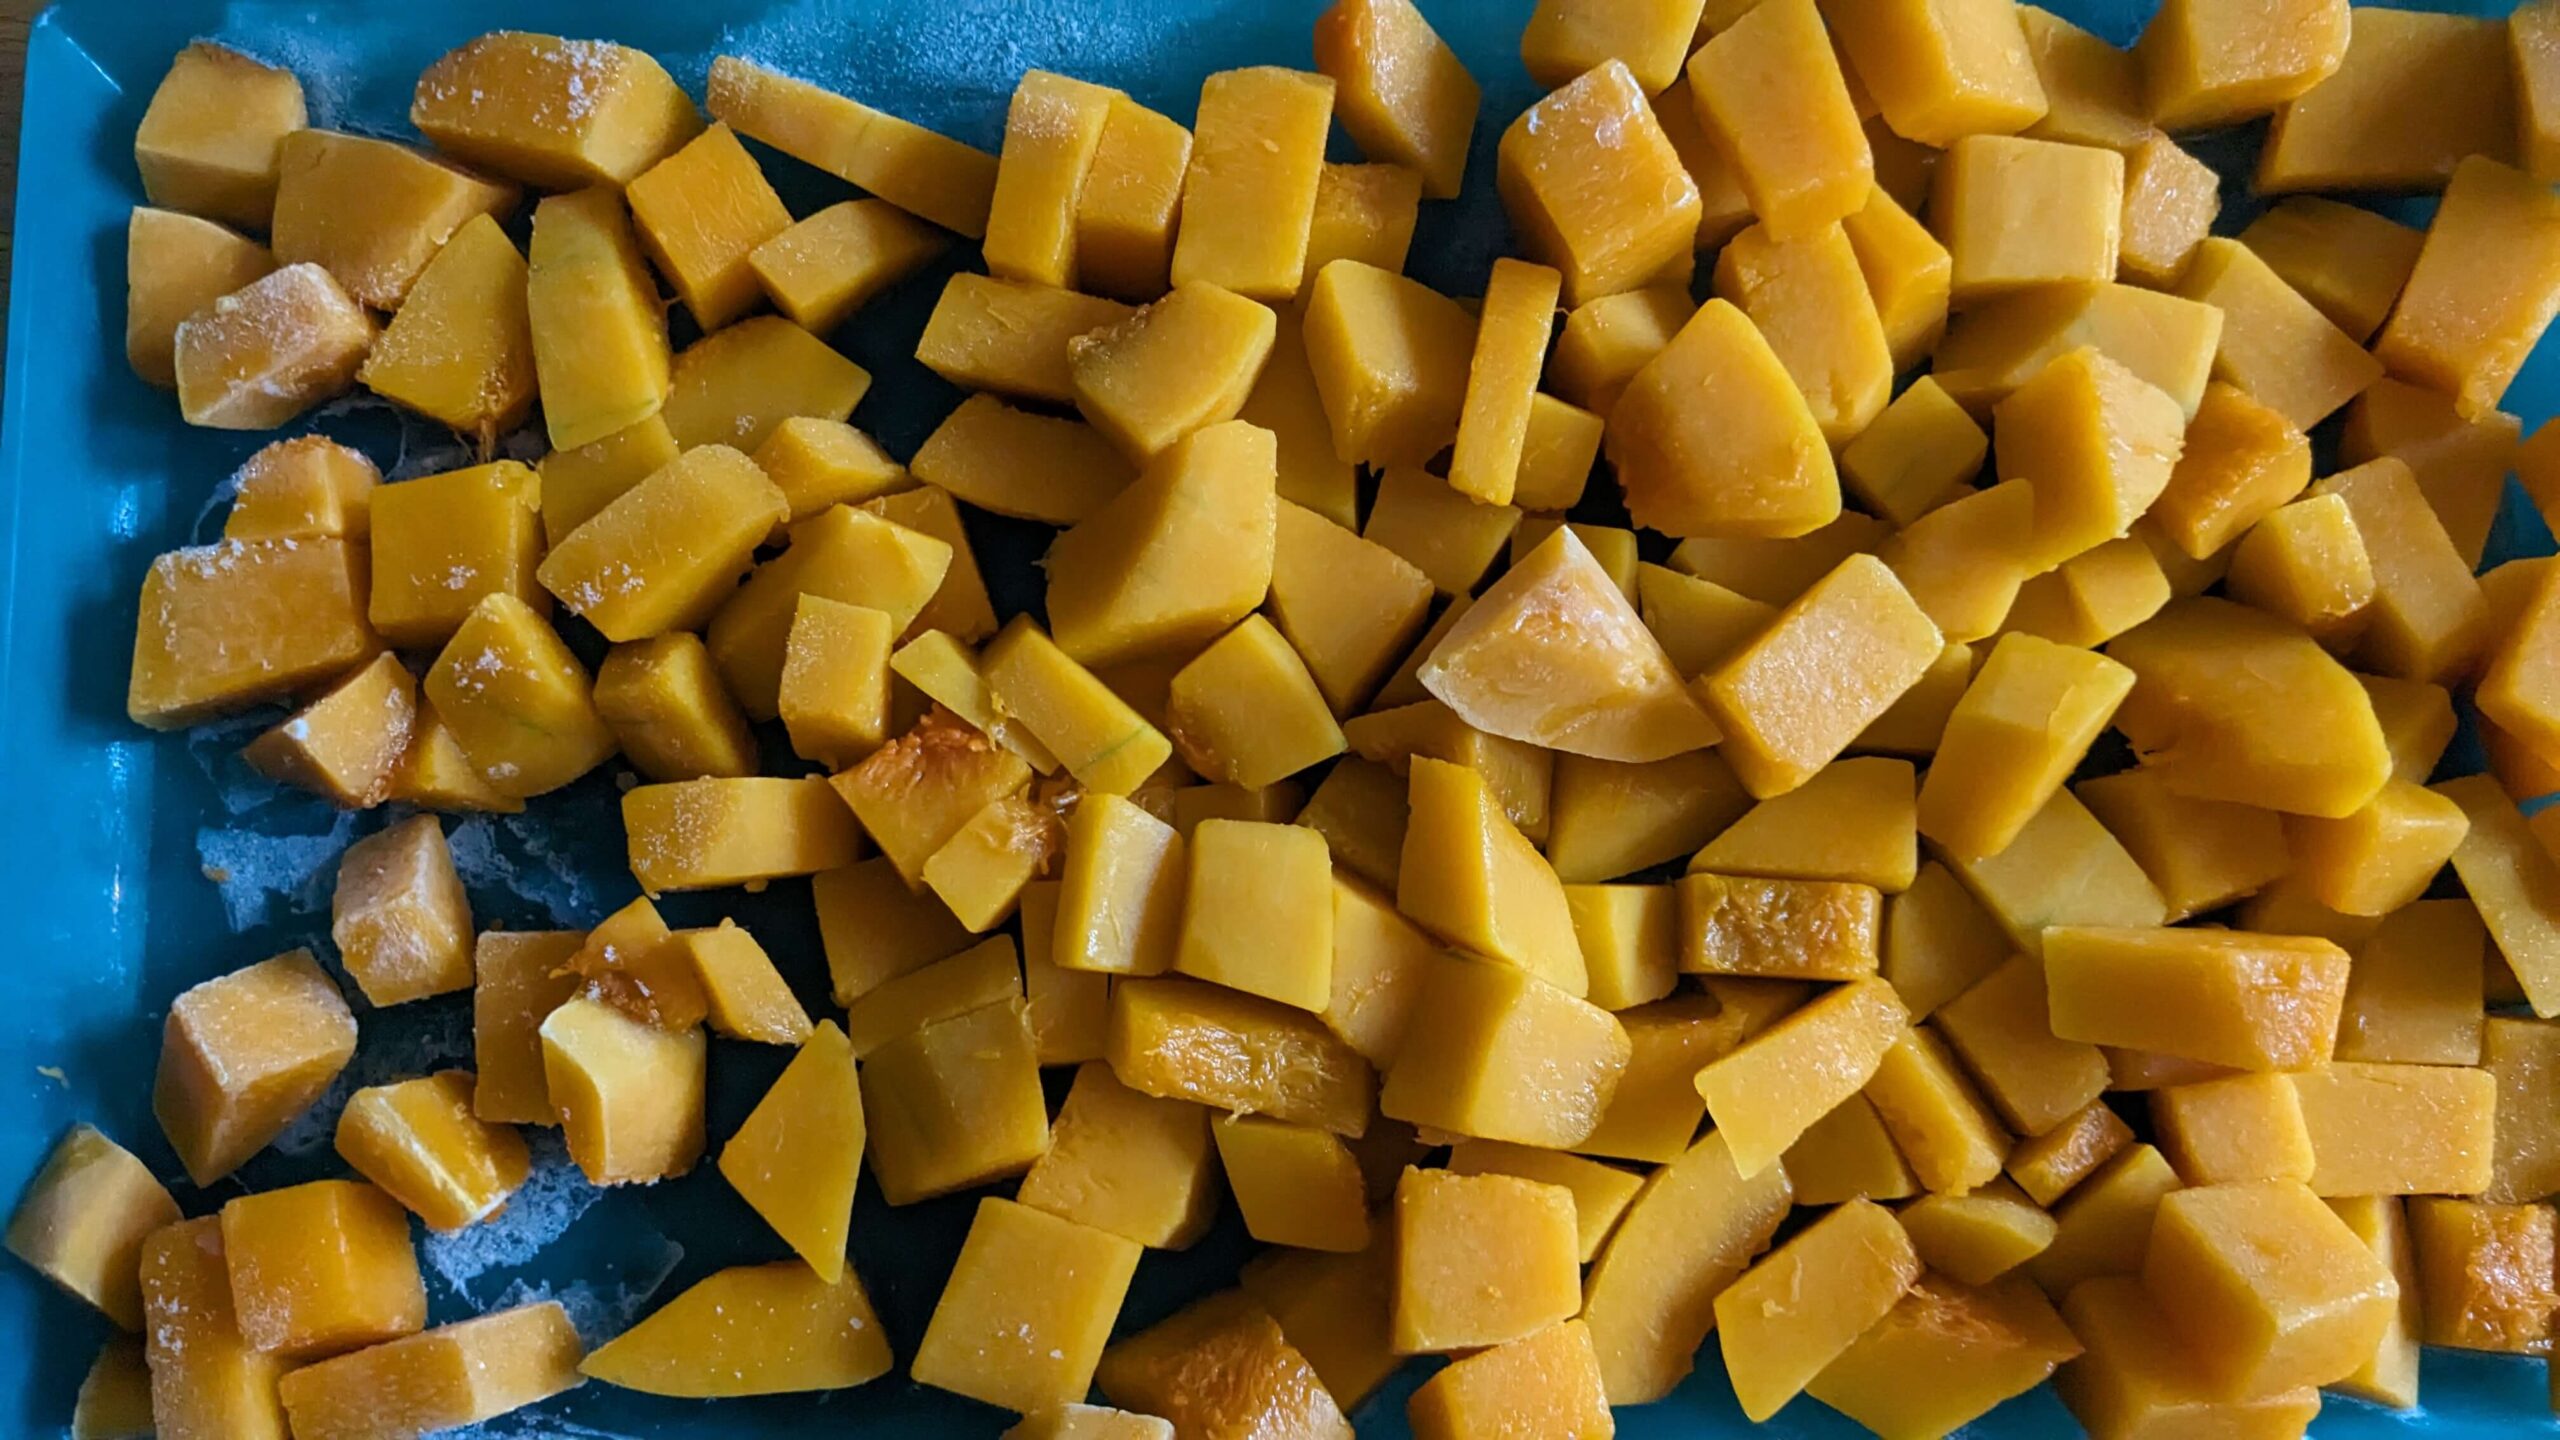
When the butternut squash had dried out, I laid the squash flat on a tray and placed it in the freezer for a few hours until it was frozen solid. I don’t have a lot of freezer space so this is the step that takes the longest for me because I currently only have space for one tray of butternut squash to freeze at a time.
I filled a labeled freezer gallon bag with the squash once the tray was frozen. After squeezing out as much air as possible, I then placed the bag back in the freezer.
This process was repeated until there was no squash left. I preserved nine squash and we are thrilled to have butternut squash for the coming months. The nine squash (of varying sizes) filled up about 10 1-gallon freezer ziplock bags. I’m excited to try some new recipes and reuse some of our favorites. Do you have a favorite butternut squash recipe? If so, let me know in the comments, I’d love to try some new ones!
Save it for later!