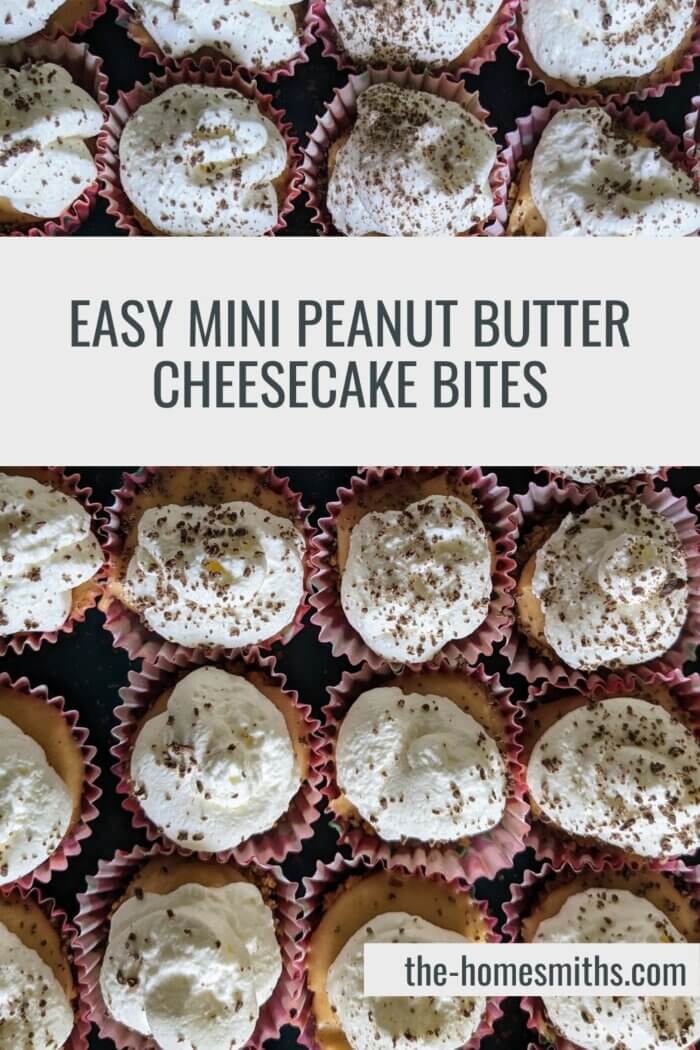
Mini peanut butter cheesecakes require only a few ingredients and only a half hour of hands-on time to produce a large quantity of a tasty and beautiful treat that will be hard to stop eating.
I made these desserts in pie form when I went to a friend’s house, and we loved it so much but felt that it was a little too heavy. The slices weren’t easy to cut and serve and it felt like too much pie. I made it again just a few days later but instead of a pie, I turned it into mini no-bake peanut butter cheesecake bites. It was the best decision I could have made for this dessert. People who wanted to try it ended up eating three or four and thought it was the perfect balance of sweet and salty.

How many mini cheesecakes does this recipe make?
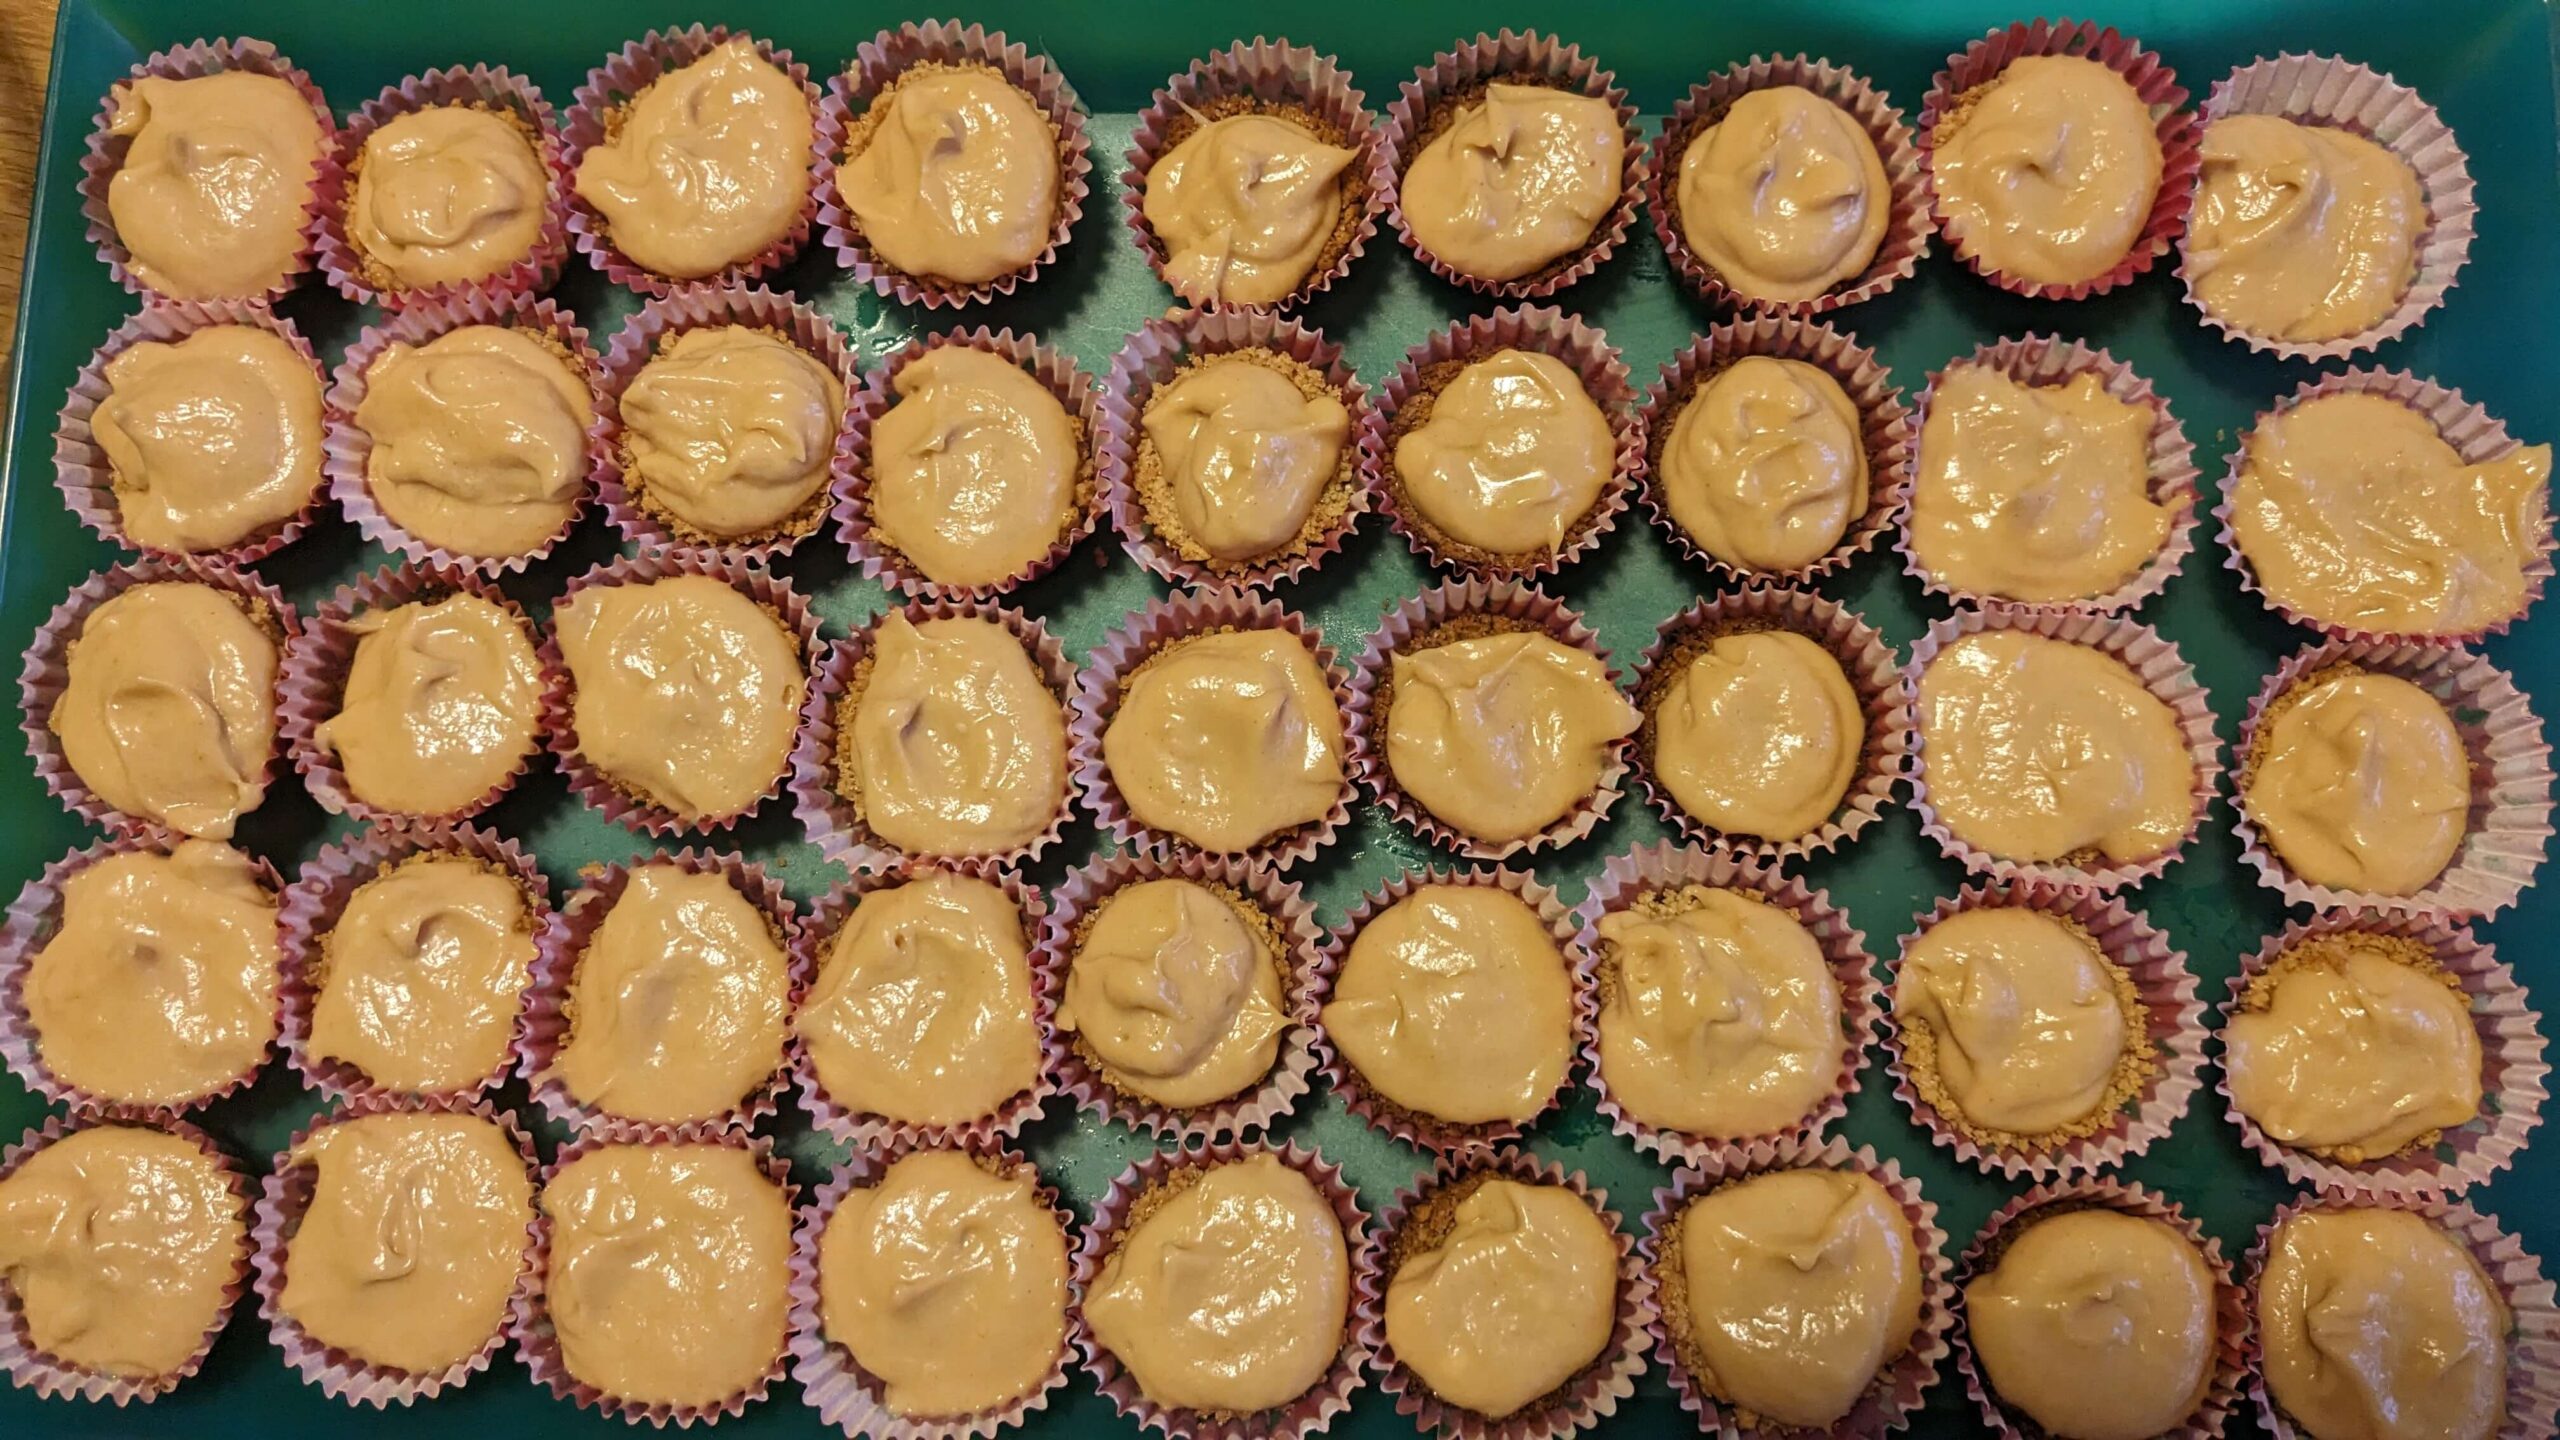
Using a mini muffin tin like this one, I made 60 mini cheesecakes.
How long does it take to make mini cheesecakes?
These peanut butter cheesecakes require 8 minutes to bake the crust, and 10 minutes to mix together ingredients. It takes about 10 more minutes to fill the crust. Your hands-on time for this recipe is less than a half hour. I then let it set in the fridge for at least an hour.
Do you need any specialty supplies?
You can whisk all the ingredients by hand or using an electric beater or food processor, which is what I did. Additionally, I use mini cupcake liners to make it much easier to prepare and serve.
What should you top peanut butter cheesecake with?
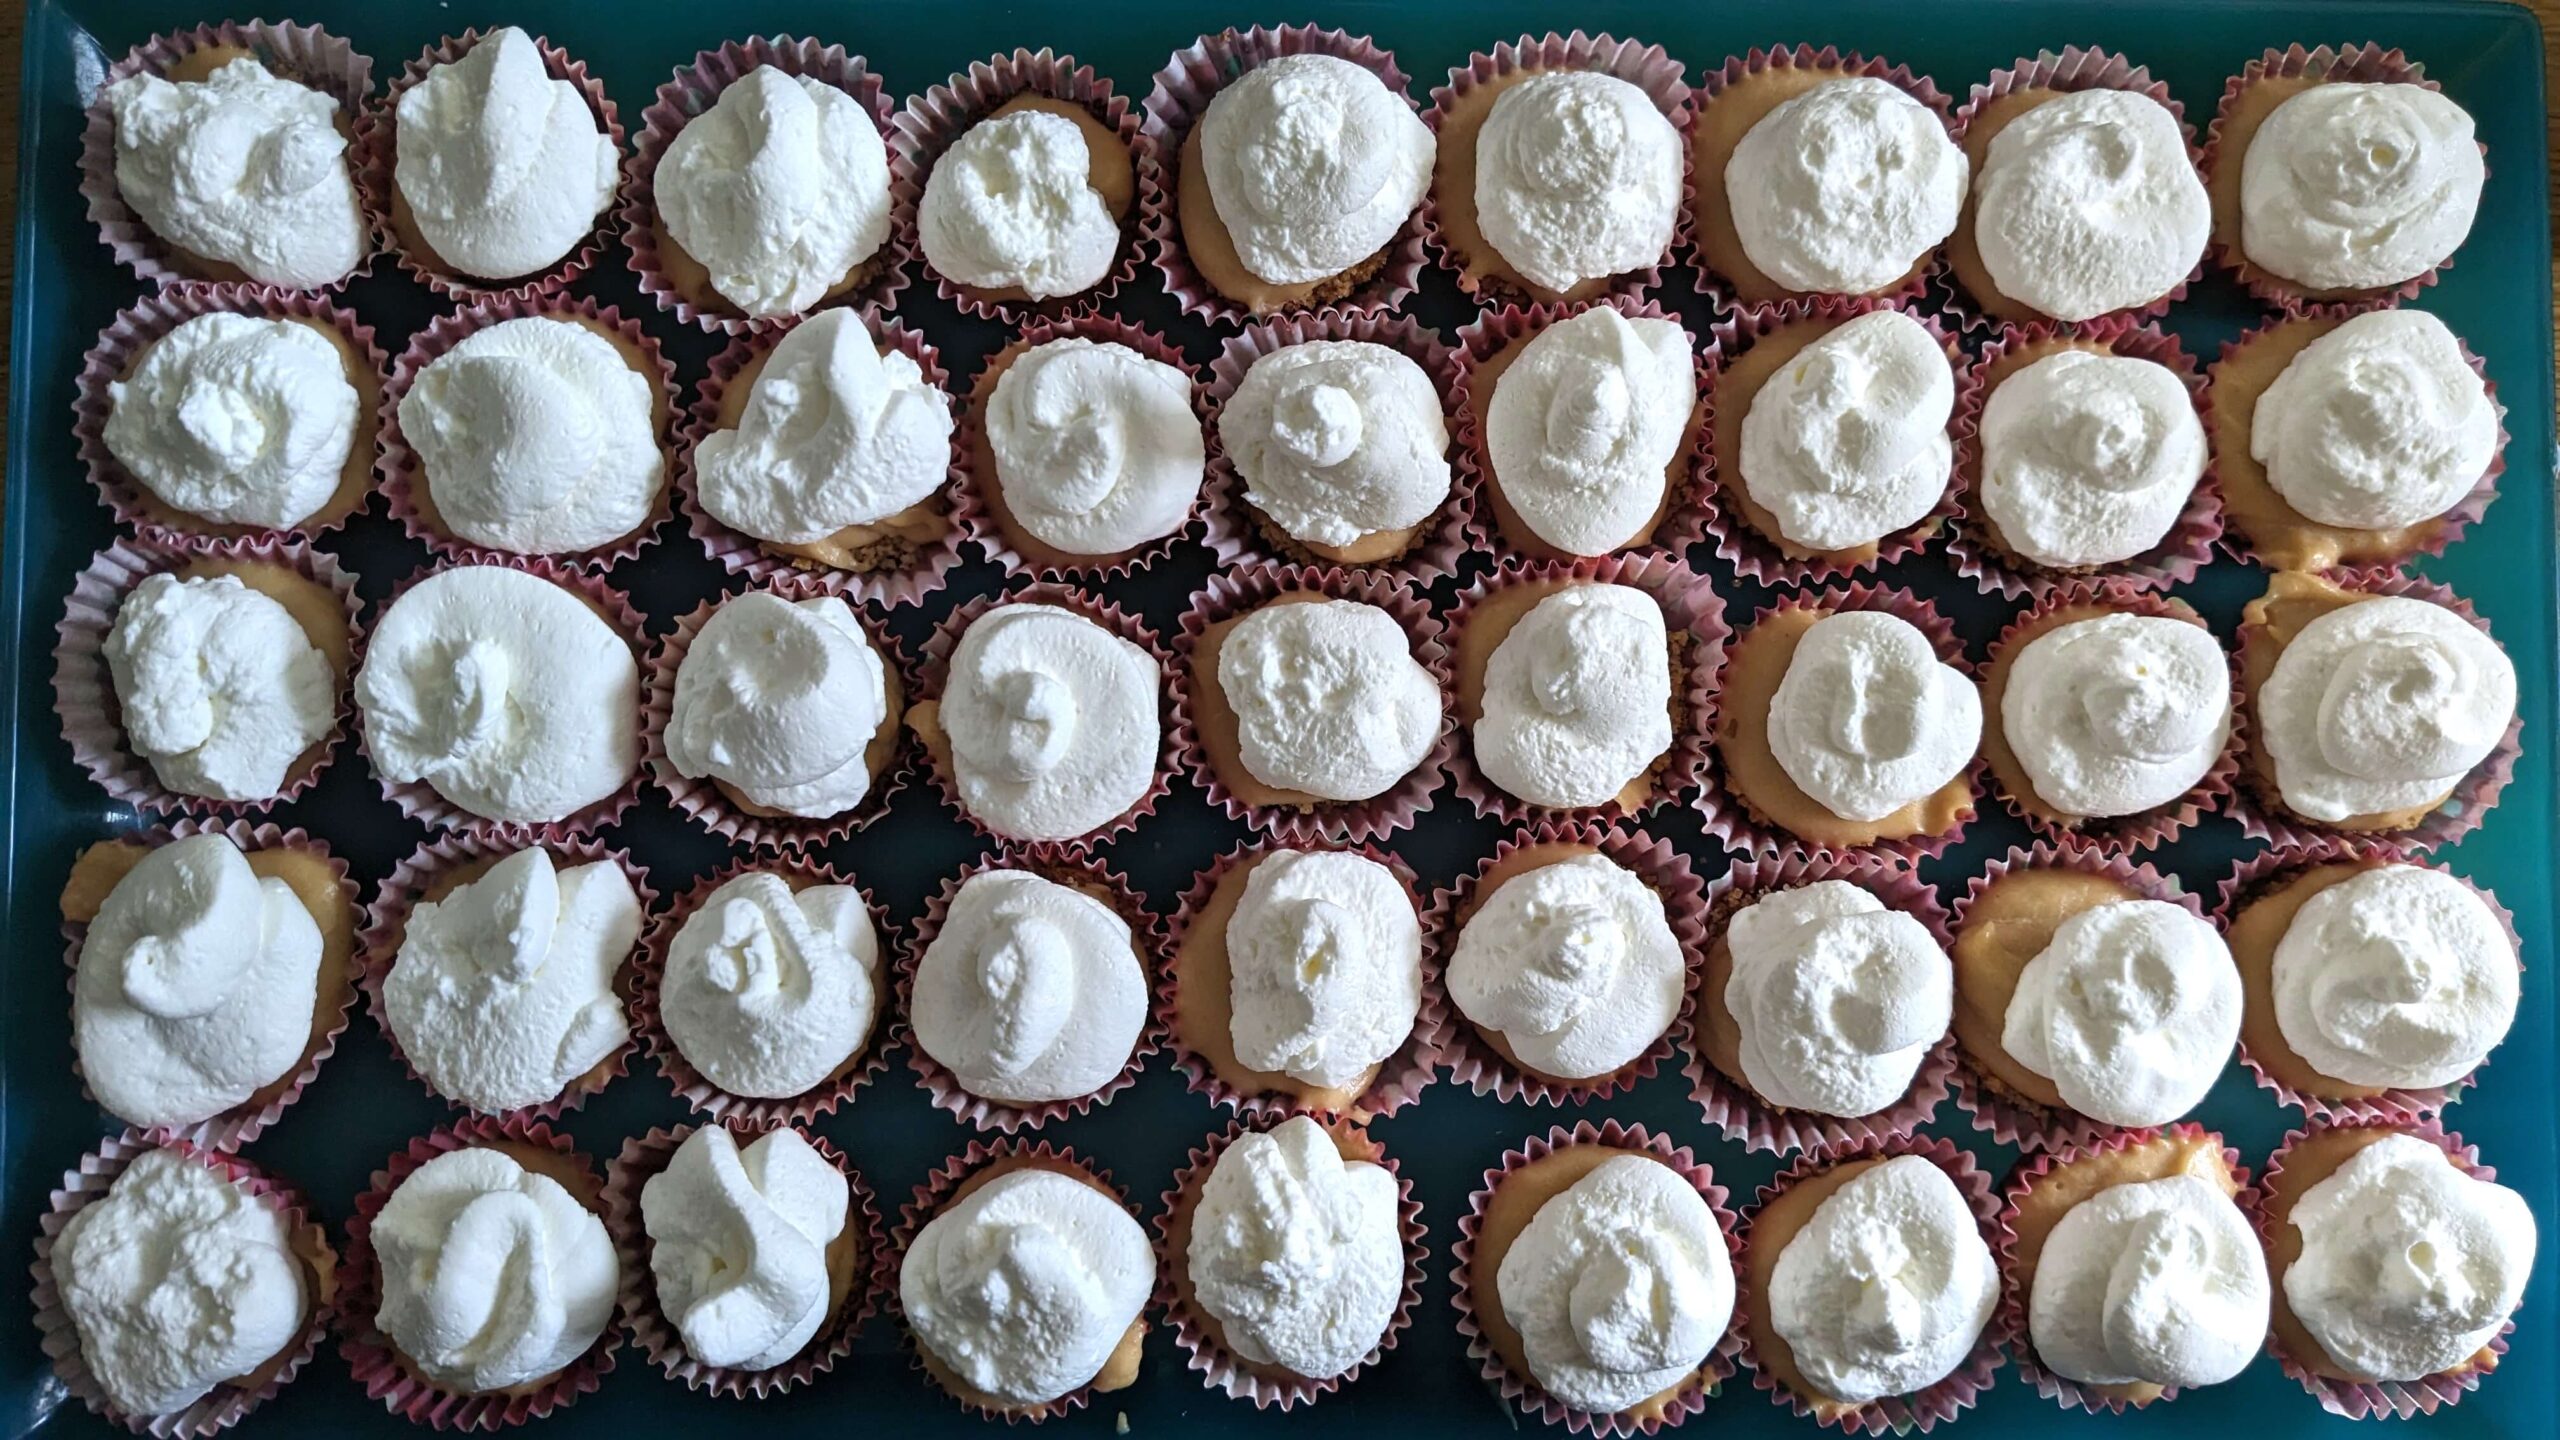
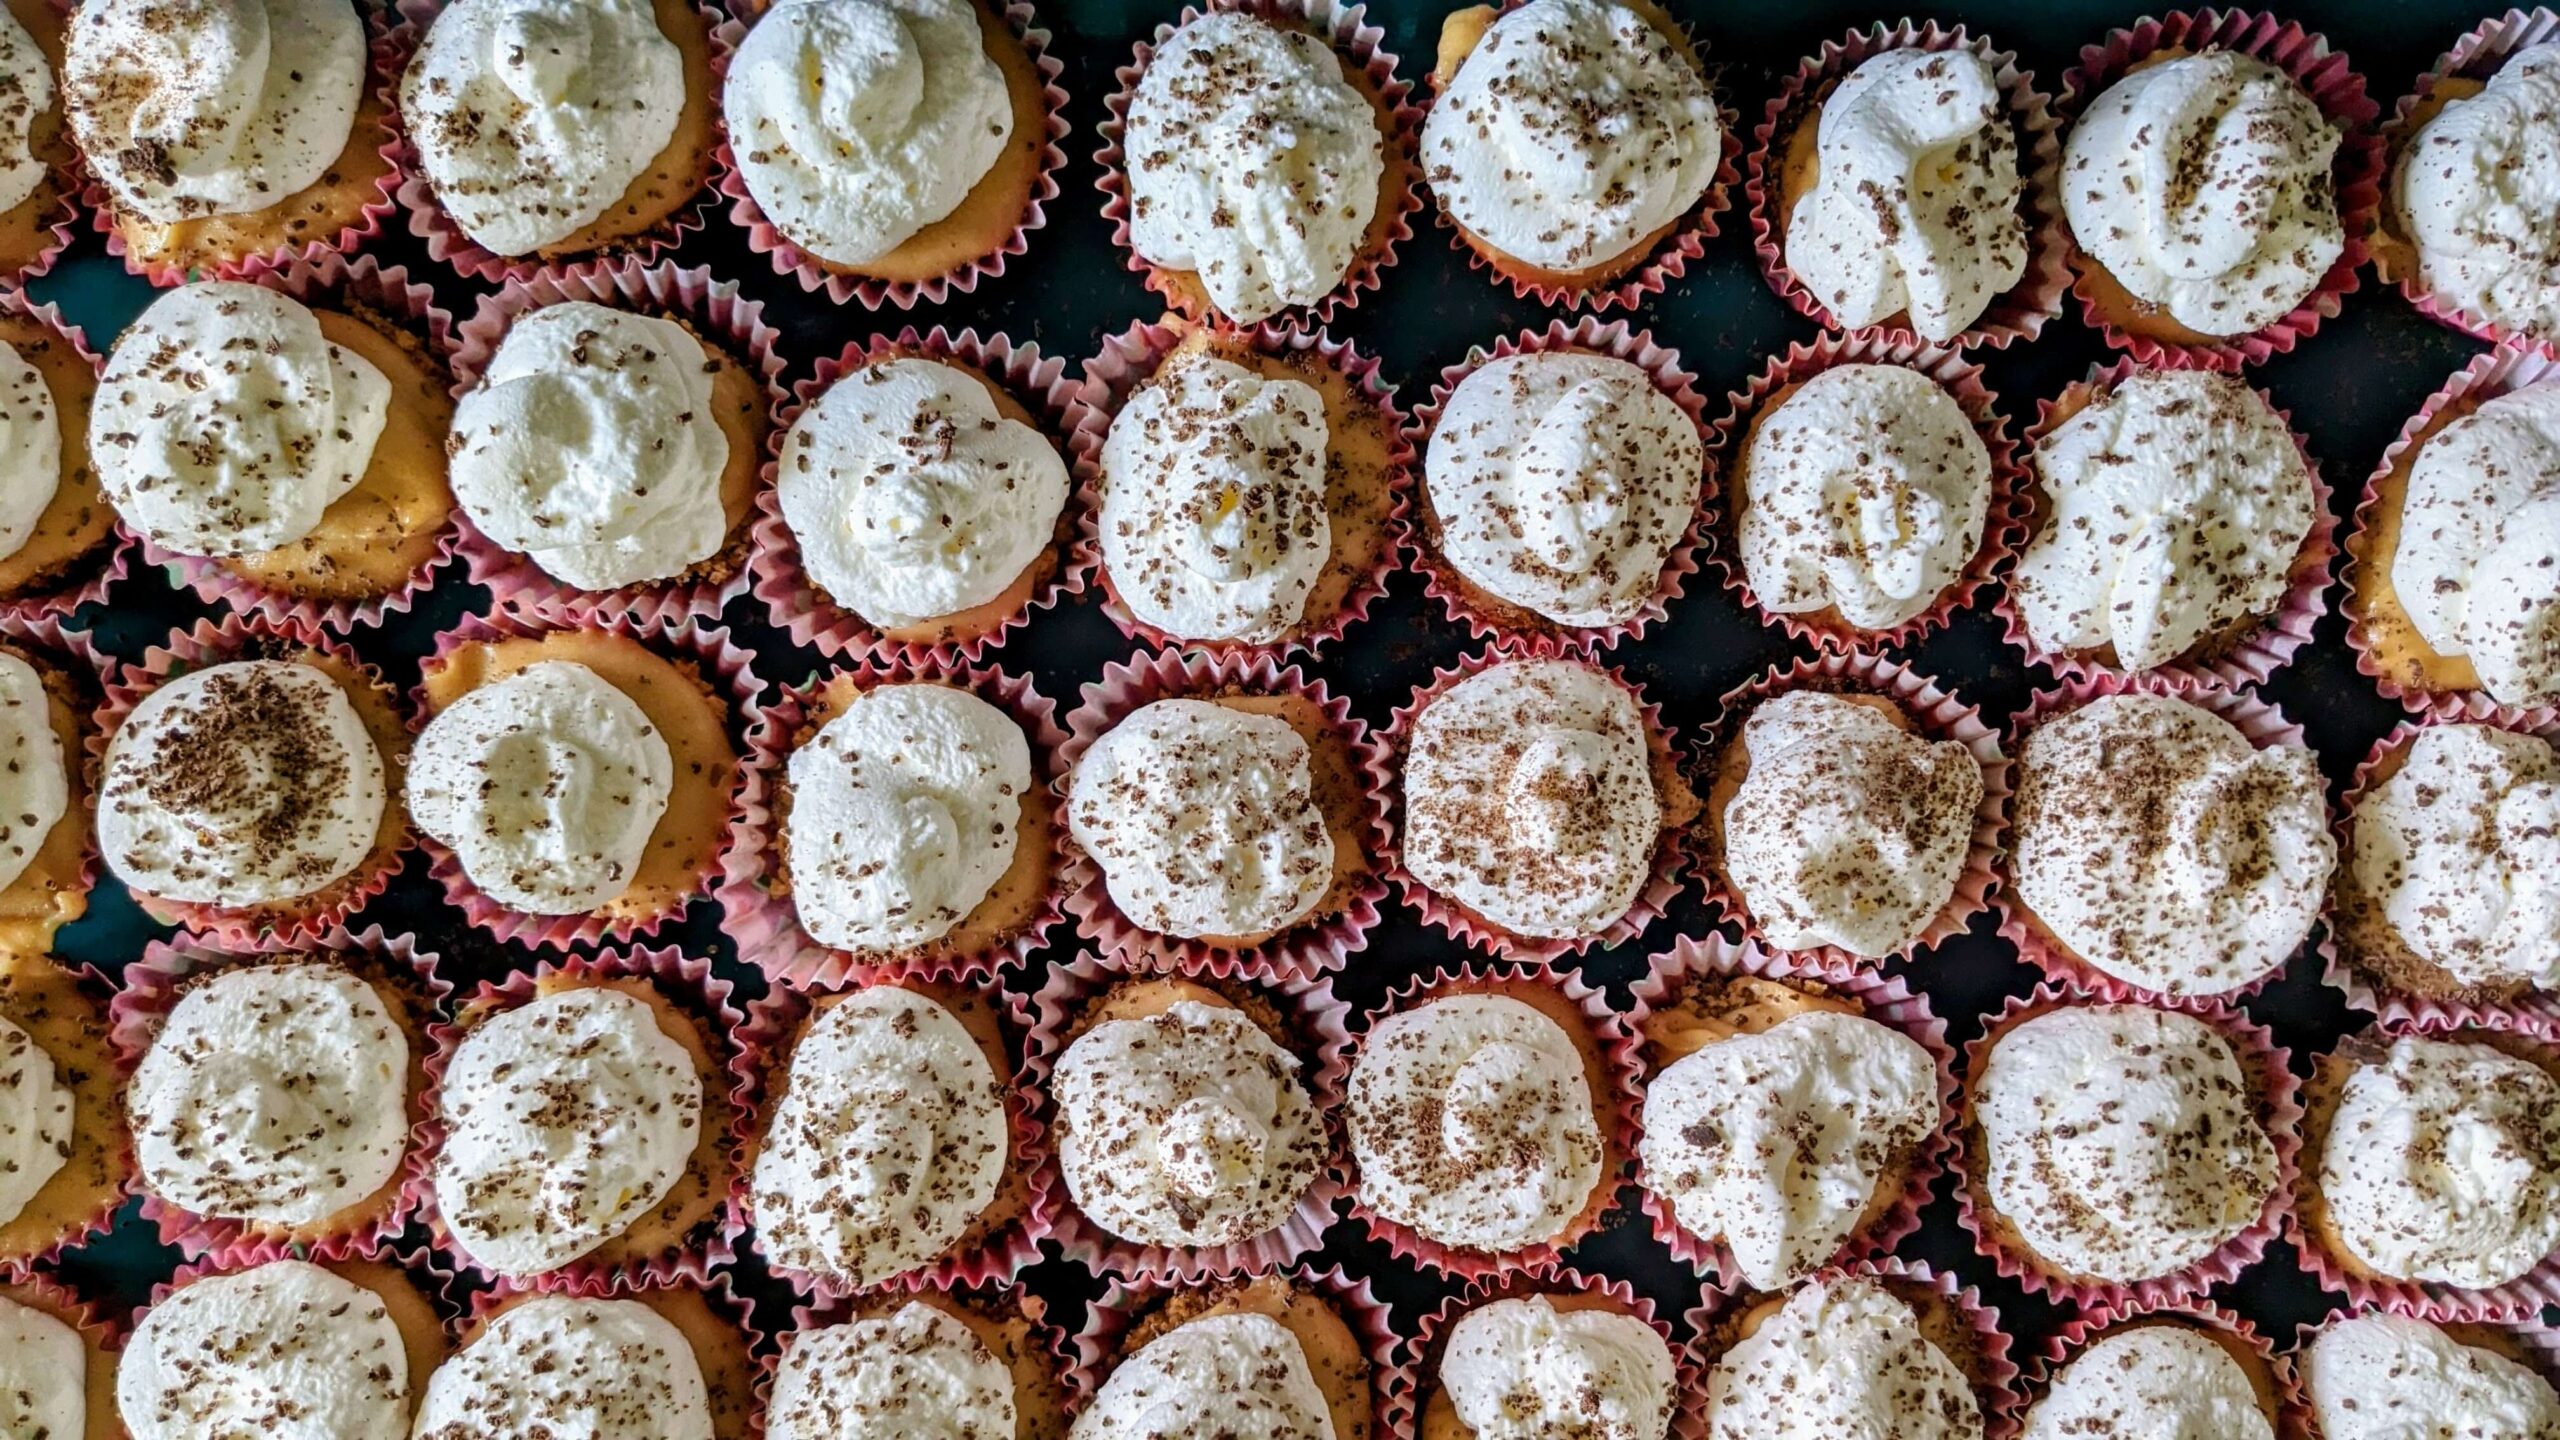
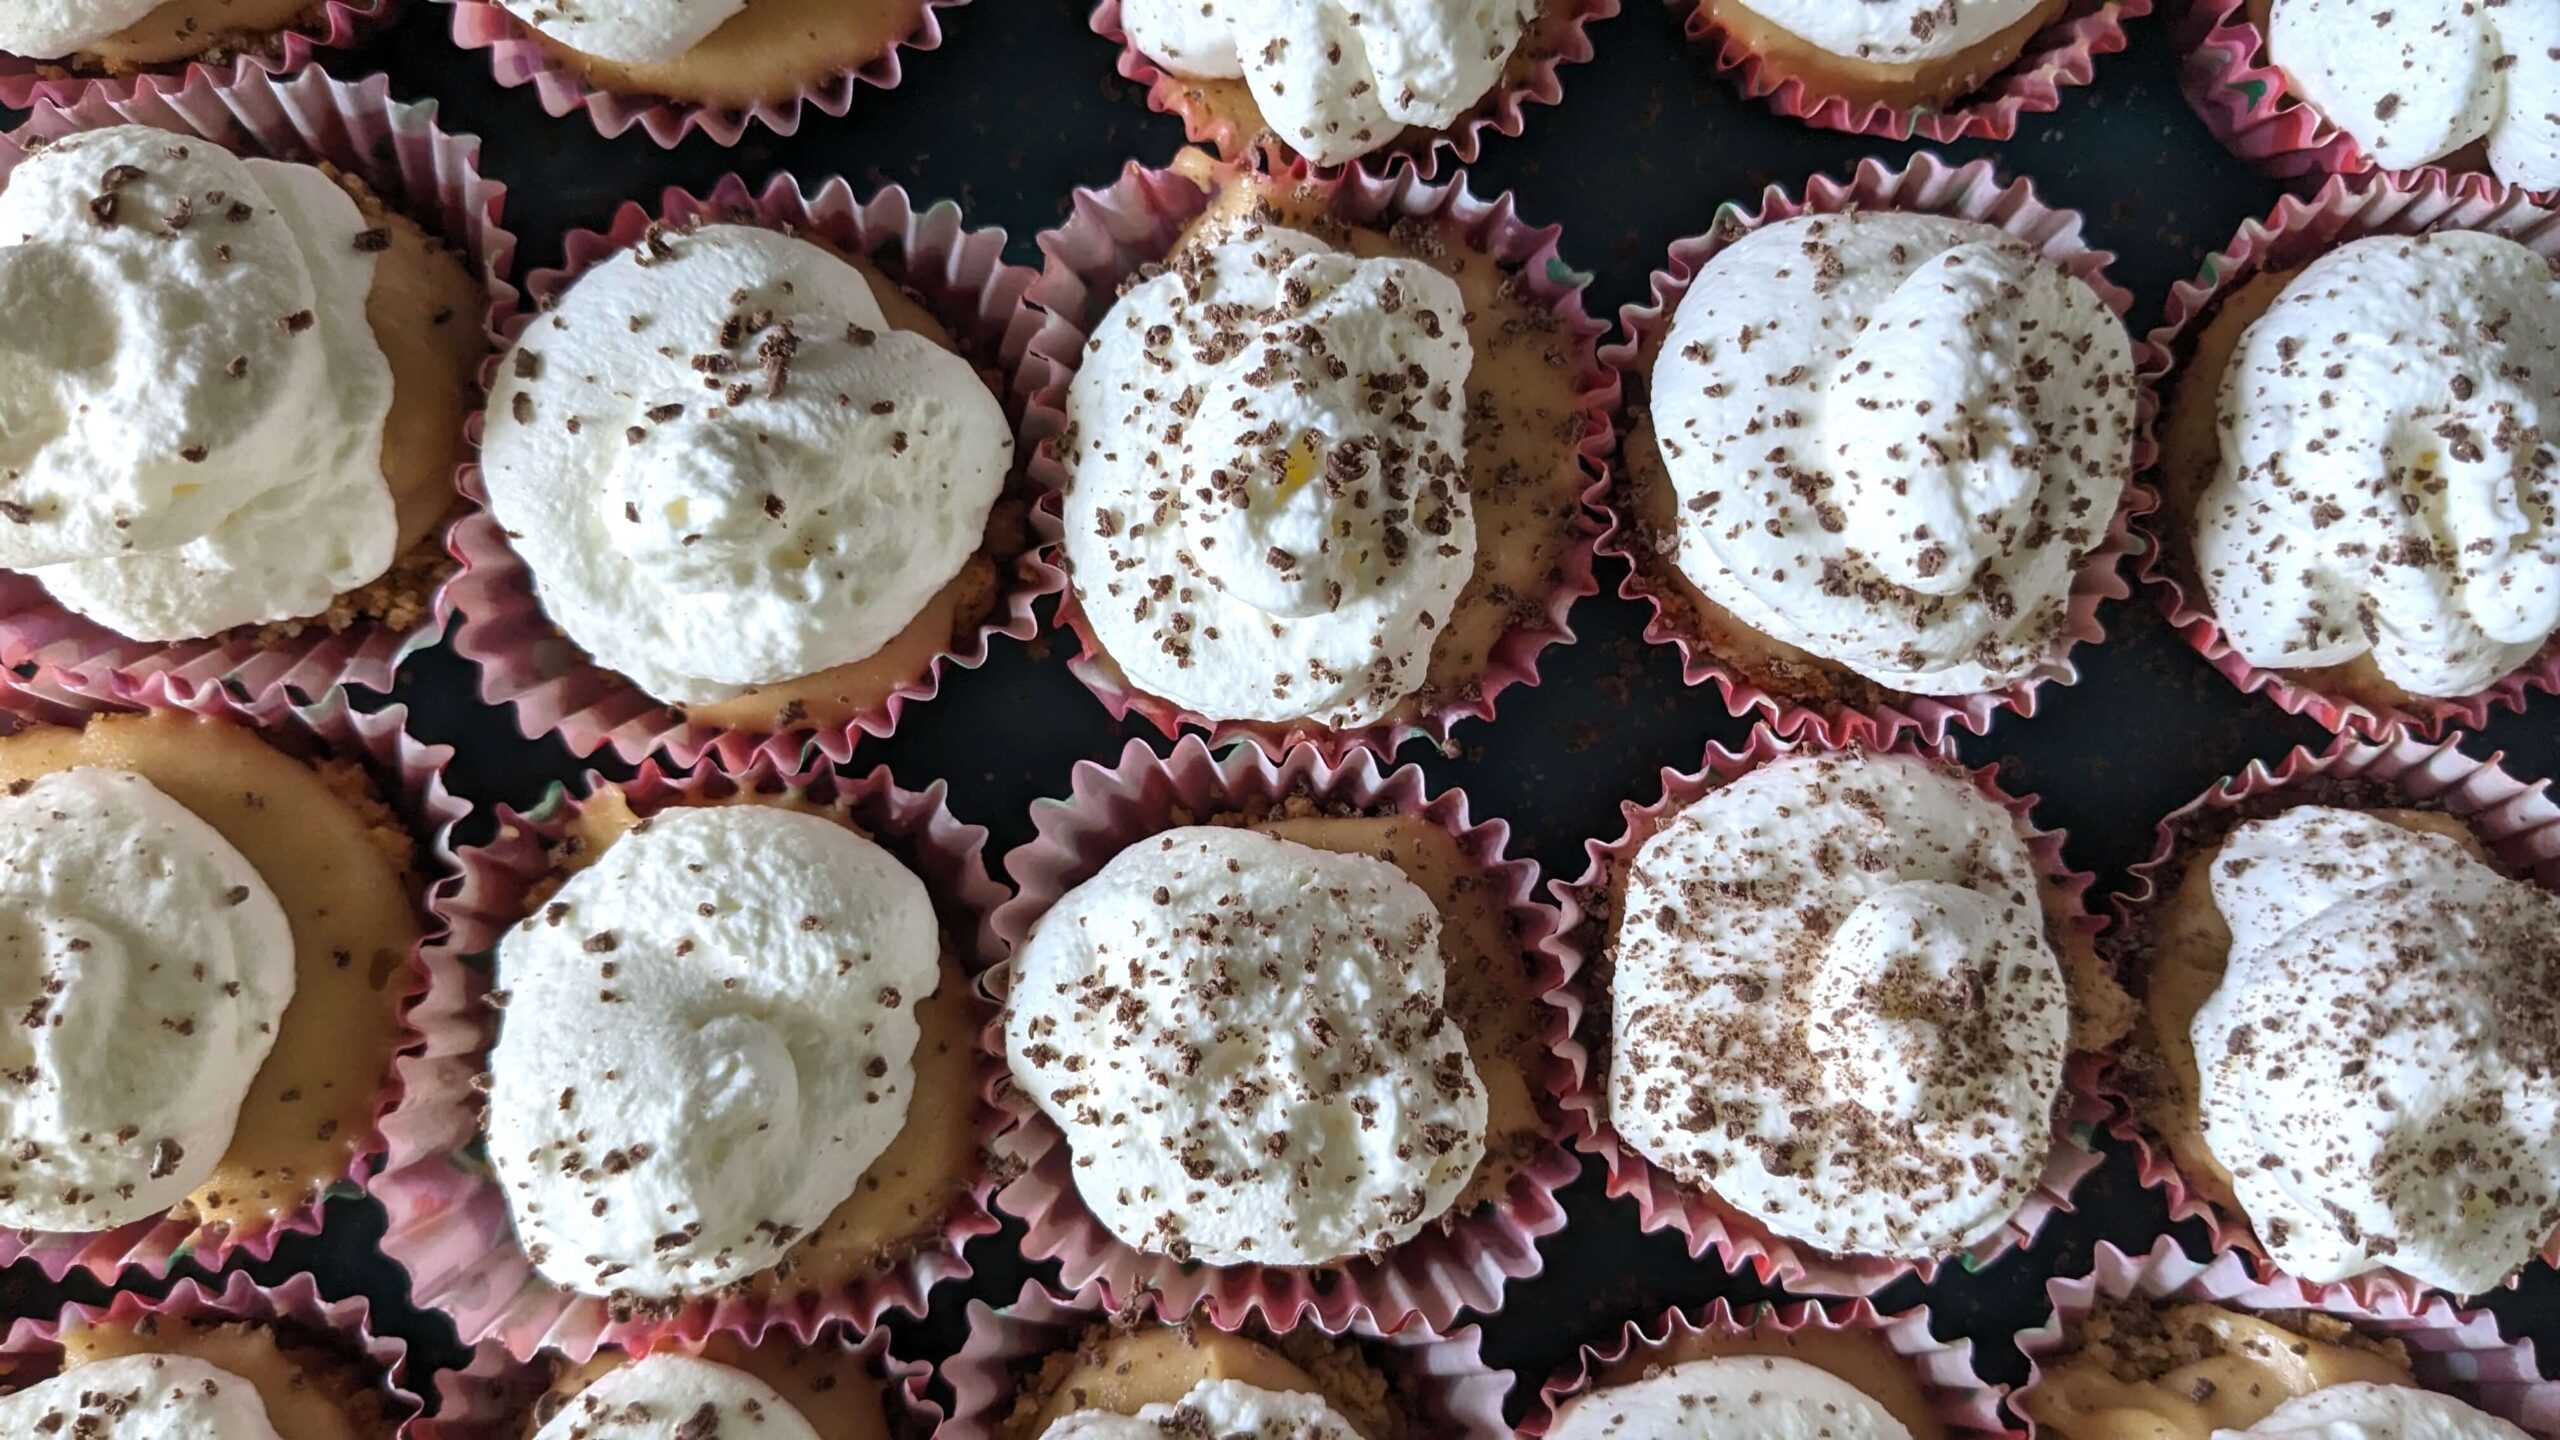
I made homemade whipped cream, but you can top it with cool whip or whipped cream from a can. For visual interest I took some chocolate wafers and shaved them in a bowl, sprinkling them on top of the cheesecakes from a distance. You could put some mini chocolate chips, peanut butter chips, chocolate syrup, or peanut butter syrup. Any of those would taste good and make the dessert even more visually appealing.
How do you make mini peanut butter cheesecakes?
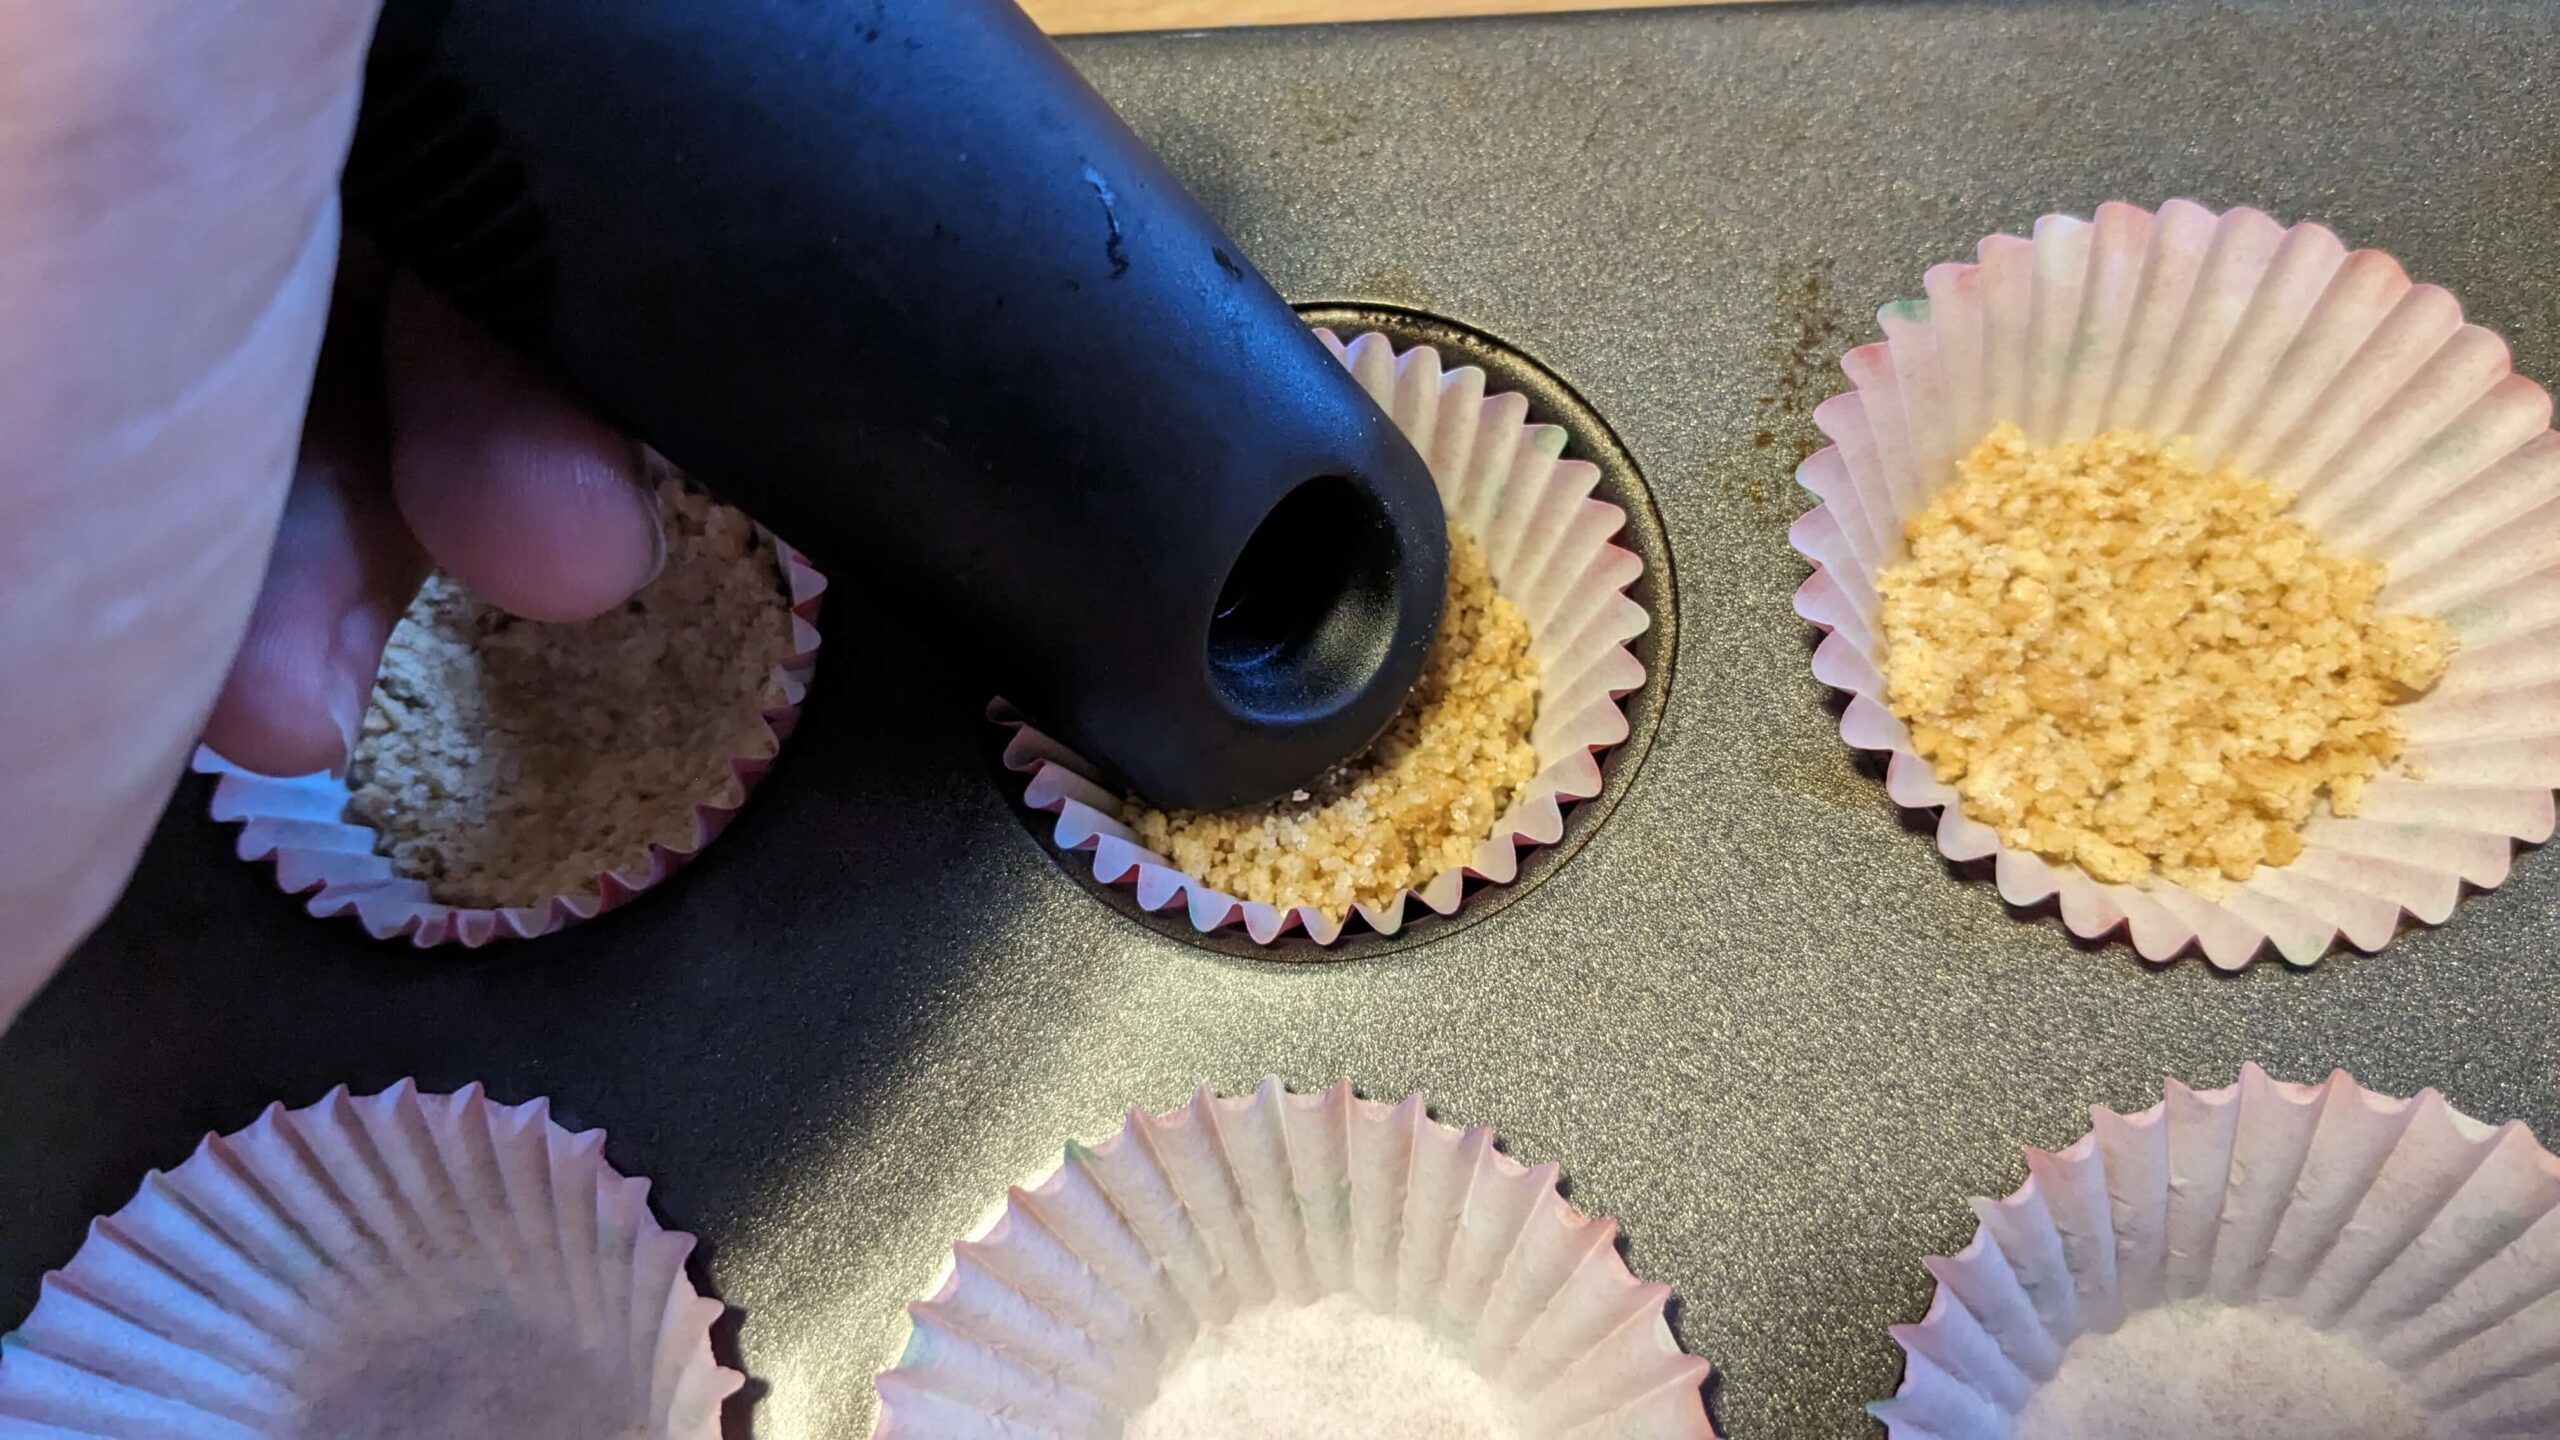
First, make the crusts. Preheat the oven to 350 degrees. Line a mini cupcake tin with mini cupcake liners.
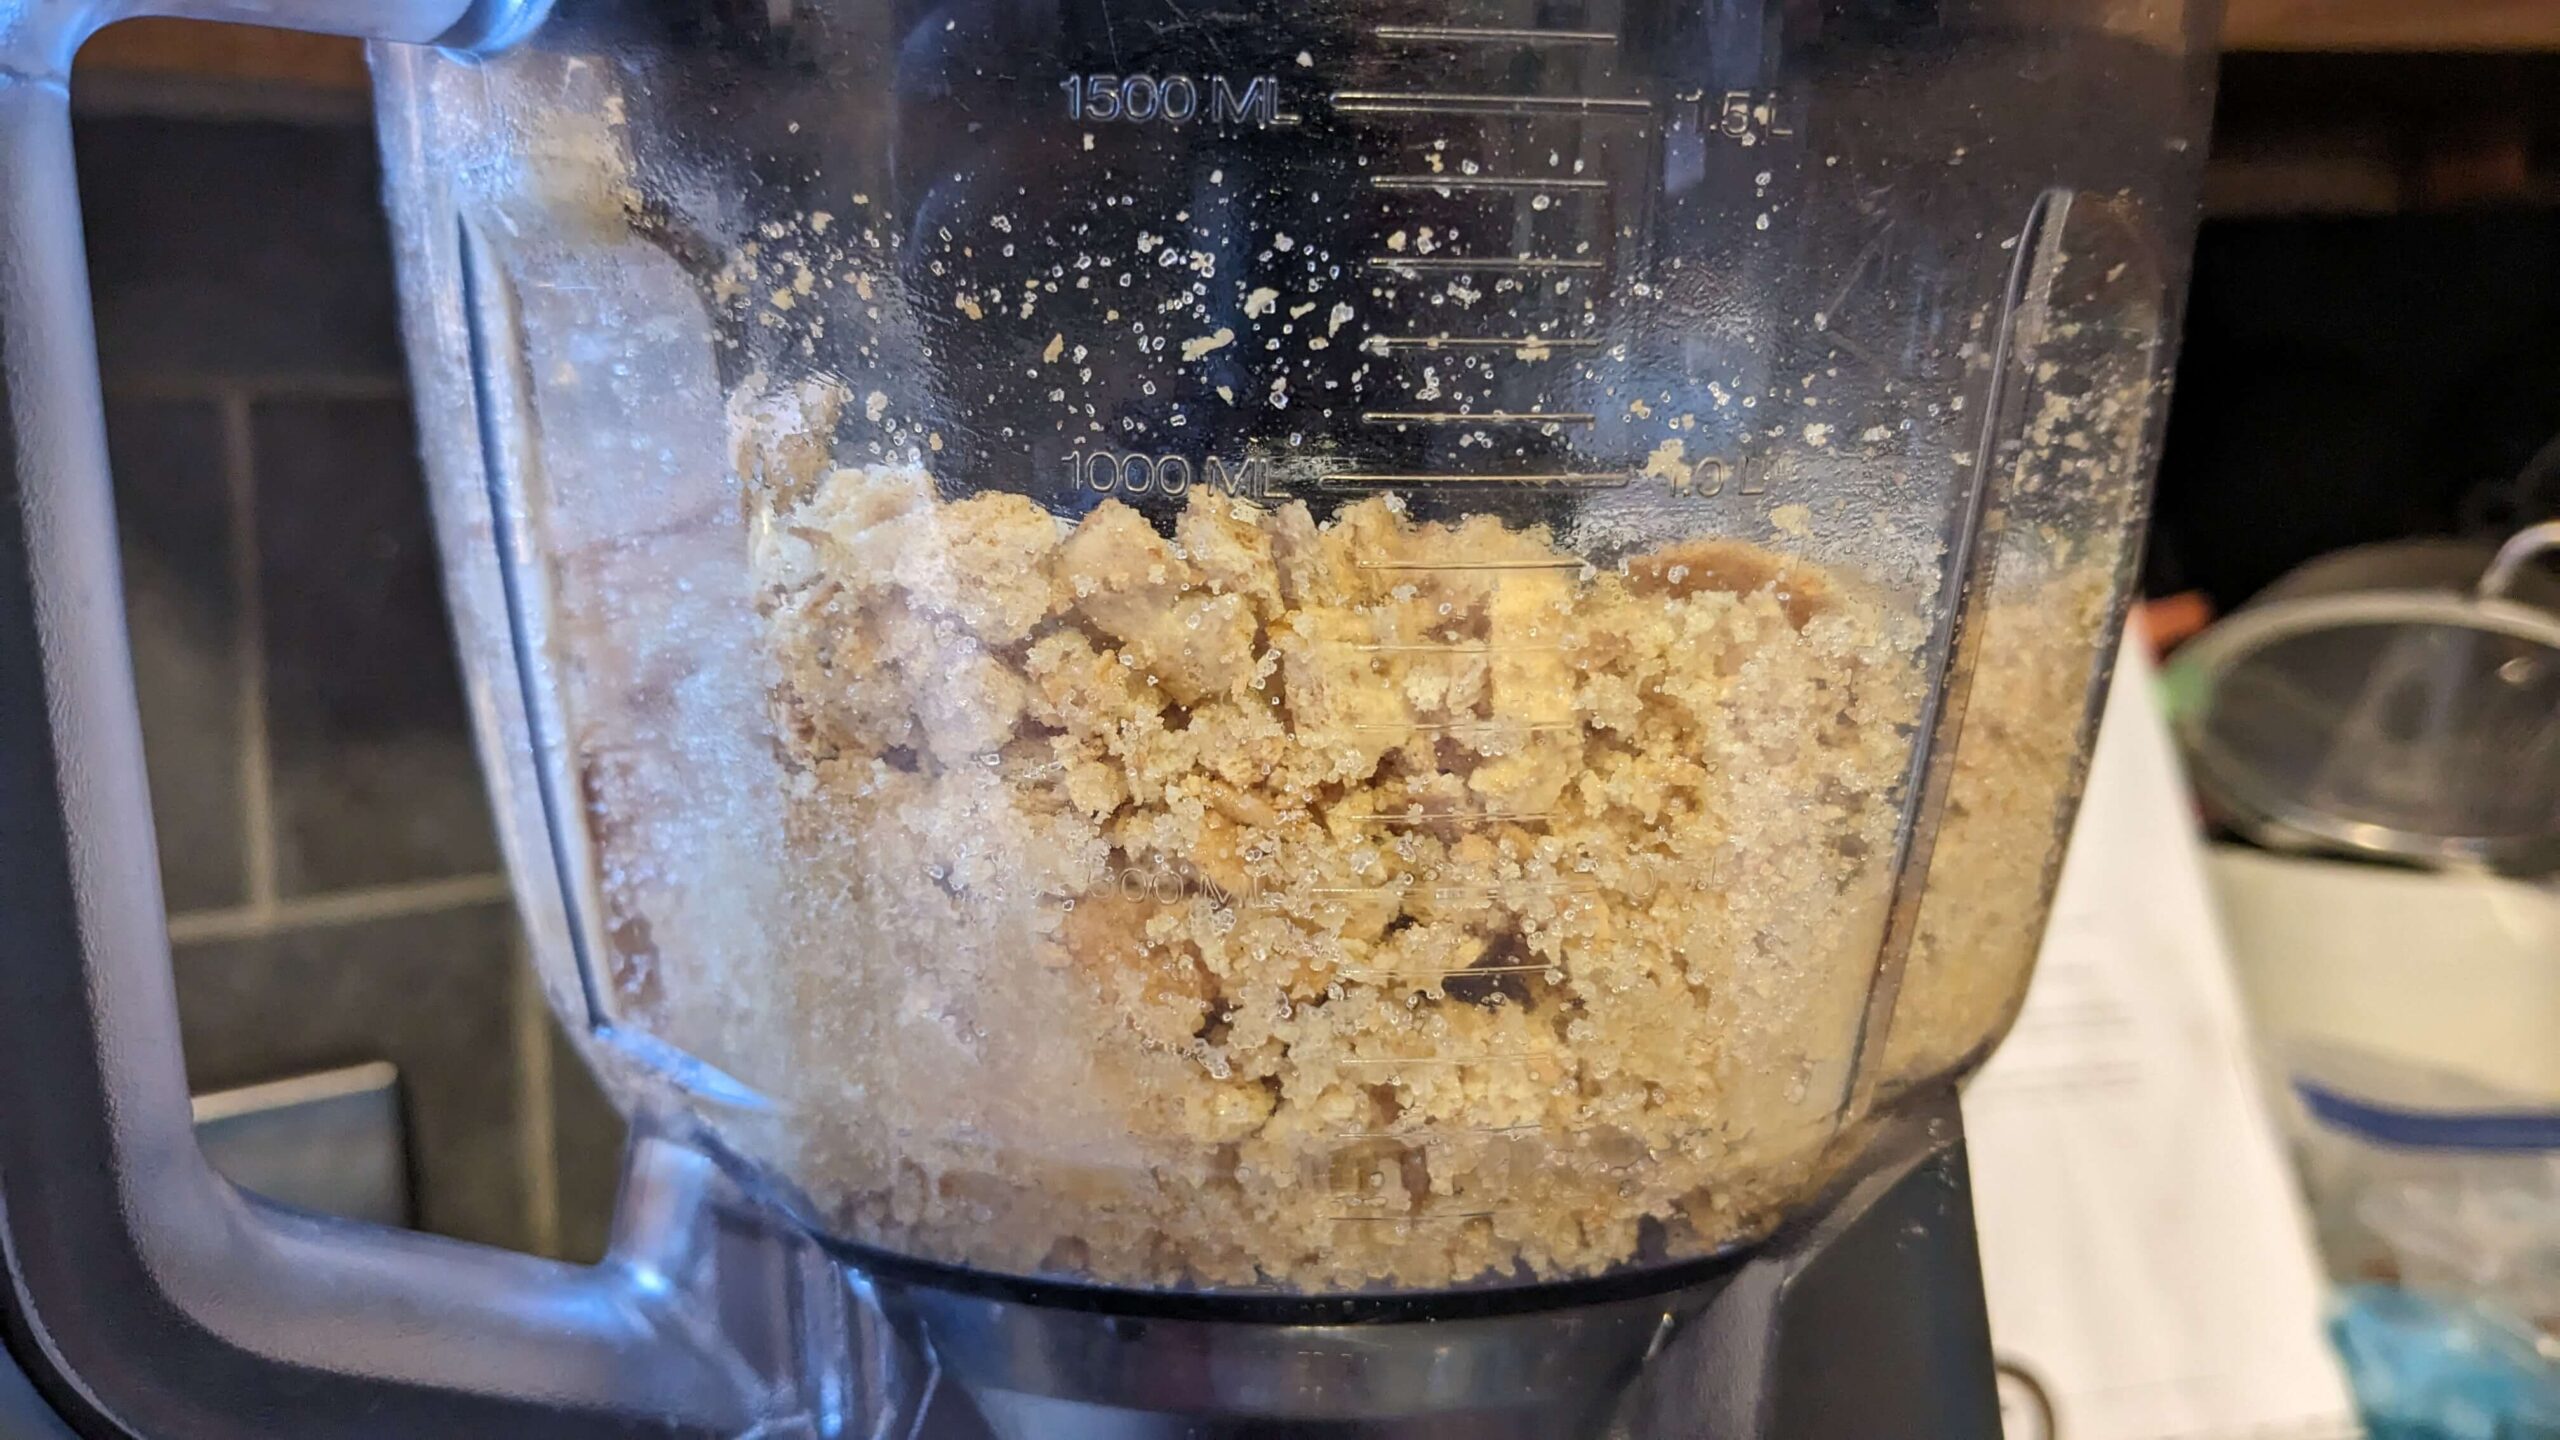
In a food processor, combine the ingredients for the graham cracker crust. 15 whole graham crackers, 5 tbsps melted butter, ⅓ cup of sugar, and a pinch of salt. Alternatively, you can crush the graham crackers in a ziplock back with a mallet or rolling pin and combine that with all the other ingredients by hand in a bowl. I did this the first time I made this recipe; it just takes a bit longer.
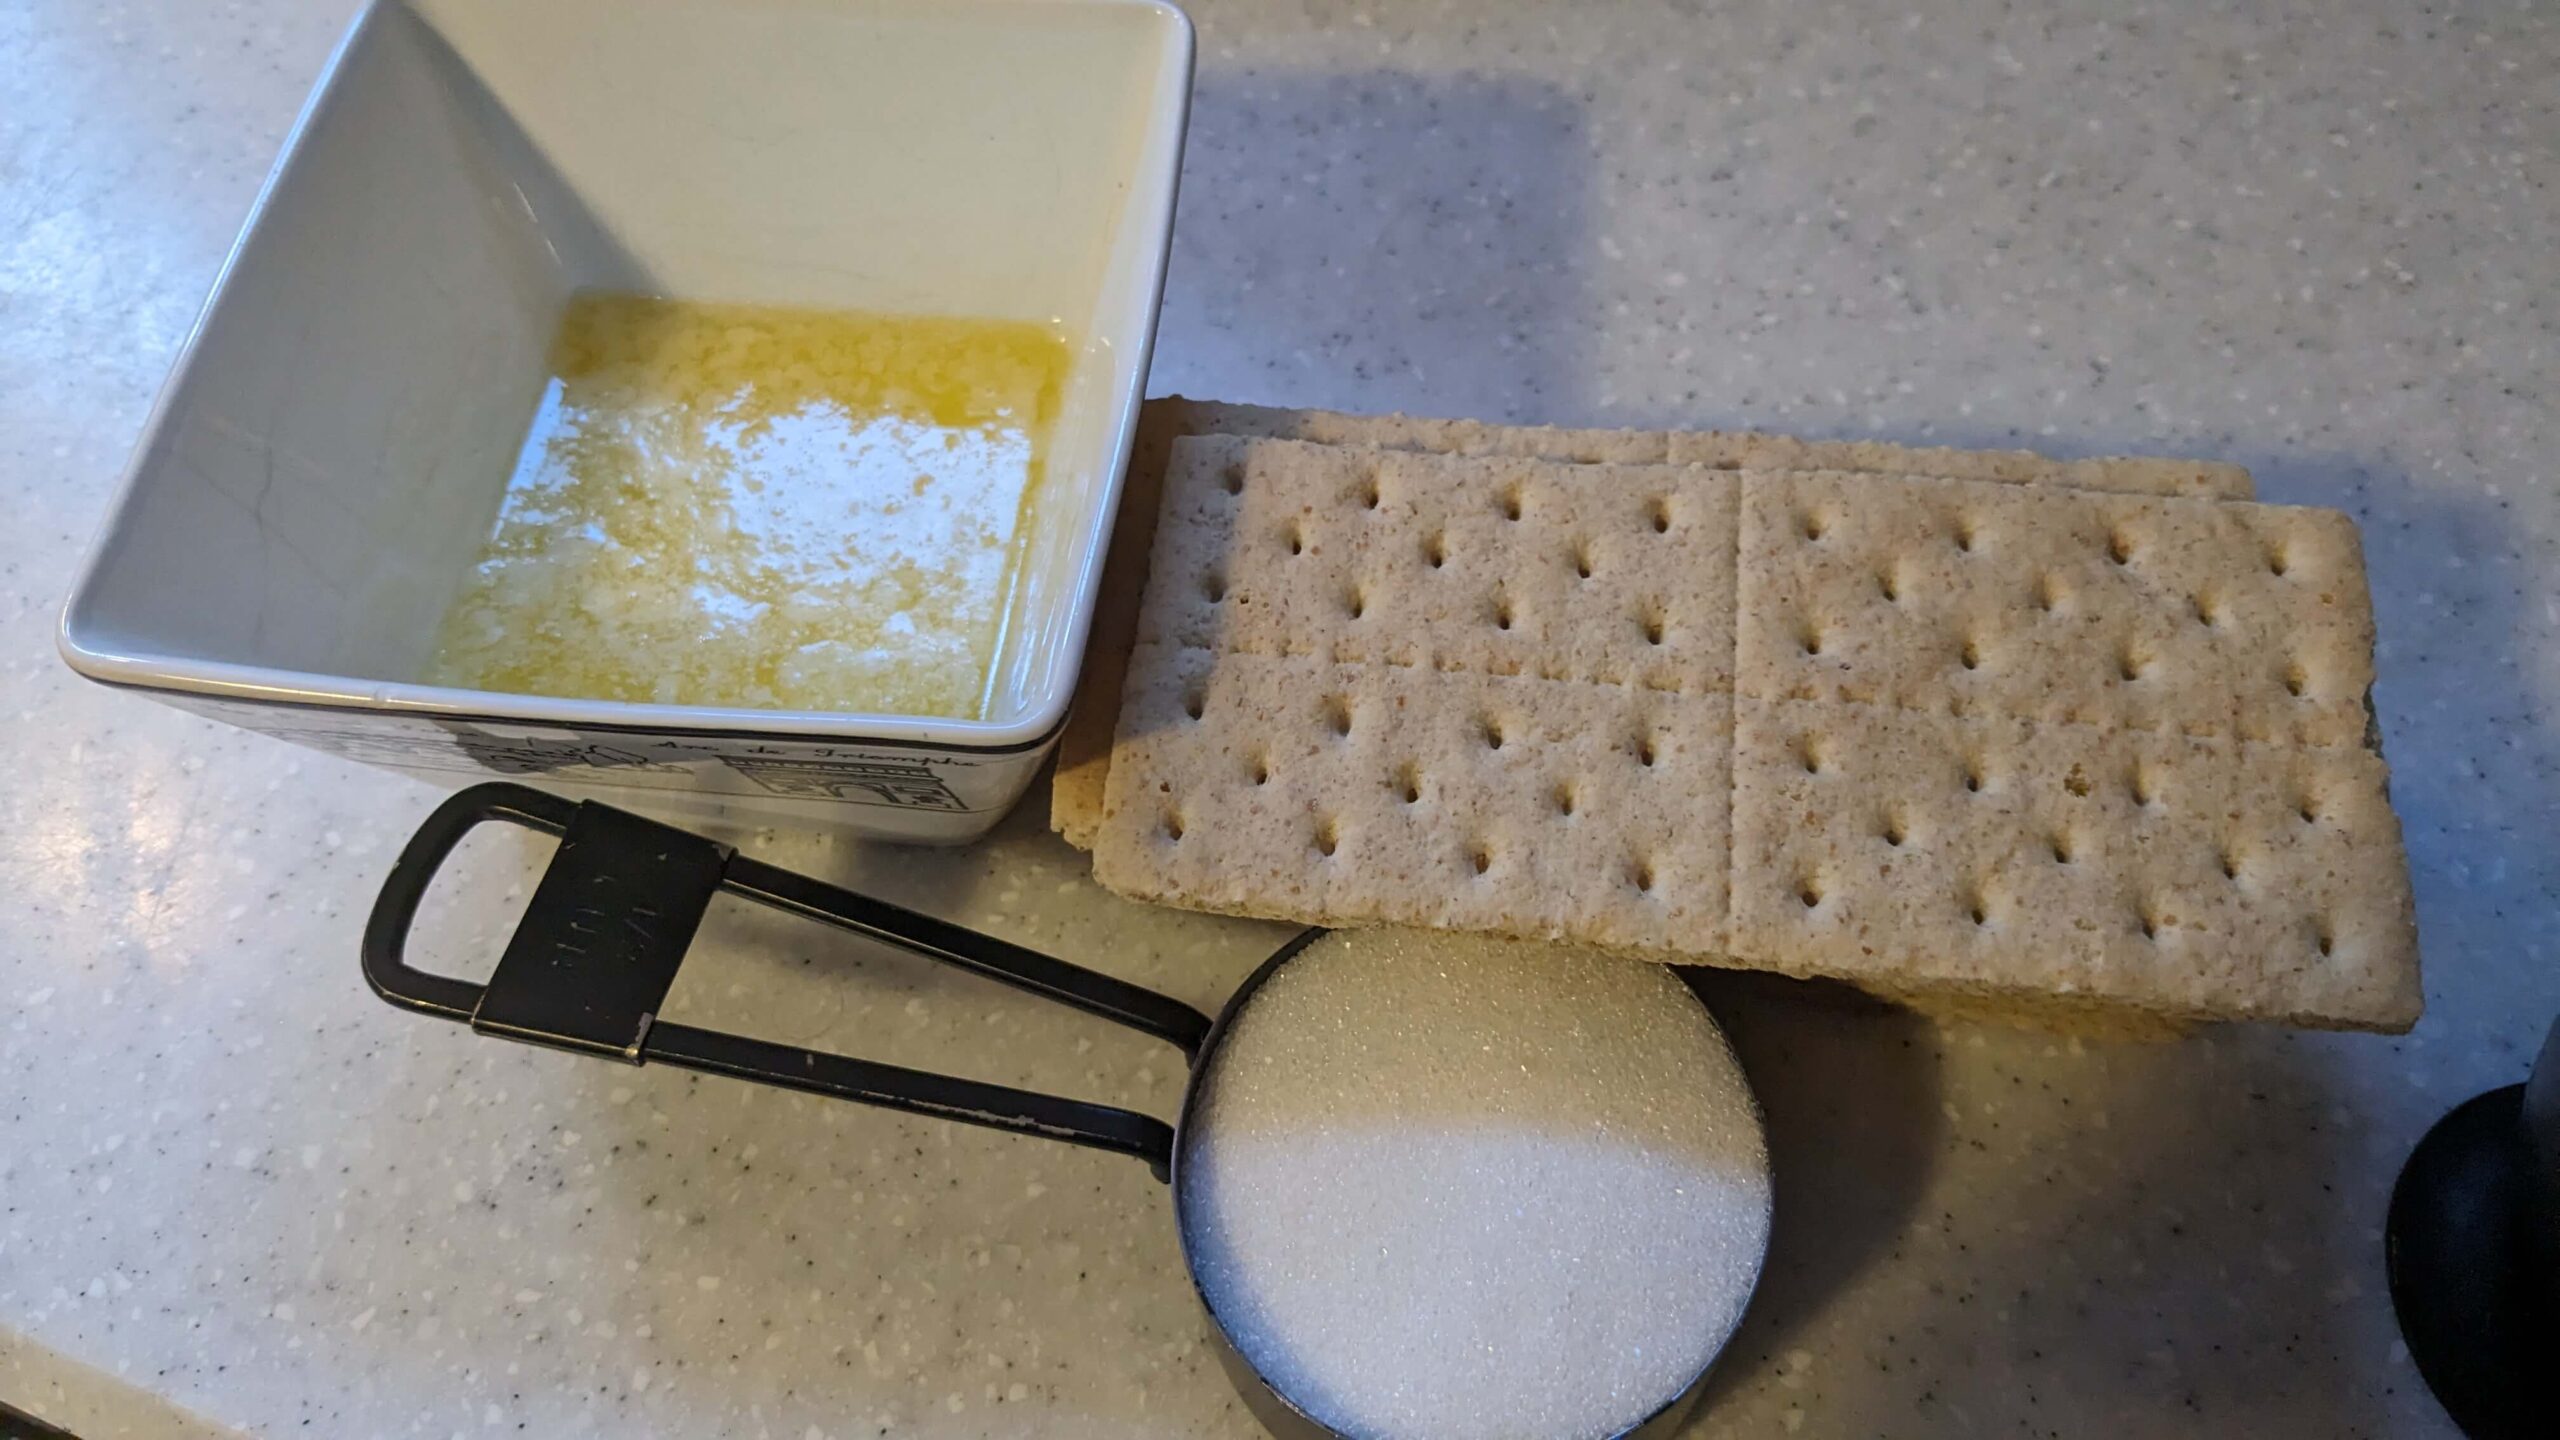
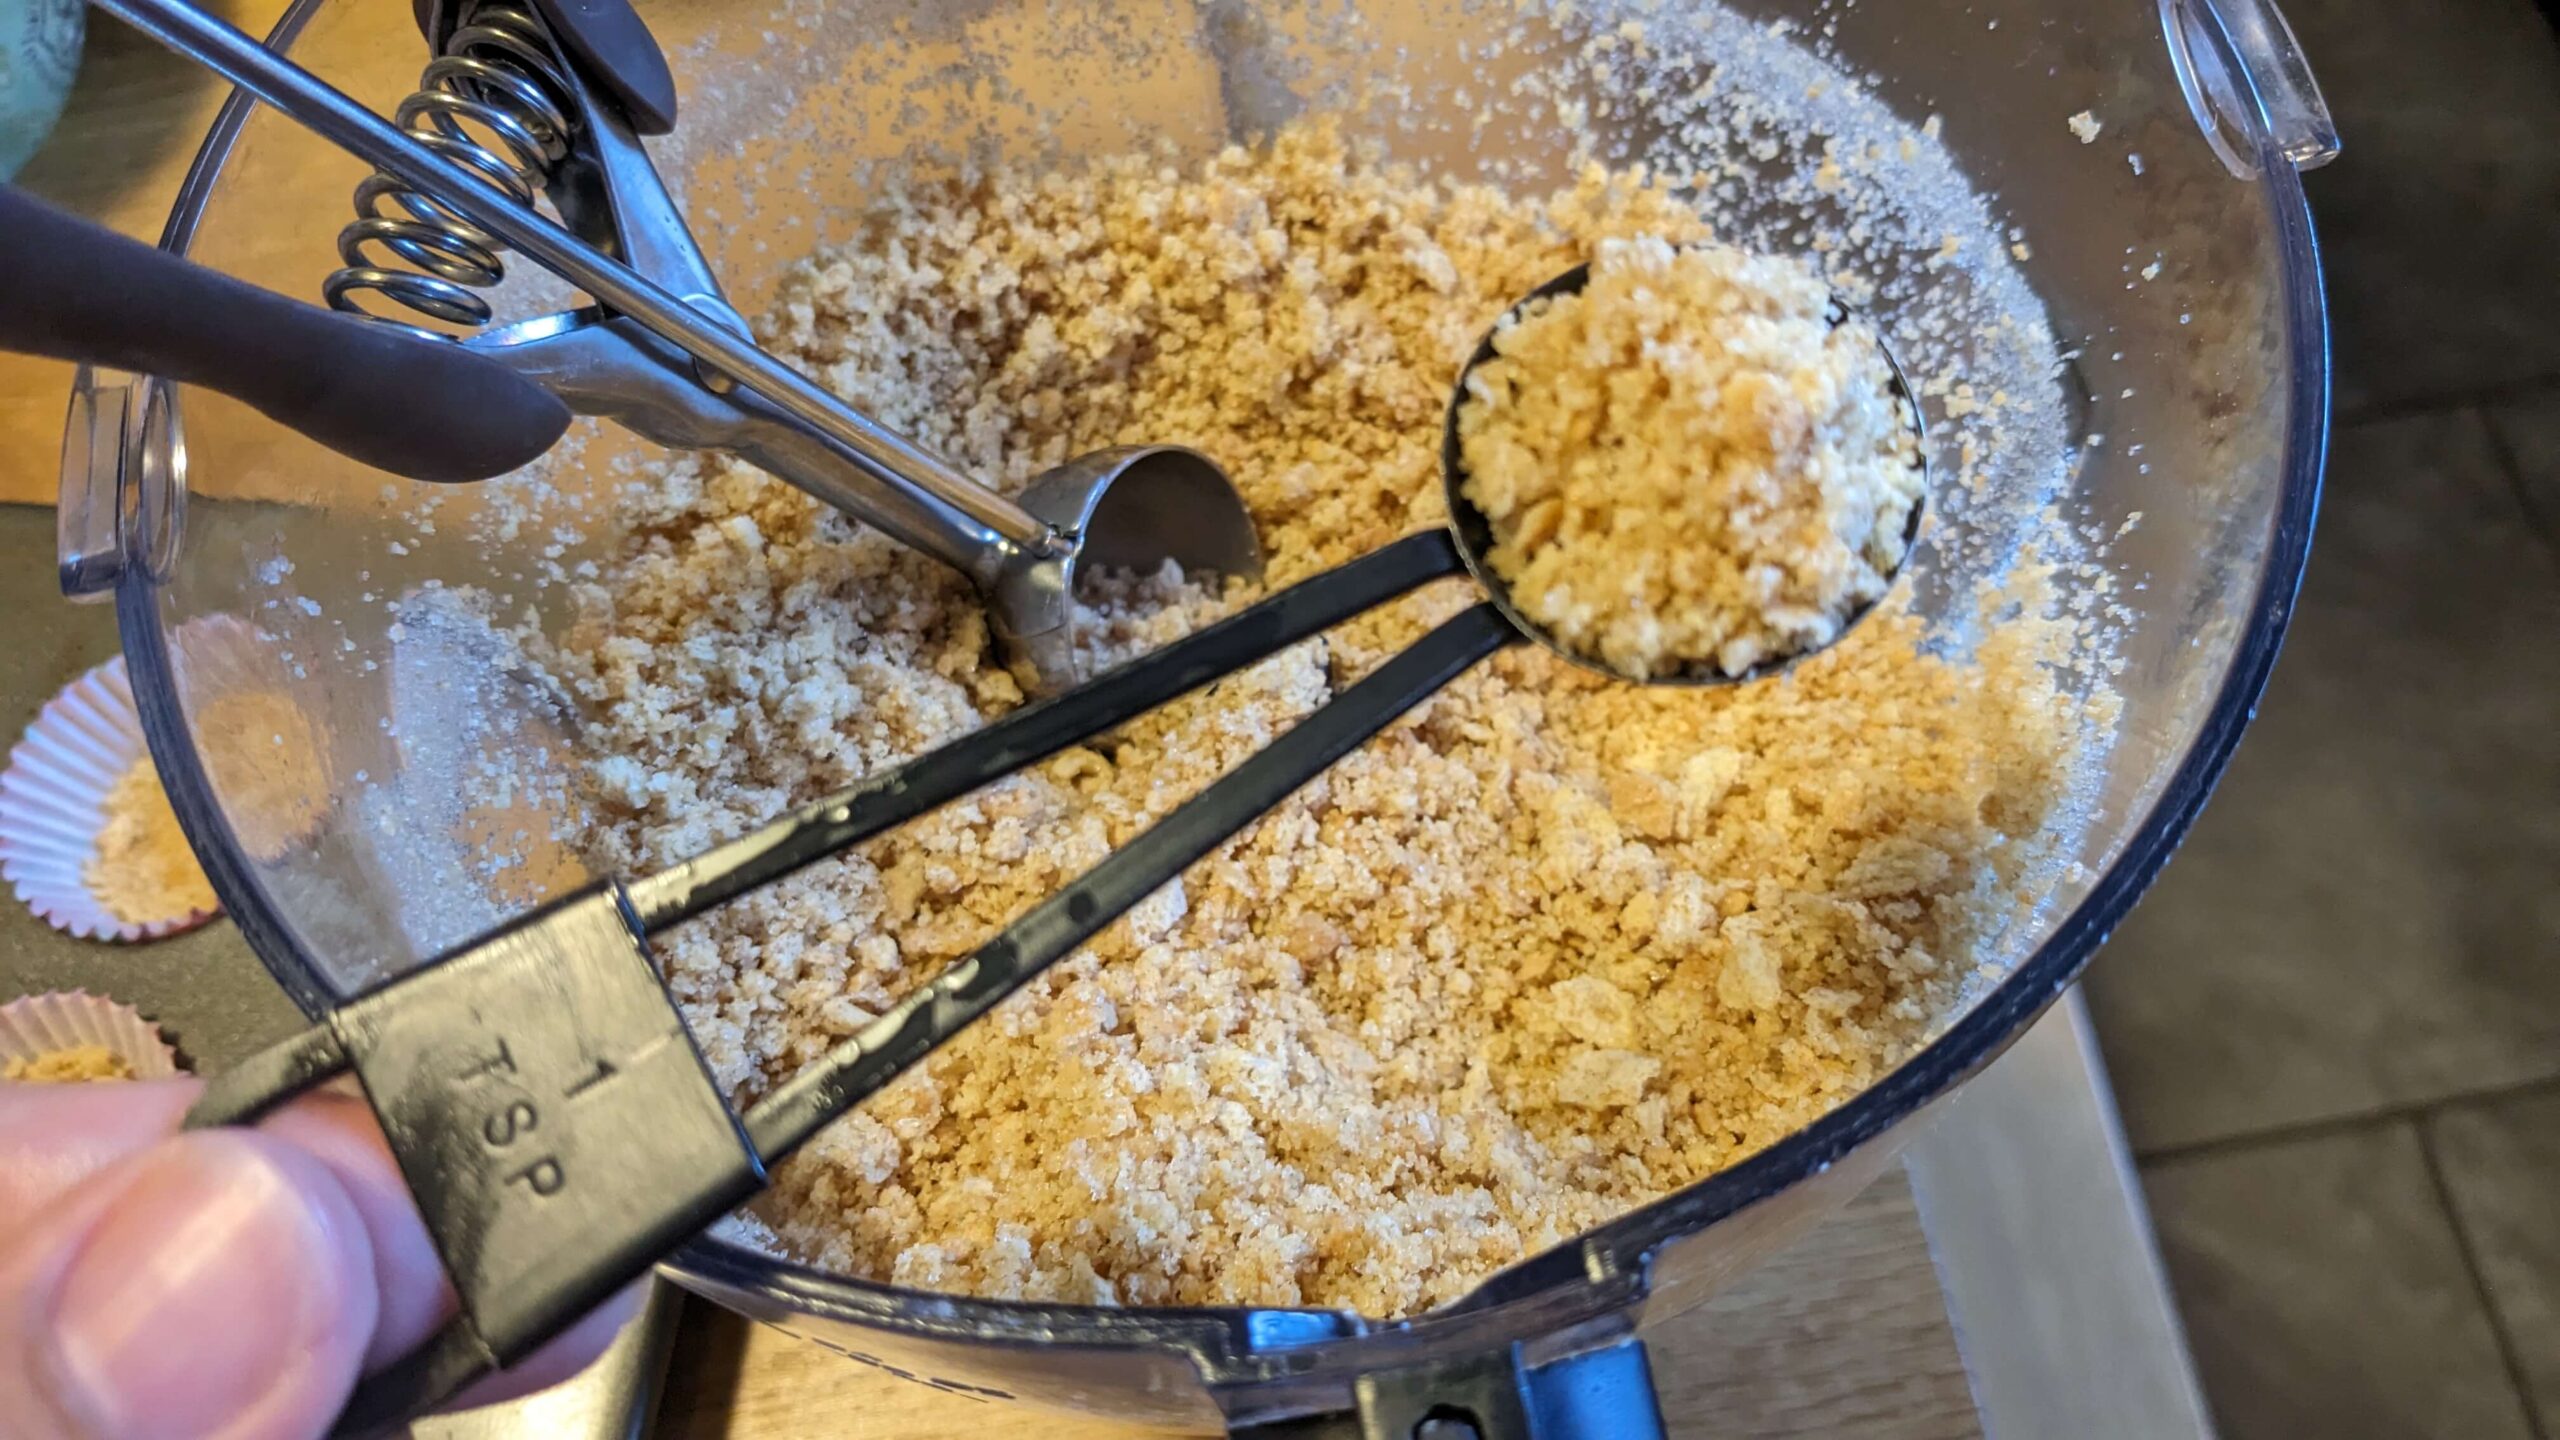
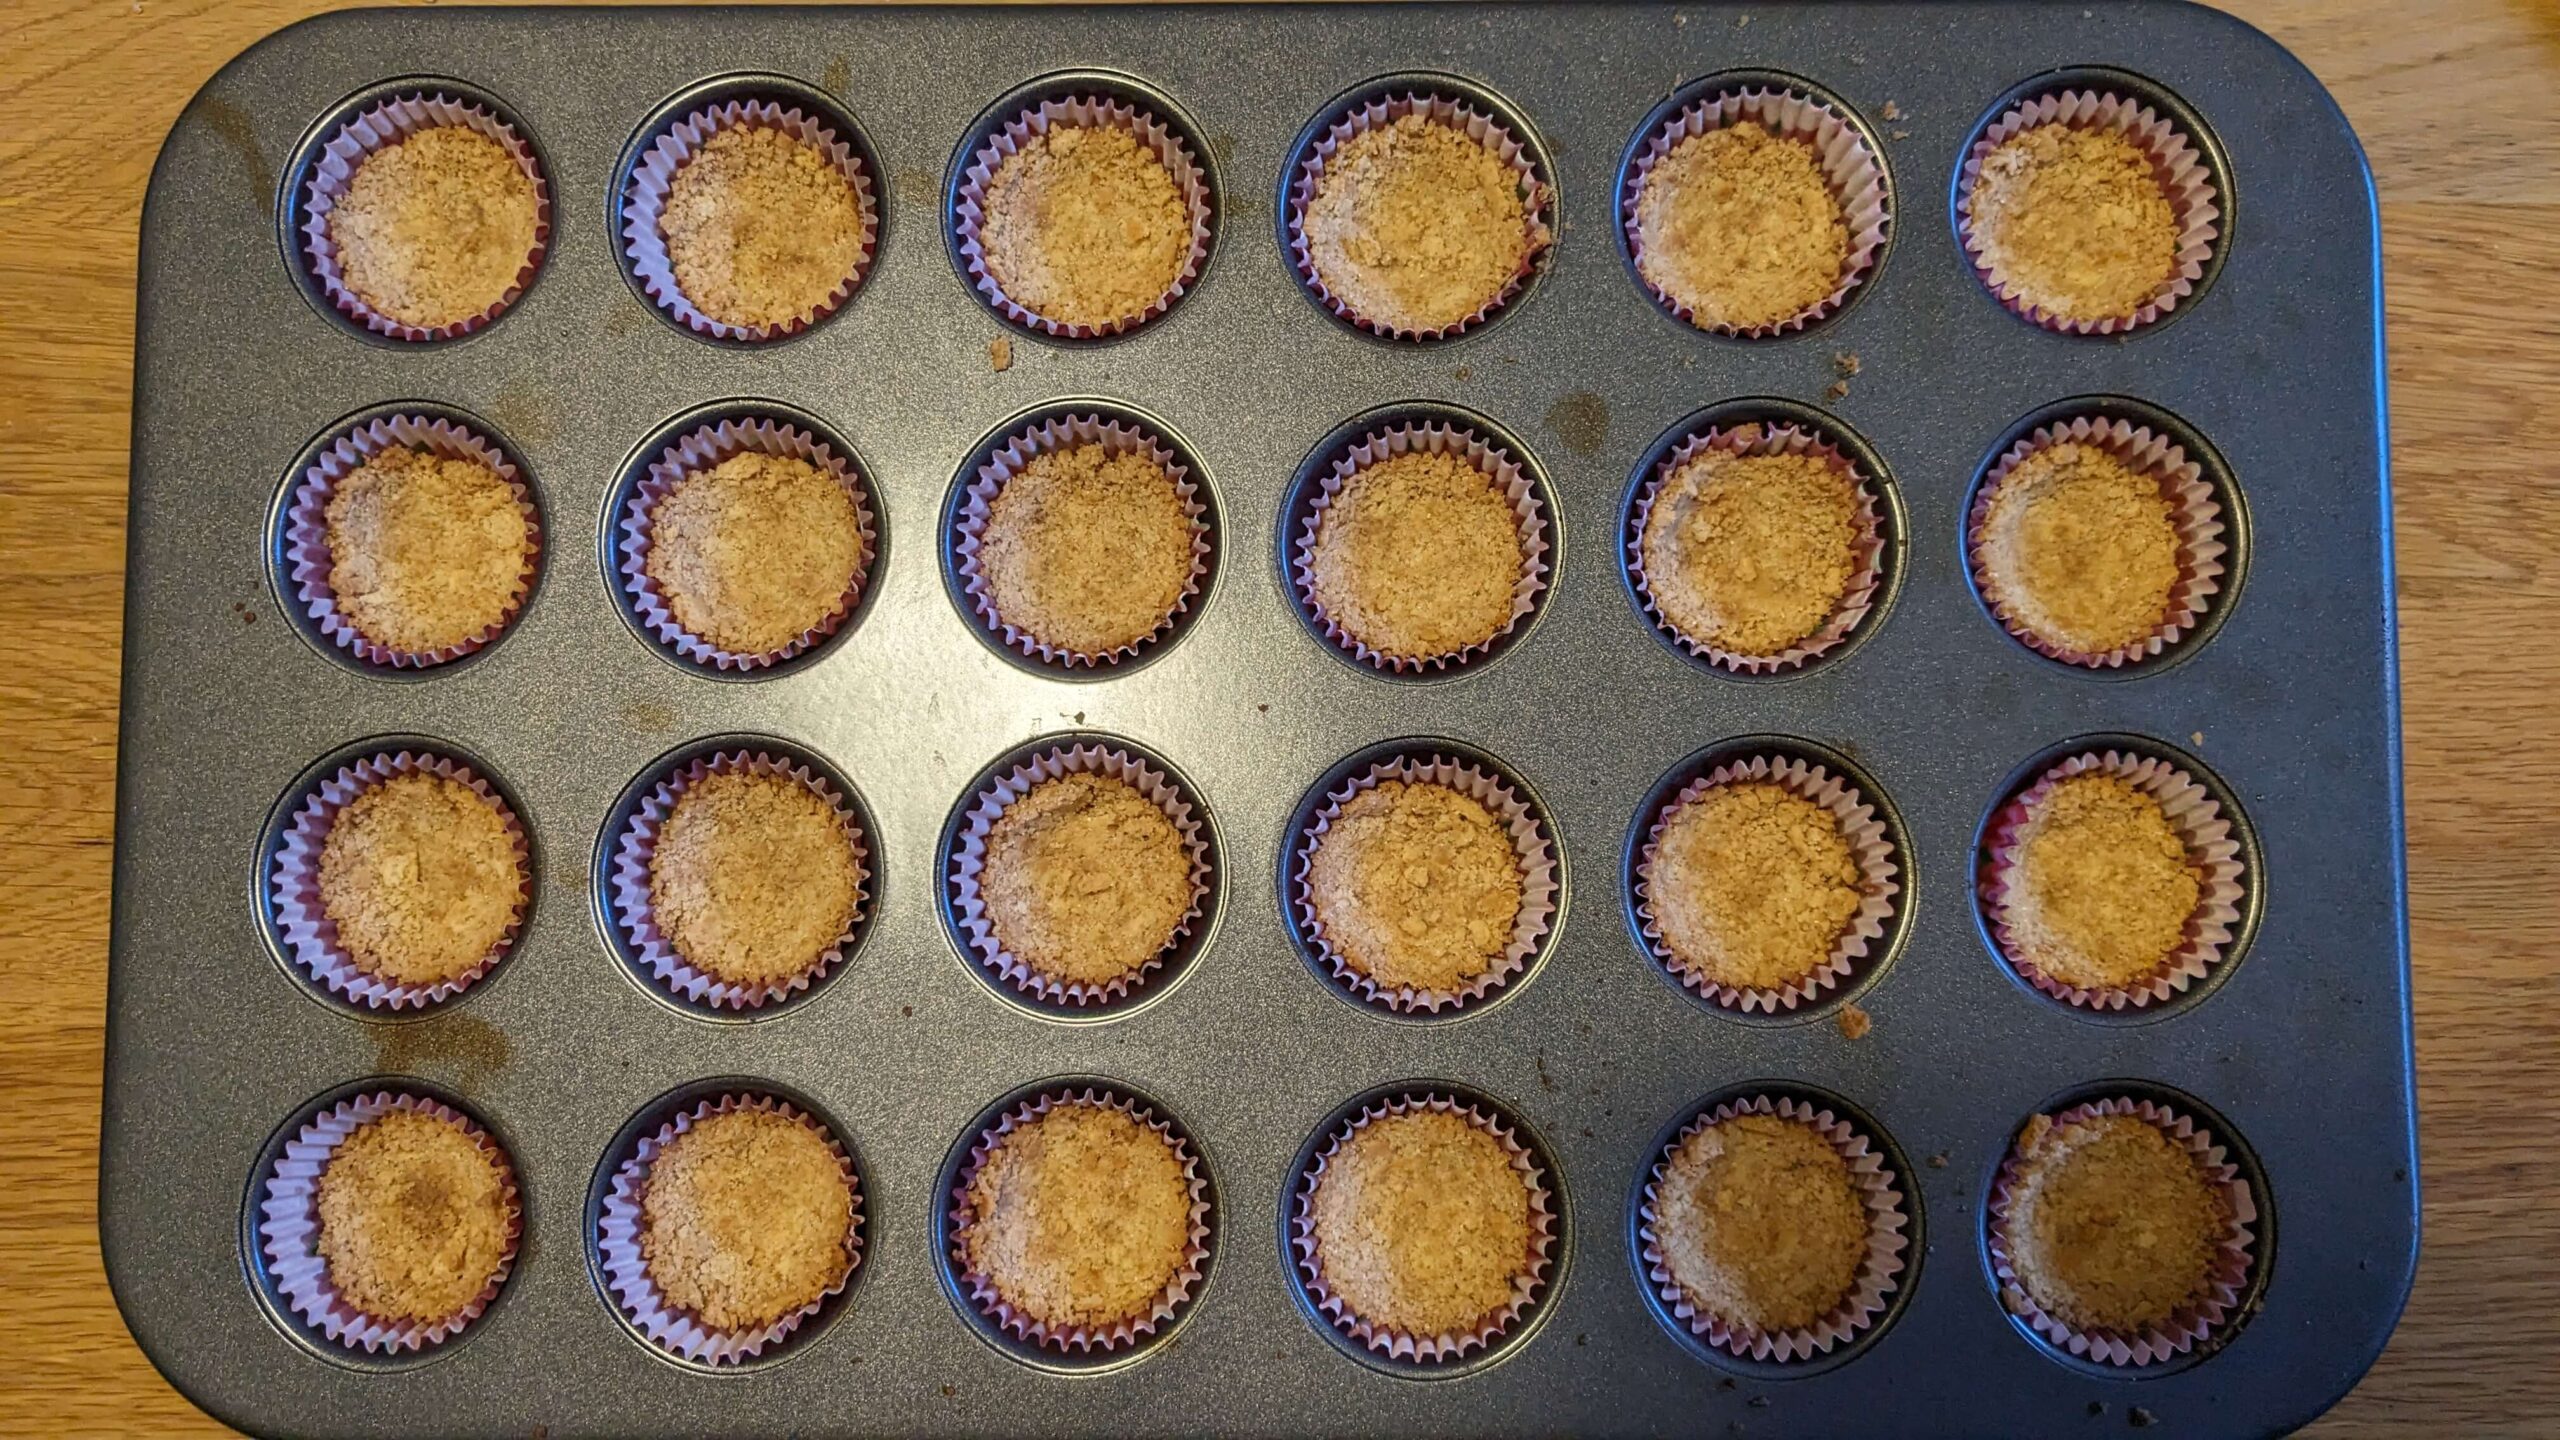
Place about 2 tsp of the graham cracker mixture into the mini cupcake tin and push down with the back of a spoon. I used the handle of a mixing spoon to push the crumbs down.
Bake at 350 for 8 minutes. Don’t go more than 8 minutes, it will get too dark very quickly. (Ask me how I know.) If it takes on no color while in the oven, that is completely fine. You can see in the below pictures how little of a color change there was in 8 minutes. When done, allow to rest on the counter to cool for a few minutes before filling with the cream cheese mixture.

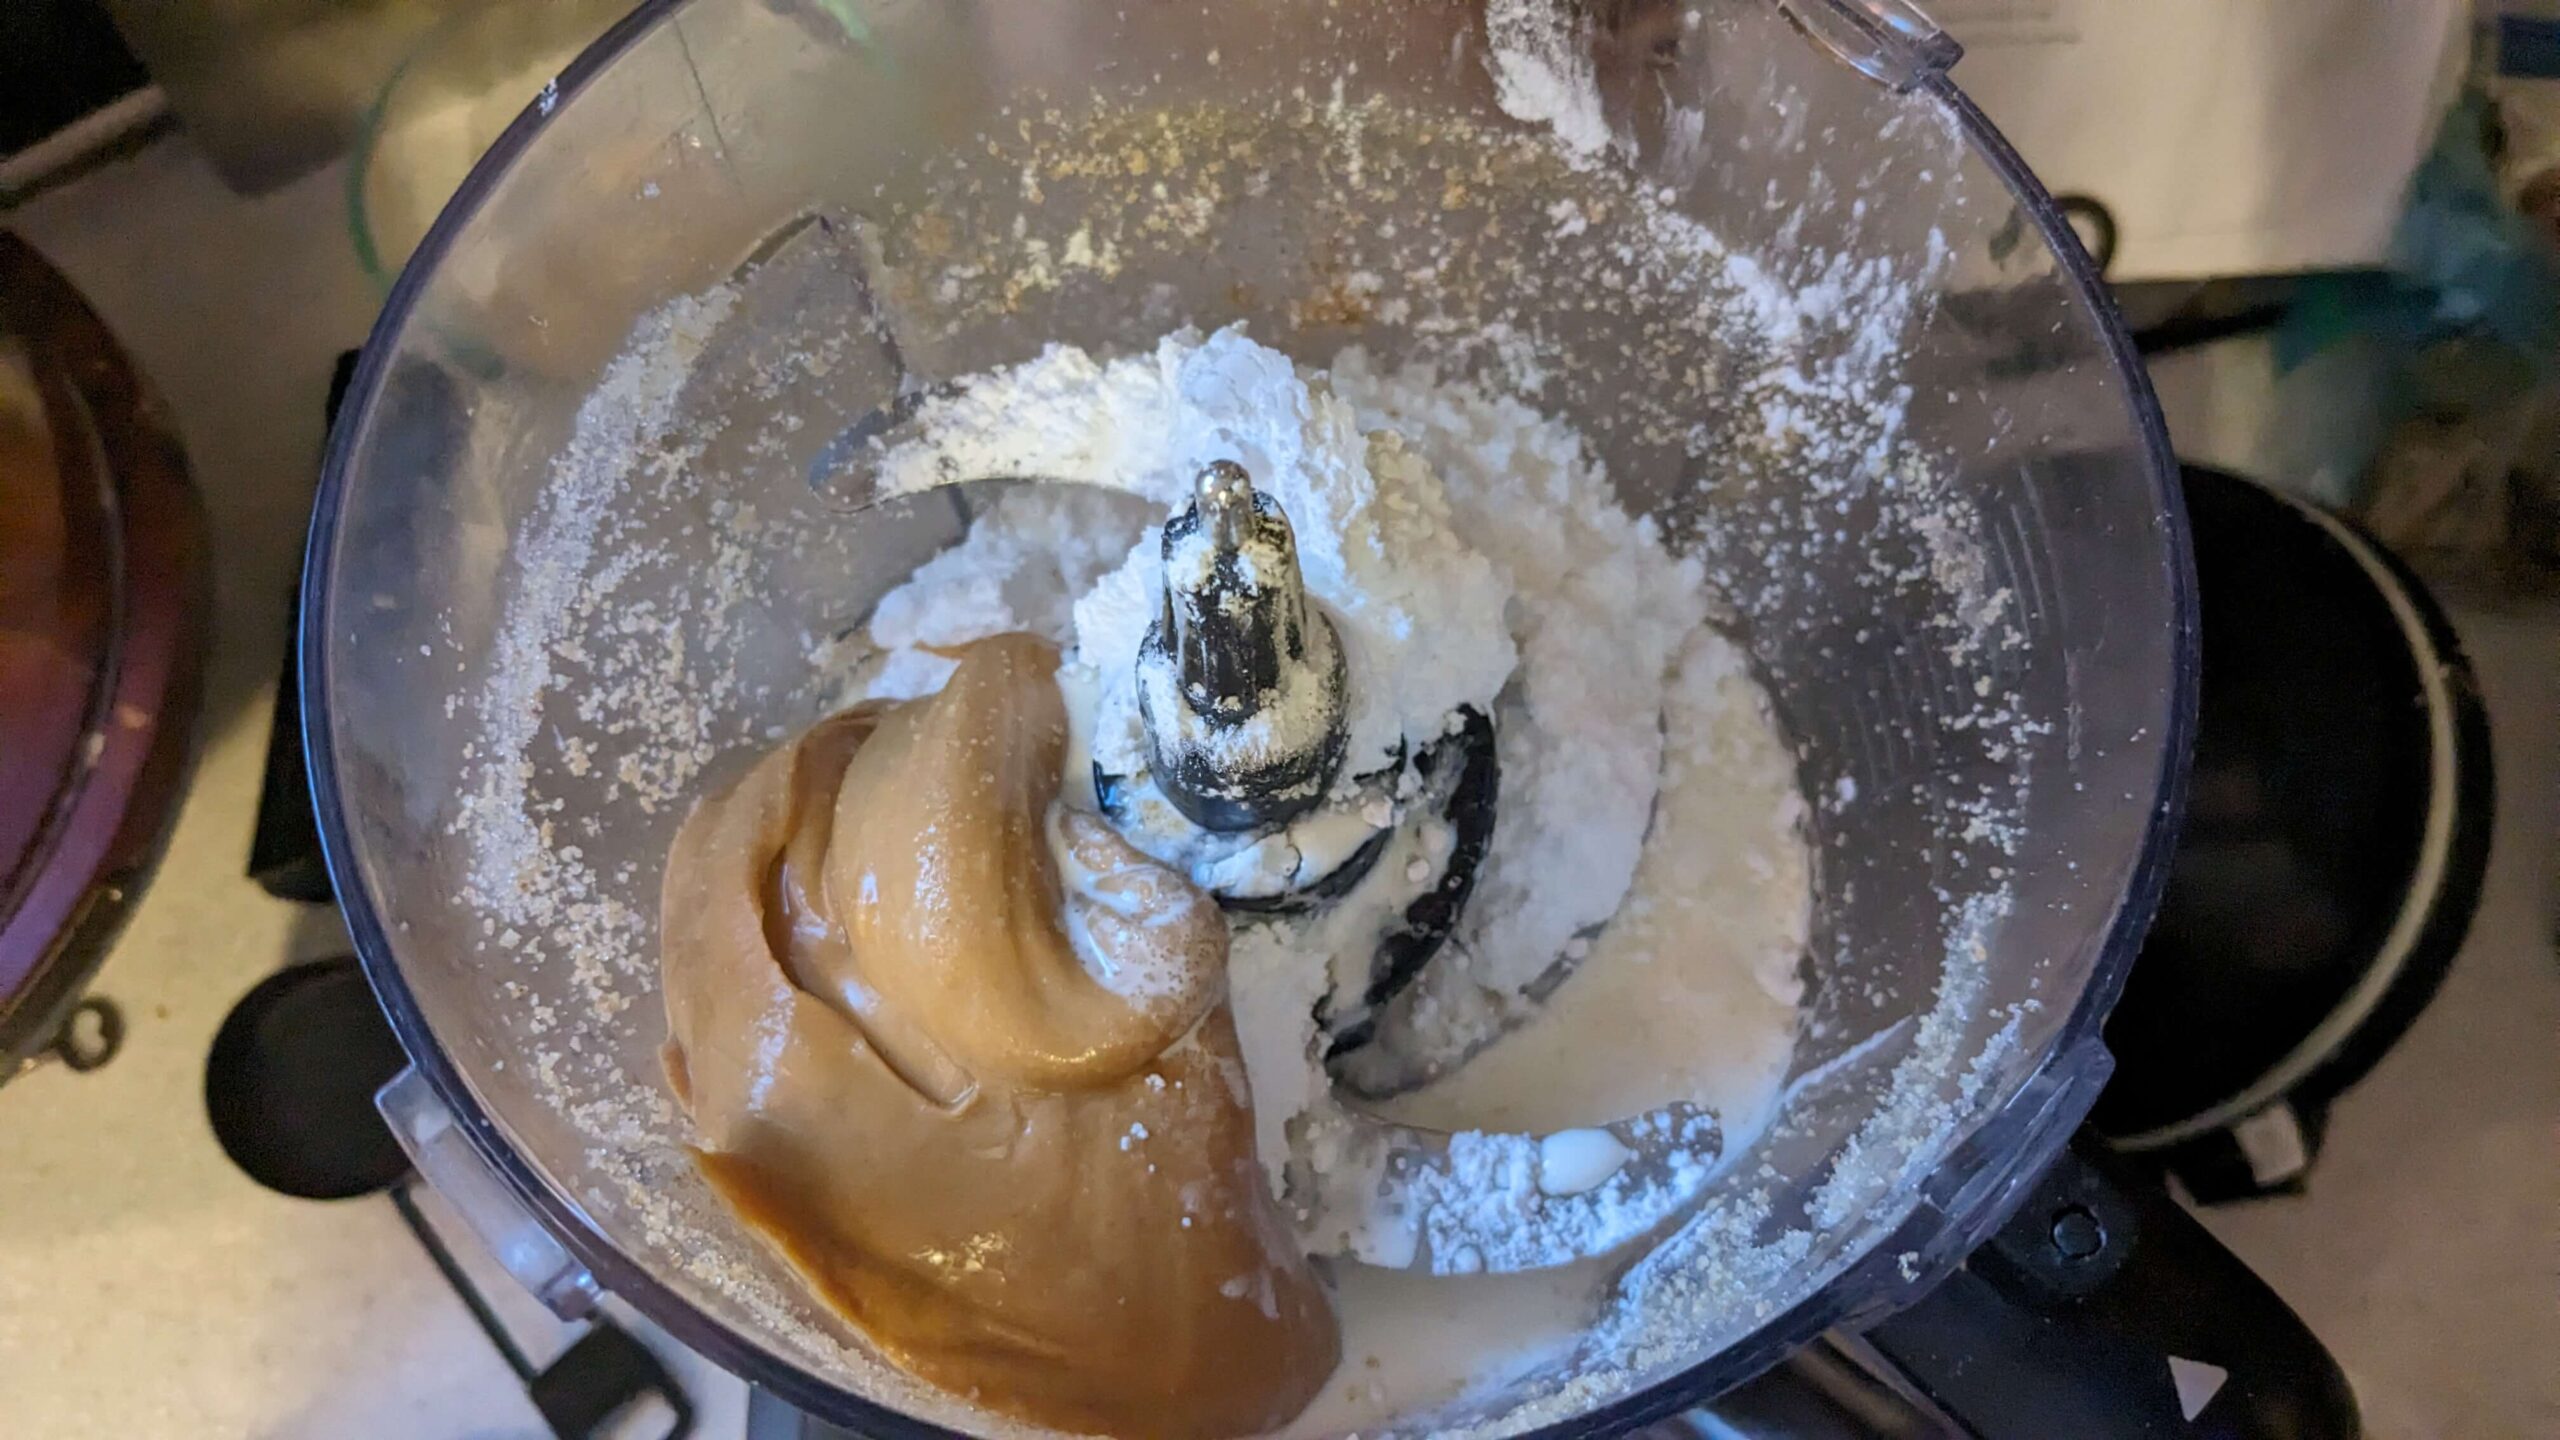
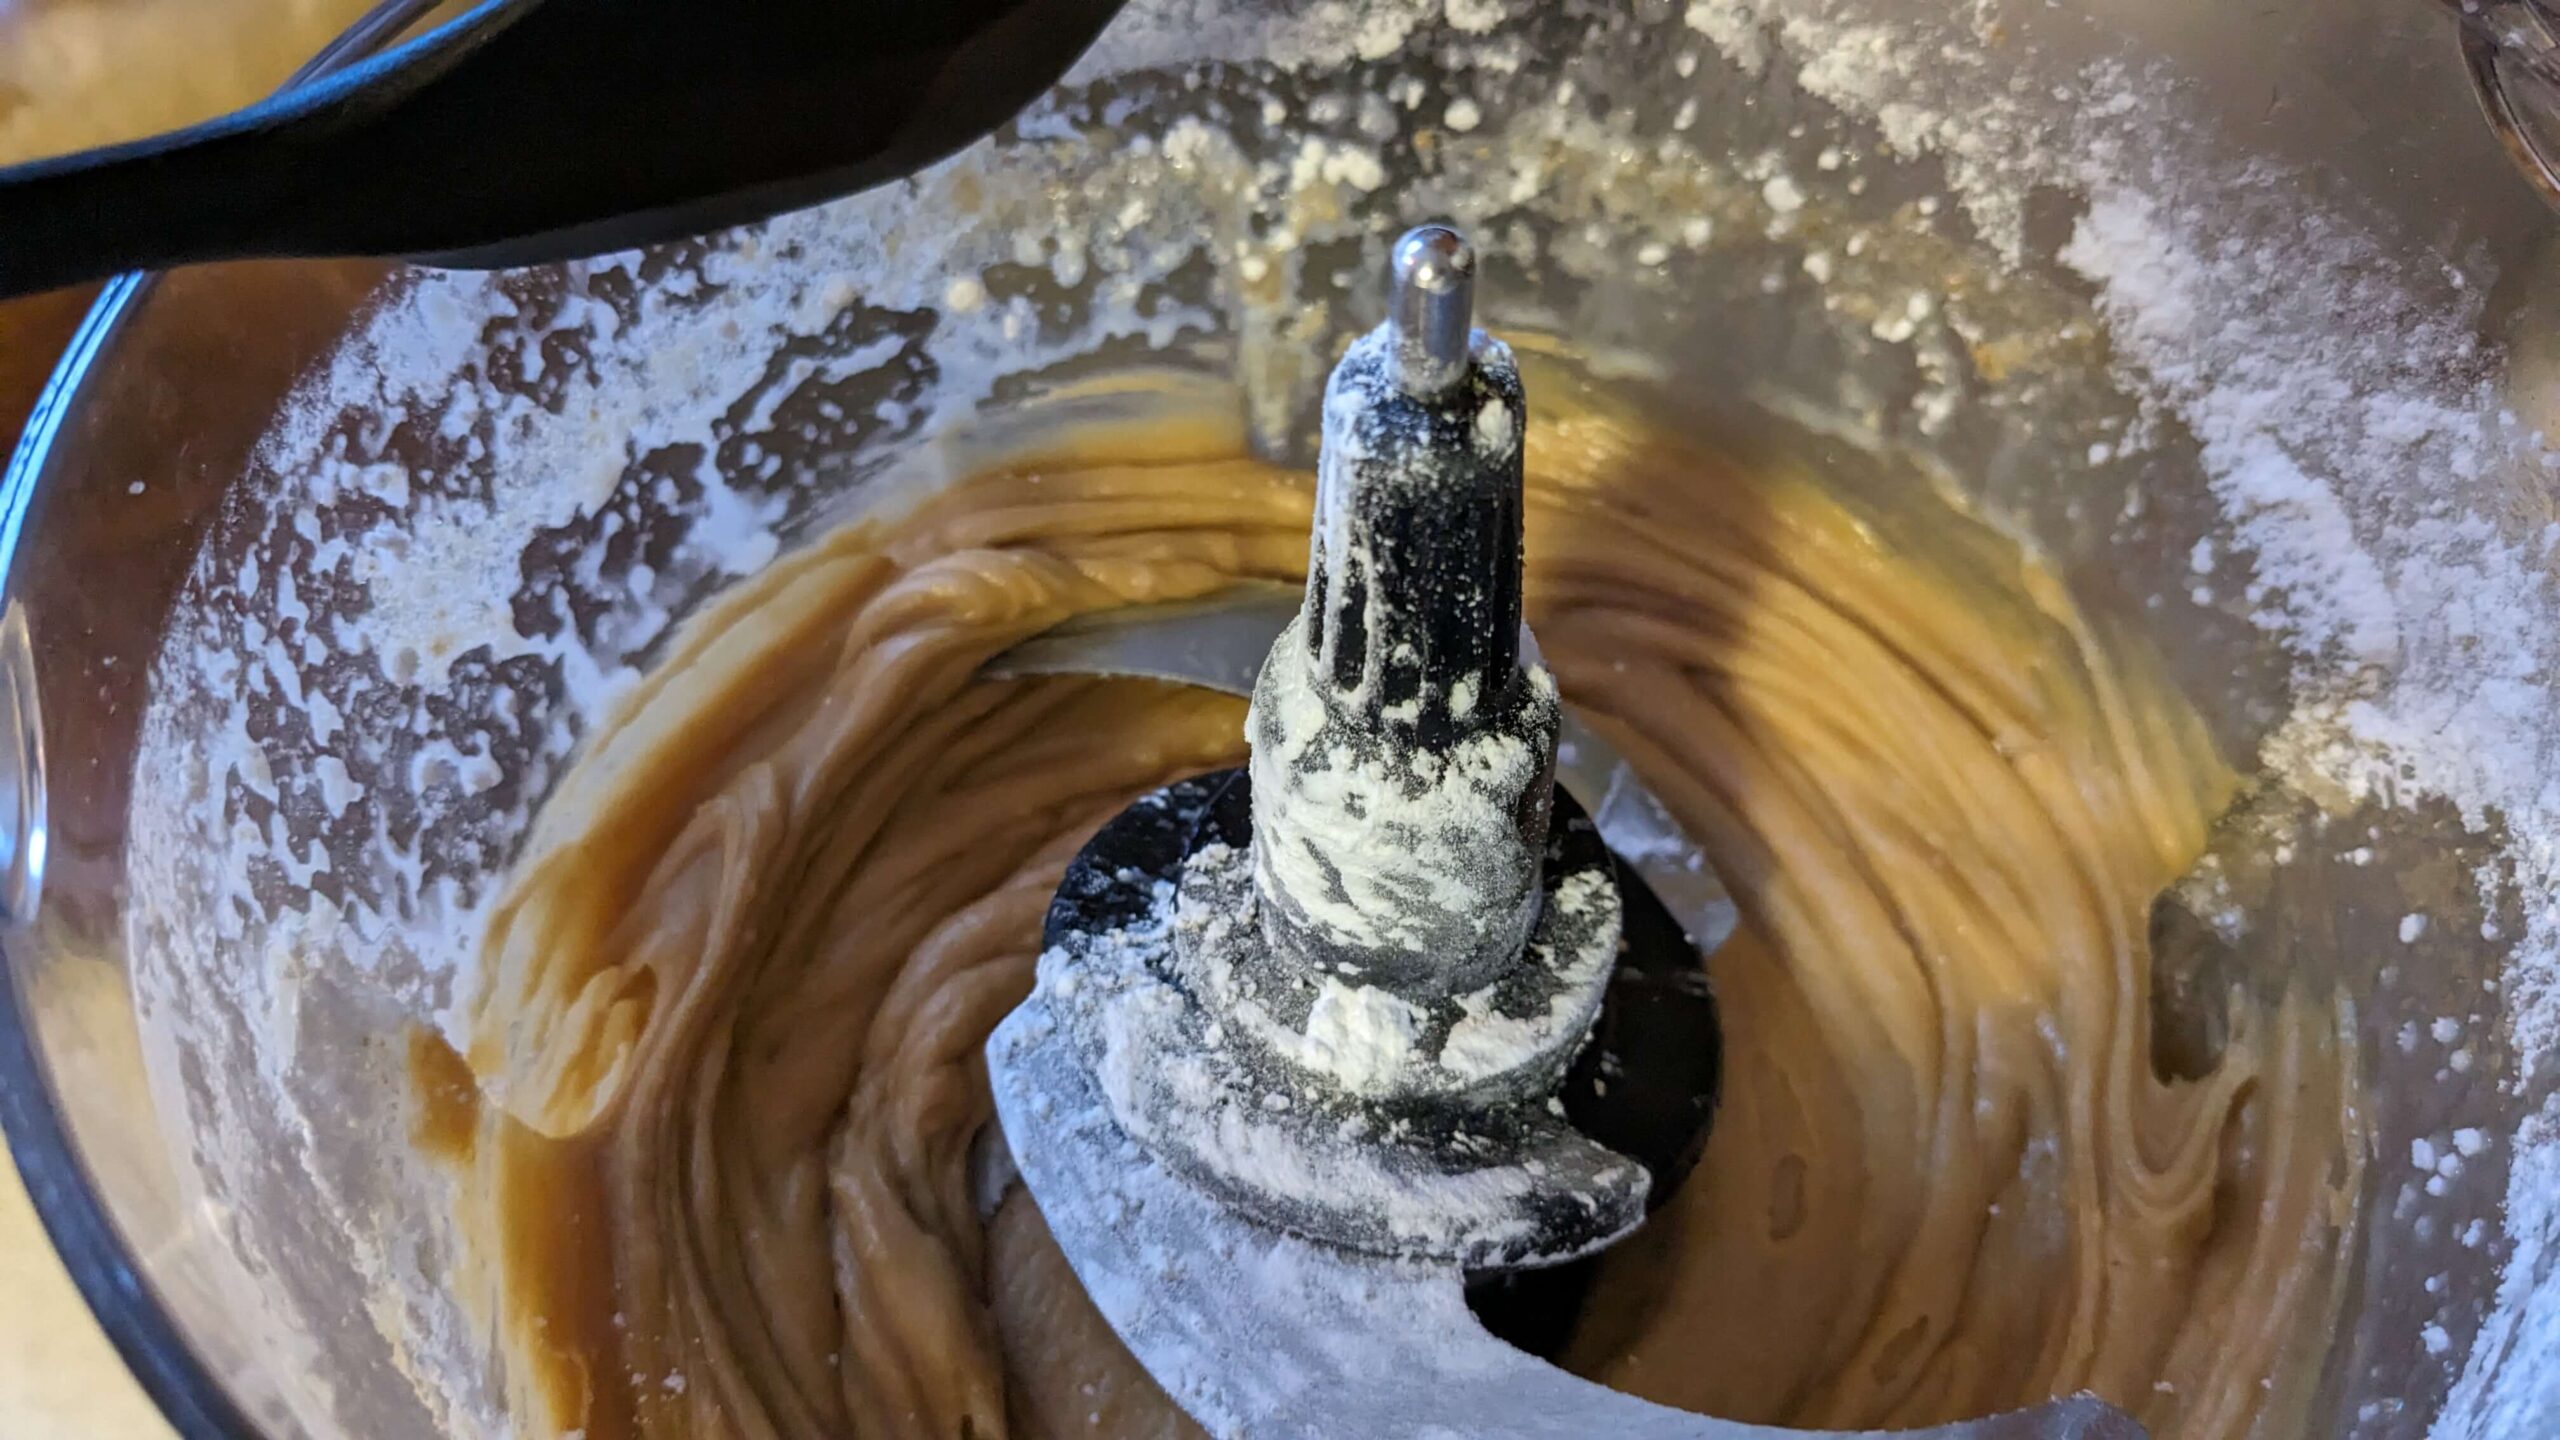
In the food processor (or in a bowl and mix by hand), add 8 ounces of softened cream cheese, 1 cup of powdered sugar, 1 cup of peanut butter, 1 tsp of vanilla, a pinch of salt, and 1 cup of heavy cream that is cold. The colder the cream, the better this recipe will come together. Blend these ingredients until fully incorporated. This took less than five minutes in the food processor.
Scoop spoonfuls of the mixture into the cooled-down cupcake tins. I filled the liners 3/4 of the way and had quite a bit left over, you can fill to almost the top of the liners.
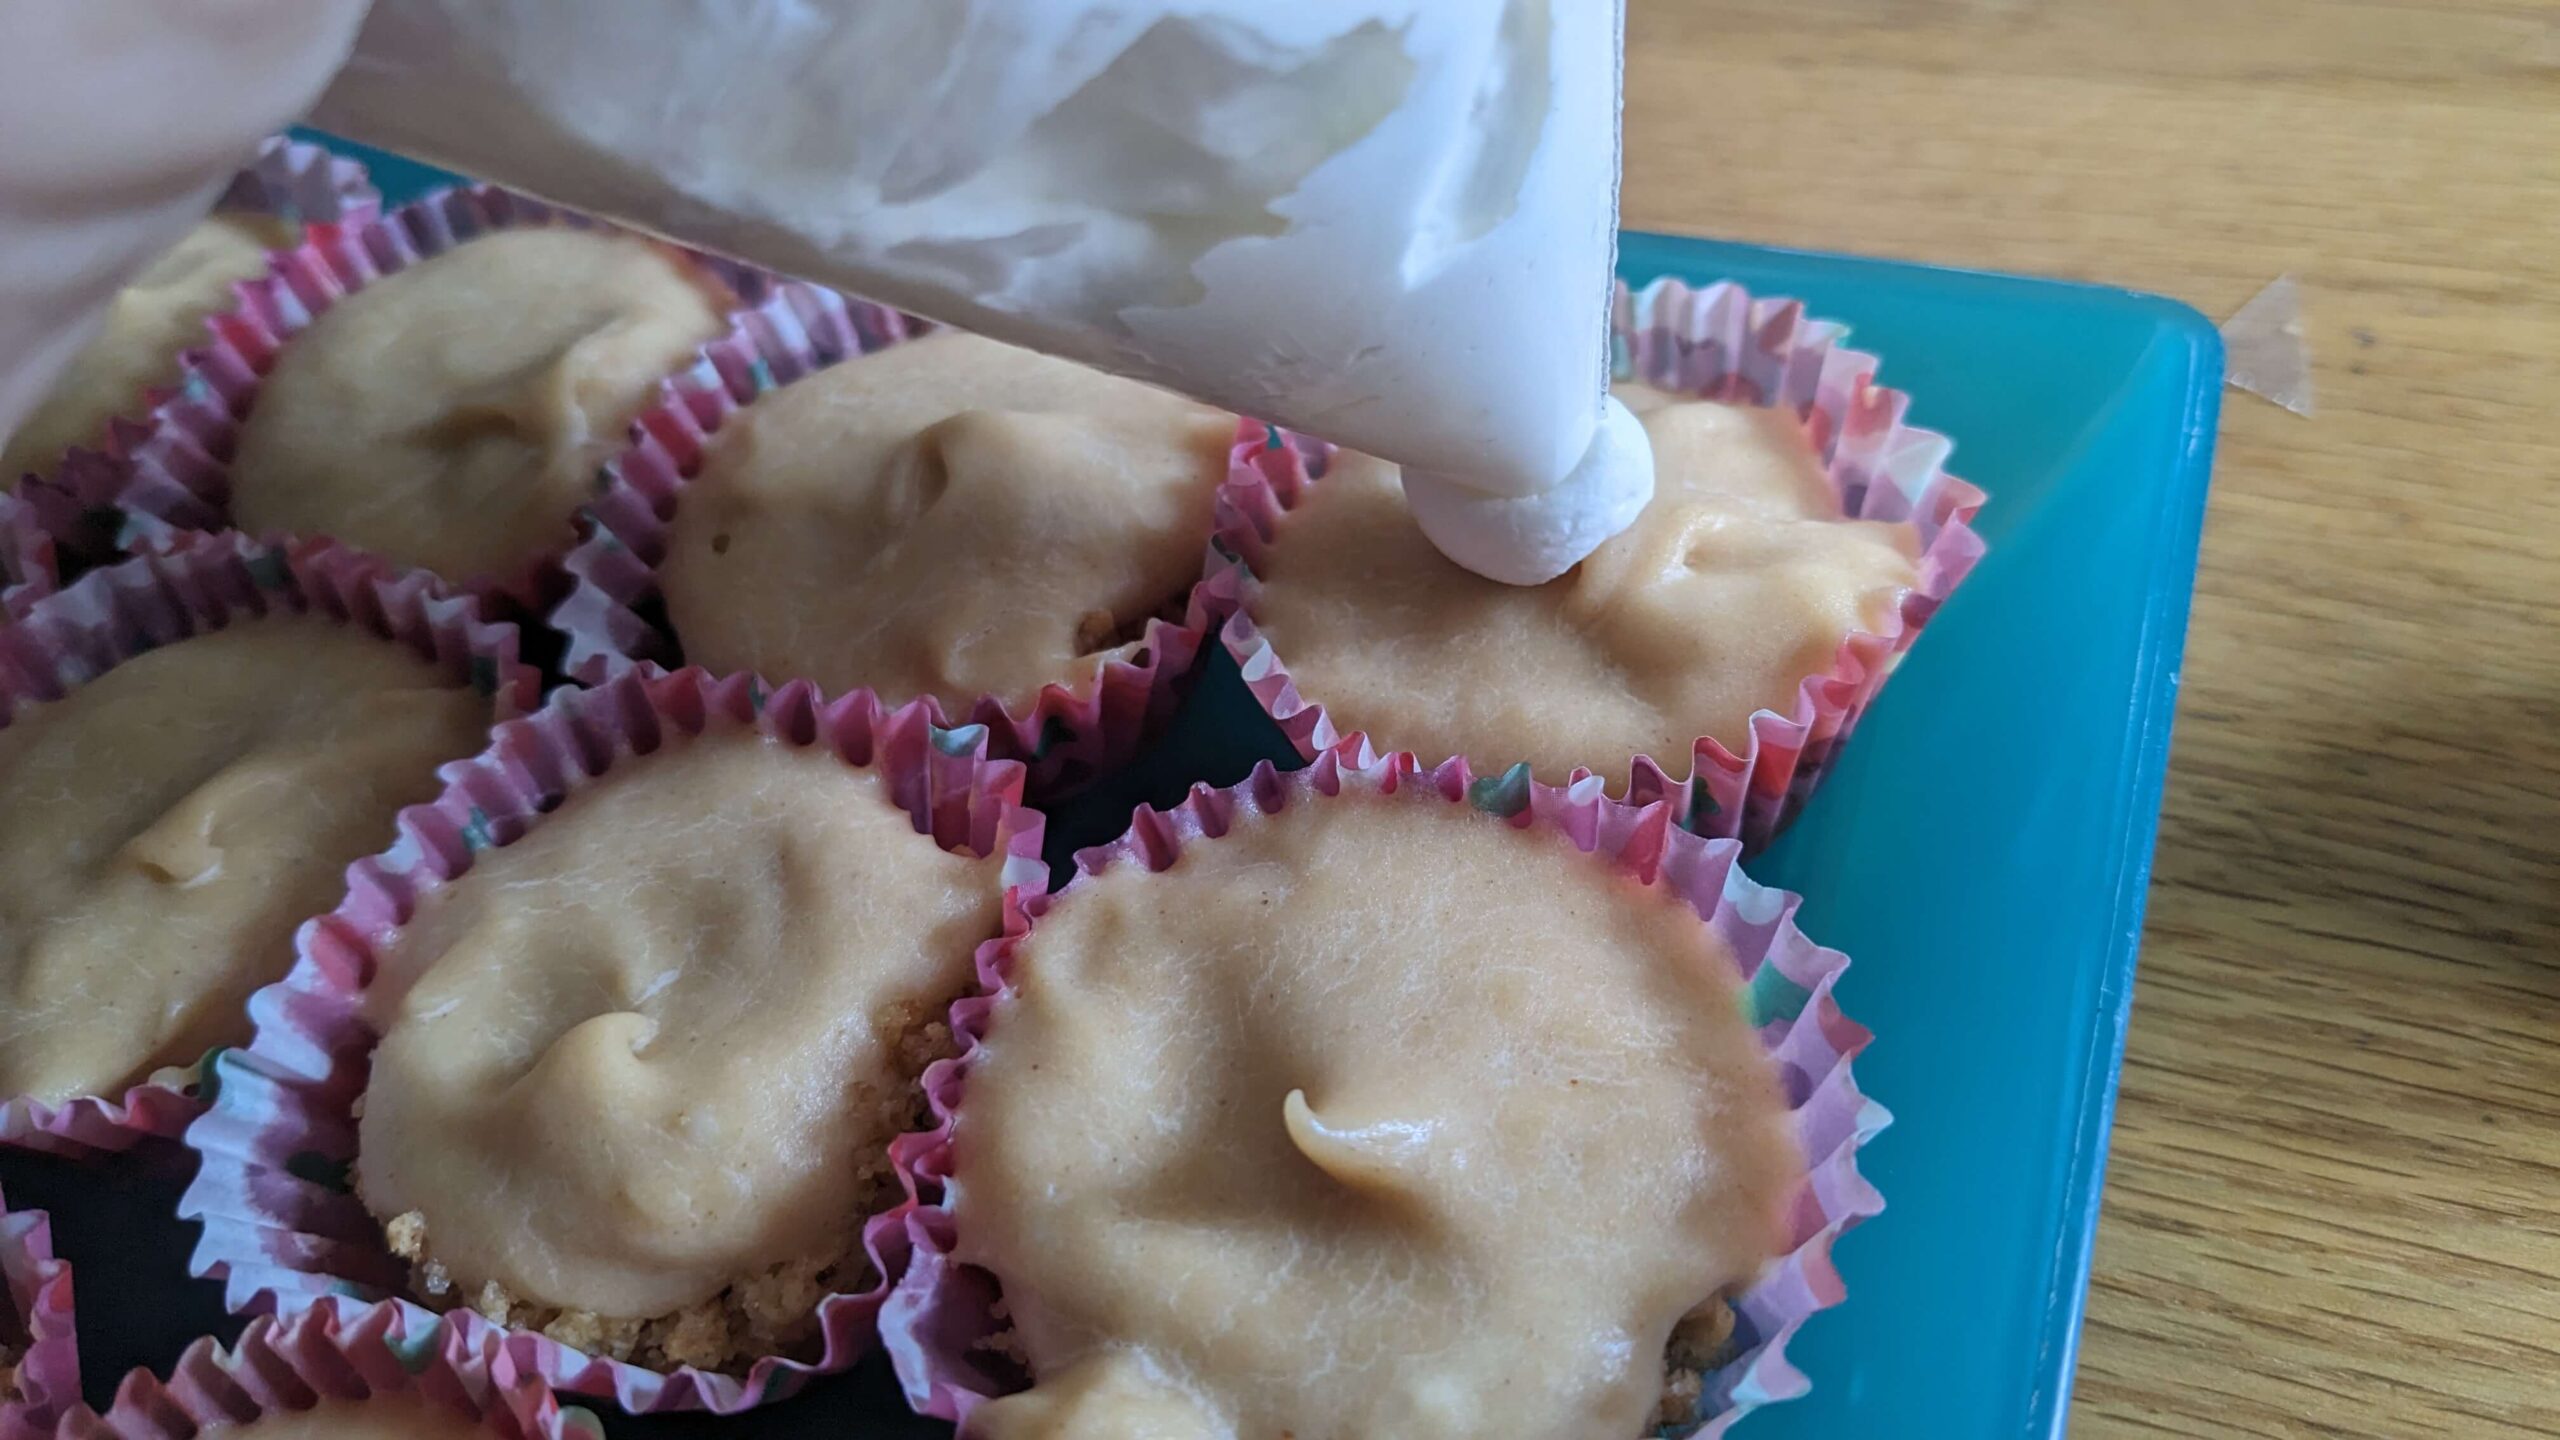
Place covered in the fridge for at least an hour or until ready to serve. I just used plastic wrap and these stayed good in my fridge for three days (before we ate all of the leftovers). Top with whipped cream before serving. I made a homemade whipped cream and piped it on using a ziplock bag with the end snipped off but cool whip or whipped cream from a can would work great. For visual interest, I shaved some chocolate wafers and sprinkled it on top.

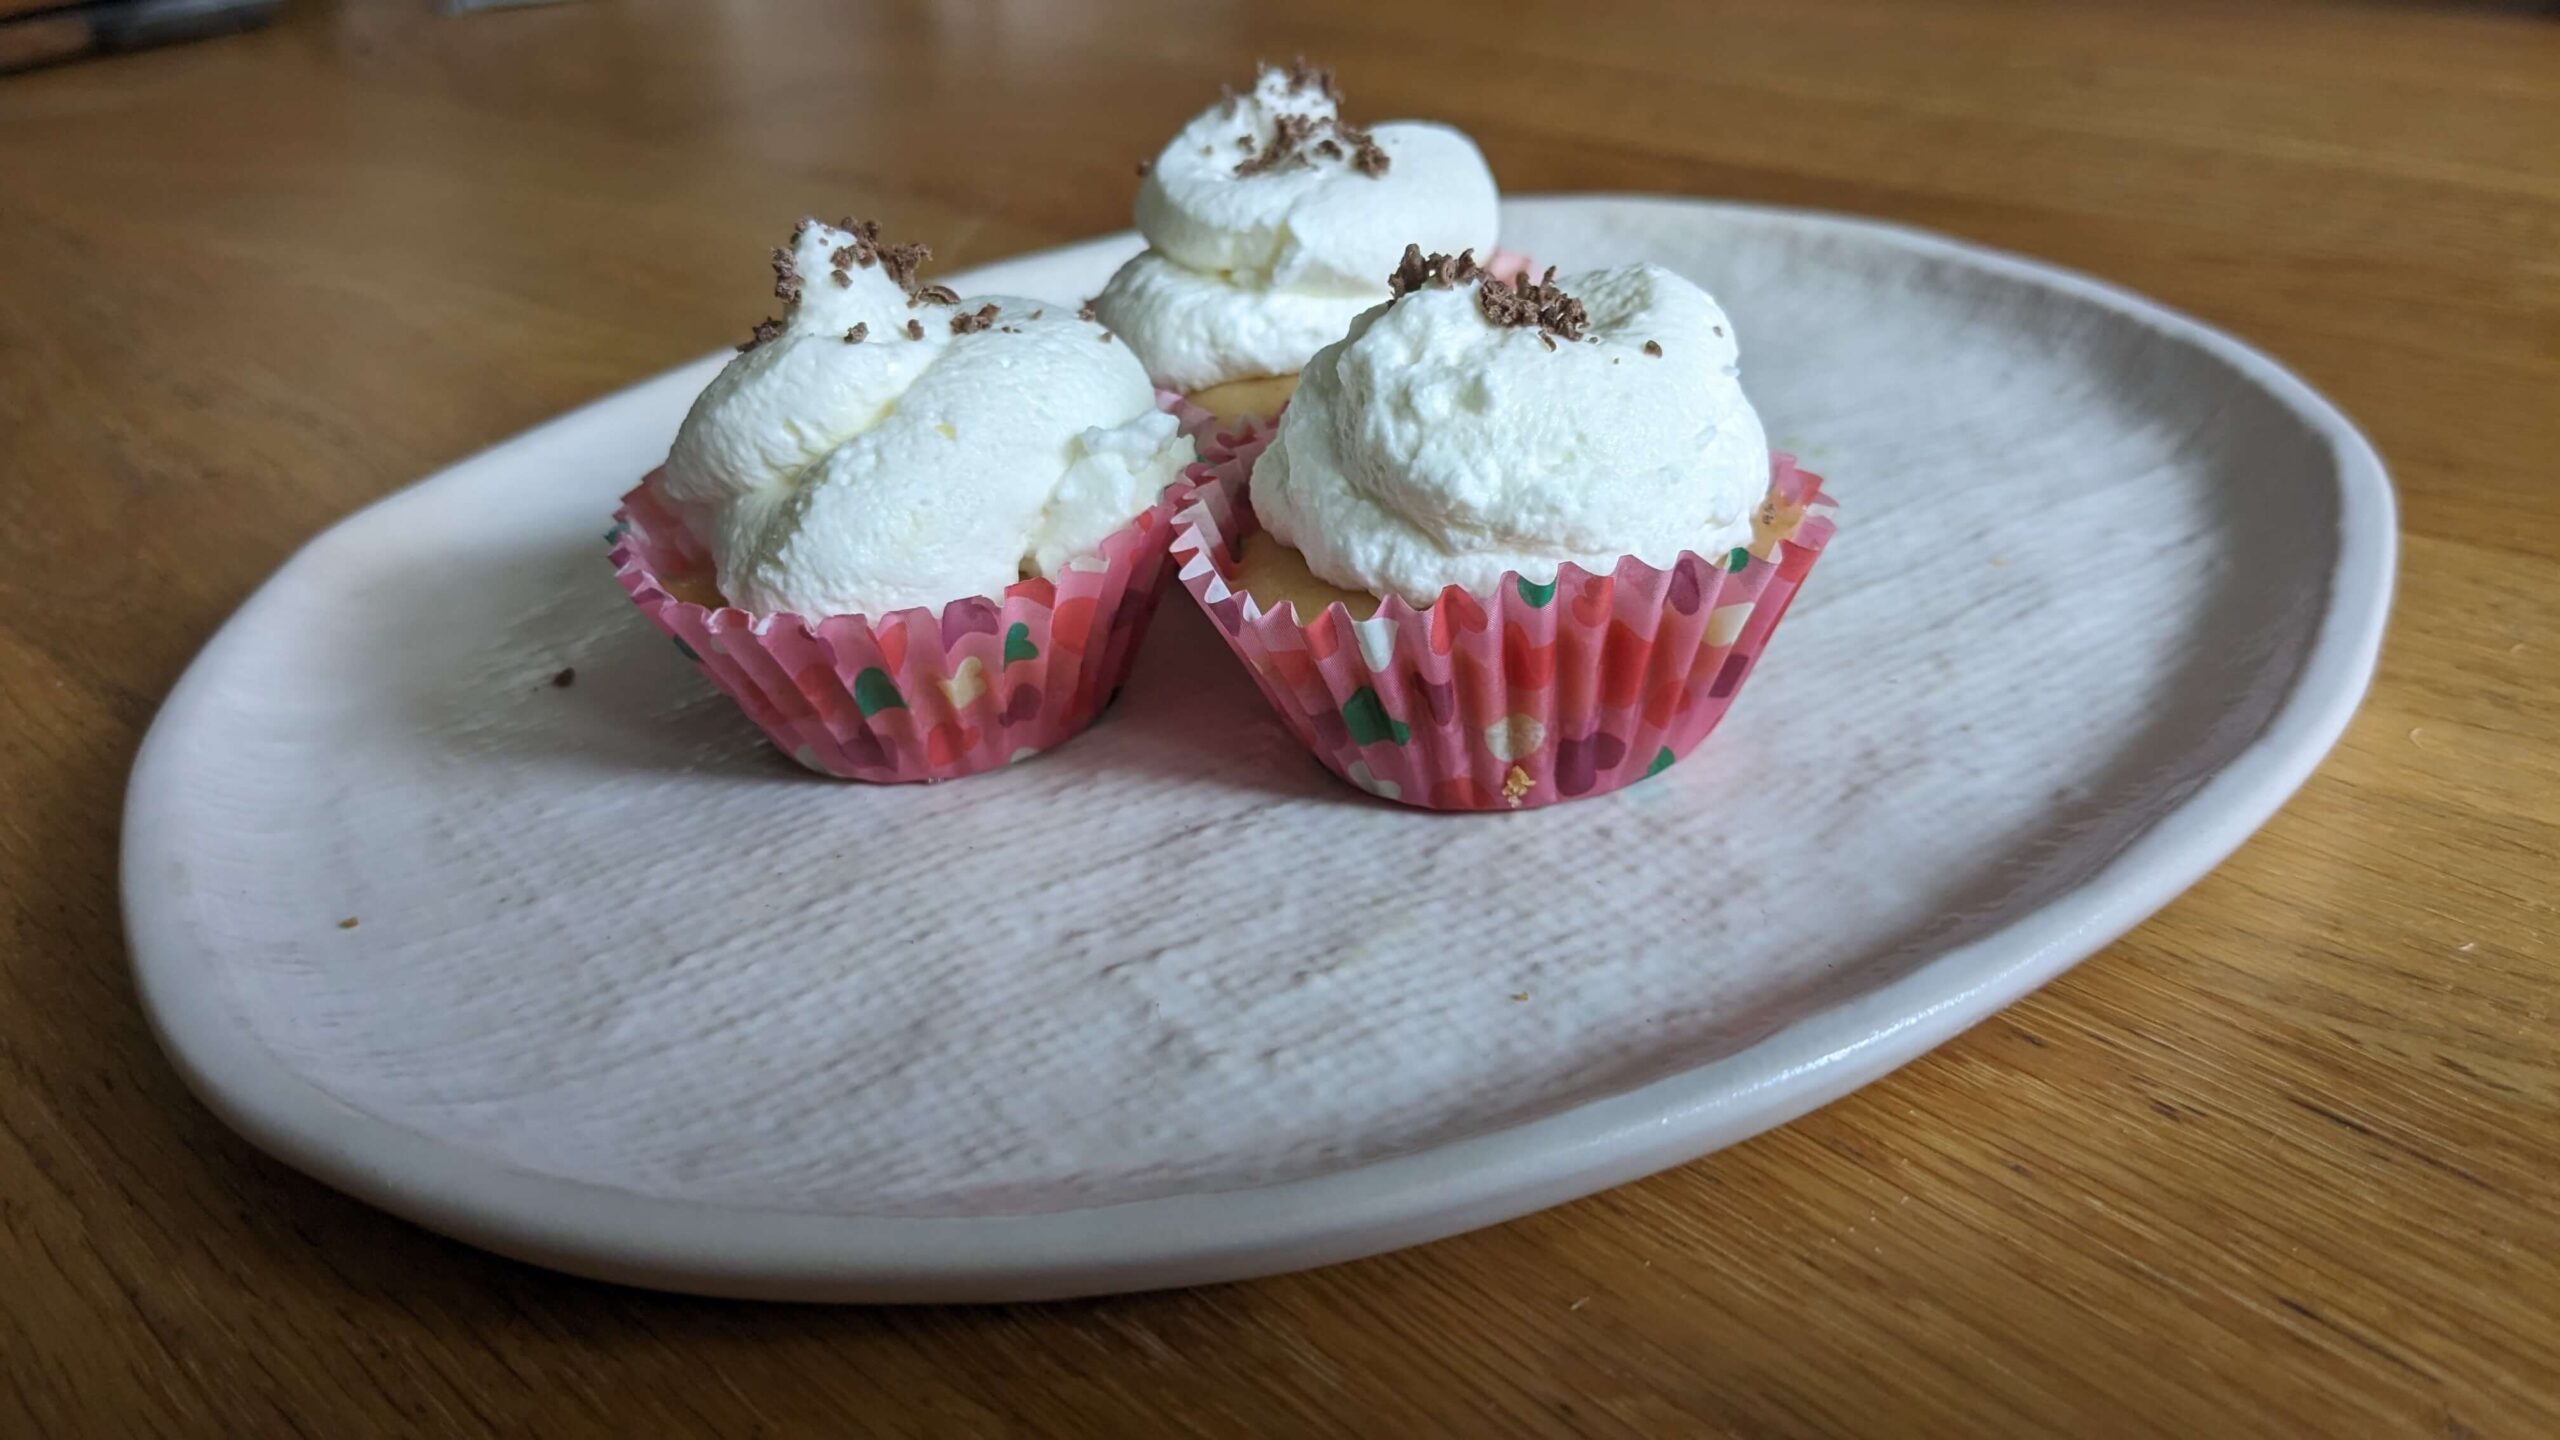
These were a huge hit and I am excited to make them again. Next time I might melt some chocolate chips and peanut butter and drizzle it on top of the whipped cream. What toppings would you try?
Mini Peanut Butter Cheesecake Bites
Ingredients
Equipment
Method
- Preheat the oven to 350 degrees. Line a mini cupcake tin with disposable liners.
- In a food processor, combine 15 whole graham crackers, 5 tbsp melted butter, ⅓ cup of sugar, and a pinch of salt. (Alternatively, you can crush the graham crackers and combine all the ingredients by hand in a bowl.)
- Place about 2 tsp of the graham cracker mixture into the mini cupcake tin and push down with the back of a spoon.
- Bake at 350 for 8 minutes. When done, allow to rest on the counter for a few minutes before filling with the cream cheese mixture.
- In the food processor (or in a bowl and mix by hand), add the cheesecake filling ingredients ( 8 ounces cream cheese, softened, 1 cup powdered sugar, 1 cup peanut butter, 1 tsp vanilla, a pinch of salt, and 1 cup of heavy cream). Blend together until fully incorporated. This took about five minutes.
- Scoop spoonfuls of the mixture into the cooled down cupcake tins. I filled the liners 3/4 of the way and had quite a bit left over, you can fill to almost the top of the liners.
- Place covered in the fridge for at least an hour or until ready to serve.
- Top with whipped cream prior to serving.
Save it for later!