
“How do I go about preserving kale?” is not something that I thought I would be researching this July. Before this summer, I did not know what to do with kale. I’ve had it in salads or restaurant meals but I have never cooked it in my own kitchen this year.
Based on this, you might ask, well then why would you plant kale? I didn’t. Not initially anyway. A kind lady from my church who is a phenomenal gardener has seen my desire to learn about and grow my own food, and she blessed us with a couple of different plant starts.
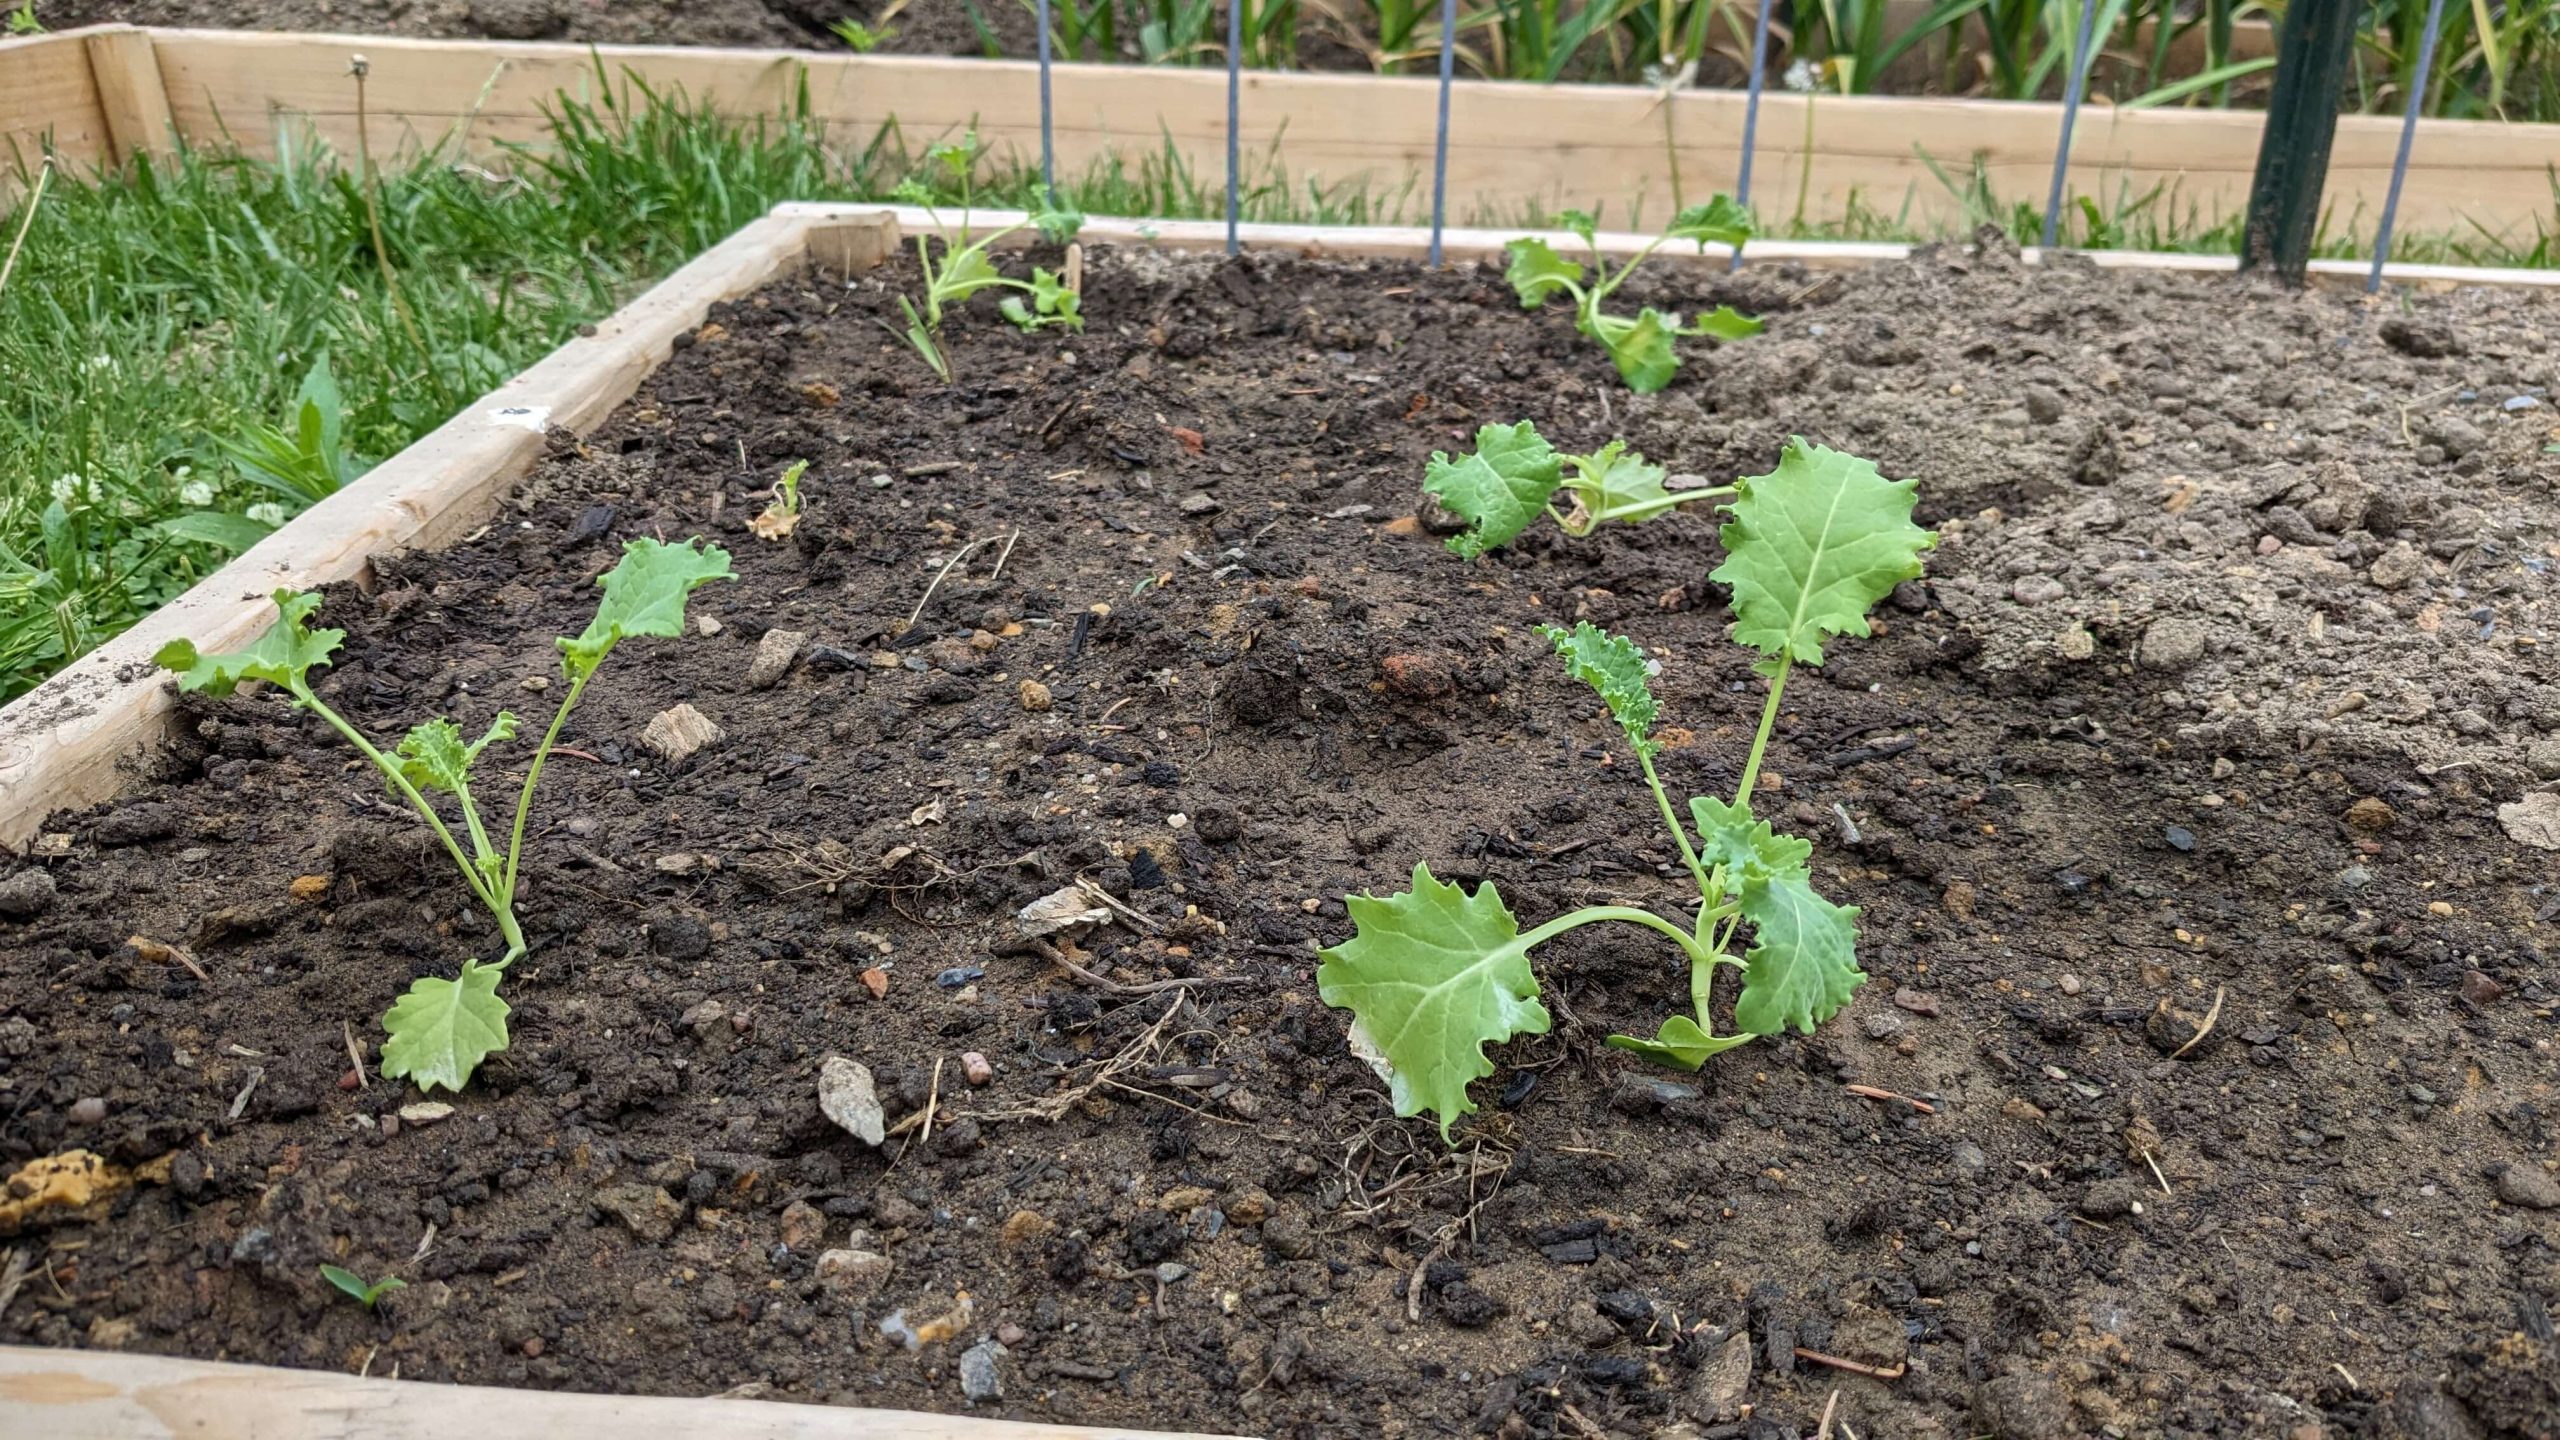
One of the types of plants that she gave us was 6 kale plants. I had a couple of thoughts when I saw them, and in order they were: First, that’s cool, but I have no clue how to use it. Second, this will be great, they’re tiny, so you probably need this many to get a small harvest. Third, I should probably think of a recipe that isn’t soup to use this for.
Also, somewhere in there, Bennett asked me if we should be preserving kale for the fall and I brushed him off with things like, “We’ll eat it all long before we would need to think about that” and flat out, “No, I don’t think you can. And besides, why would we?”
Well, the first thought was accurate but is slowly changing, and the second two thoughts were absolute falsehoods on this end of it. And I get to sit in my wrongness as Bennett looked on as I frantically searched what to do with multiple sink fulls of kale. 
As a quick note, kale is an incredibly healthy vegetable. It is from the Cabbage family and has Vitamin A, folate, and minerals like potassium and calcium.
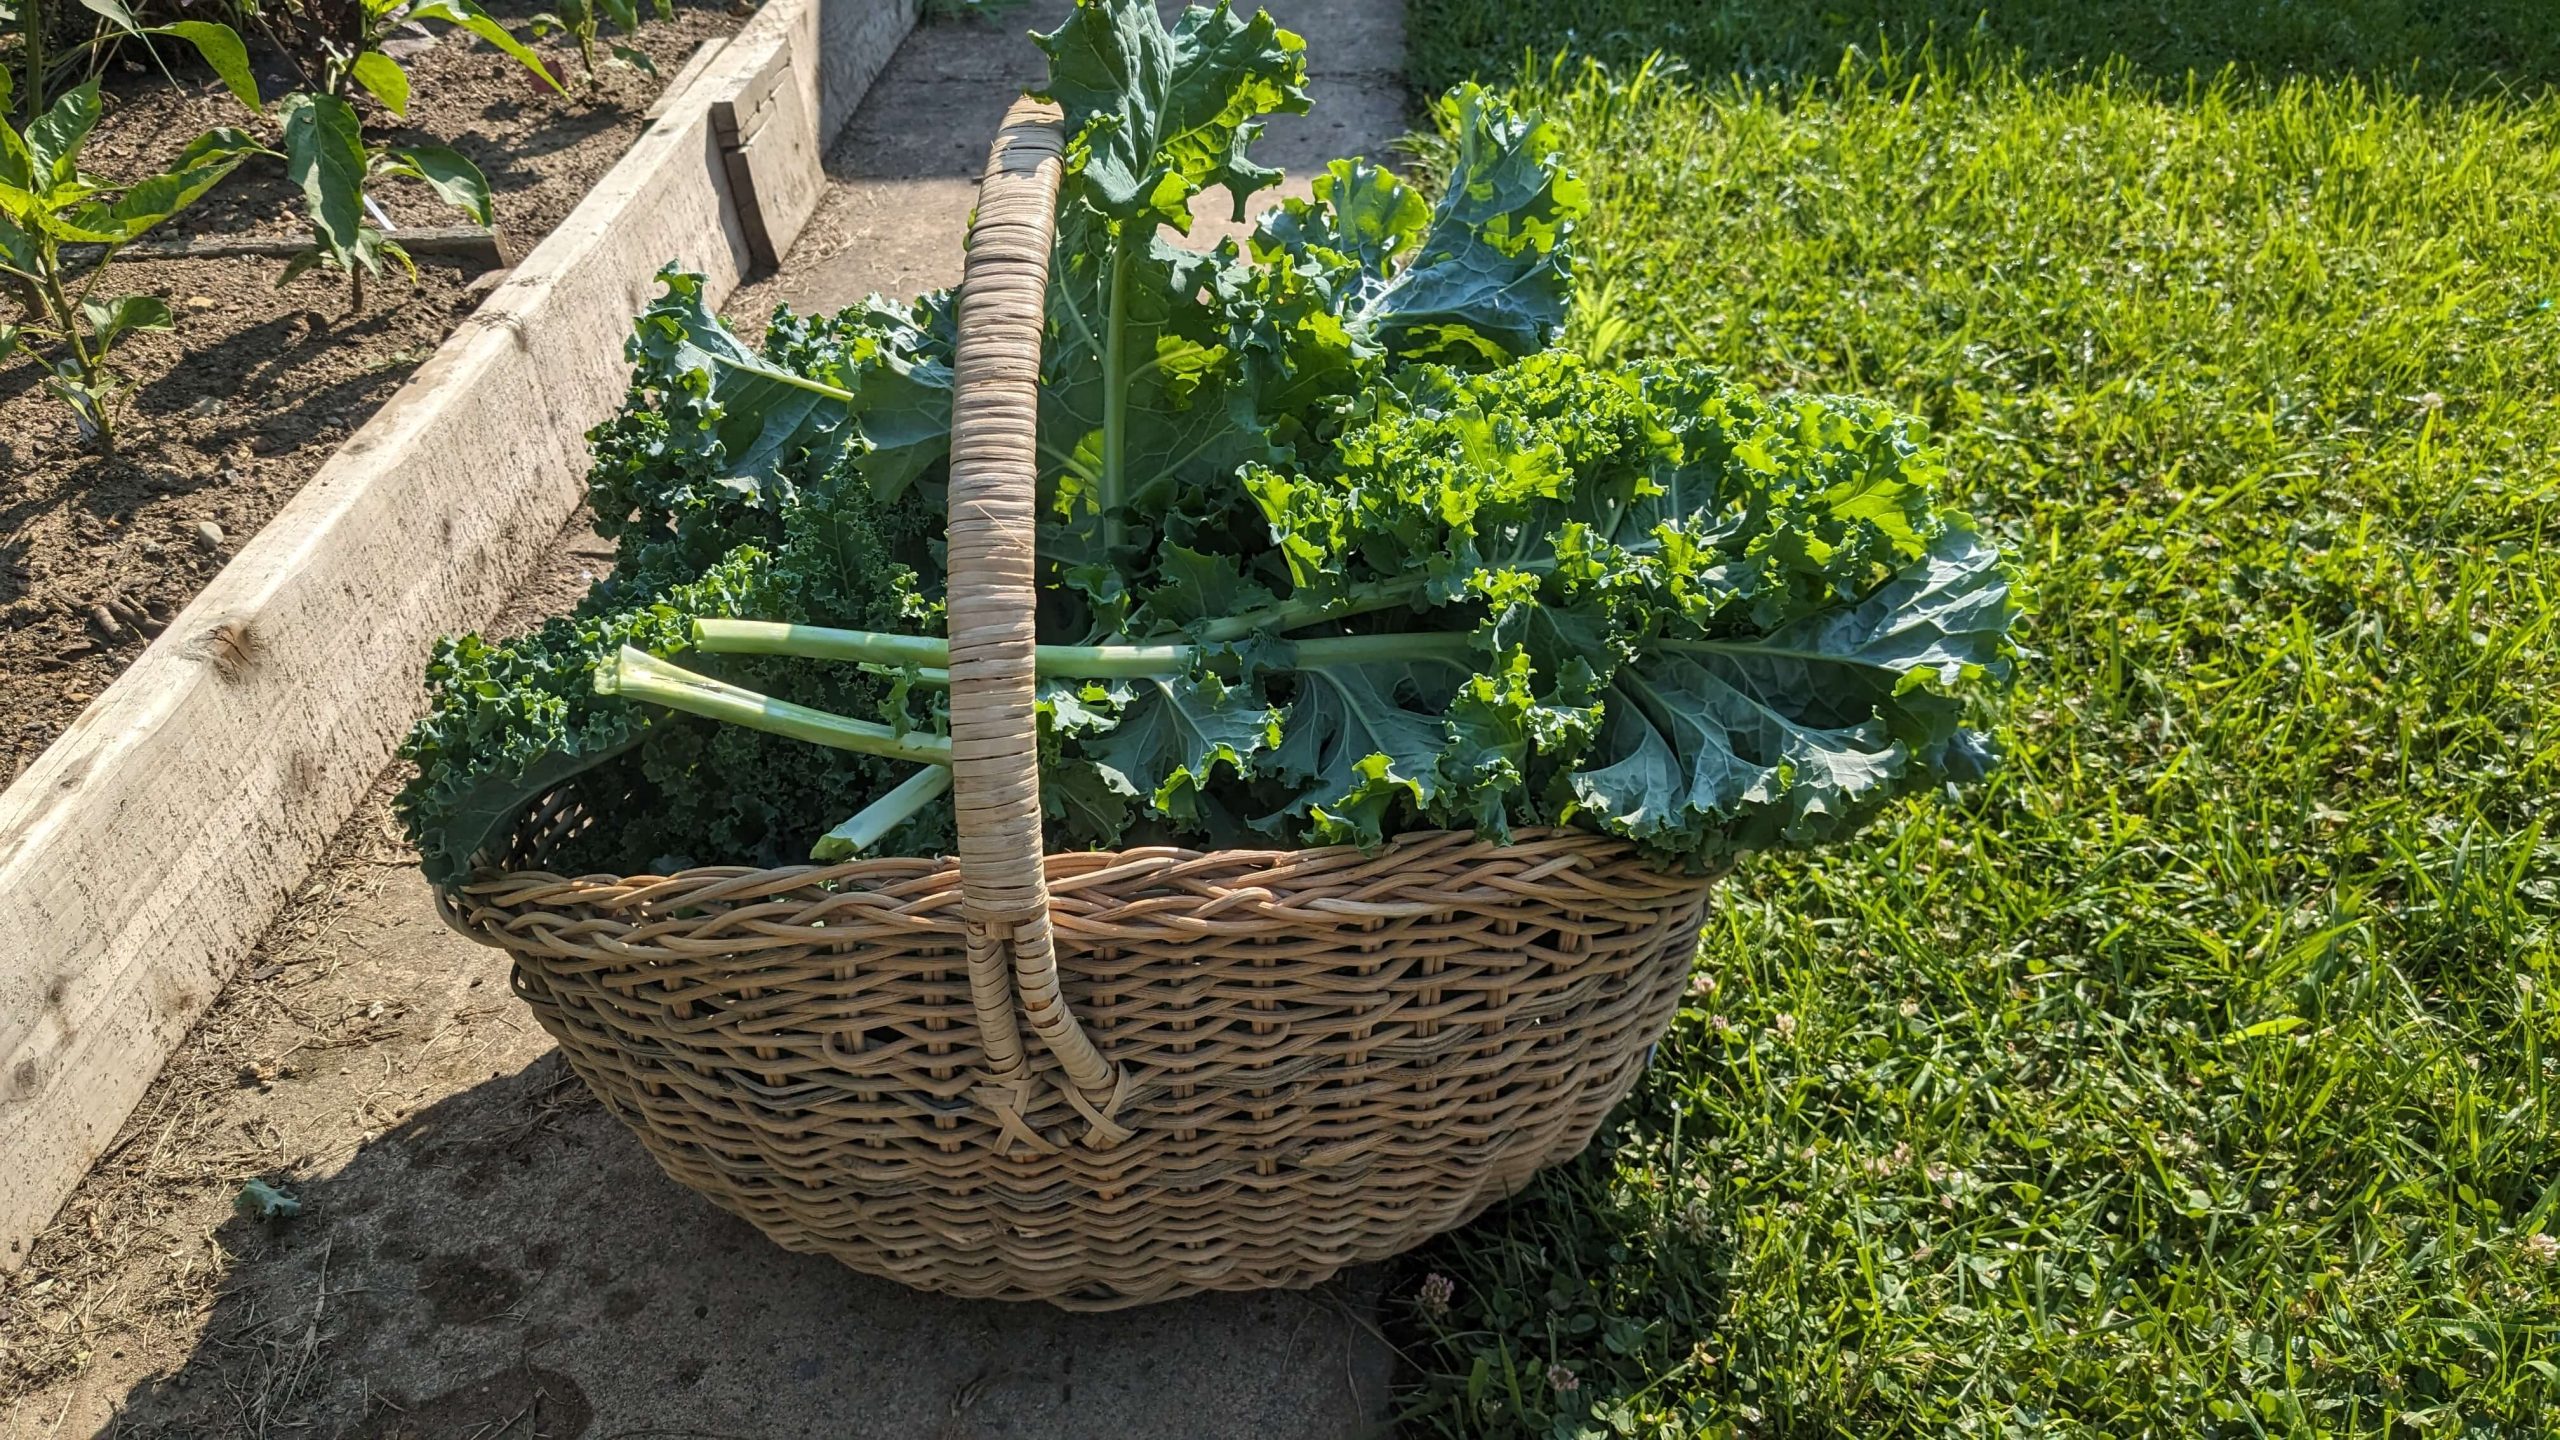
The abundant blessing, and problem:
This basket was the third harvest of its size and I will get at least two more big harvests of it. My only thought has been, what do I do with a lot of kale?!
With research and a little trial and error, I learned a pasta and kale dish and I made kale chips but it has been too hot for us to want kale soup and I still have so much kale left. I have two bowls of kale chips sitting on the counter right now and I’m the only one eating it. Preserving kale is the only way to go if we don’t want to waste what we have and I’m trying not to waste what we have.
With a little bit more research I looked into the idea of freezing kale because if you can have frozen spinach you can probably have frozen kale, right?
I did a small trial batch one night to try it out and it worked great. I did it with the rest and I now have a freezer full of kale that I can use in soups in the fall and it all came from my garden at no cost to us. I’m so glad that I put some effort into researching preserving kale. this way I don’t waste any of it and my family reaps the benefits of such a healthy vegetable.
Preserving kale in the freezer:
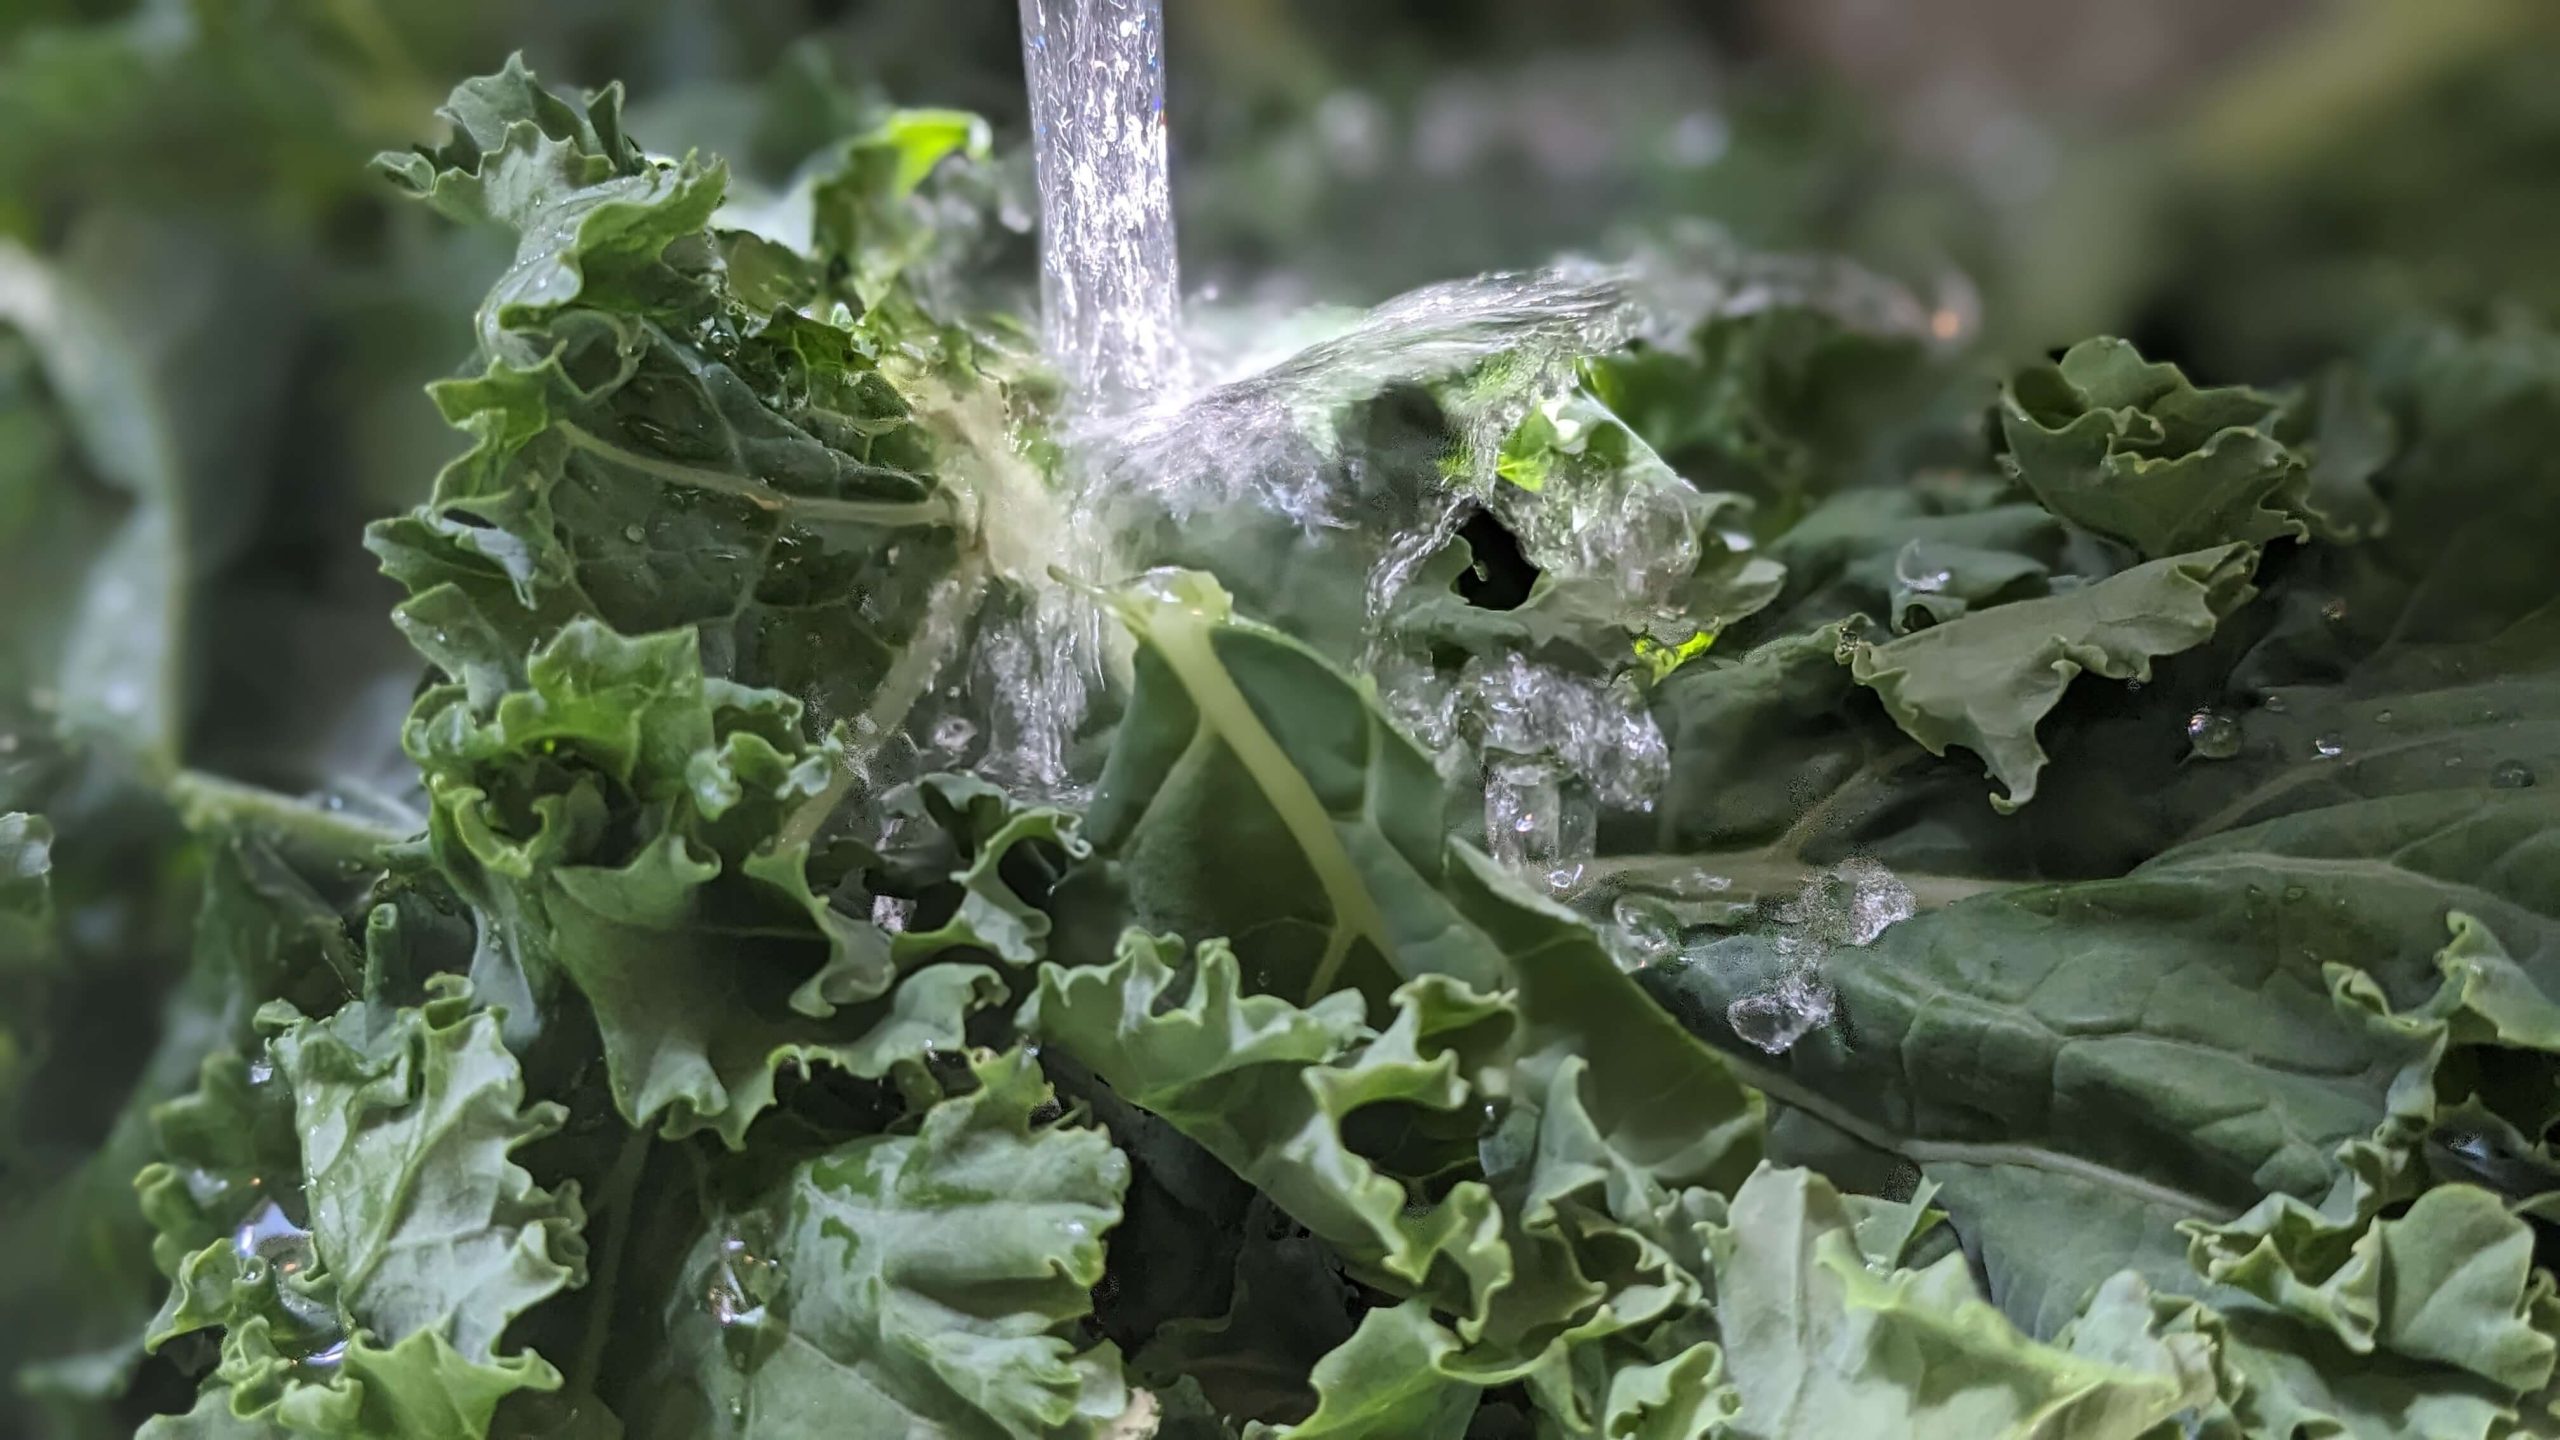
Step one, clean and de-stem:
I’m sure that there are lots of ways to clean kale, but I just washed each leaf piece by piece under a stream of water and used my fingers. (Yes, boiling water will clean things but there was stuff like worm poop in the folded leaves so I wanted to make sure that there wasn’t visual dirt or poop or bugs before I started the blanch.) Then with my daughter’s help, we slowly ripped the kale off of the stem and ripped each piece into about the size that I assume we would use in soup.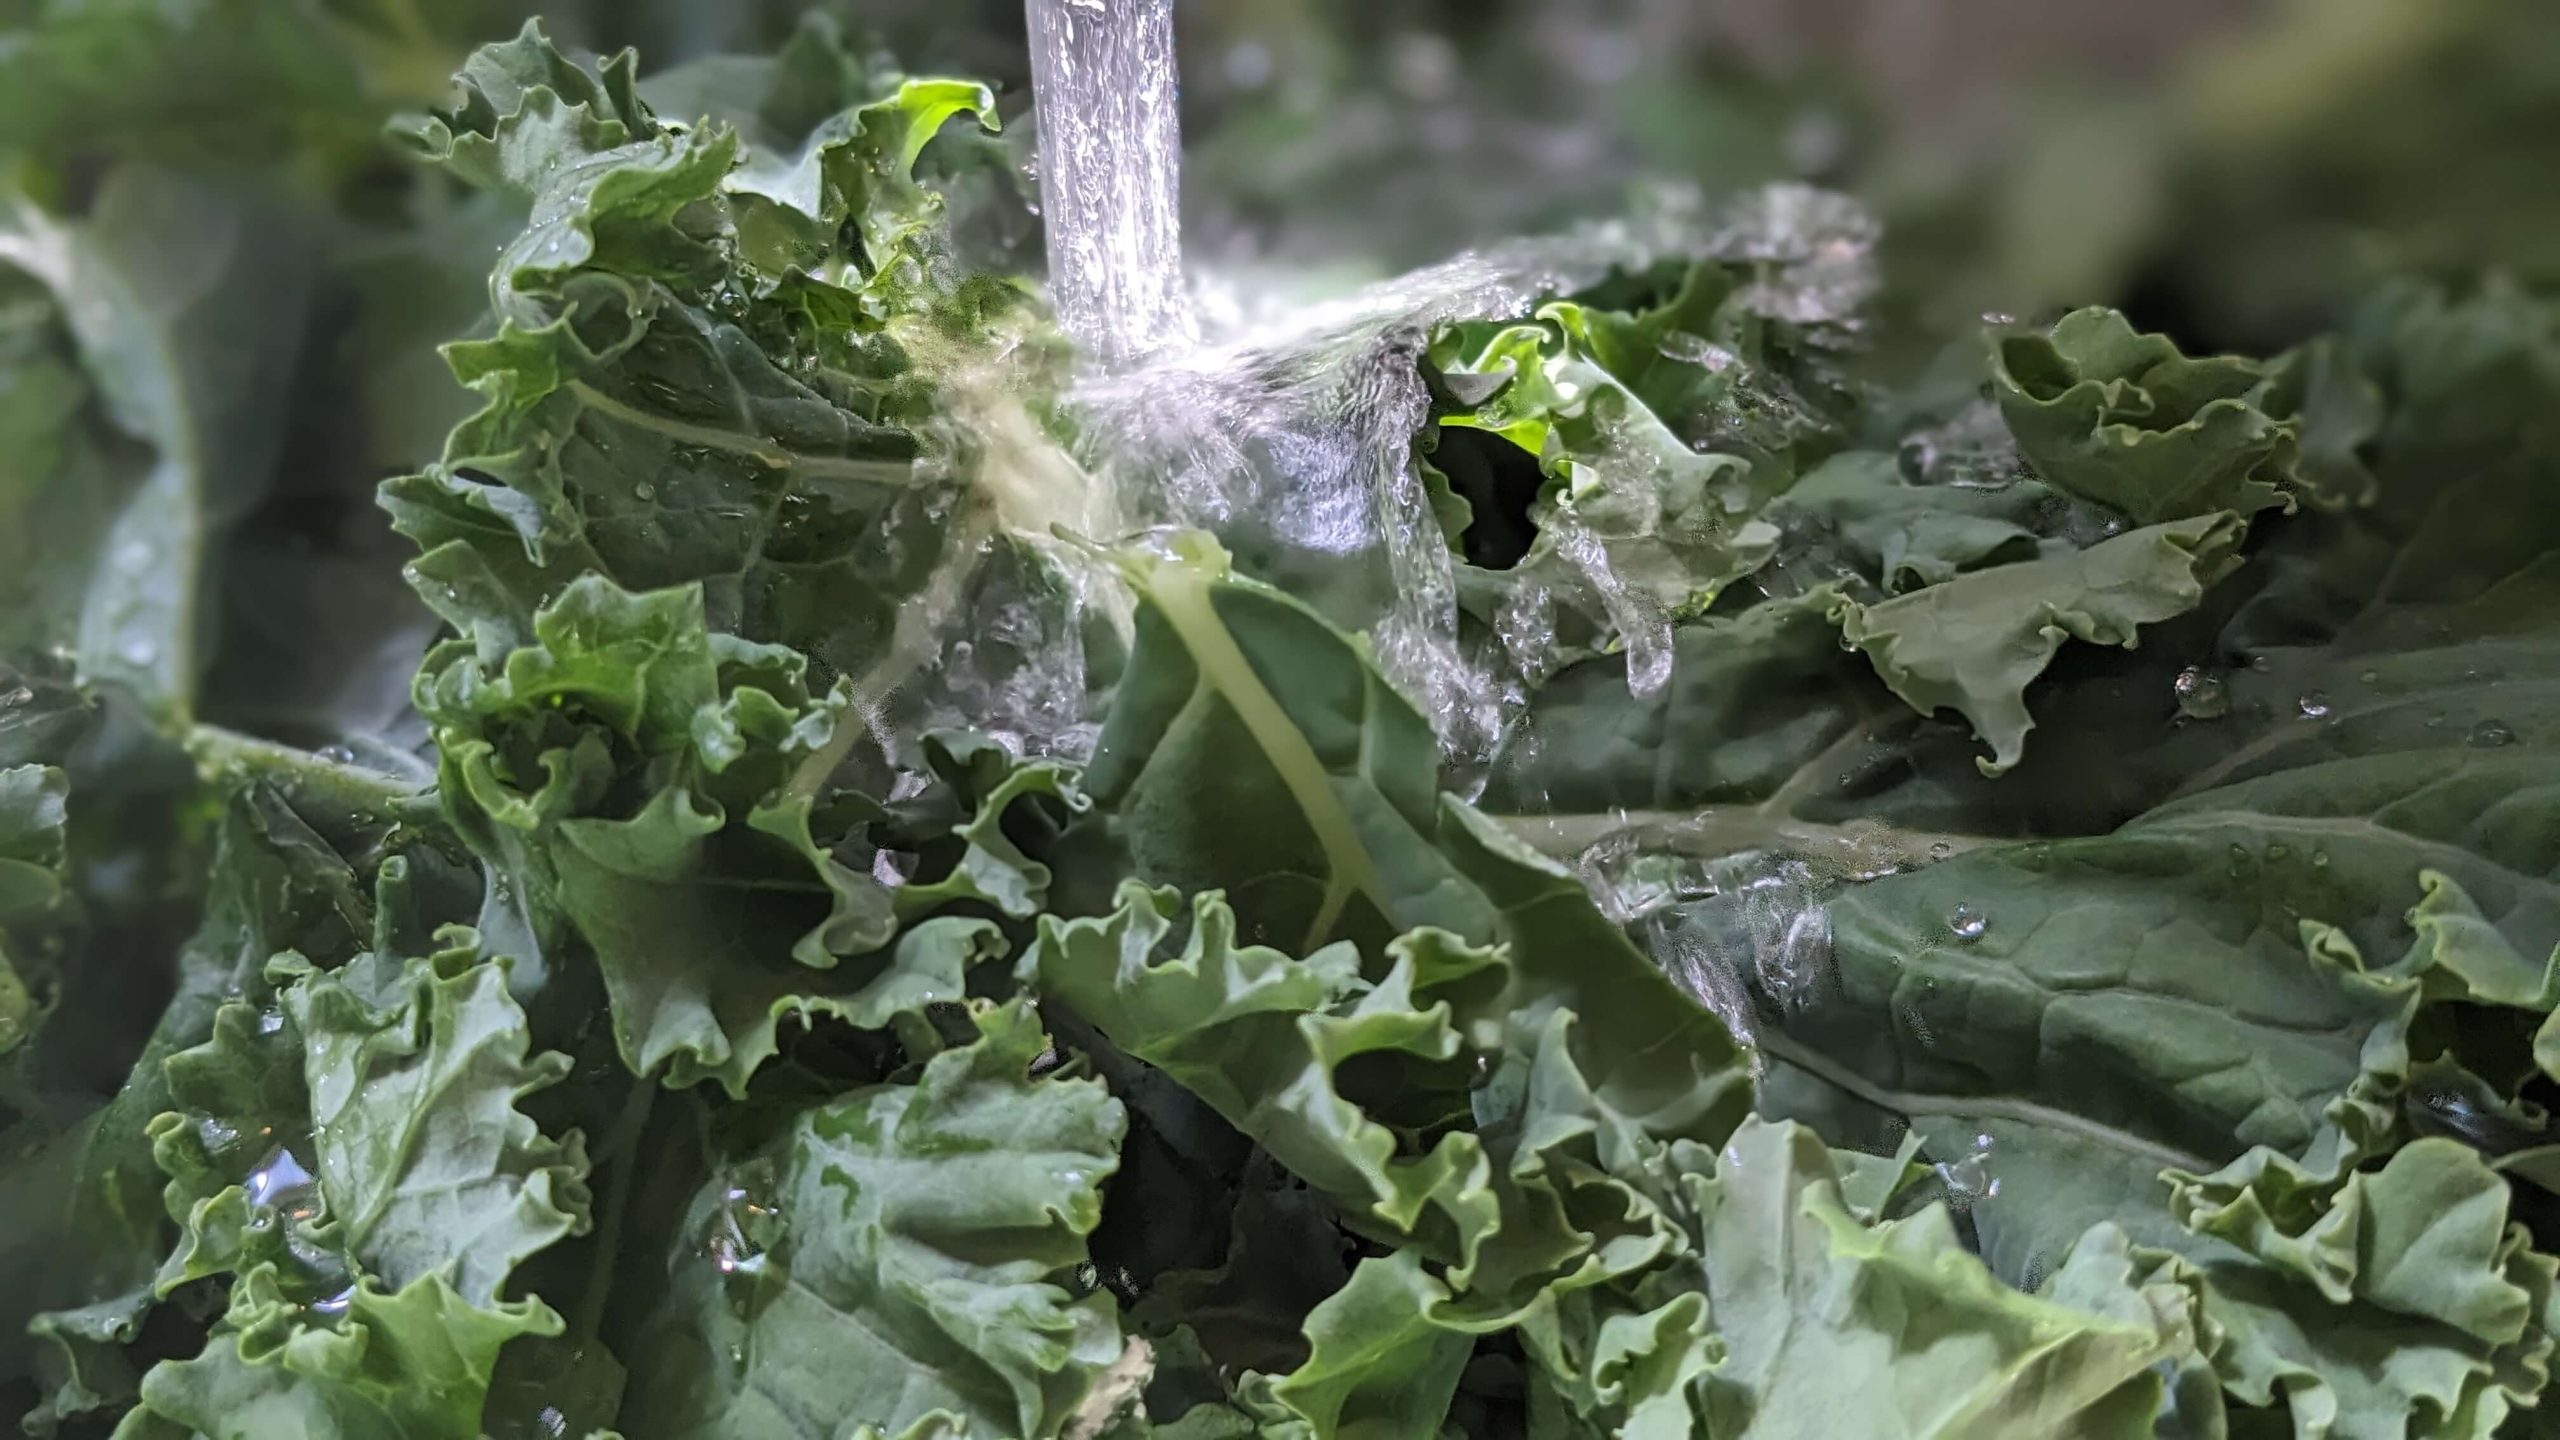
![]() Family Forging Tip: My daughter only just turned two but she is interested in the workings of the kitchen so I let her pull her step stool next to me and she helped rip the kale. I would de-stem it and let her tear into whatever size she wanted. Sure, it won’t be perfect when I go to cook with it next time and I probably could have done it quicker without her, but she learned the valuable lesson that I want to do stuff with her and she got to have fun while working.
Family Forging Tip: My daughter only just turned two but she is interested in the workings of the kitchen so I let her pull her step stool next to me and she helped rip the kale. I would de-stem it and let her tear into whatever size she wanted. Sure, it won’t be perfect when I go to cook with it next time and I probably could have done it quicker without her, but she learned the valuable lesson that I want to do stuff with her and she got to have fun while working.
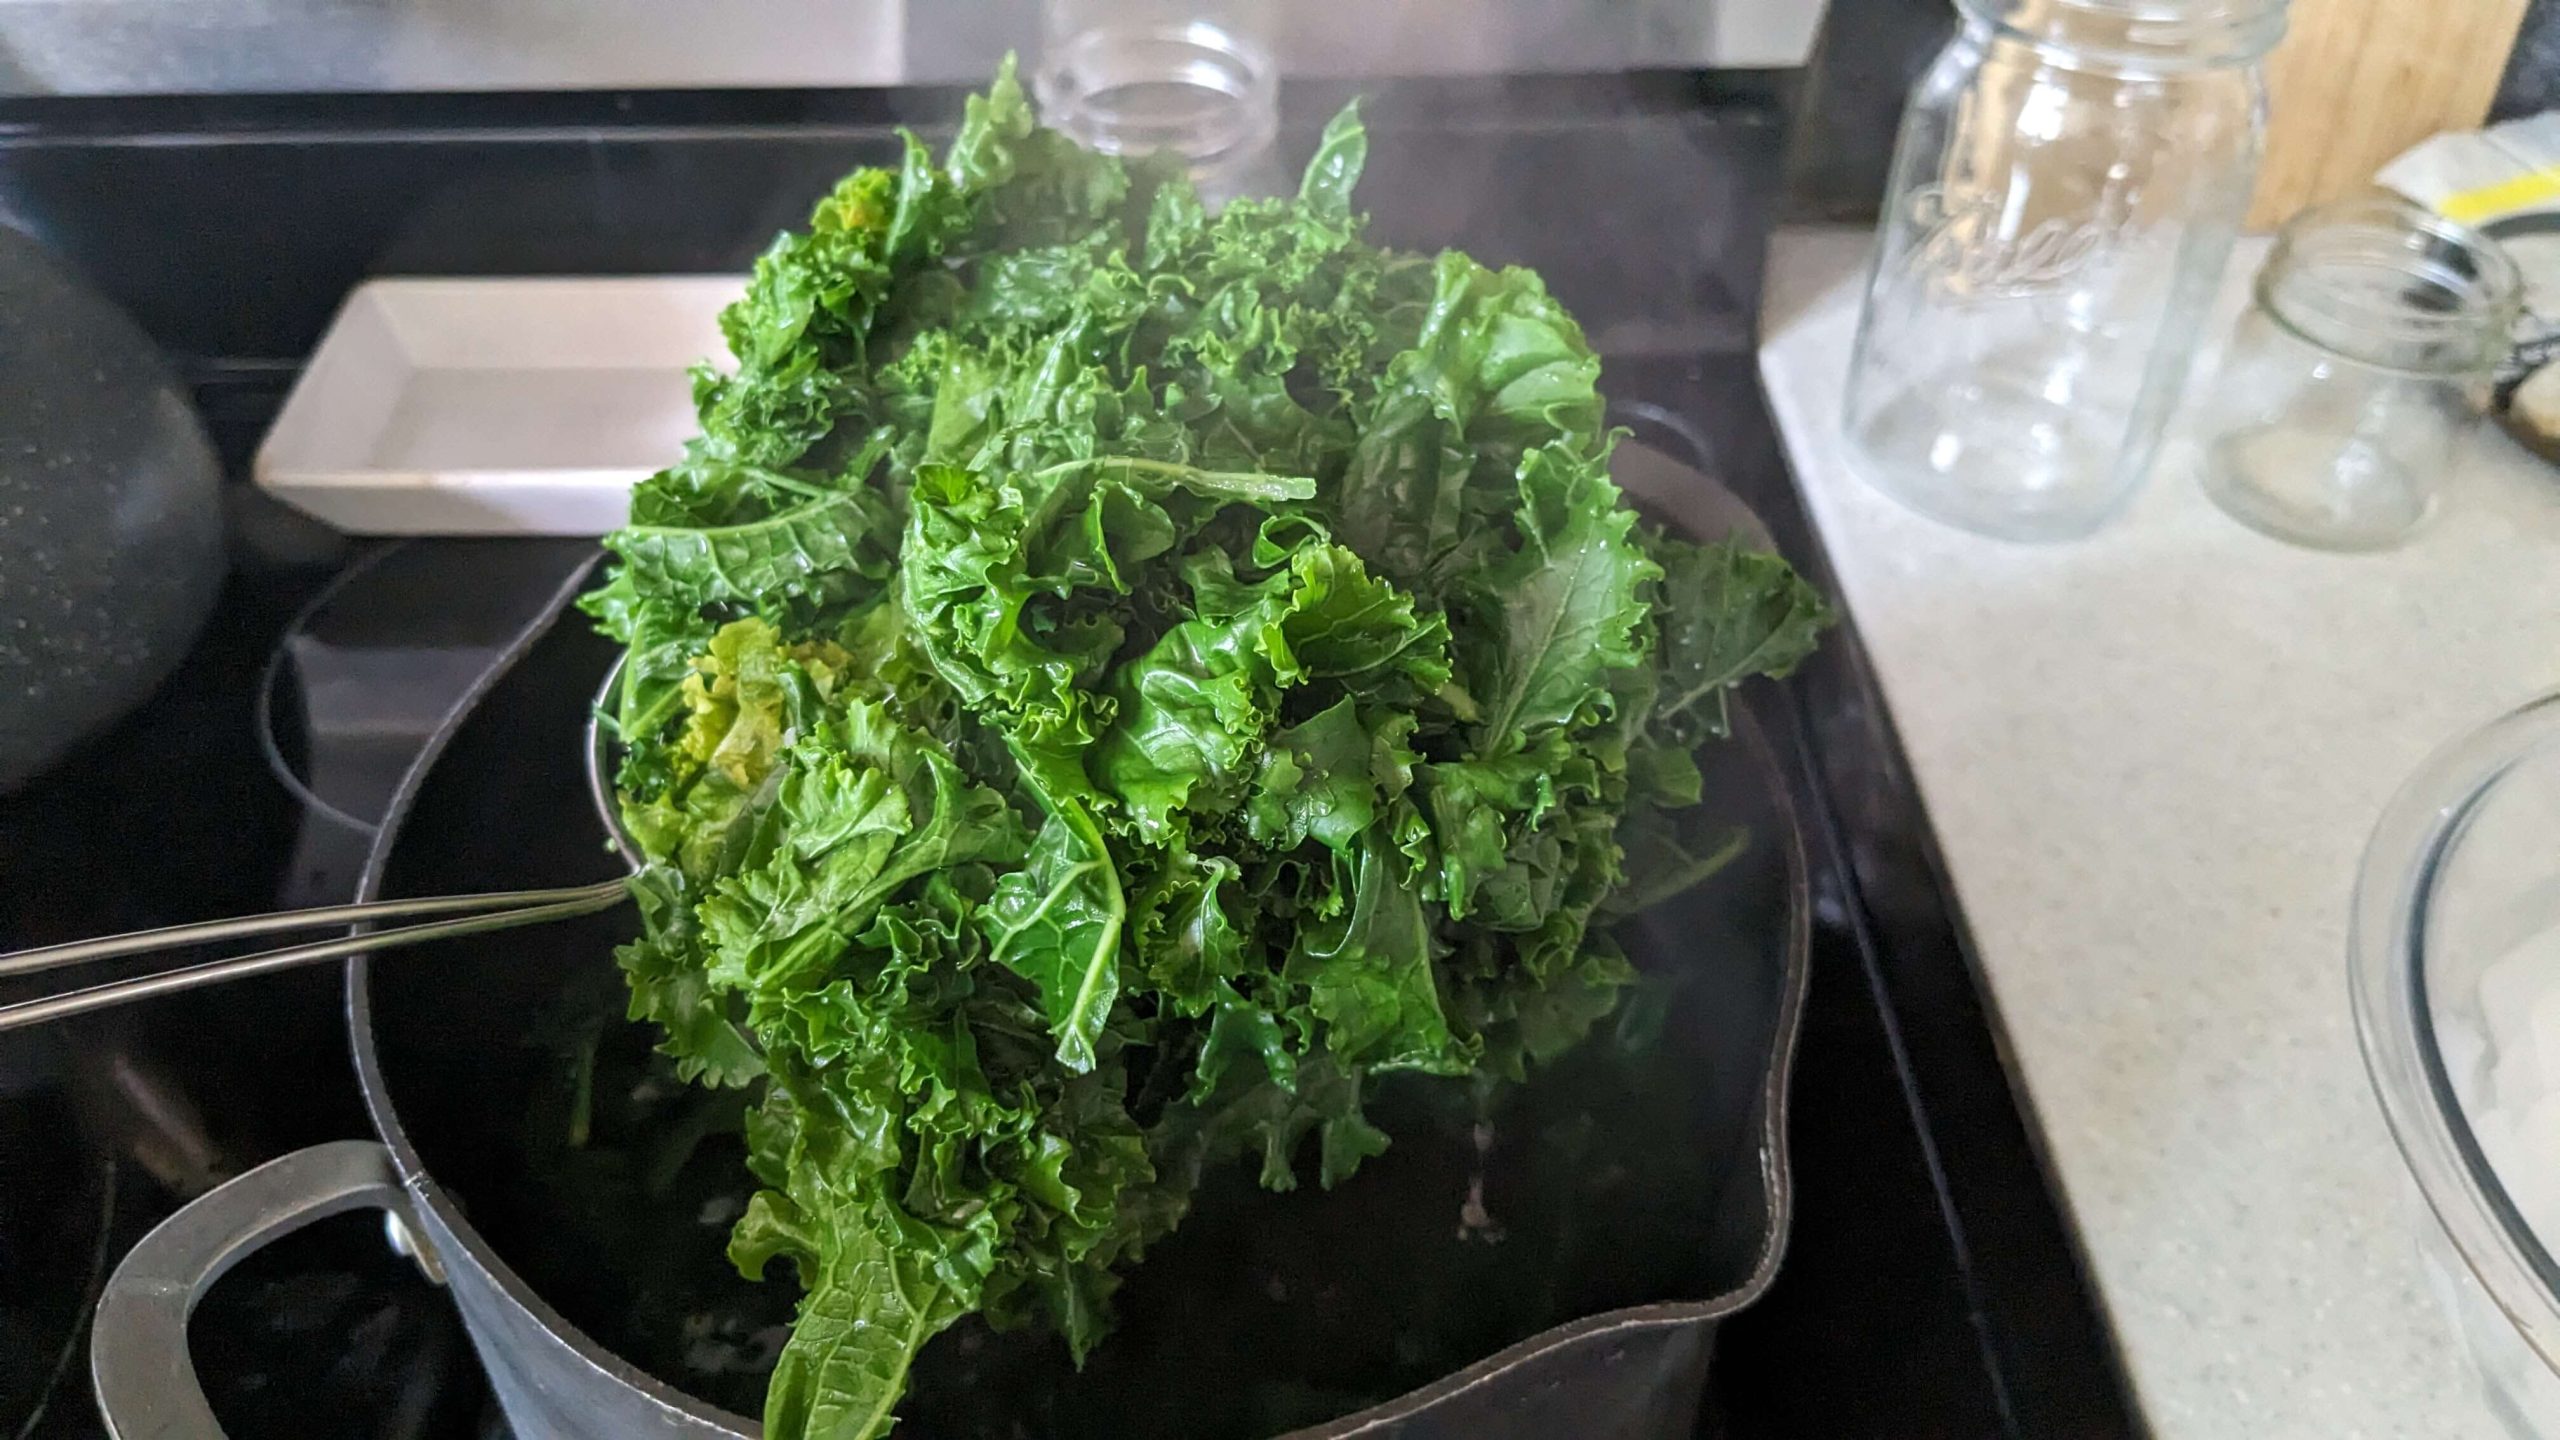
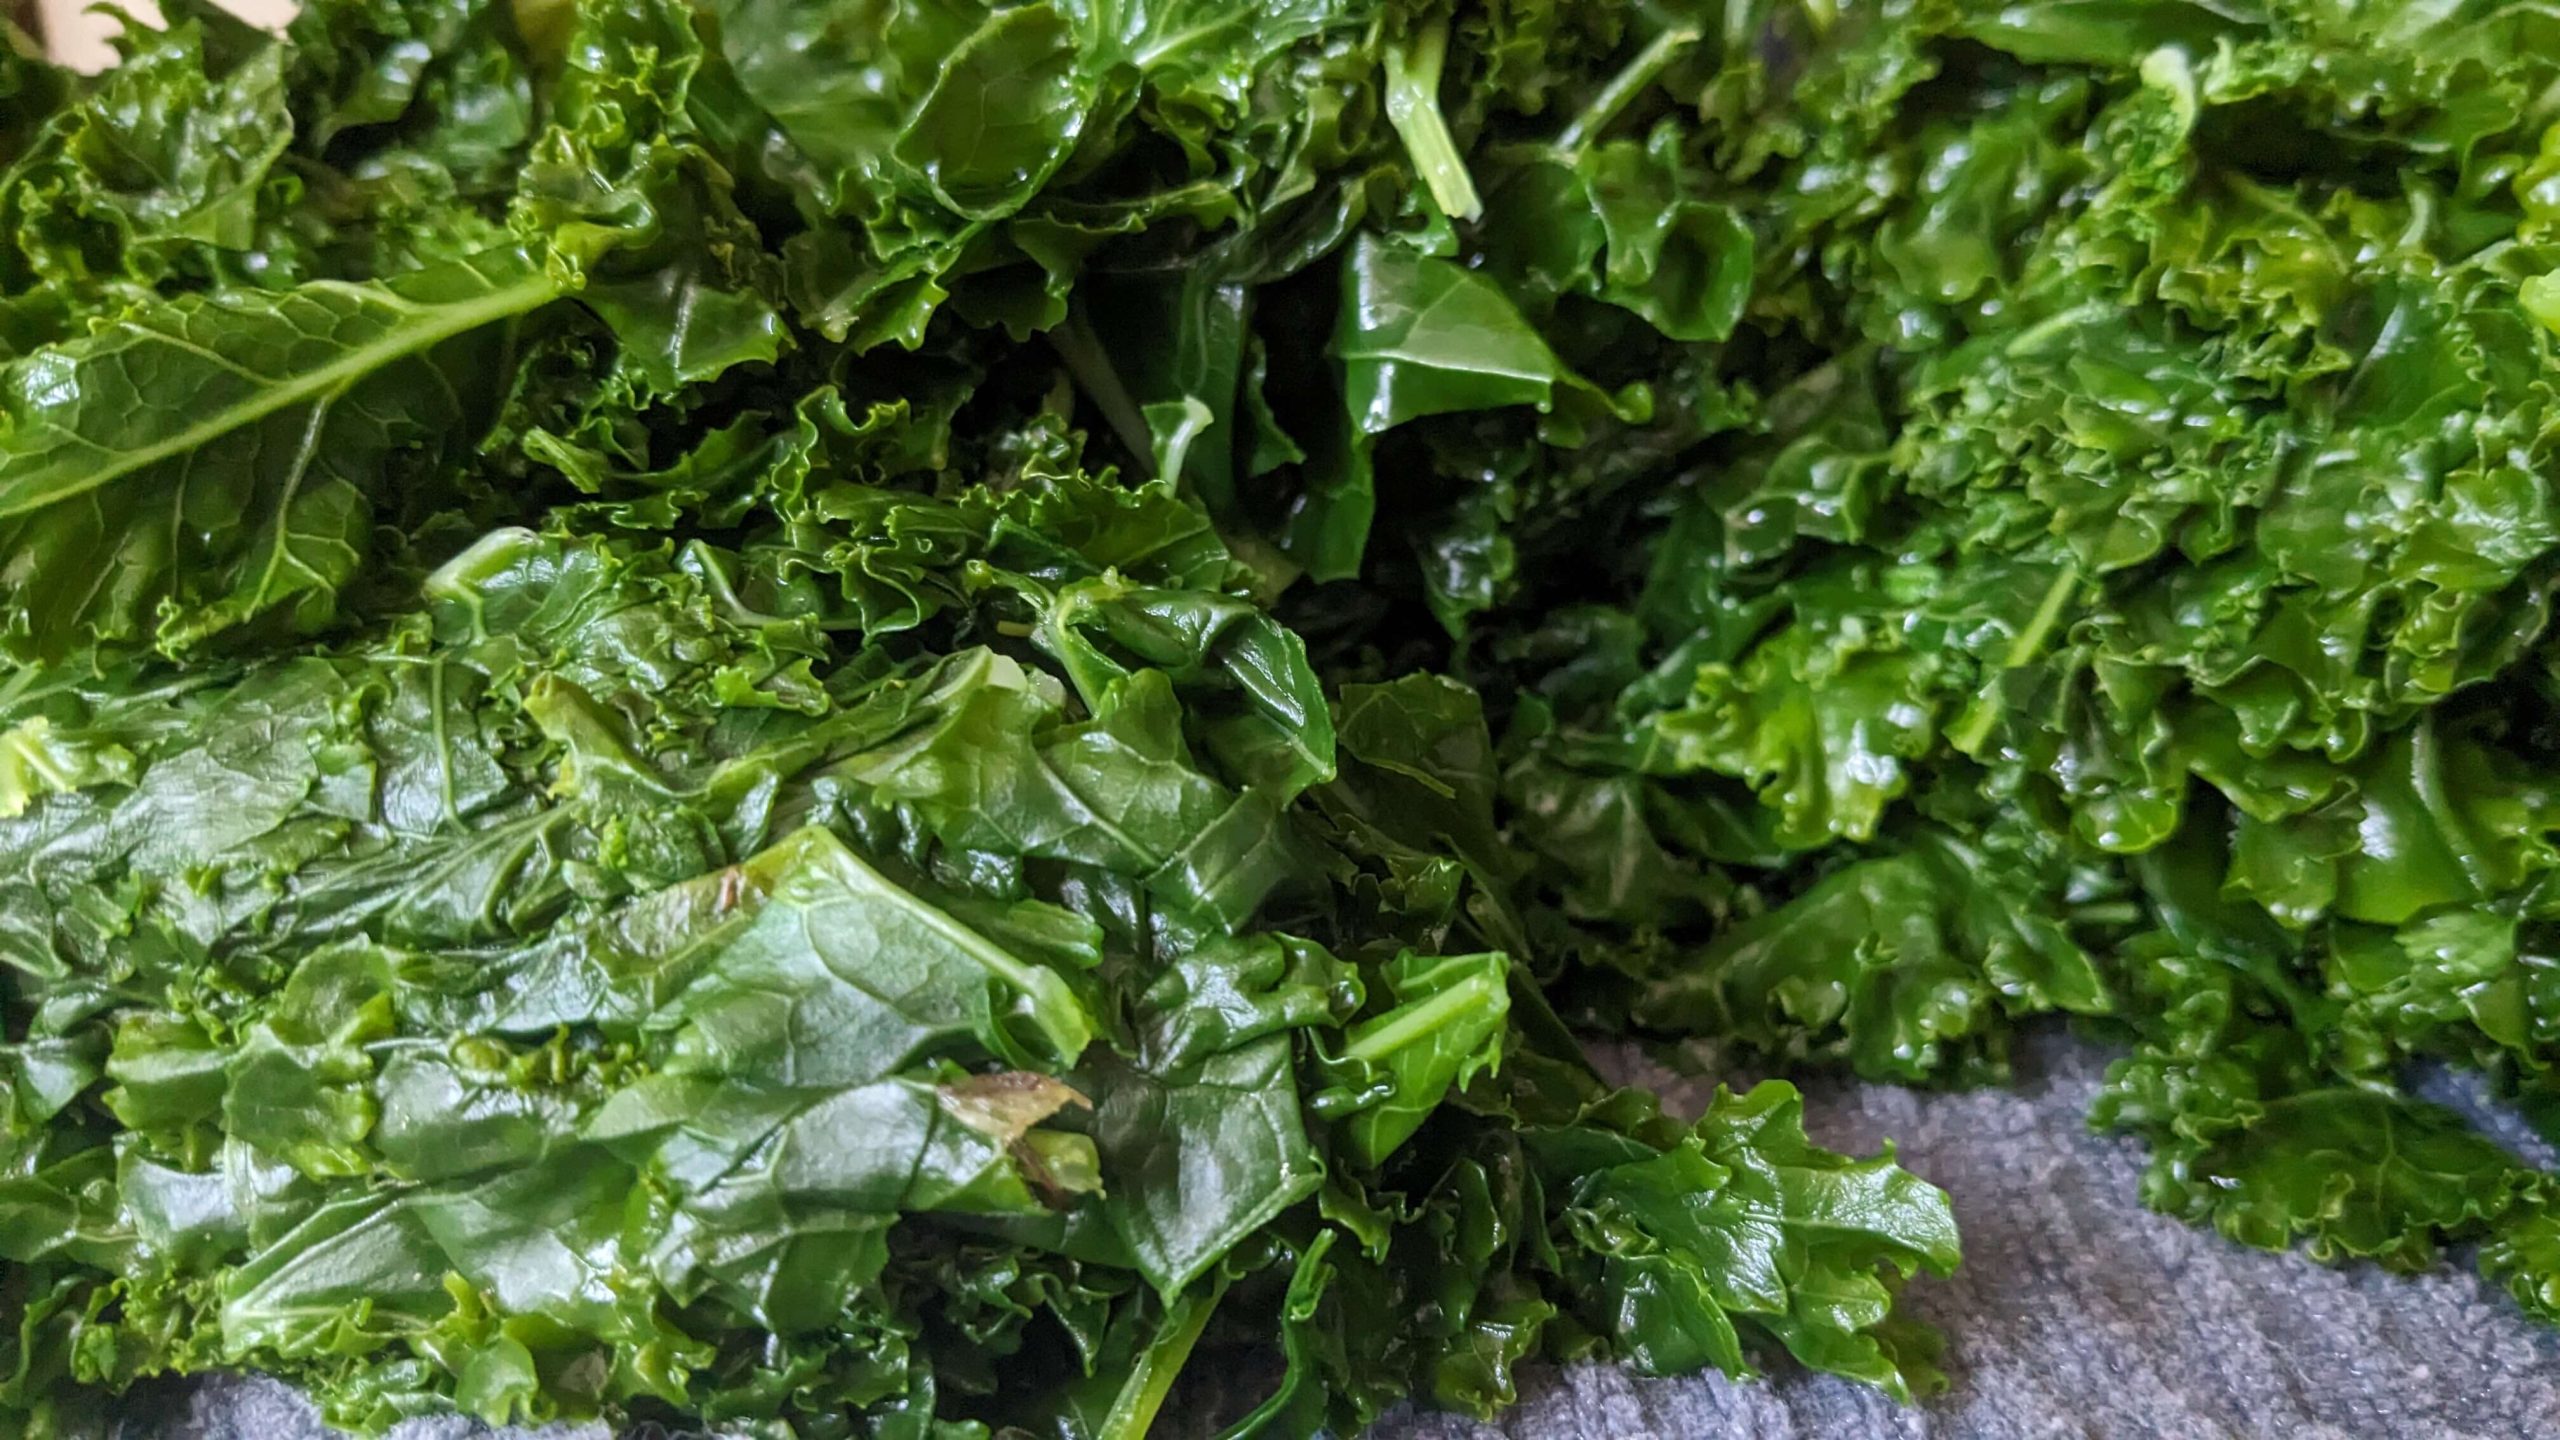
Step two, blanch:
What is blanching?
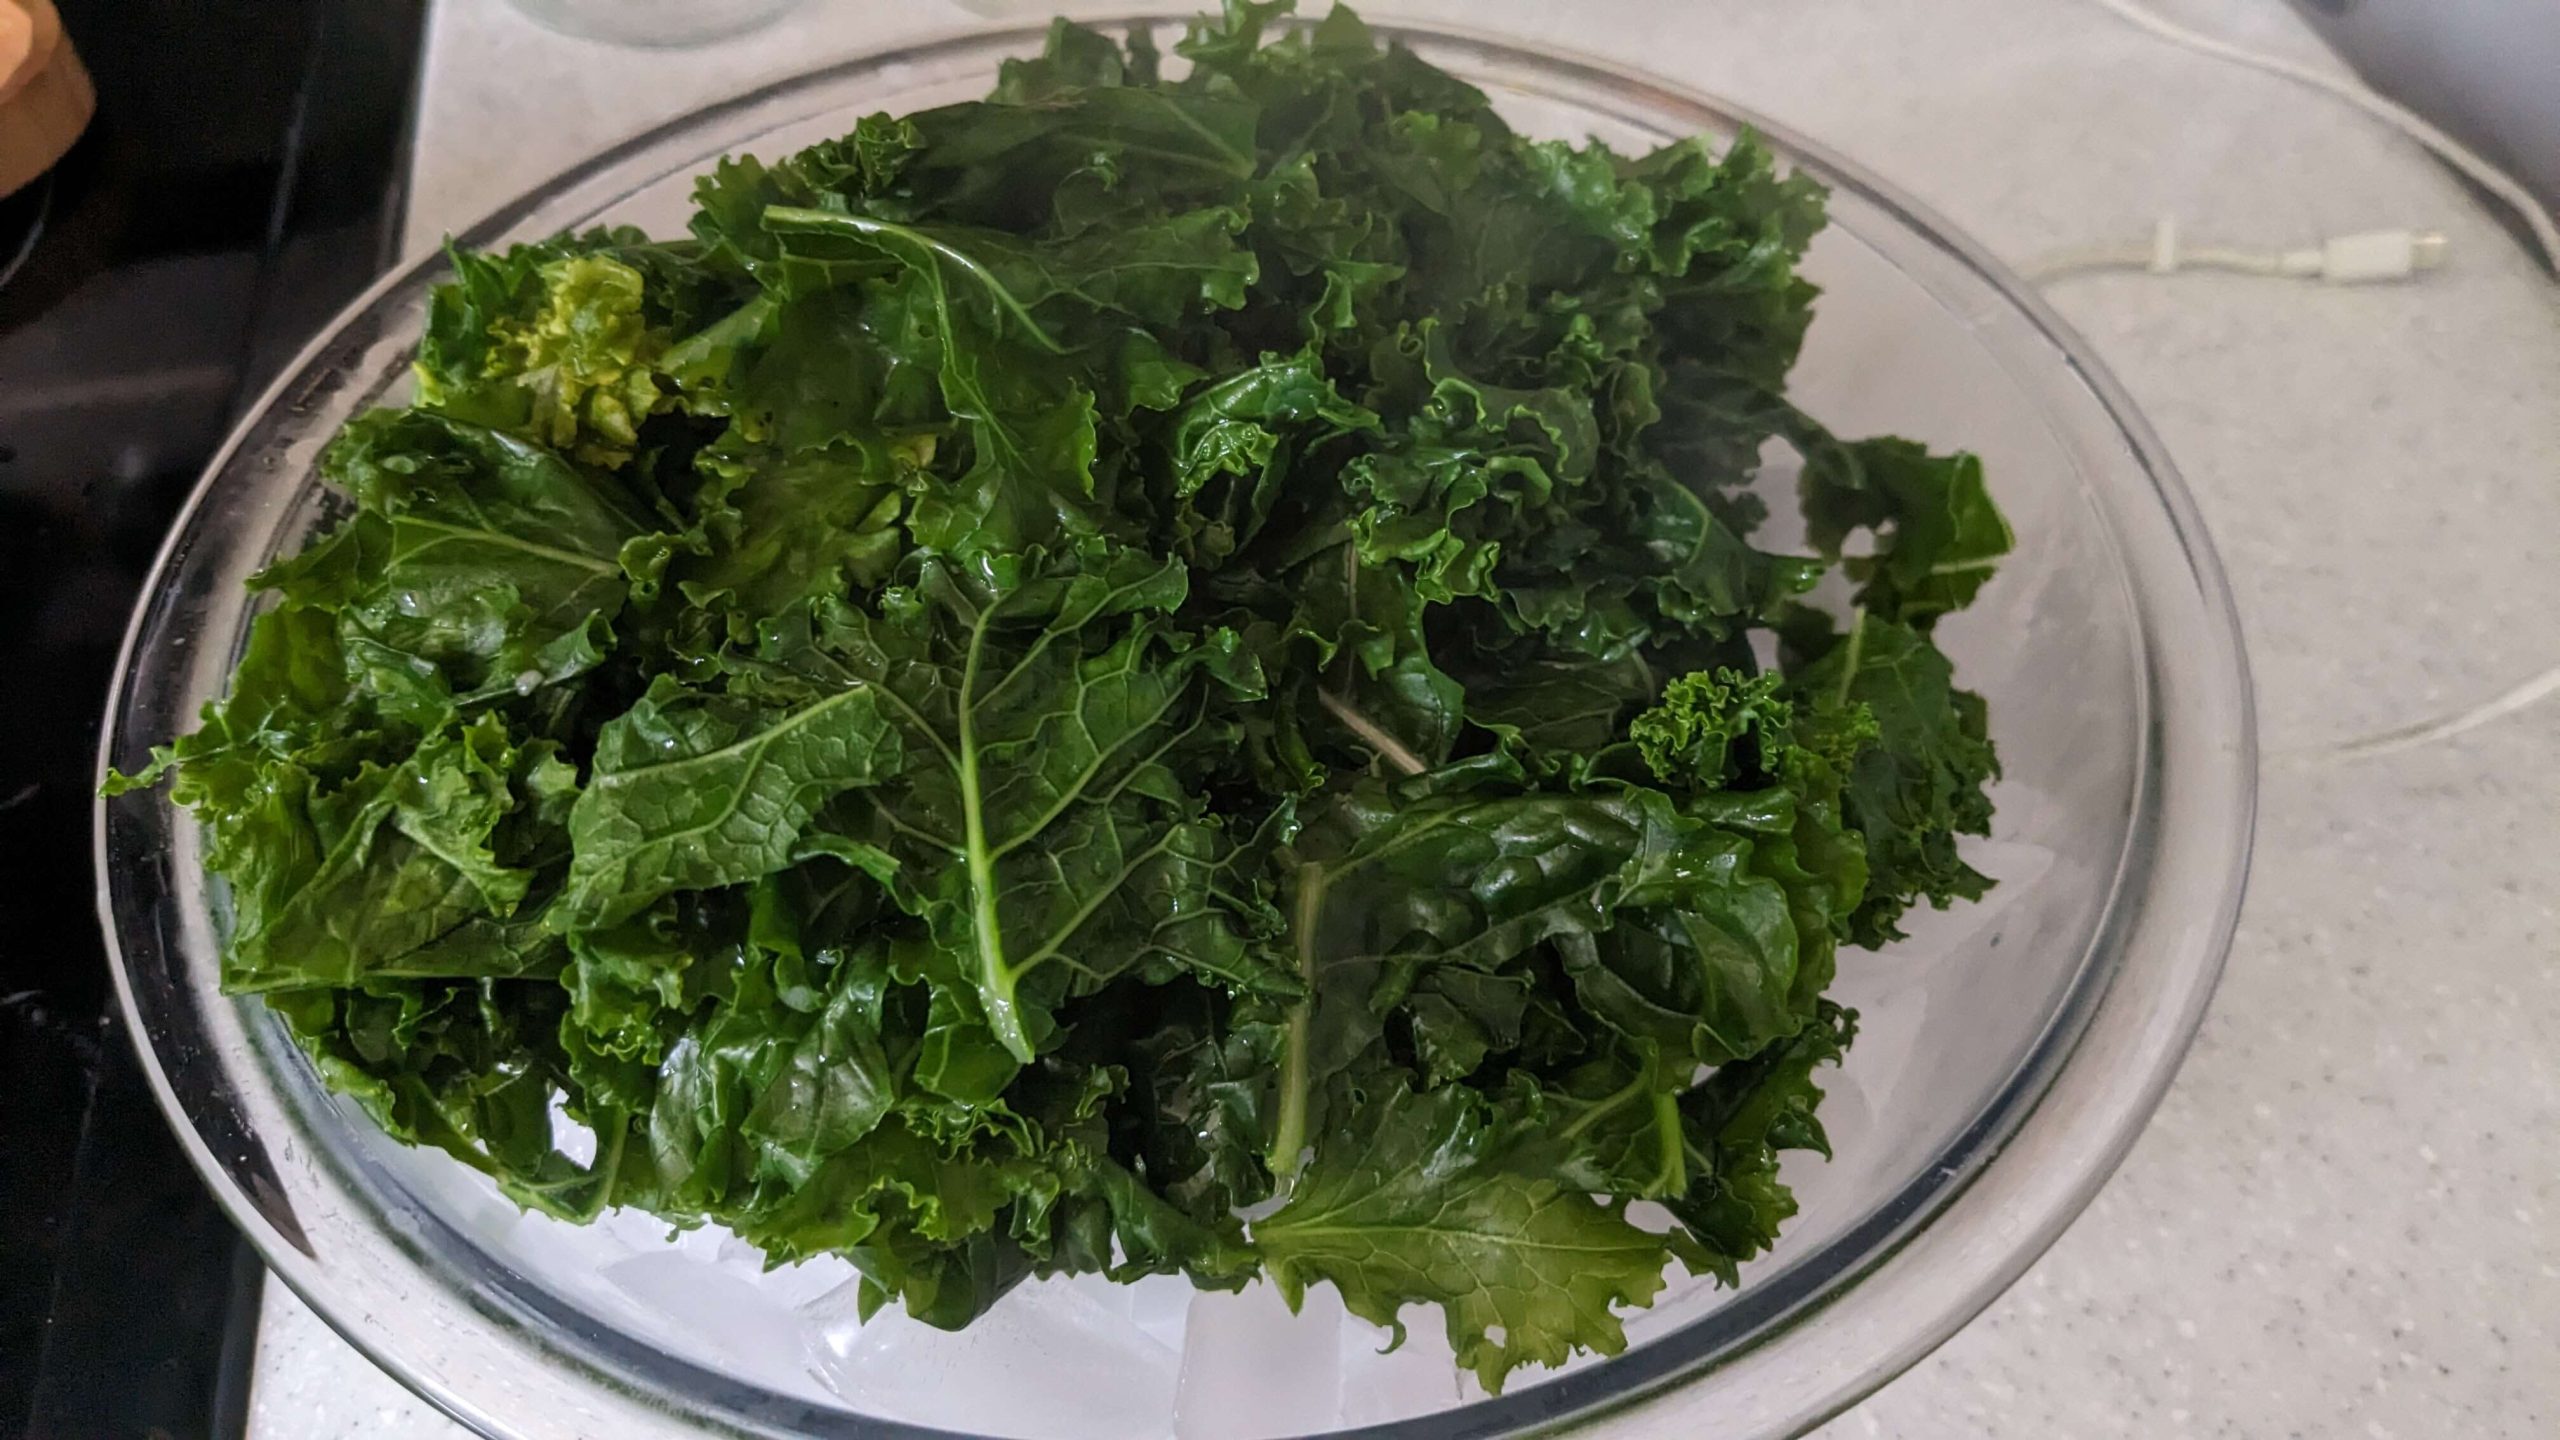
Blanching is preserving a vegetable’s color and texture and flavor. It’s the process of dunking vegetables in boiling water for a short period of time and then putting them in ice water to stop the cooking process.
In order to do this, I set up a large pot of water and brought it to a boil. Then next to my pot, I had a bowl of ice that I then filled with water.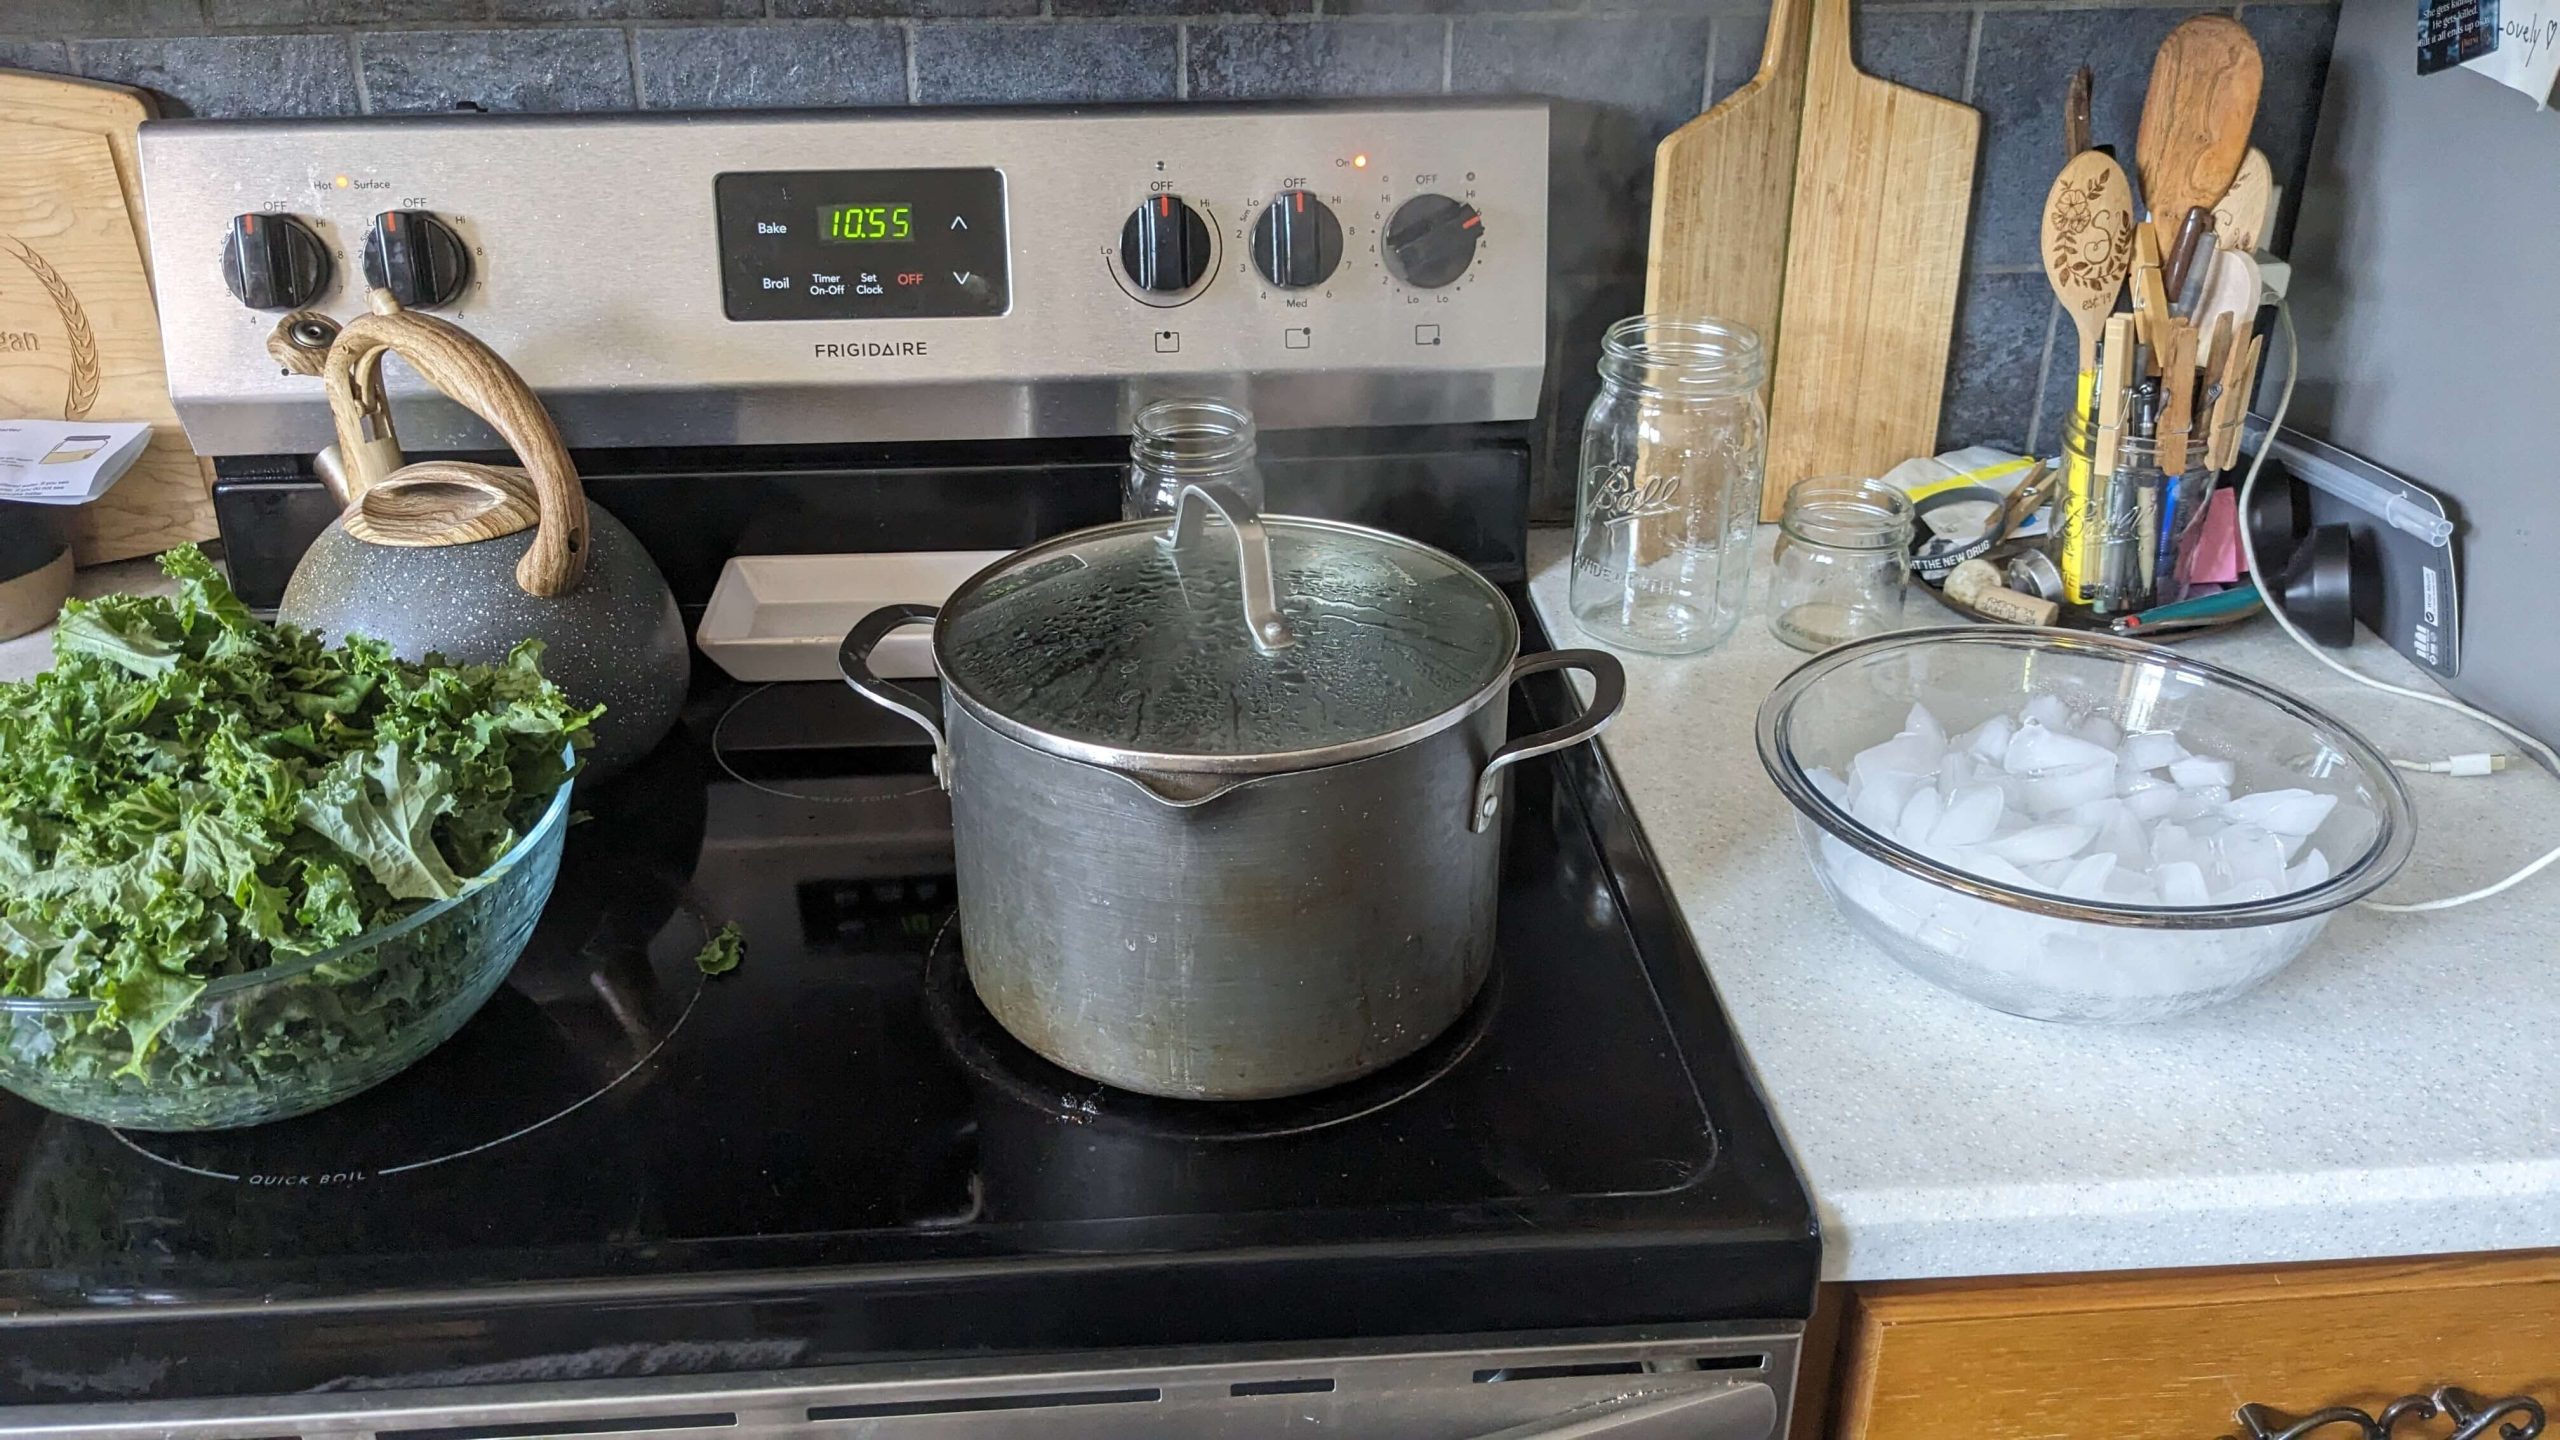
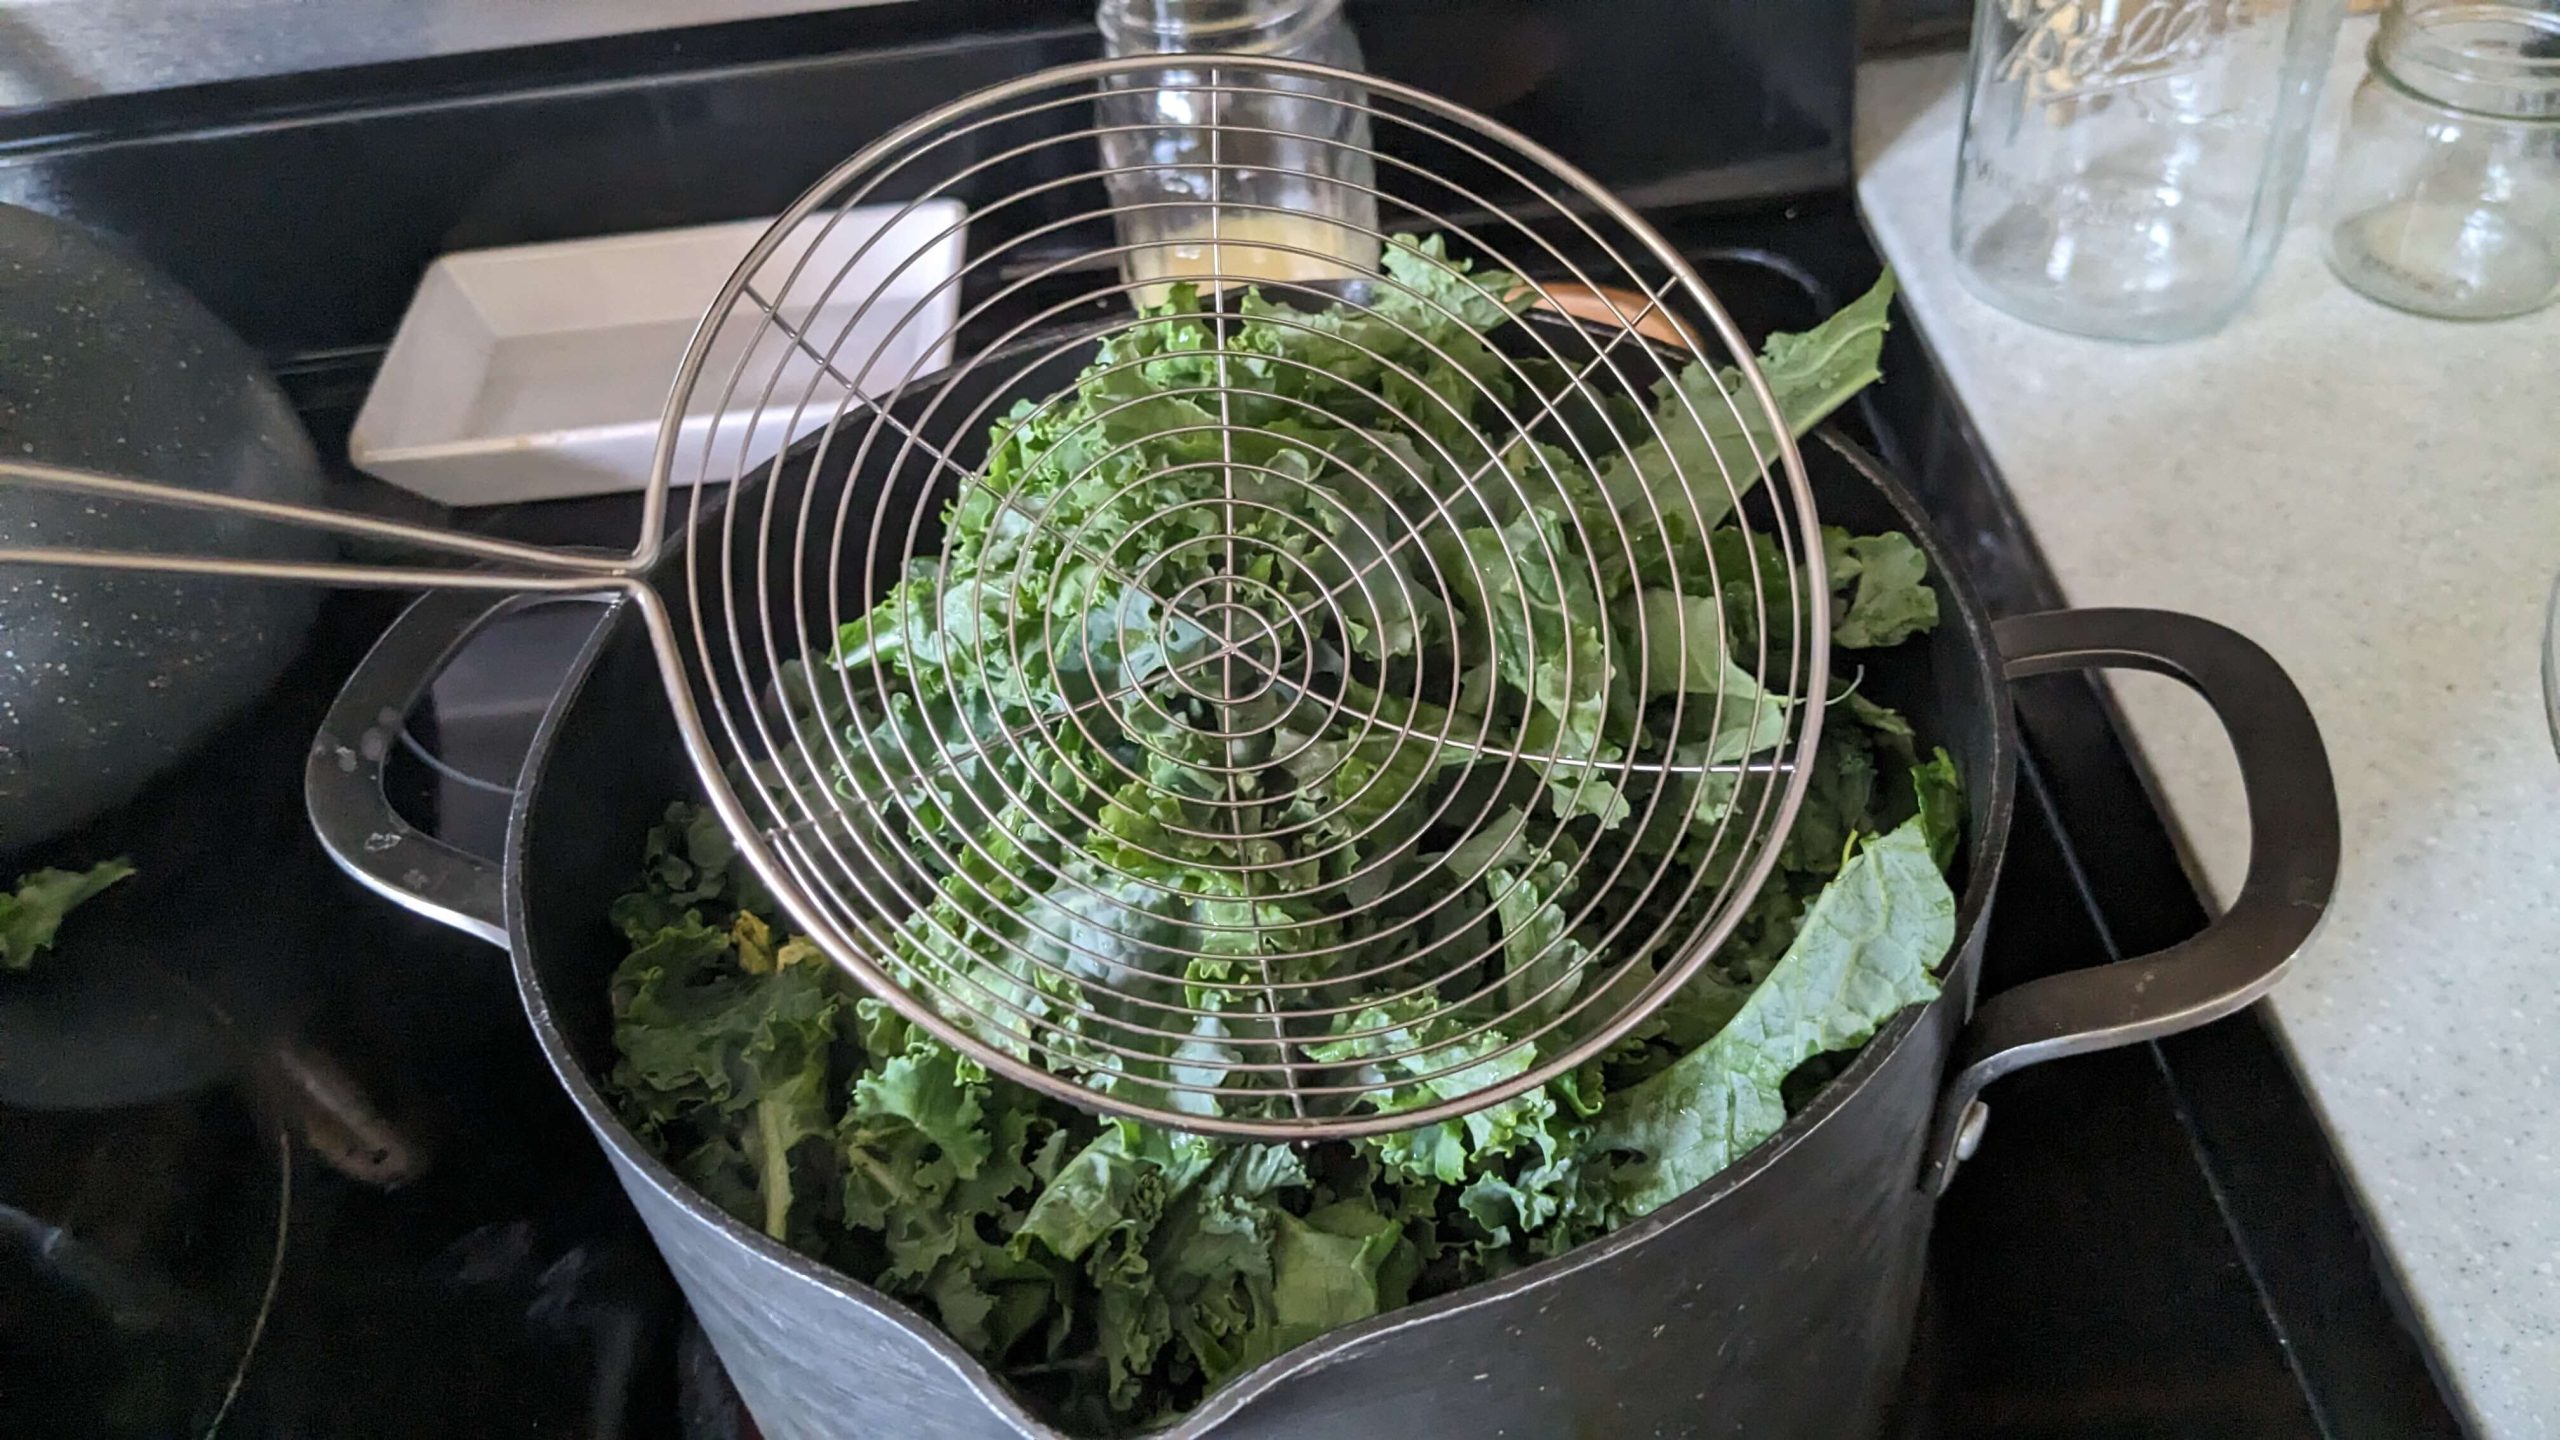
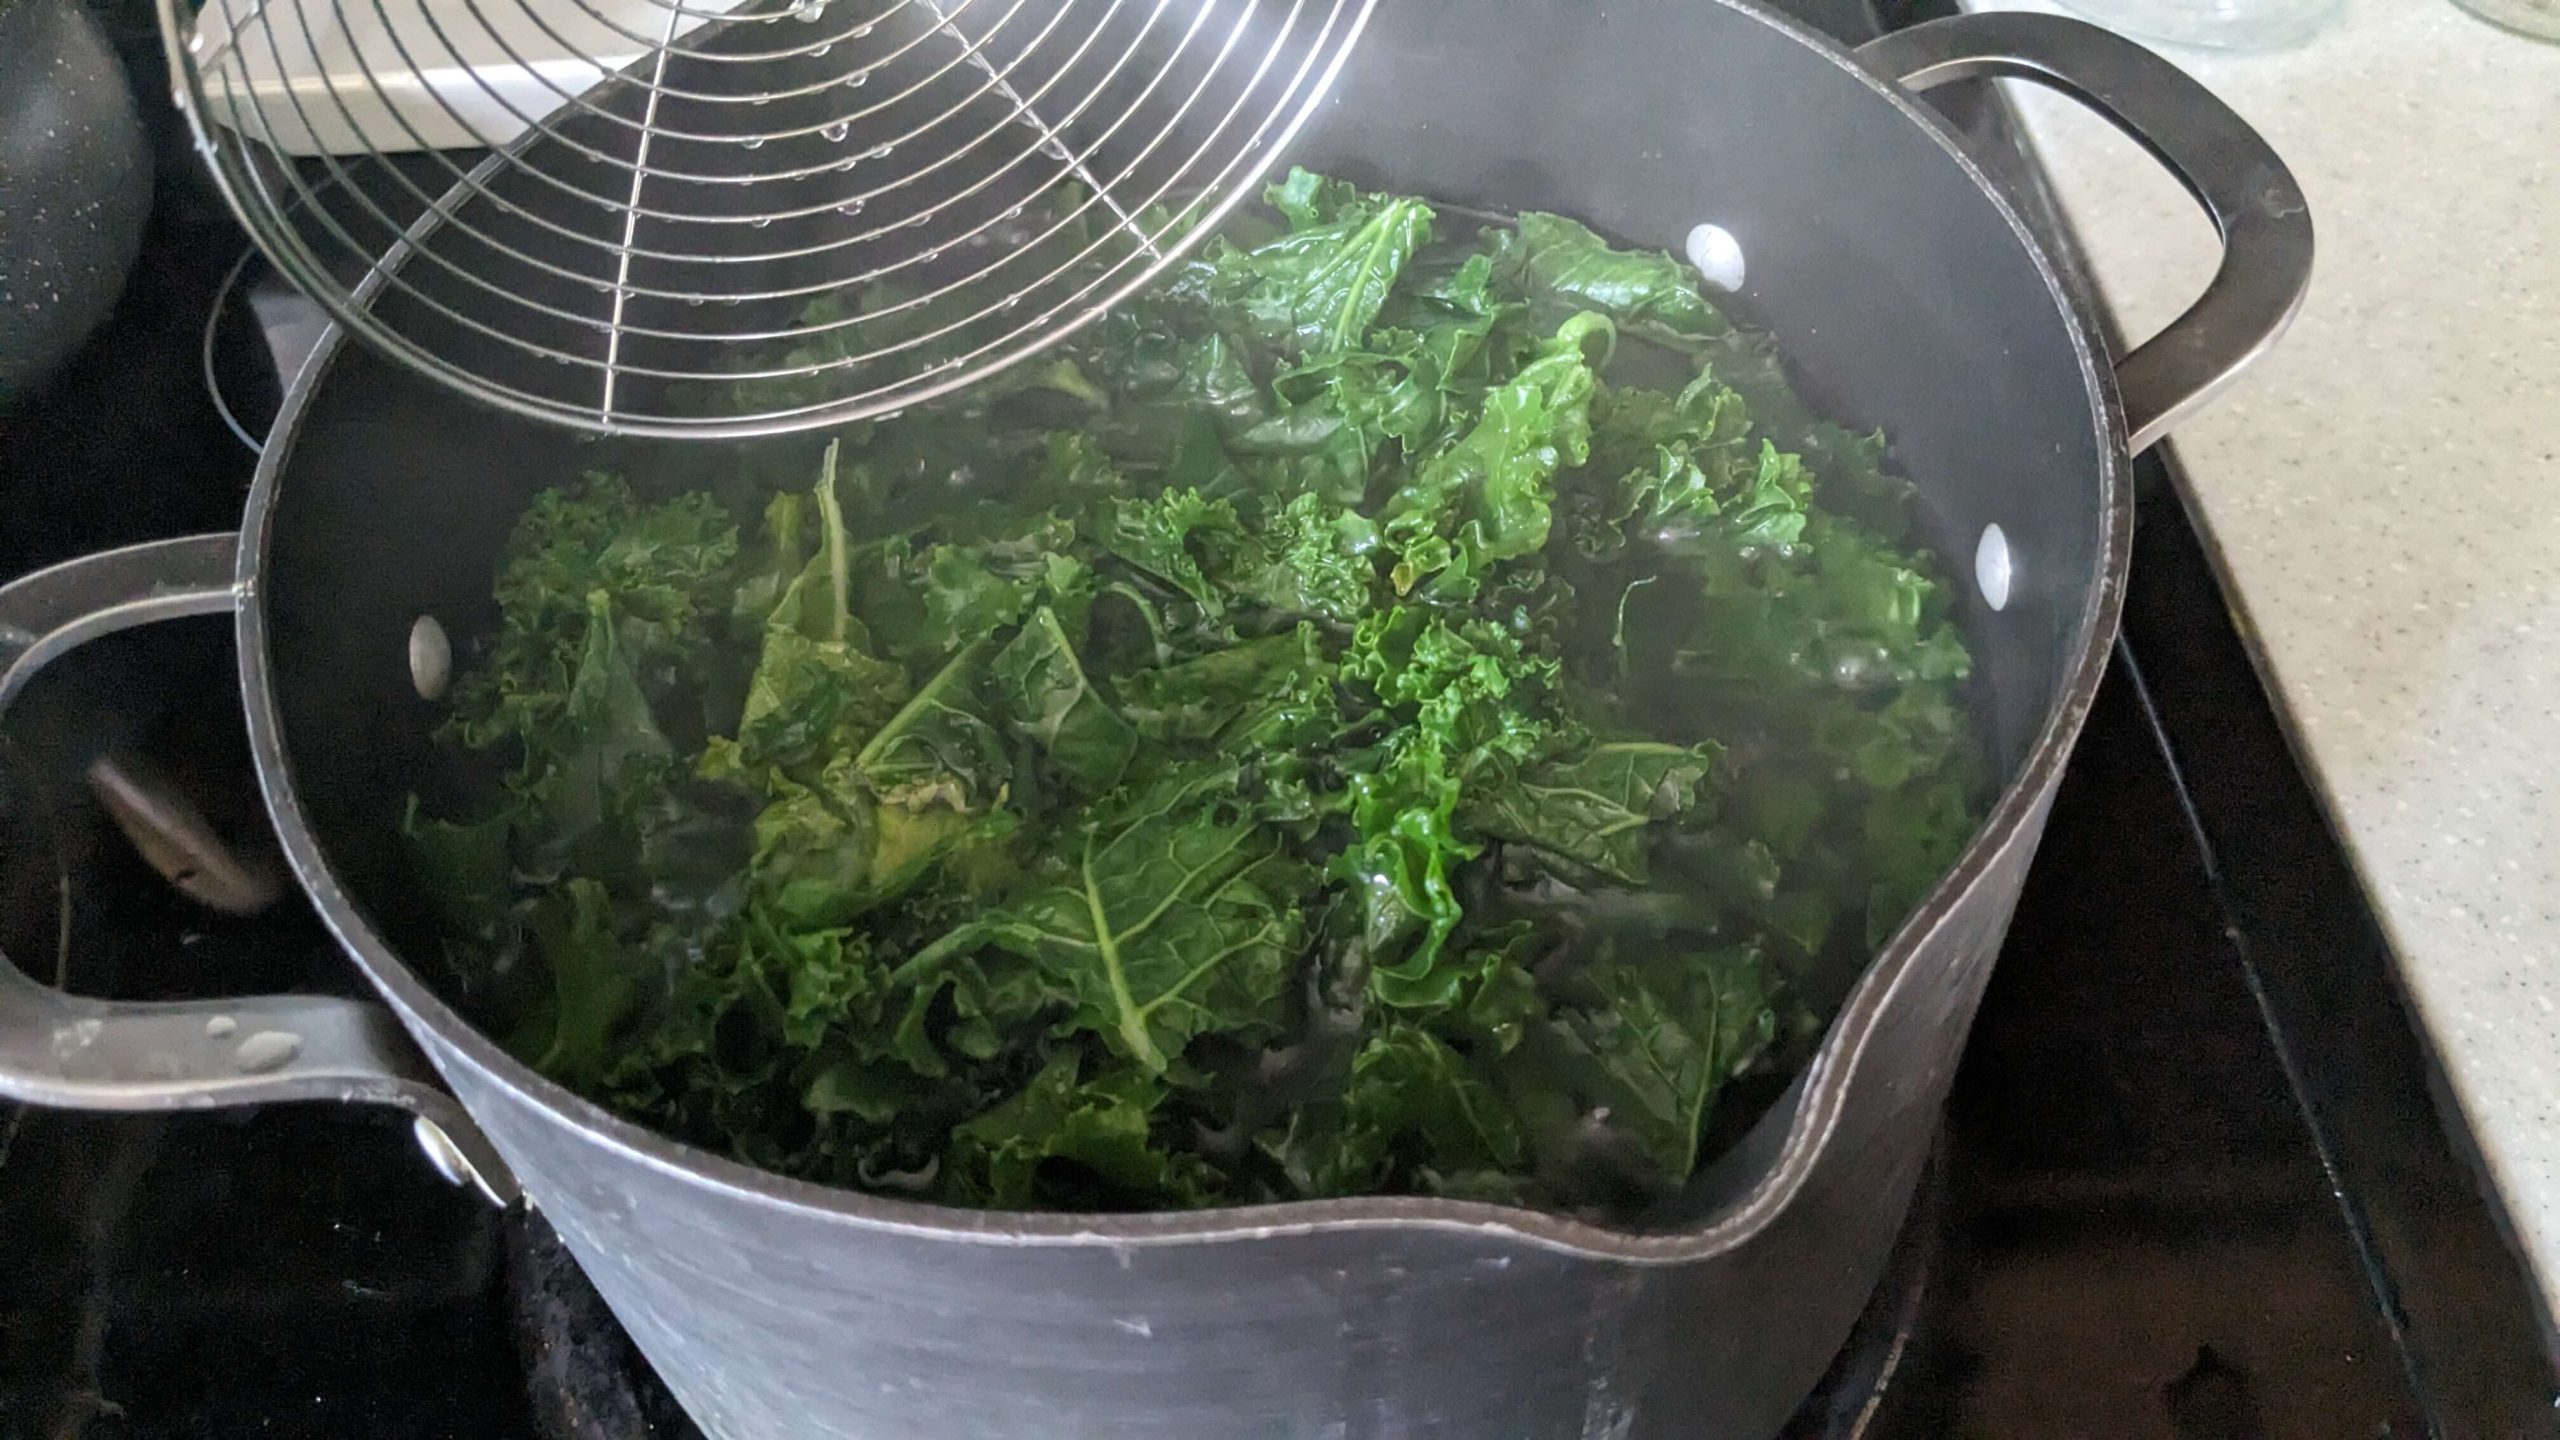
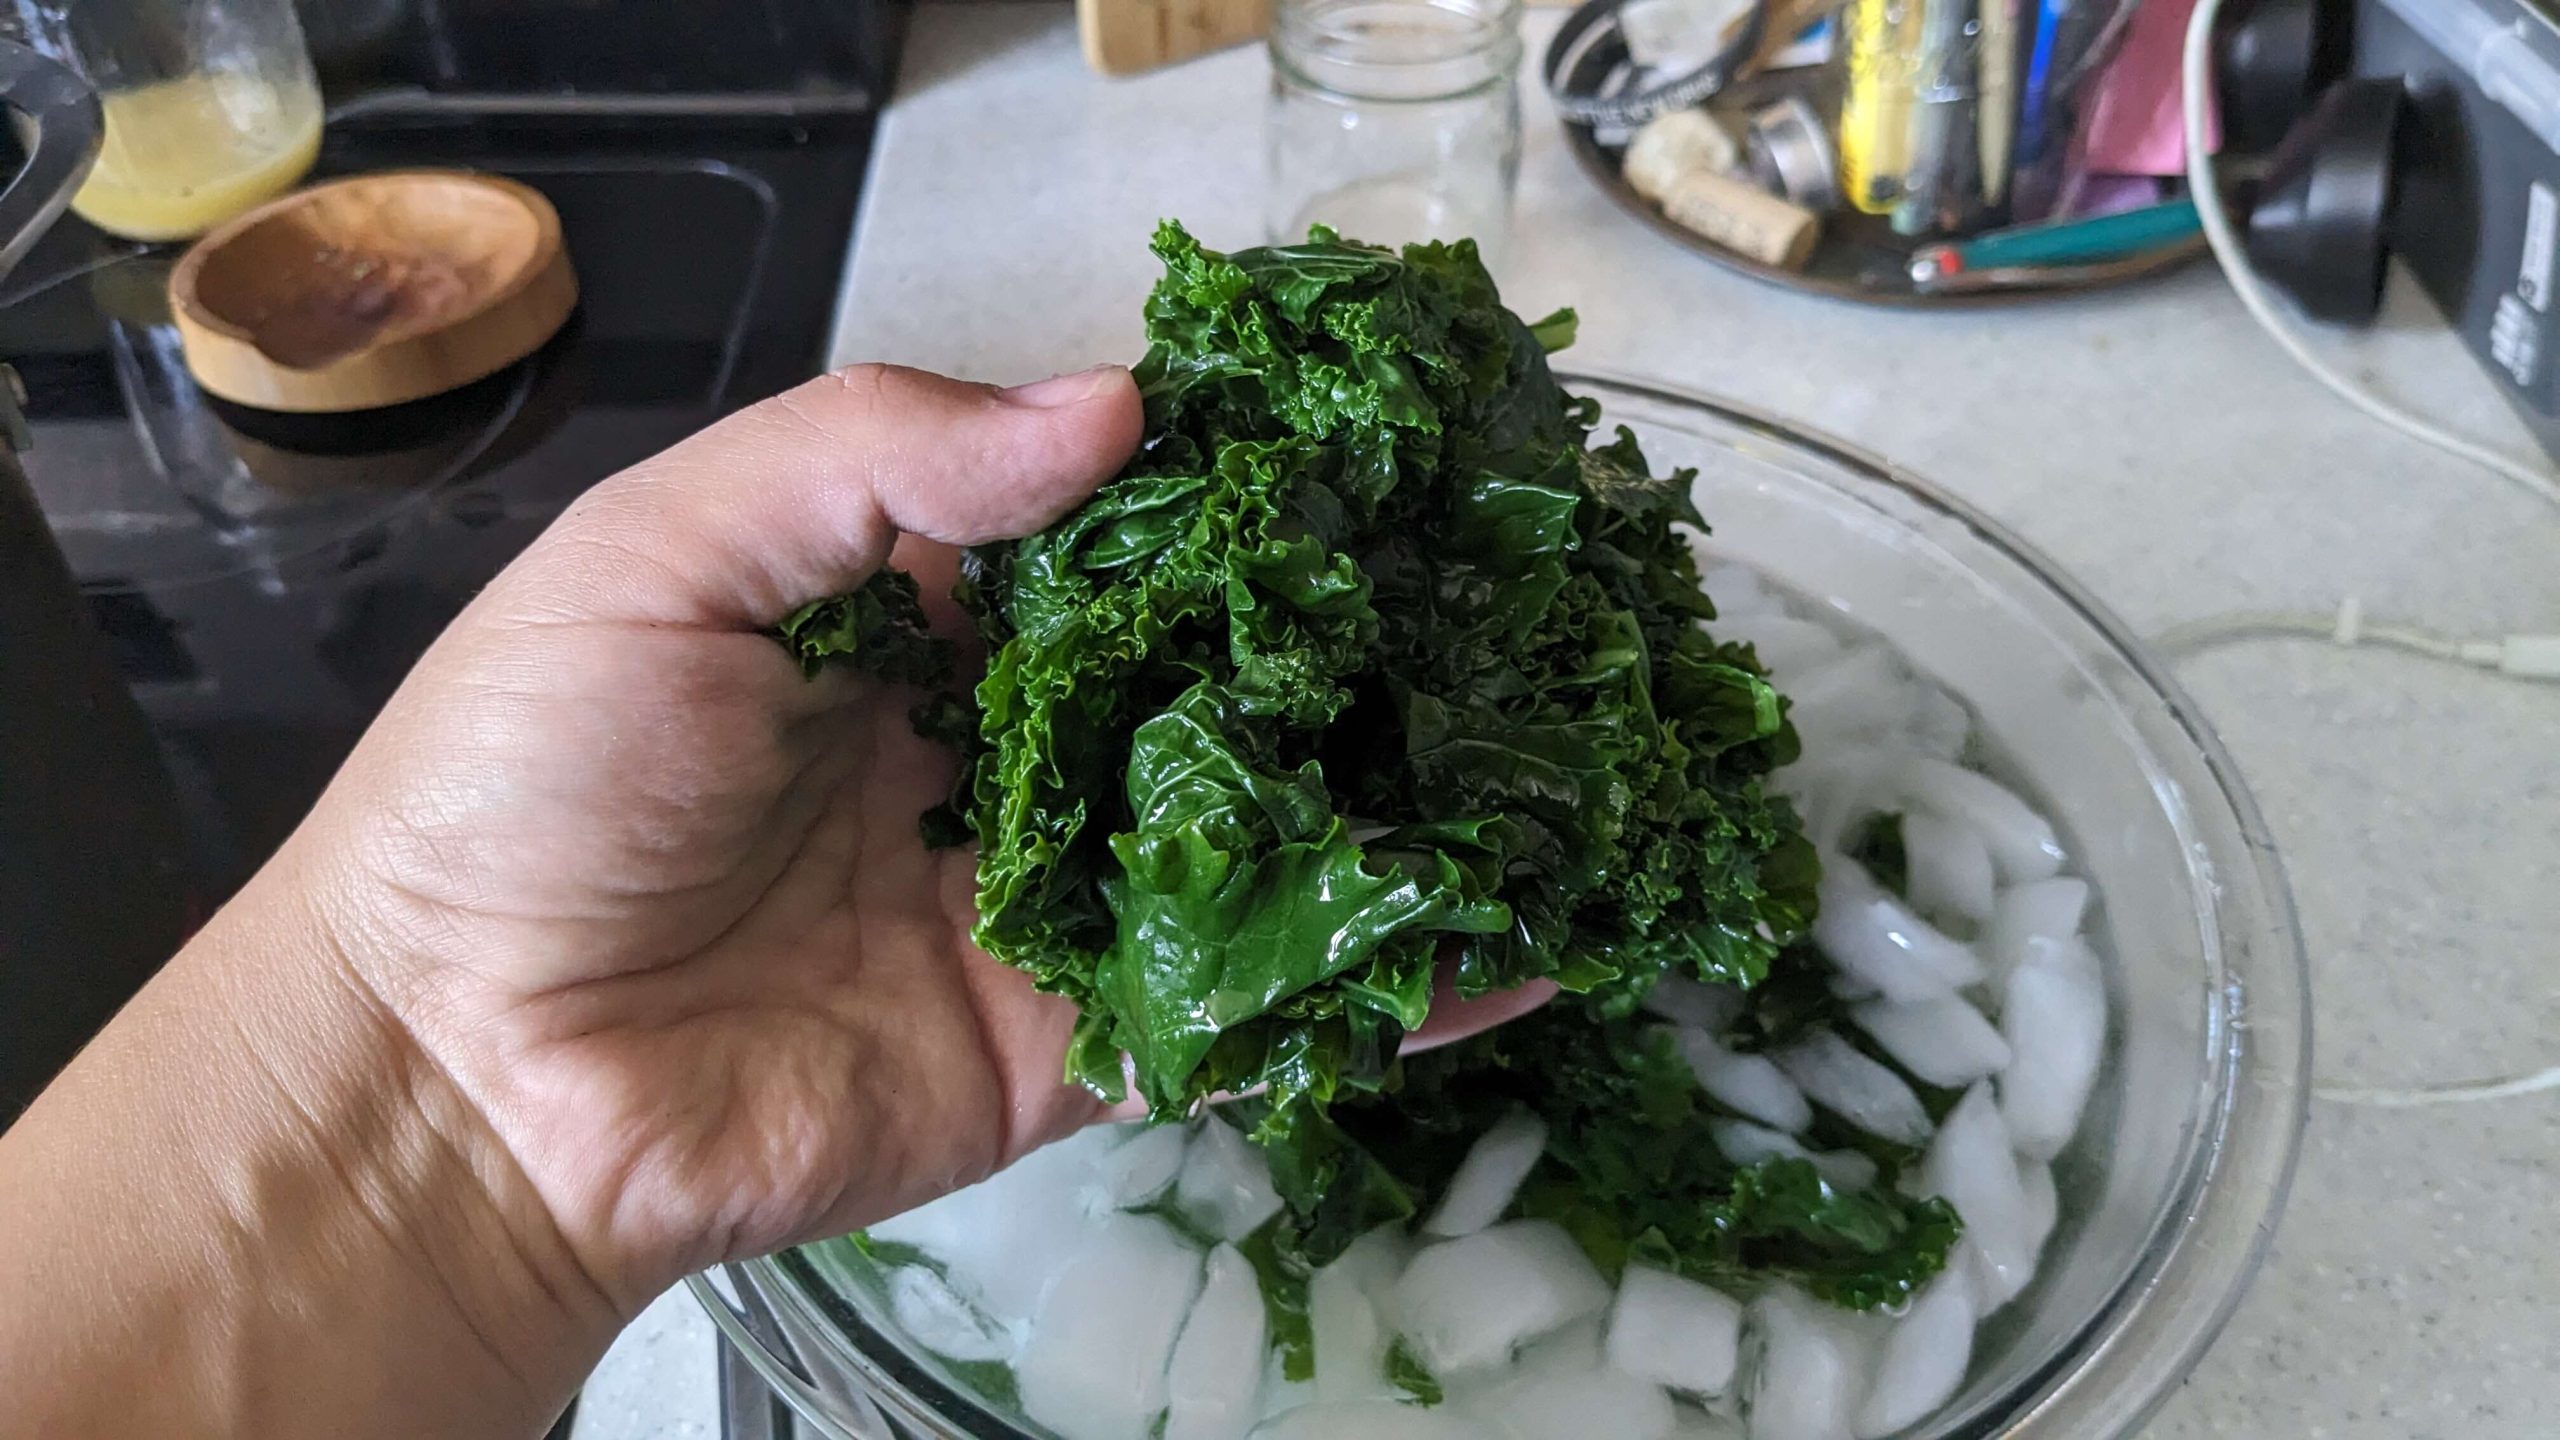
I put the kale in batches in the boiling water for 2 to 3 minutes until it was bright green, and when it was ready, I fished it out using a spider strainer that is typically used for frying food, and placed in the ice bath. Then I pulled the kale out of the ice bath once it was sufficiently cold. I repeated this several times until I was through the entire batch of kale.

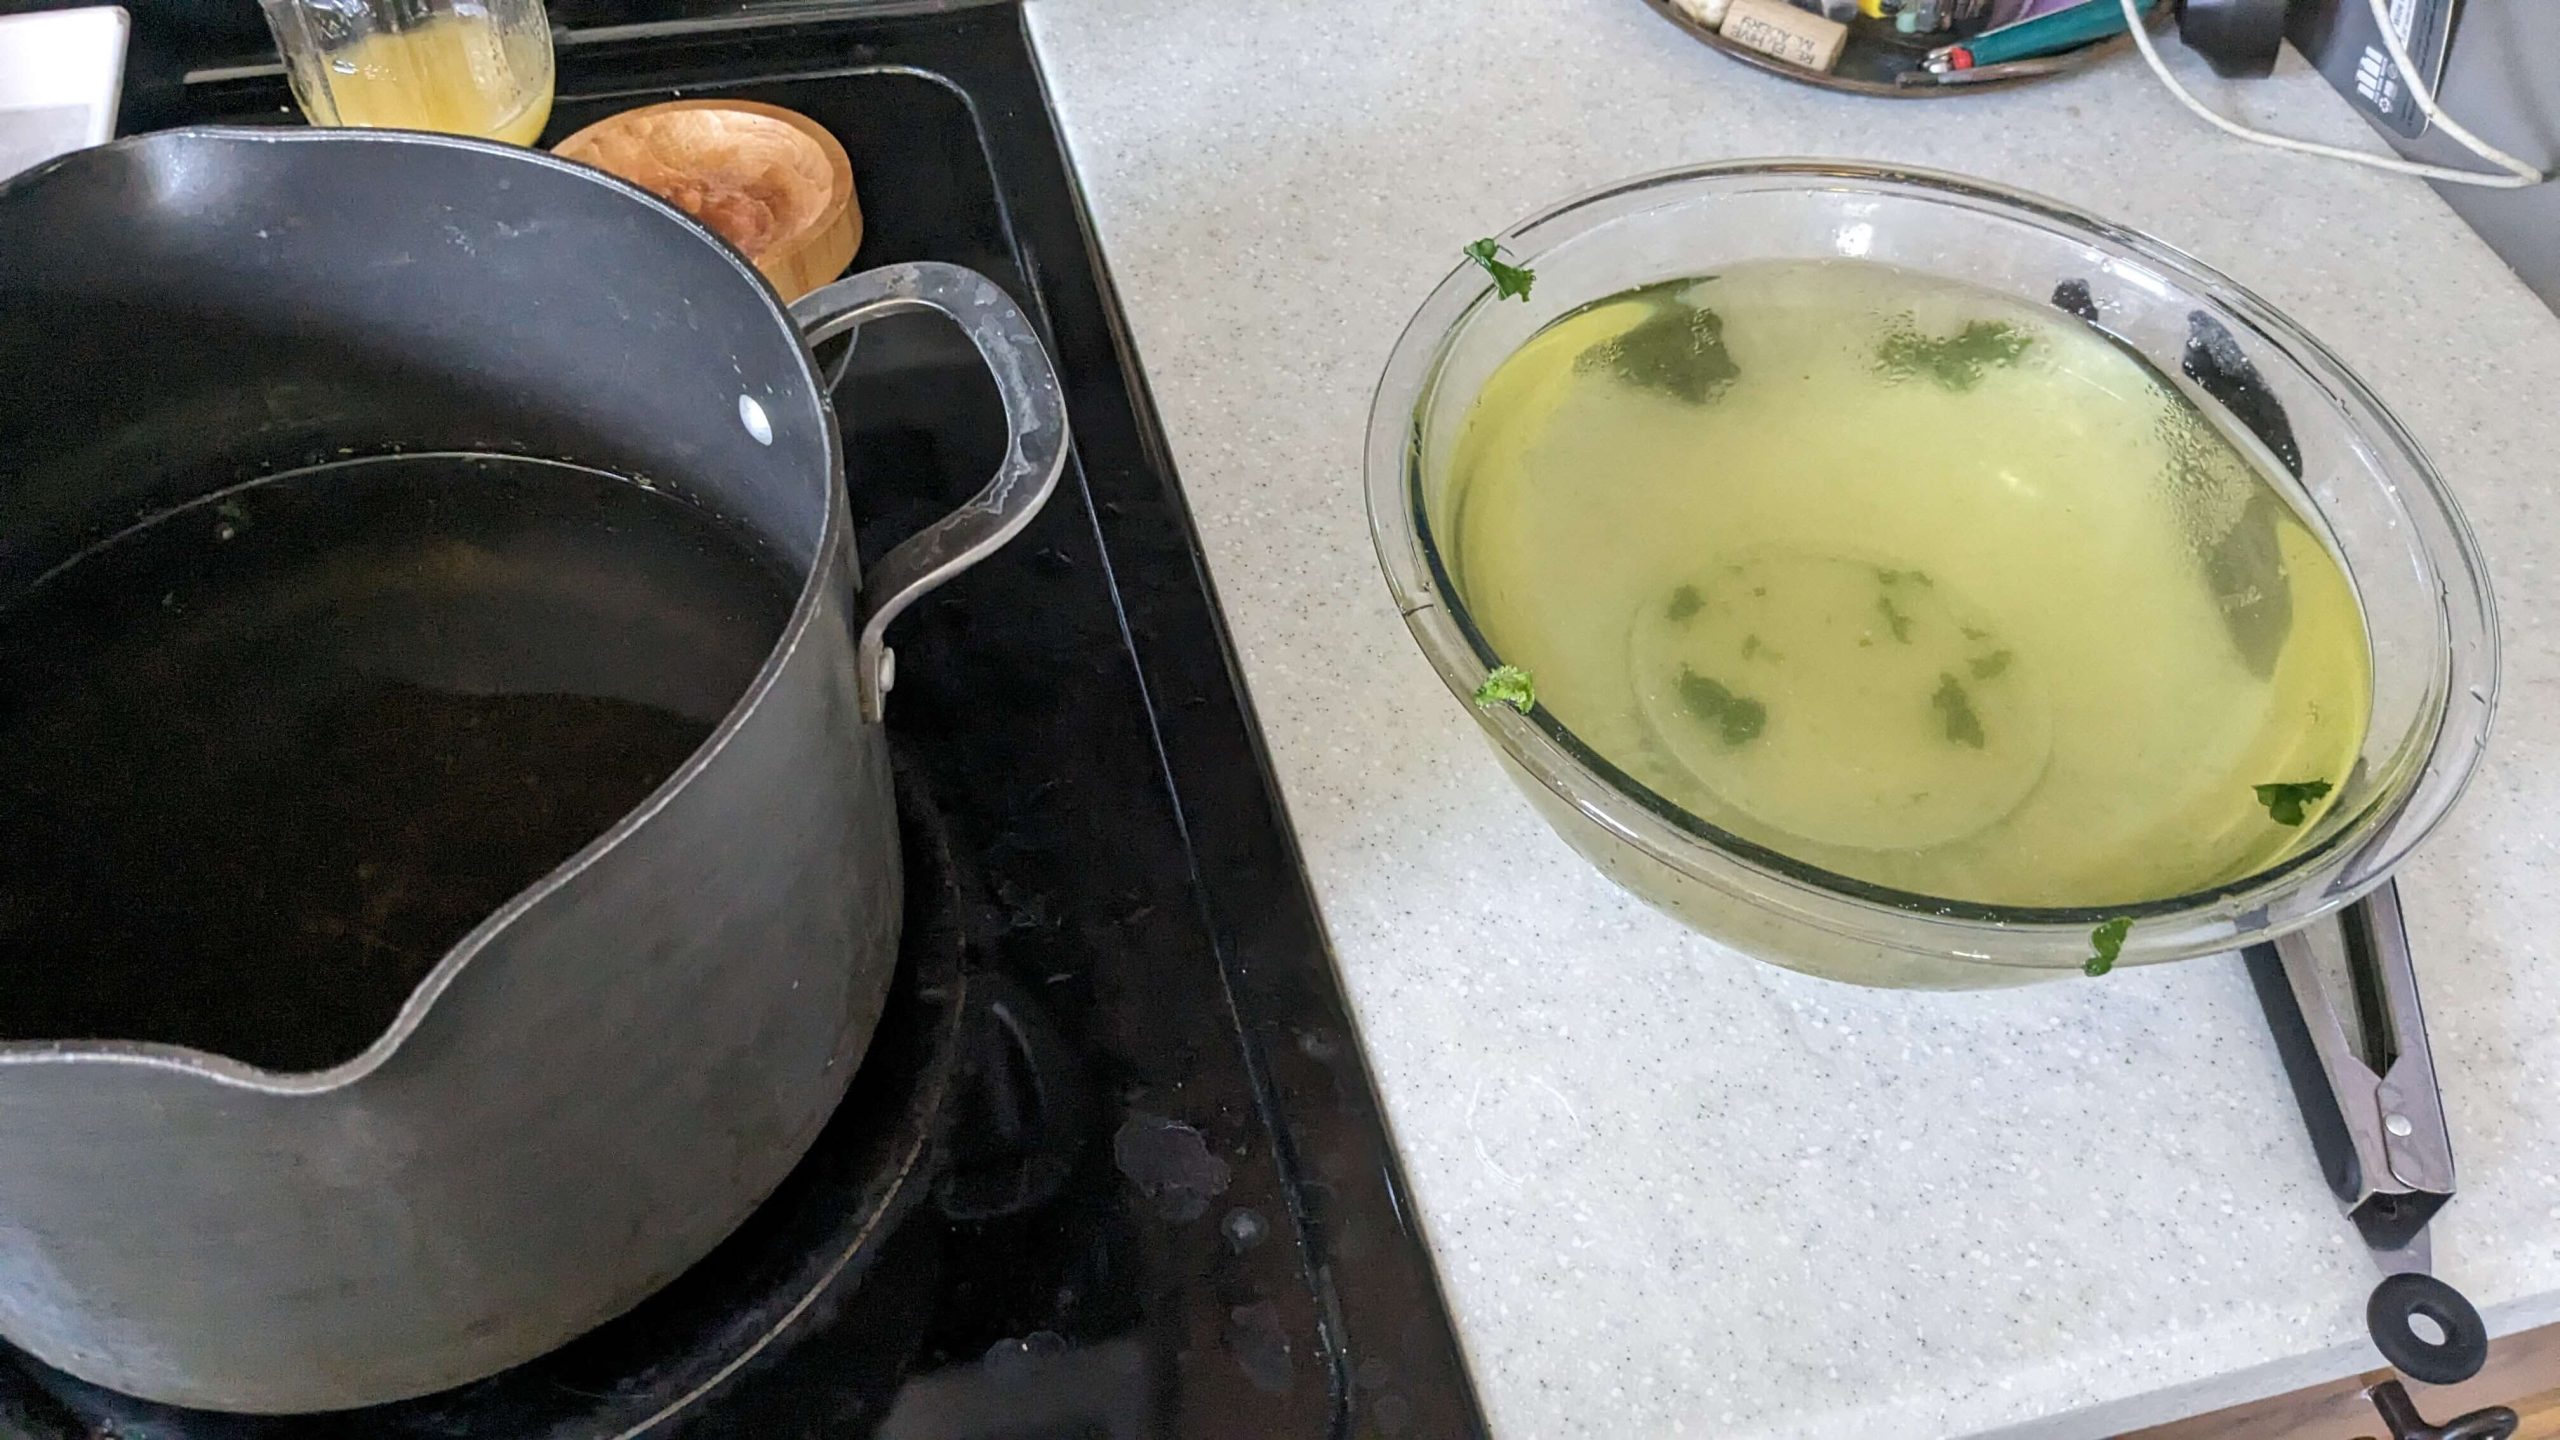
![]() Frugal Living Tip: Don’t throw out the blanching or boiling water! When I was completely done, I threw the water from the ice bath, which was just water because the ice had melted, into the boiling water pot and let it sit on the counter until it was room temperature. Then I took it out to my porch and used that water to feed my porch plants some extra nutrients from what was leached off of the kale. This was a great way to not waste water and give the plants extra nutrients for free!
Frugal Living Tip: Don’t throw out the blanching or boiling water! When I was completely done, I threw the water from the ice bath, which was just water because the ice had melted, into the boiling water pot and let it sit on the counter until it was room temperature. Then I took it out to my porch and used that water to feed my porch plants some extra nutrients from what was leached off of the kale. This was a great way to not waste water and give the plants extra nutrients for free!
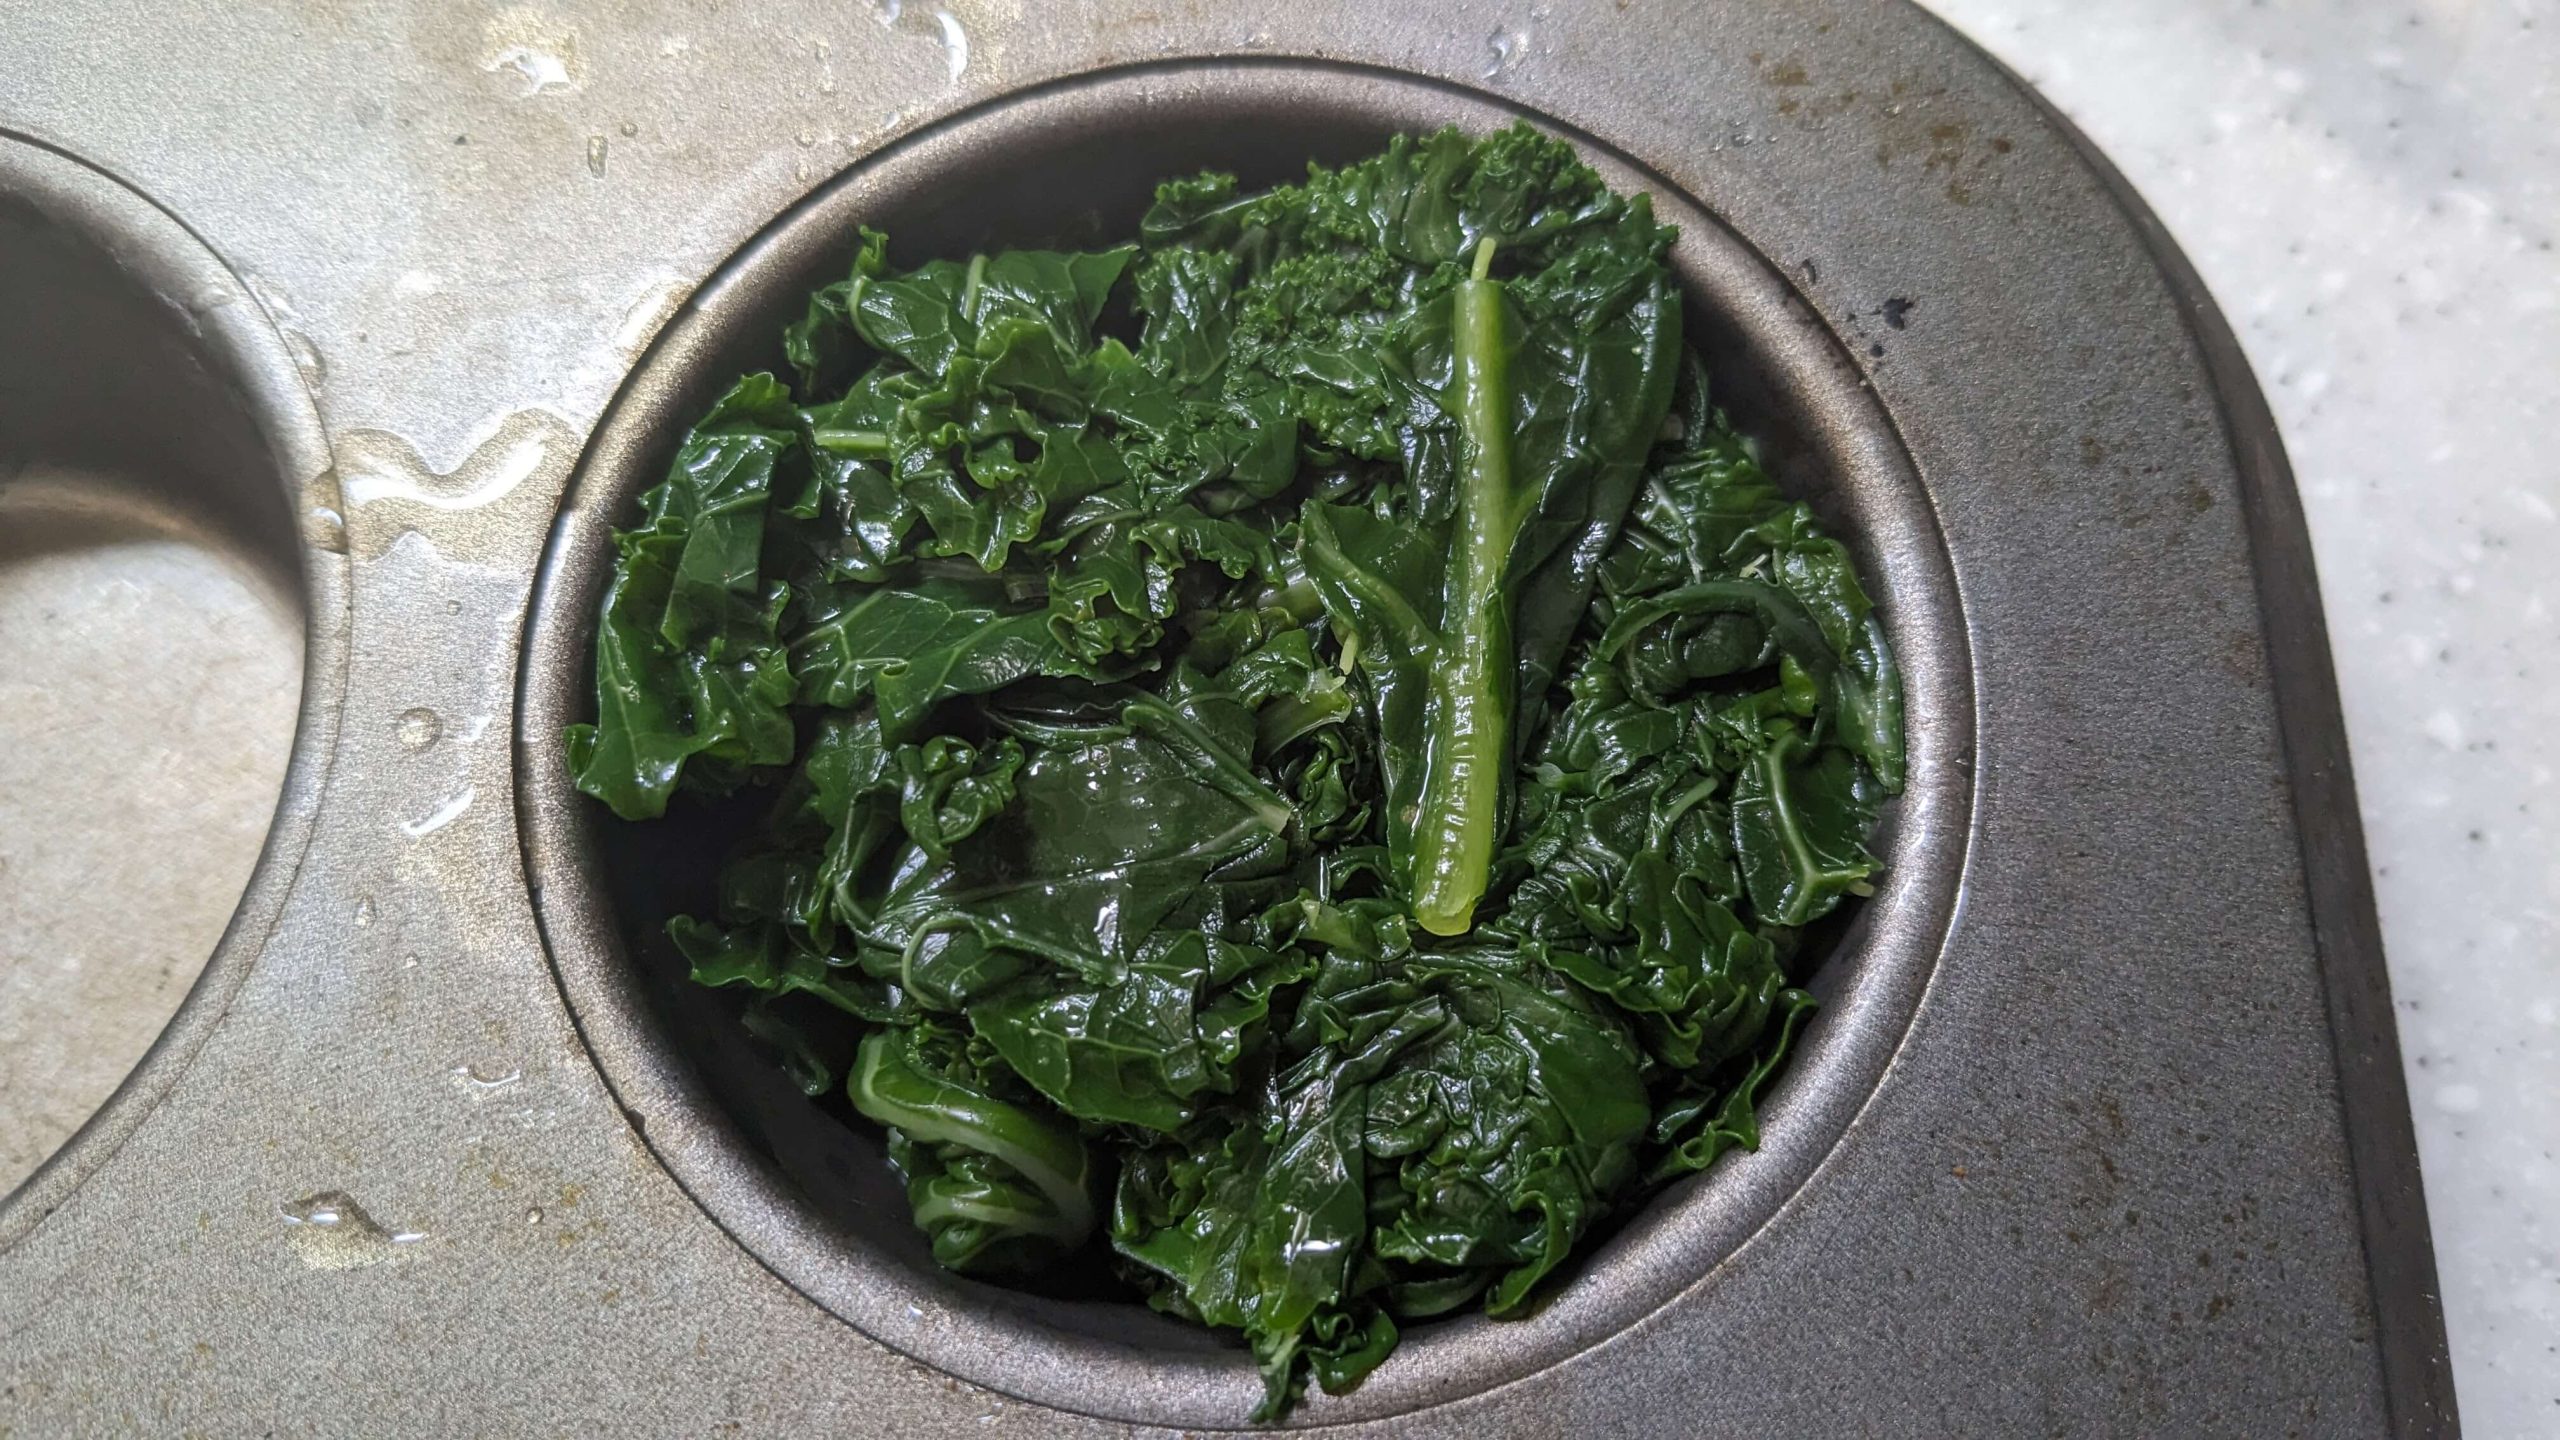
Step three, prep for the freezer:
When I pulled the kale out of the ice bath, I placed it on a clean dish towel, you could use paper towels if you would like, but you would go through a lot and I find that a dish towel works really well. I worked in smaller batches again and thoroughly squeezed out excess water and then pushed the kale into a muffin tin. This is a regular-size muffin tin and it held probably the equivalent of about a half cup of blanched kale.
Step four, freezing:
Once I got all of the kale that I had into the muffin tins, I put it in the freezer overnight. but it would probably have been done in about 3 hours. I had a little bit of a hard time pulling them out of the muffin tins initially, but I let them sit for about 5 minutes at room temperature in the summer and then used a butter knife to loosen the edges and they came out fine. I put all of the frozen kale into one freezer Ziploc bag and squeezed all the air out of it and put it back in the freezer for use in the fall. 
This whole process took about an hour but that’s because of the quantity of kale I had and having a toddler helper with me. I’m really excited to use this in fall recipes in a few months!
Do you have a favorite summer kale recipe? Please share it with us in the comments!
Save it for later!