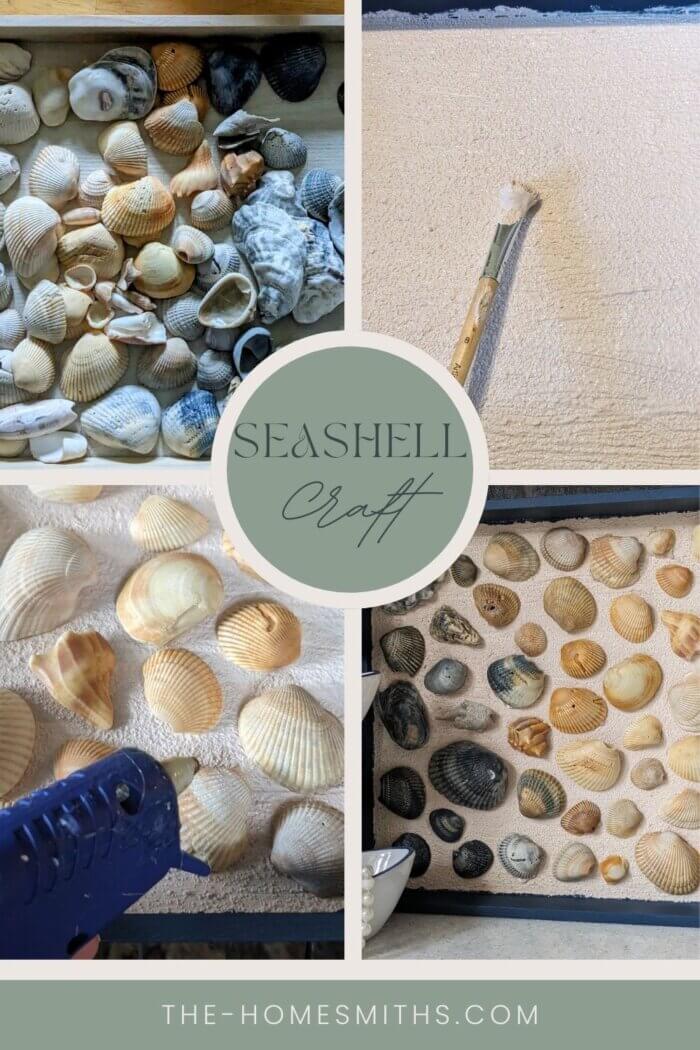
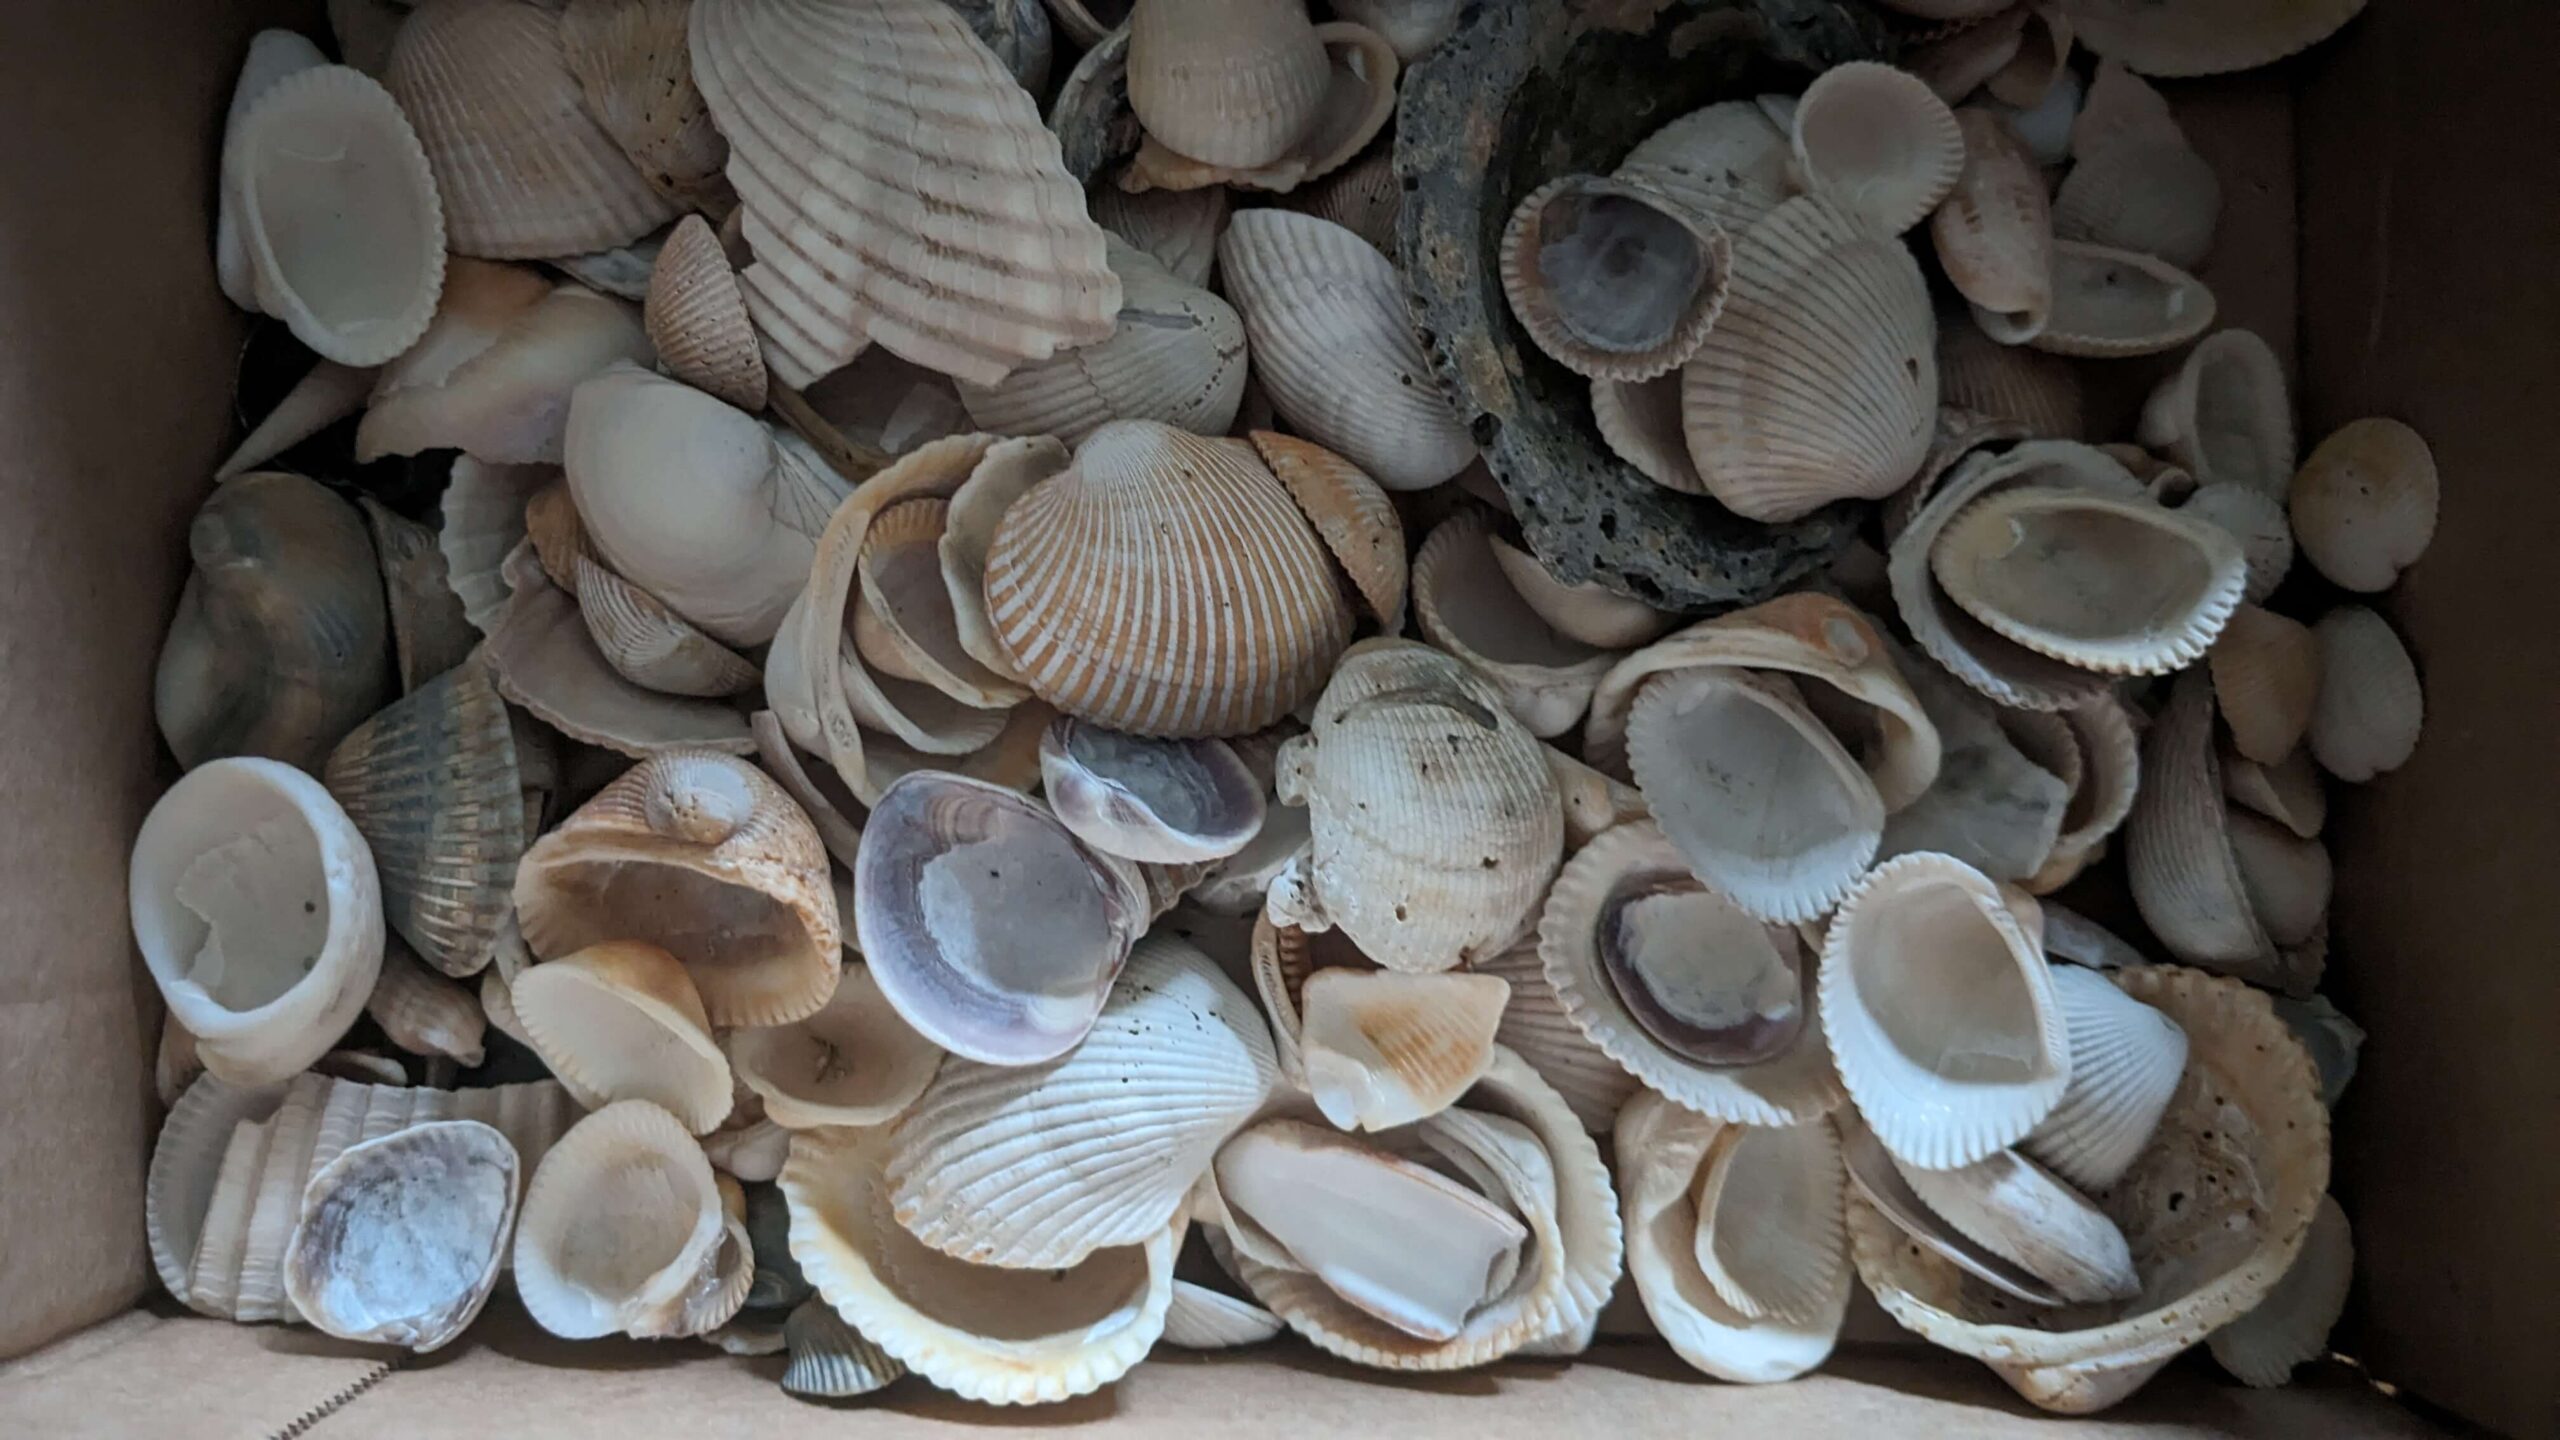
A seashell craft is a great way to use souvenir shells from the beach. If you’ve ever gone to the beach and collected a bucket full of beautiful seashells only to come home and put that bucket away and forget about them, this craft is for you! Every summer we go on vacation with Bennett’s family to the beach and every time we collect sea shells.
I quickly become attached to the beauty of the shells and then bring them home, wash them off, and then put them in the basement wishing I had something to do with them.
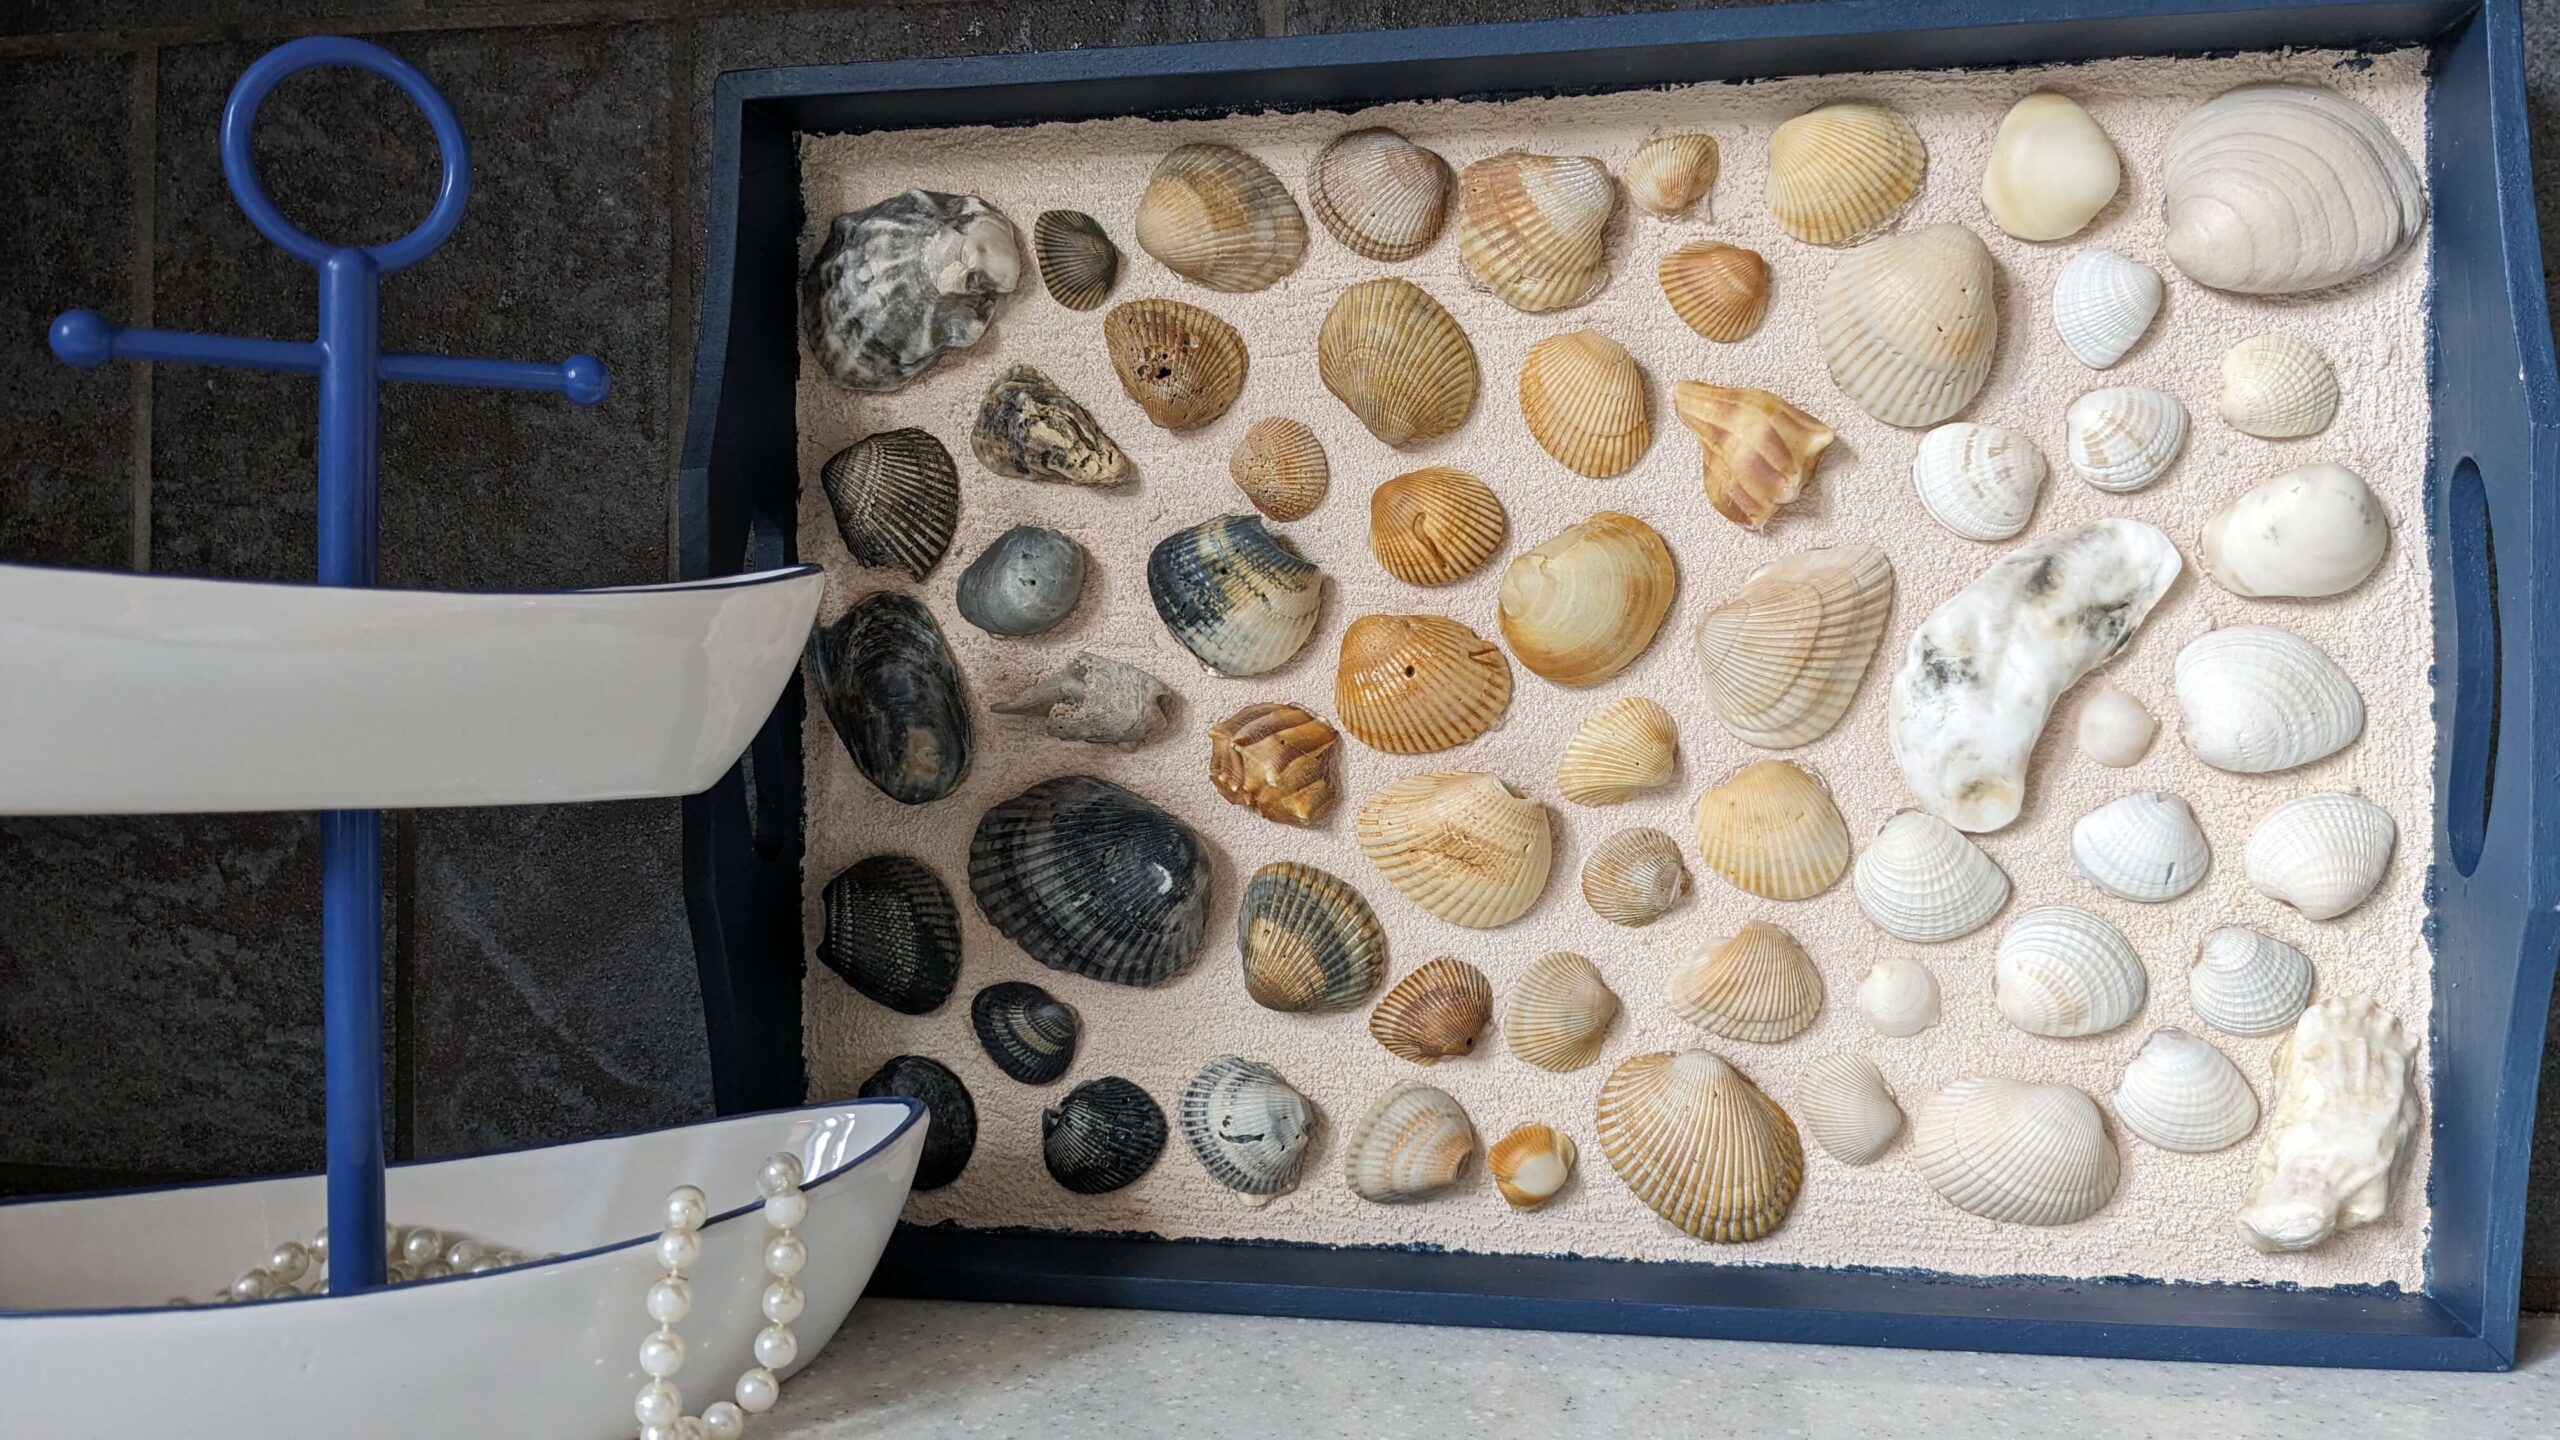
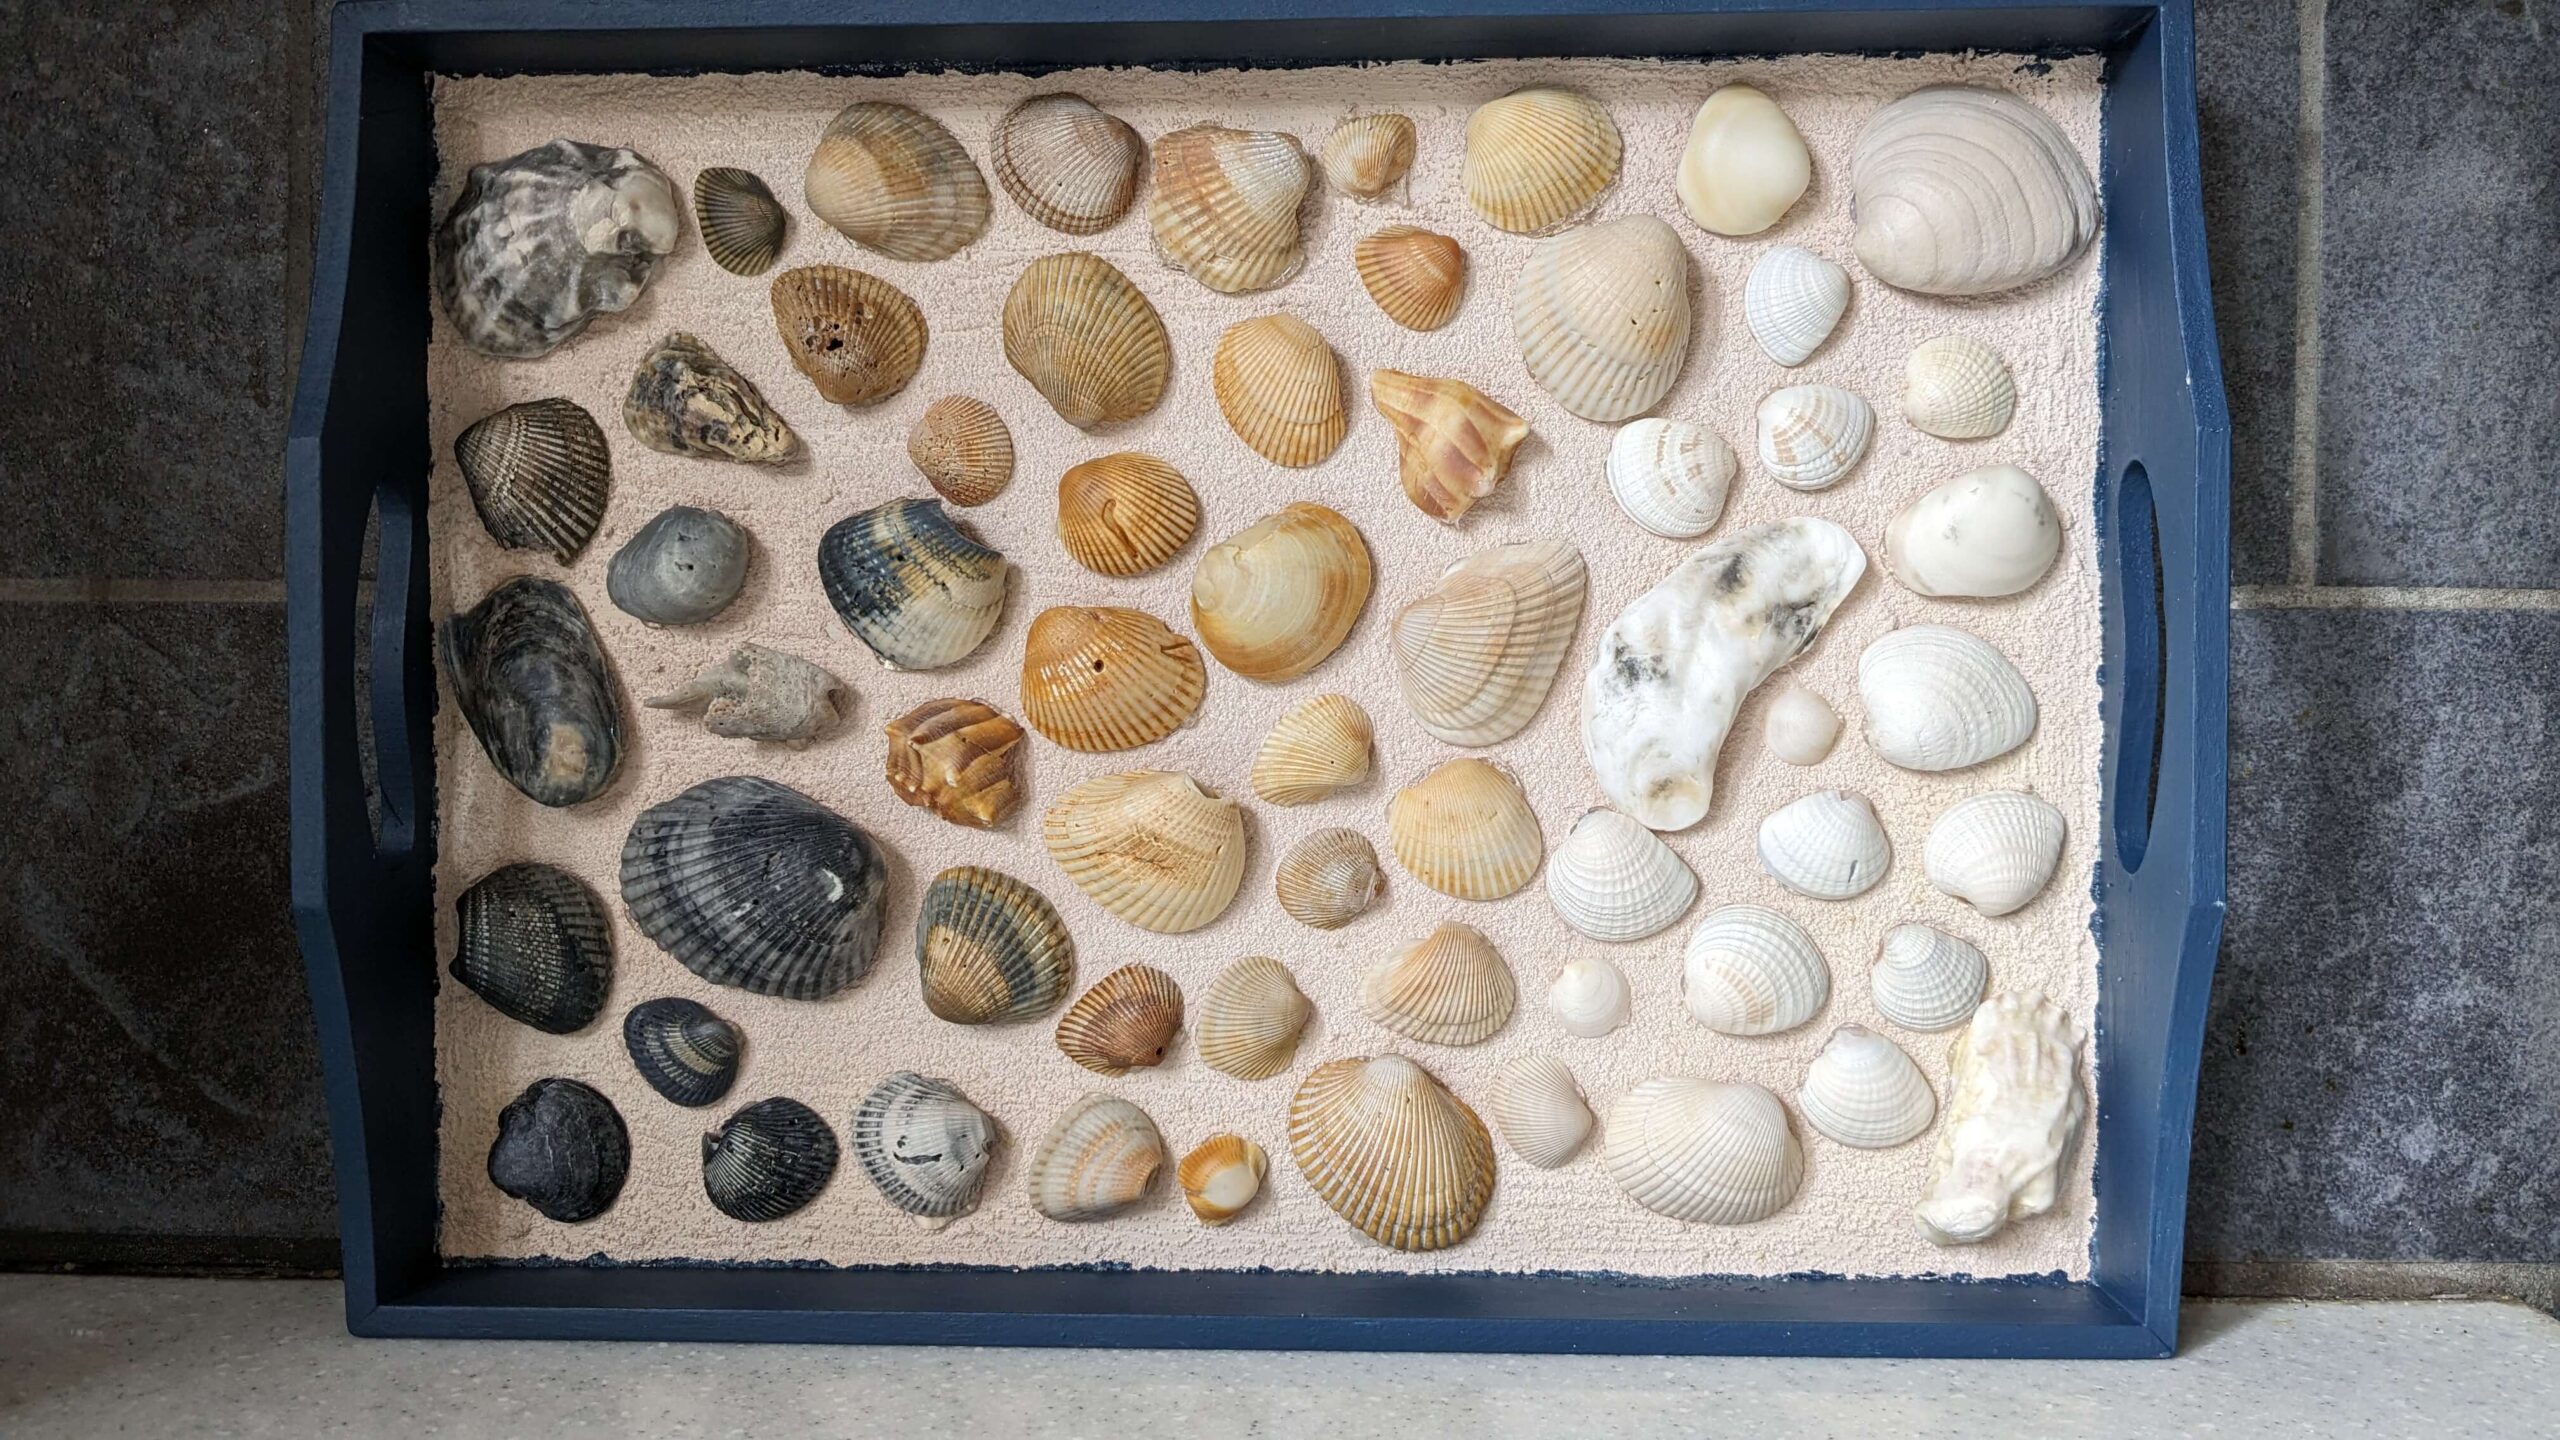
This year I was determined to find a way to use up the prettiest ones and, after looking at some inspiration for what art I could make with sea shells online and what supplies I had on hand, I came up with this Sea Shell Wall Art. I did not add a hook to the back of this, but one could be for it to become a piece of wall art. I envision this more as an art piece for a shelf.
What supplies do I need for this Sea Shell Craft?
These are the supplies that I used. I didn’t have to spend any money because I had all of it in my basement. If you do need to buy the supplies, most of these things can be found for cheap or free.
- Sea shells in assorted sizes and colors
- Cream and tan colored paints
- Paint brushes
- Pallet knife (optional)
- Salt
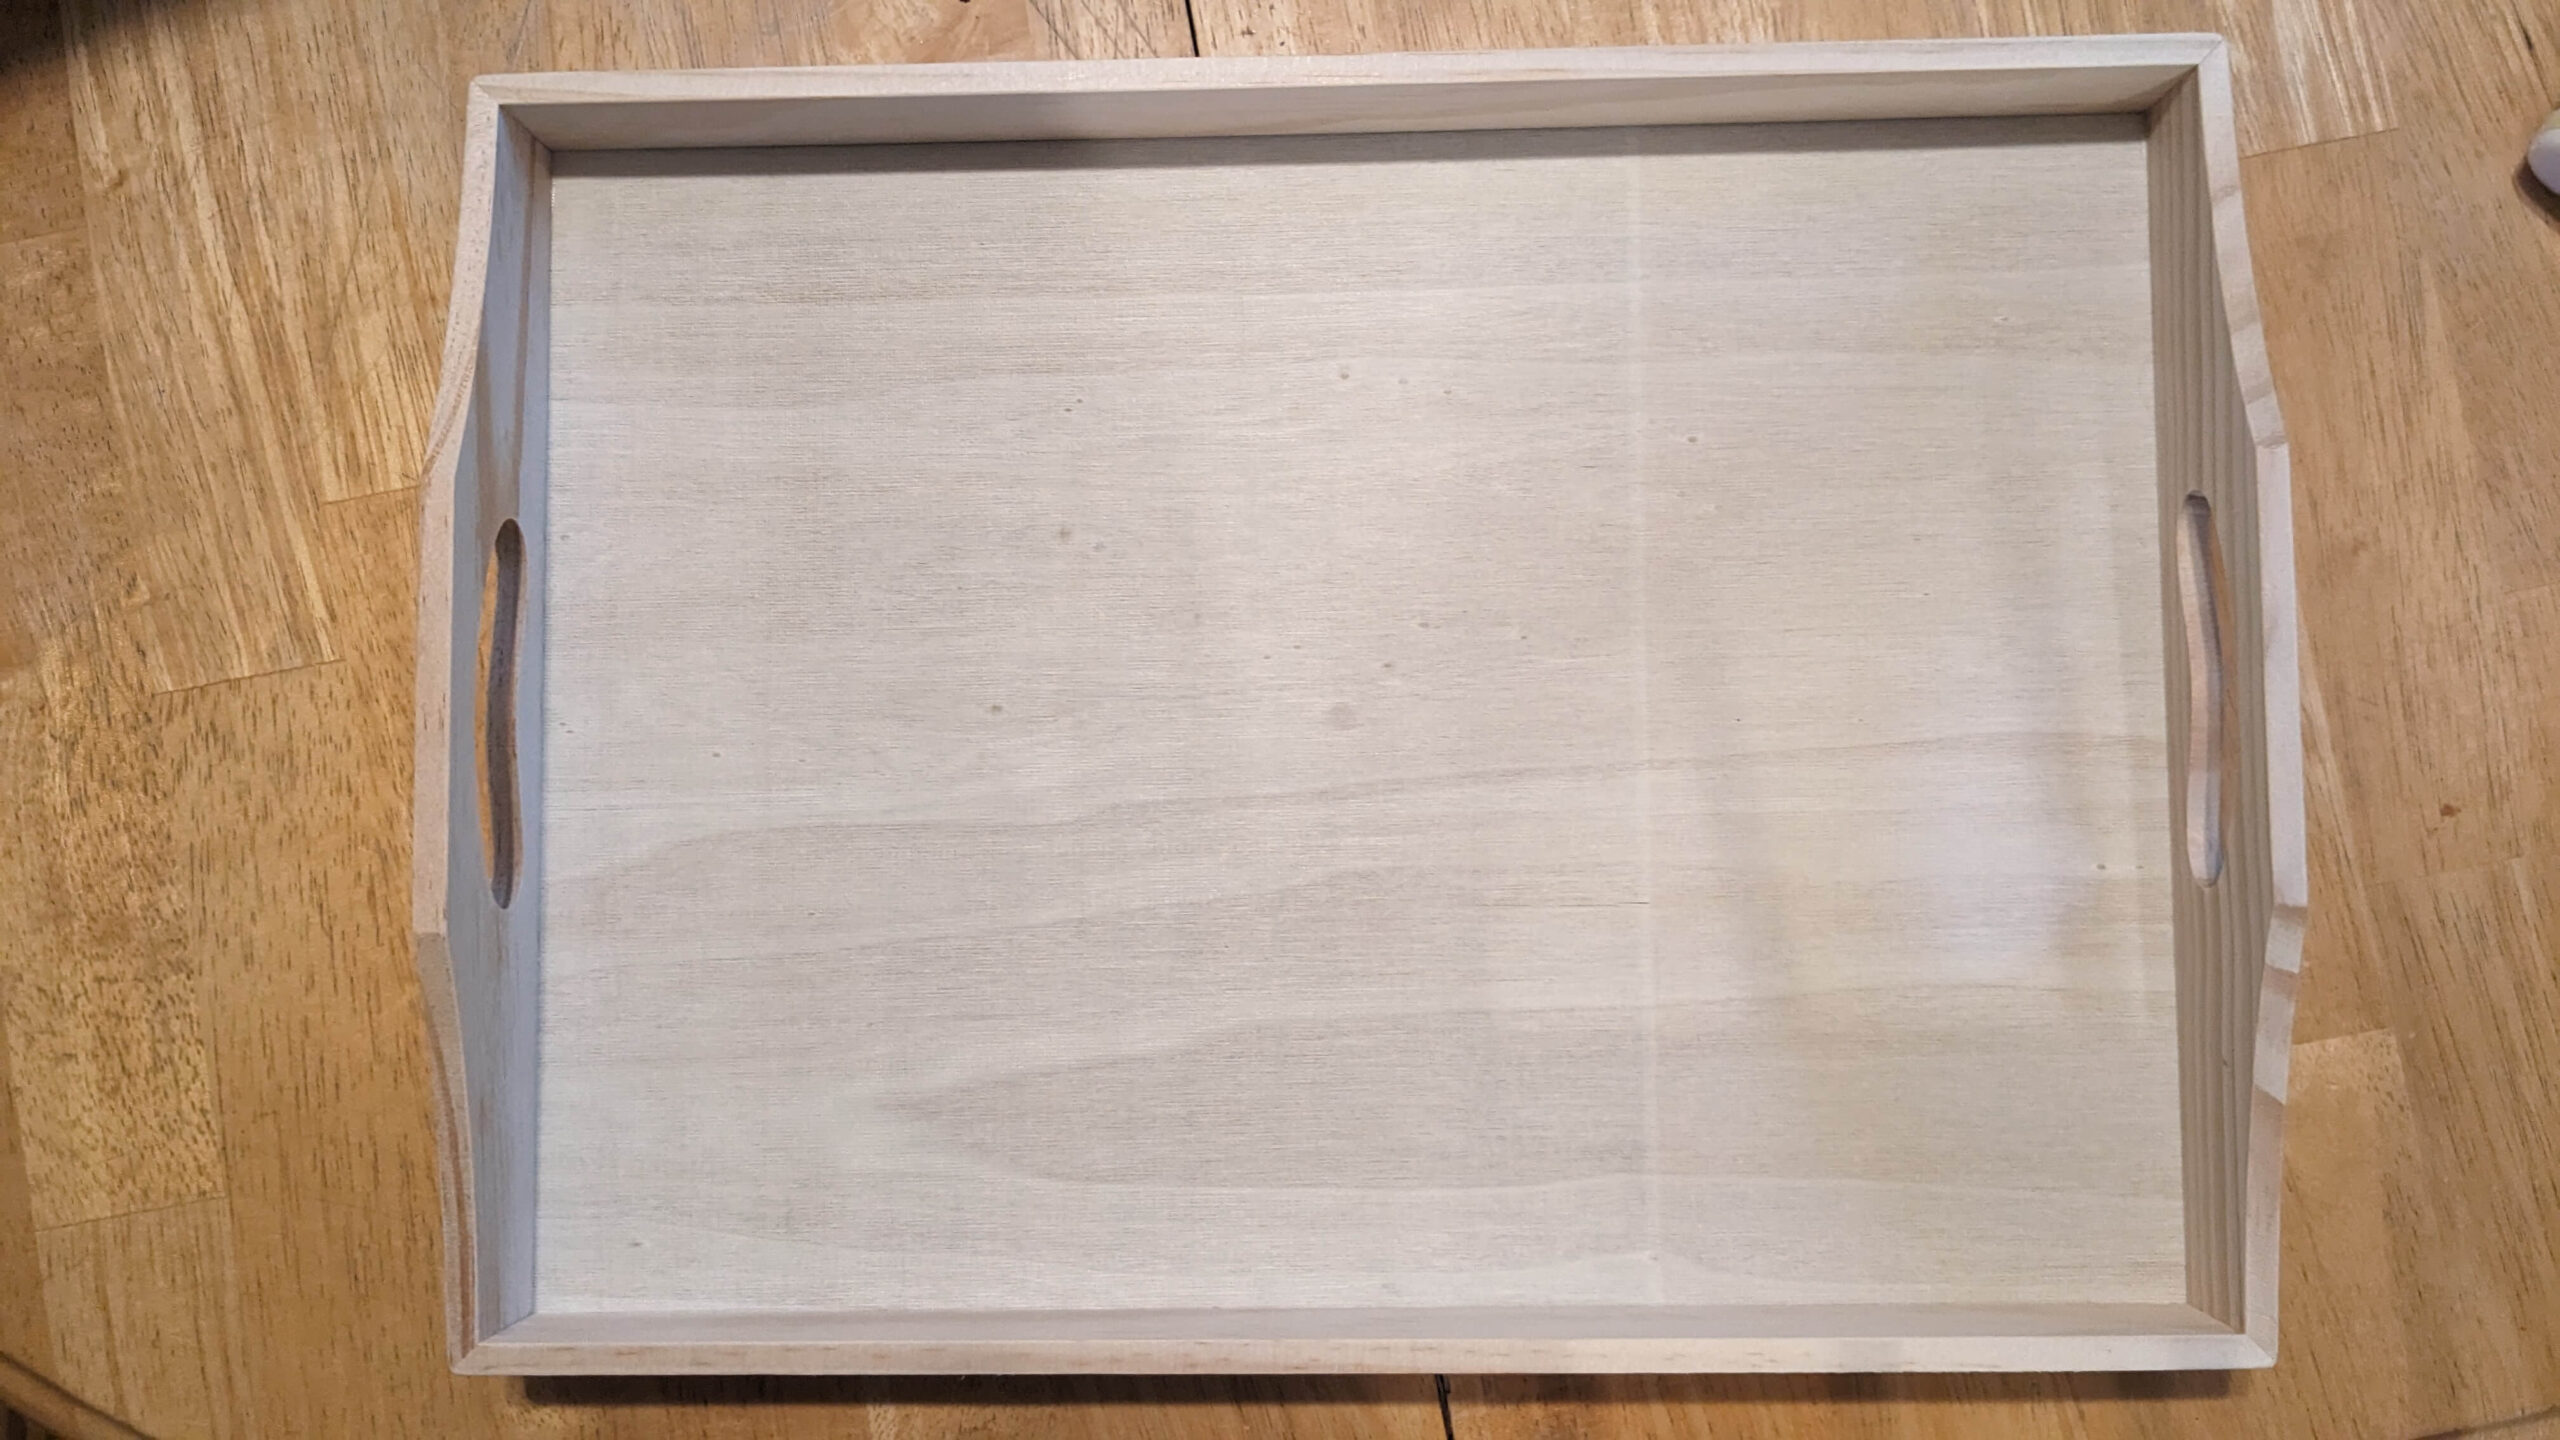
- Wooden tray or board
- Hot glue gun
- Matte sealant spray
How to create Sea Shell Art:
First I drew on the beach for my inspiration, and I decided to paint the sides of this tray blue. I did not have a blue that I liked so I mixed a couple of different blue colors together and then painted the sides.
![]() Industrious Creating Tip: If you are using a paint color that you mixed up yourself, save it in a bowl in a plastic bag in the fridge. This will help slow down the process of the paint drying out so you can reuse it to touch up your project until you’re sure it’s done.
Industrious Creating Tip: If you are using a paint color that you mixed up yourself, save it in a bowl in a plastic bag in the fridge. This will help slow down the process of the paint drying out so you can reuse it to touch up your project until you’re sure it’s done.
I painted the inside and outside of the walls of the tray but I didn’t worry about the bottom of it. If I had a completely flat board that I was using, I would not have worried about paint at all, but I think that the blue border looks appropriate for the theme I was aiming for.
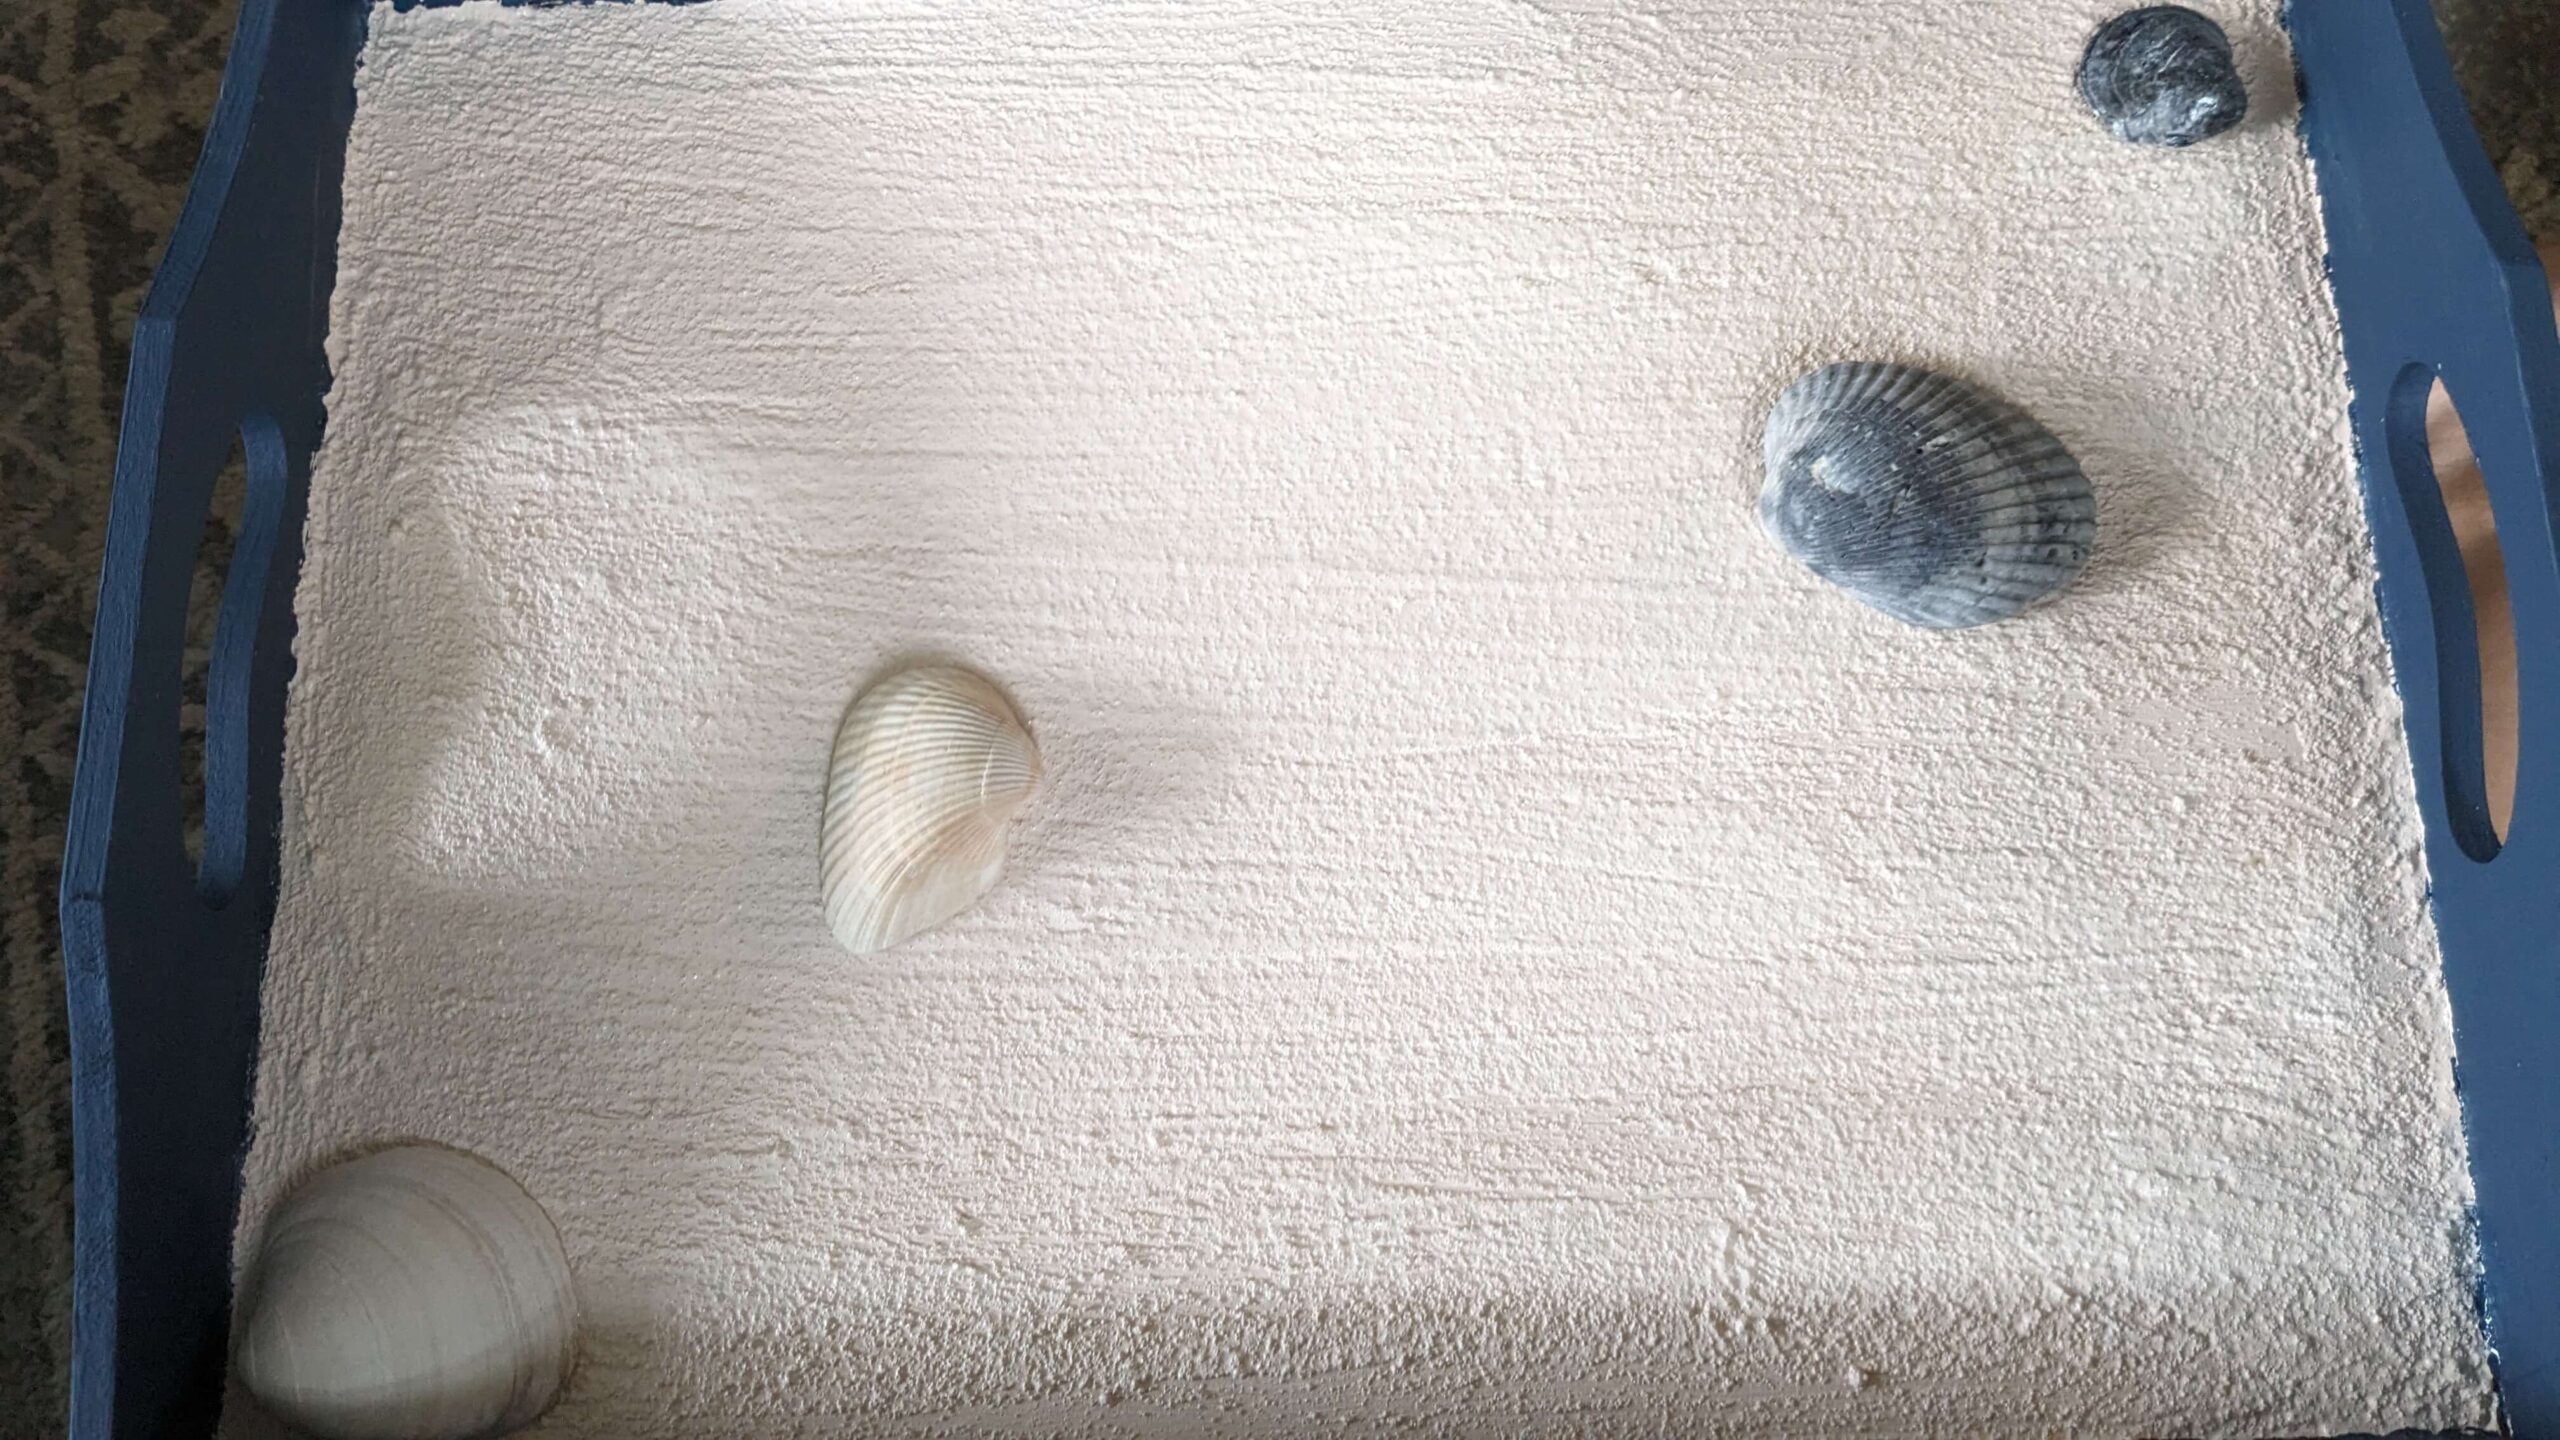
Next, I knew that I didn’t want the shells to lay flat on the board itself, I wanted some texture and ideally, it would be sand.
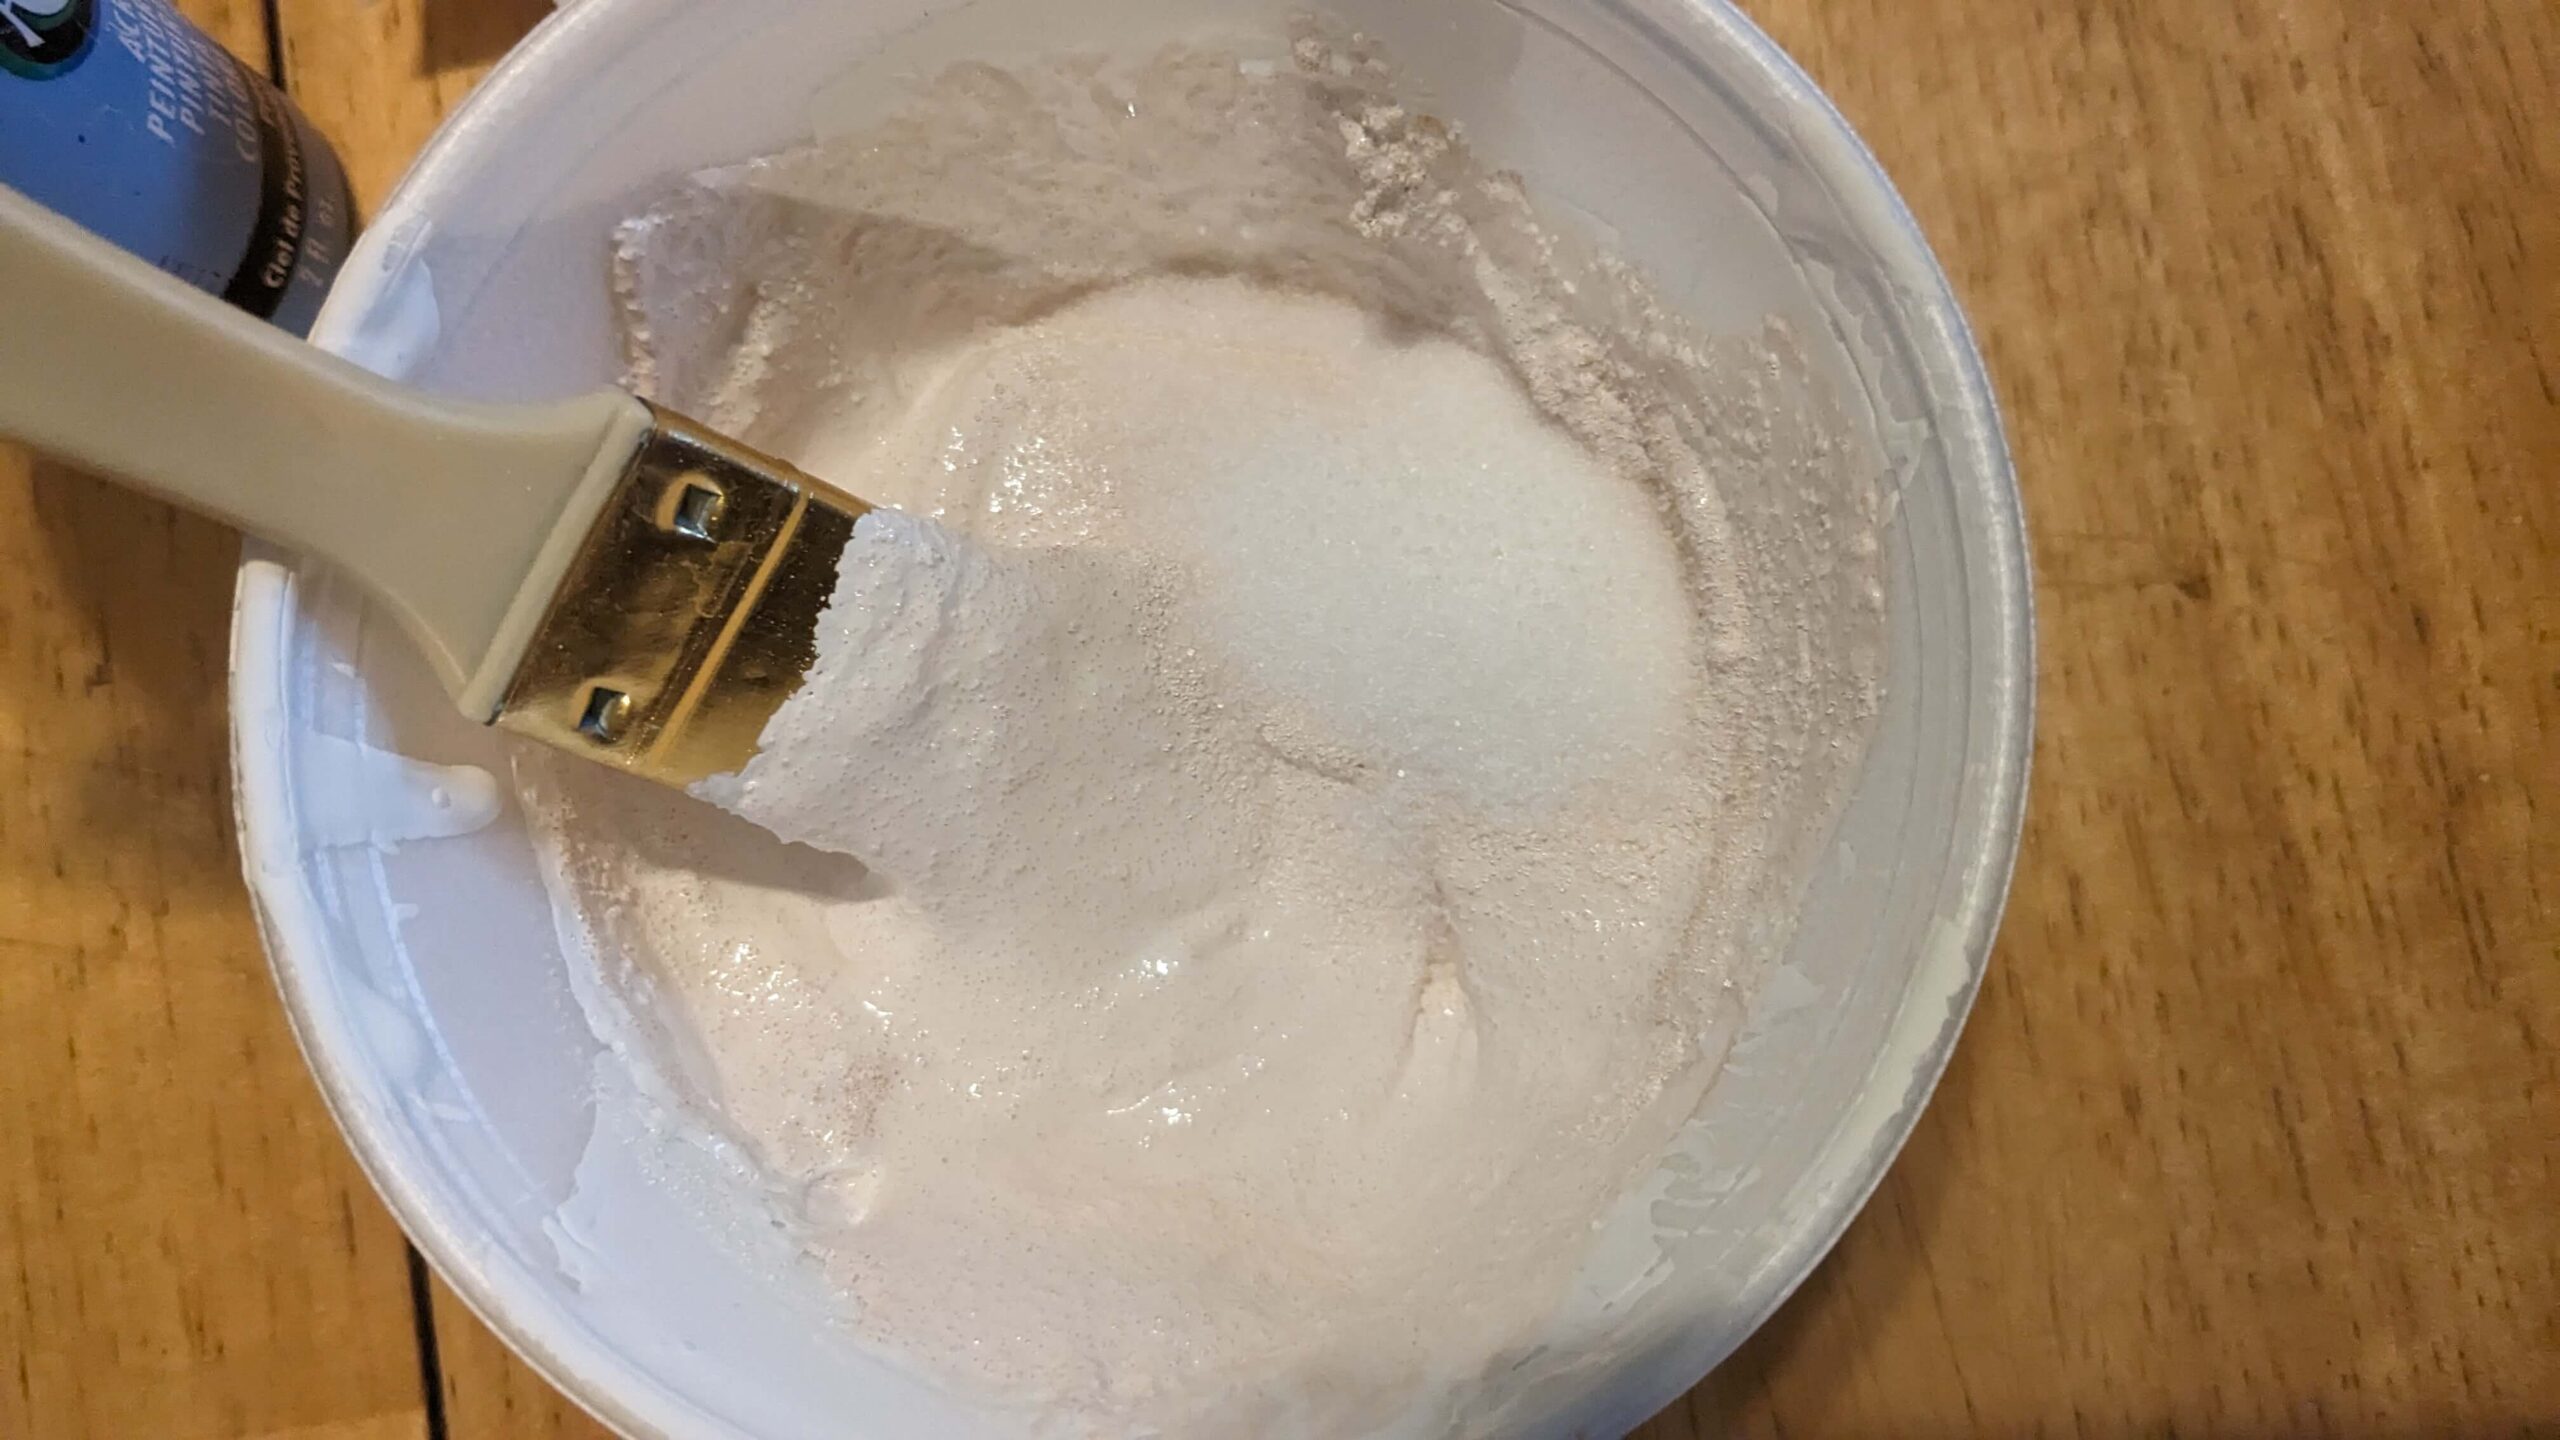
How do you create fake sand for a craft project?
I’ve done this for a different project and love the result. In a disposable cup, I pour in about ½ cup of table salt and about a tablespoon of paint. I did not have any “sand-colored” paint, so I did 1 teaspoon of brown and 2 teaspoons of tan.
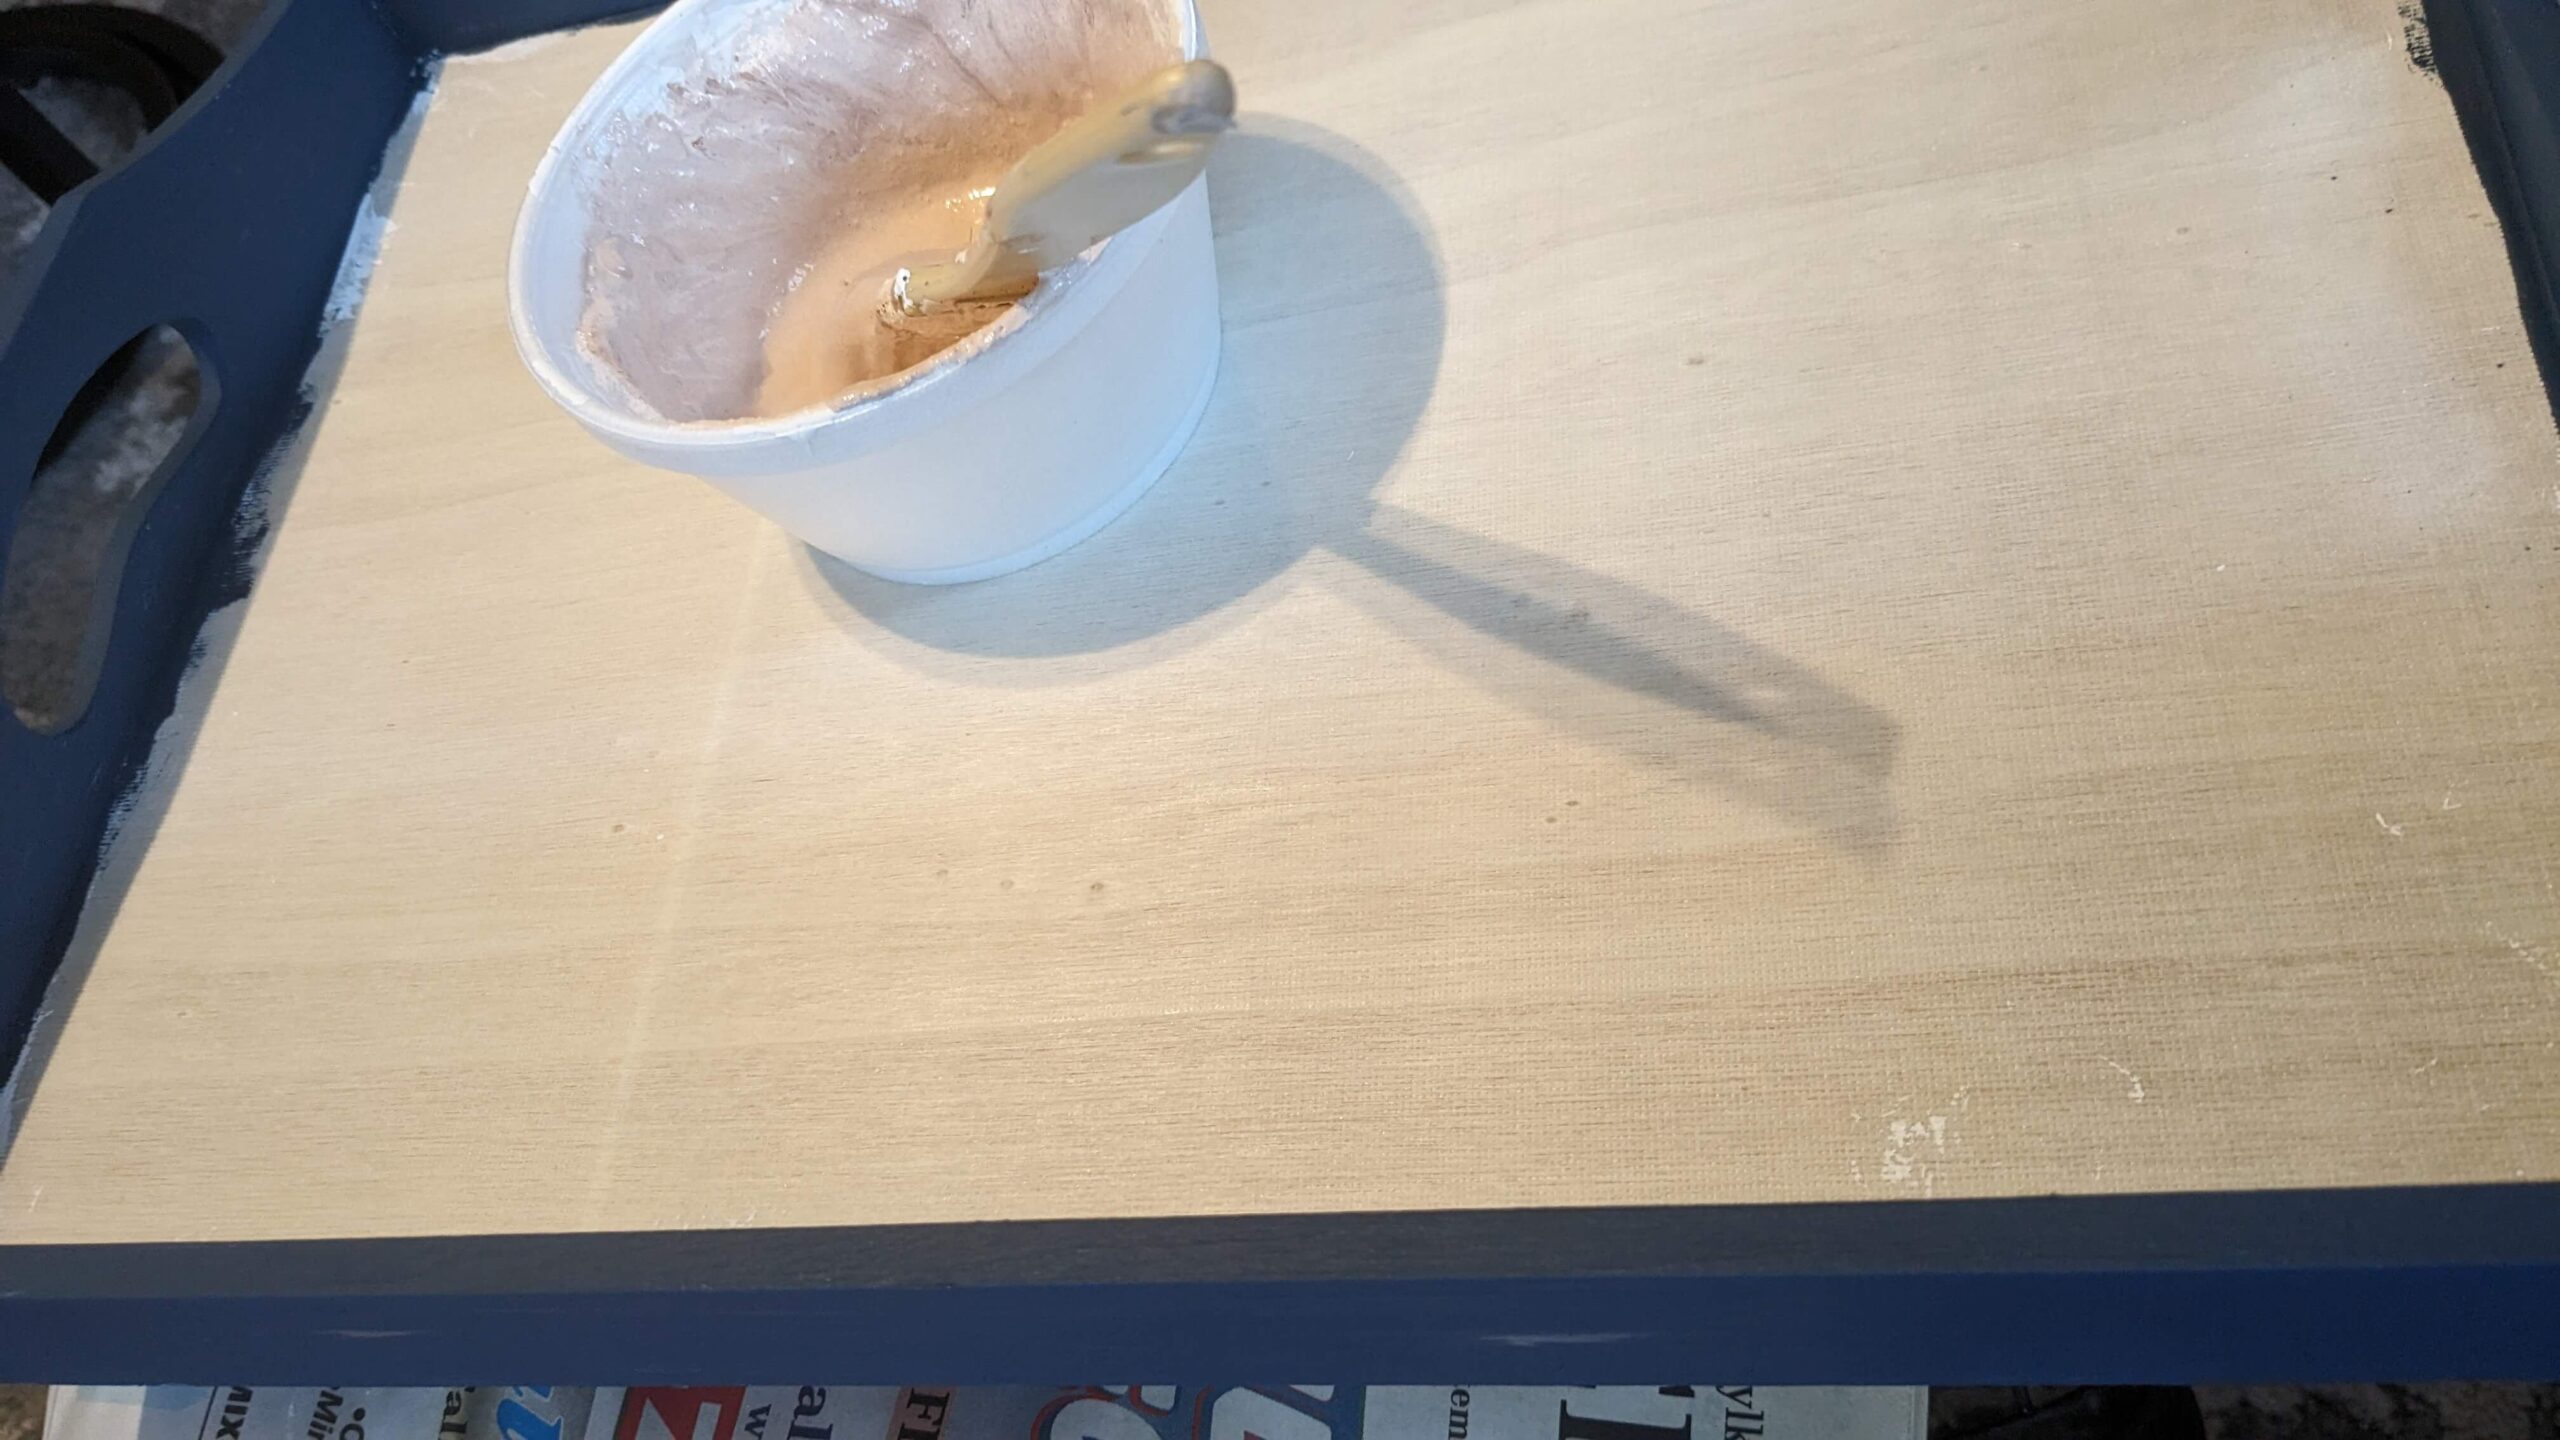
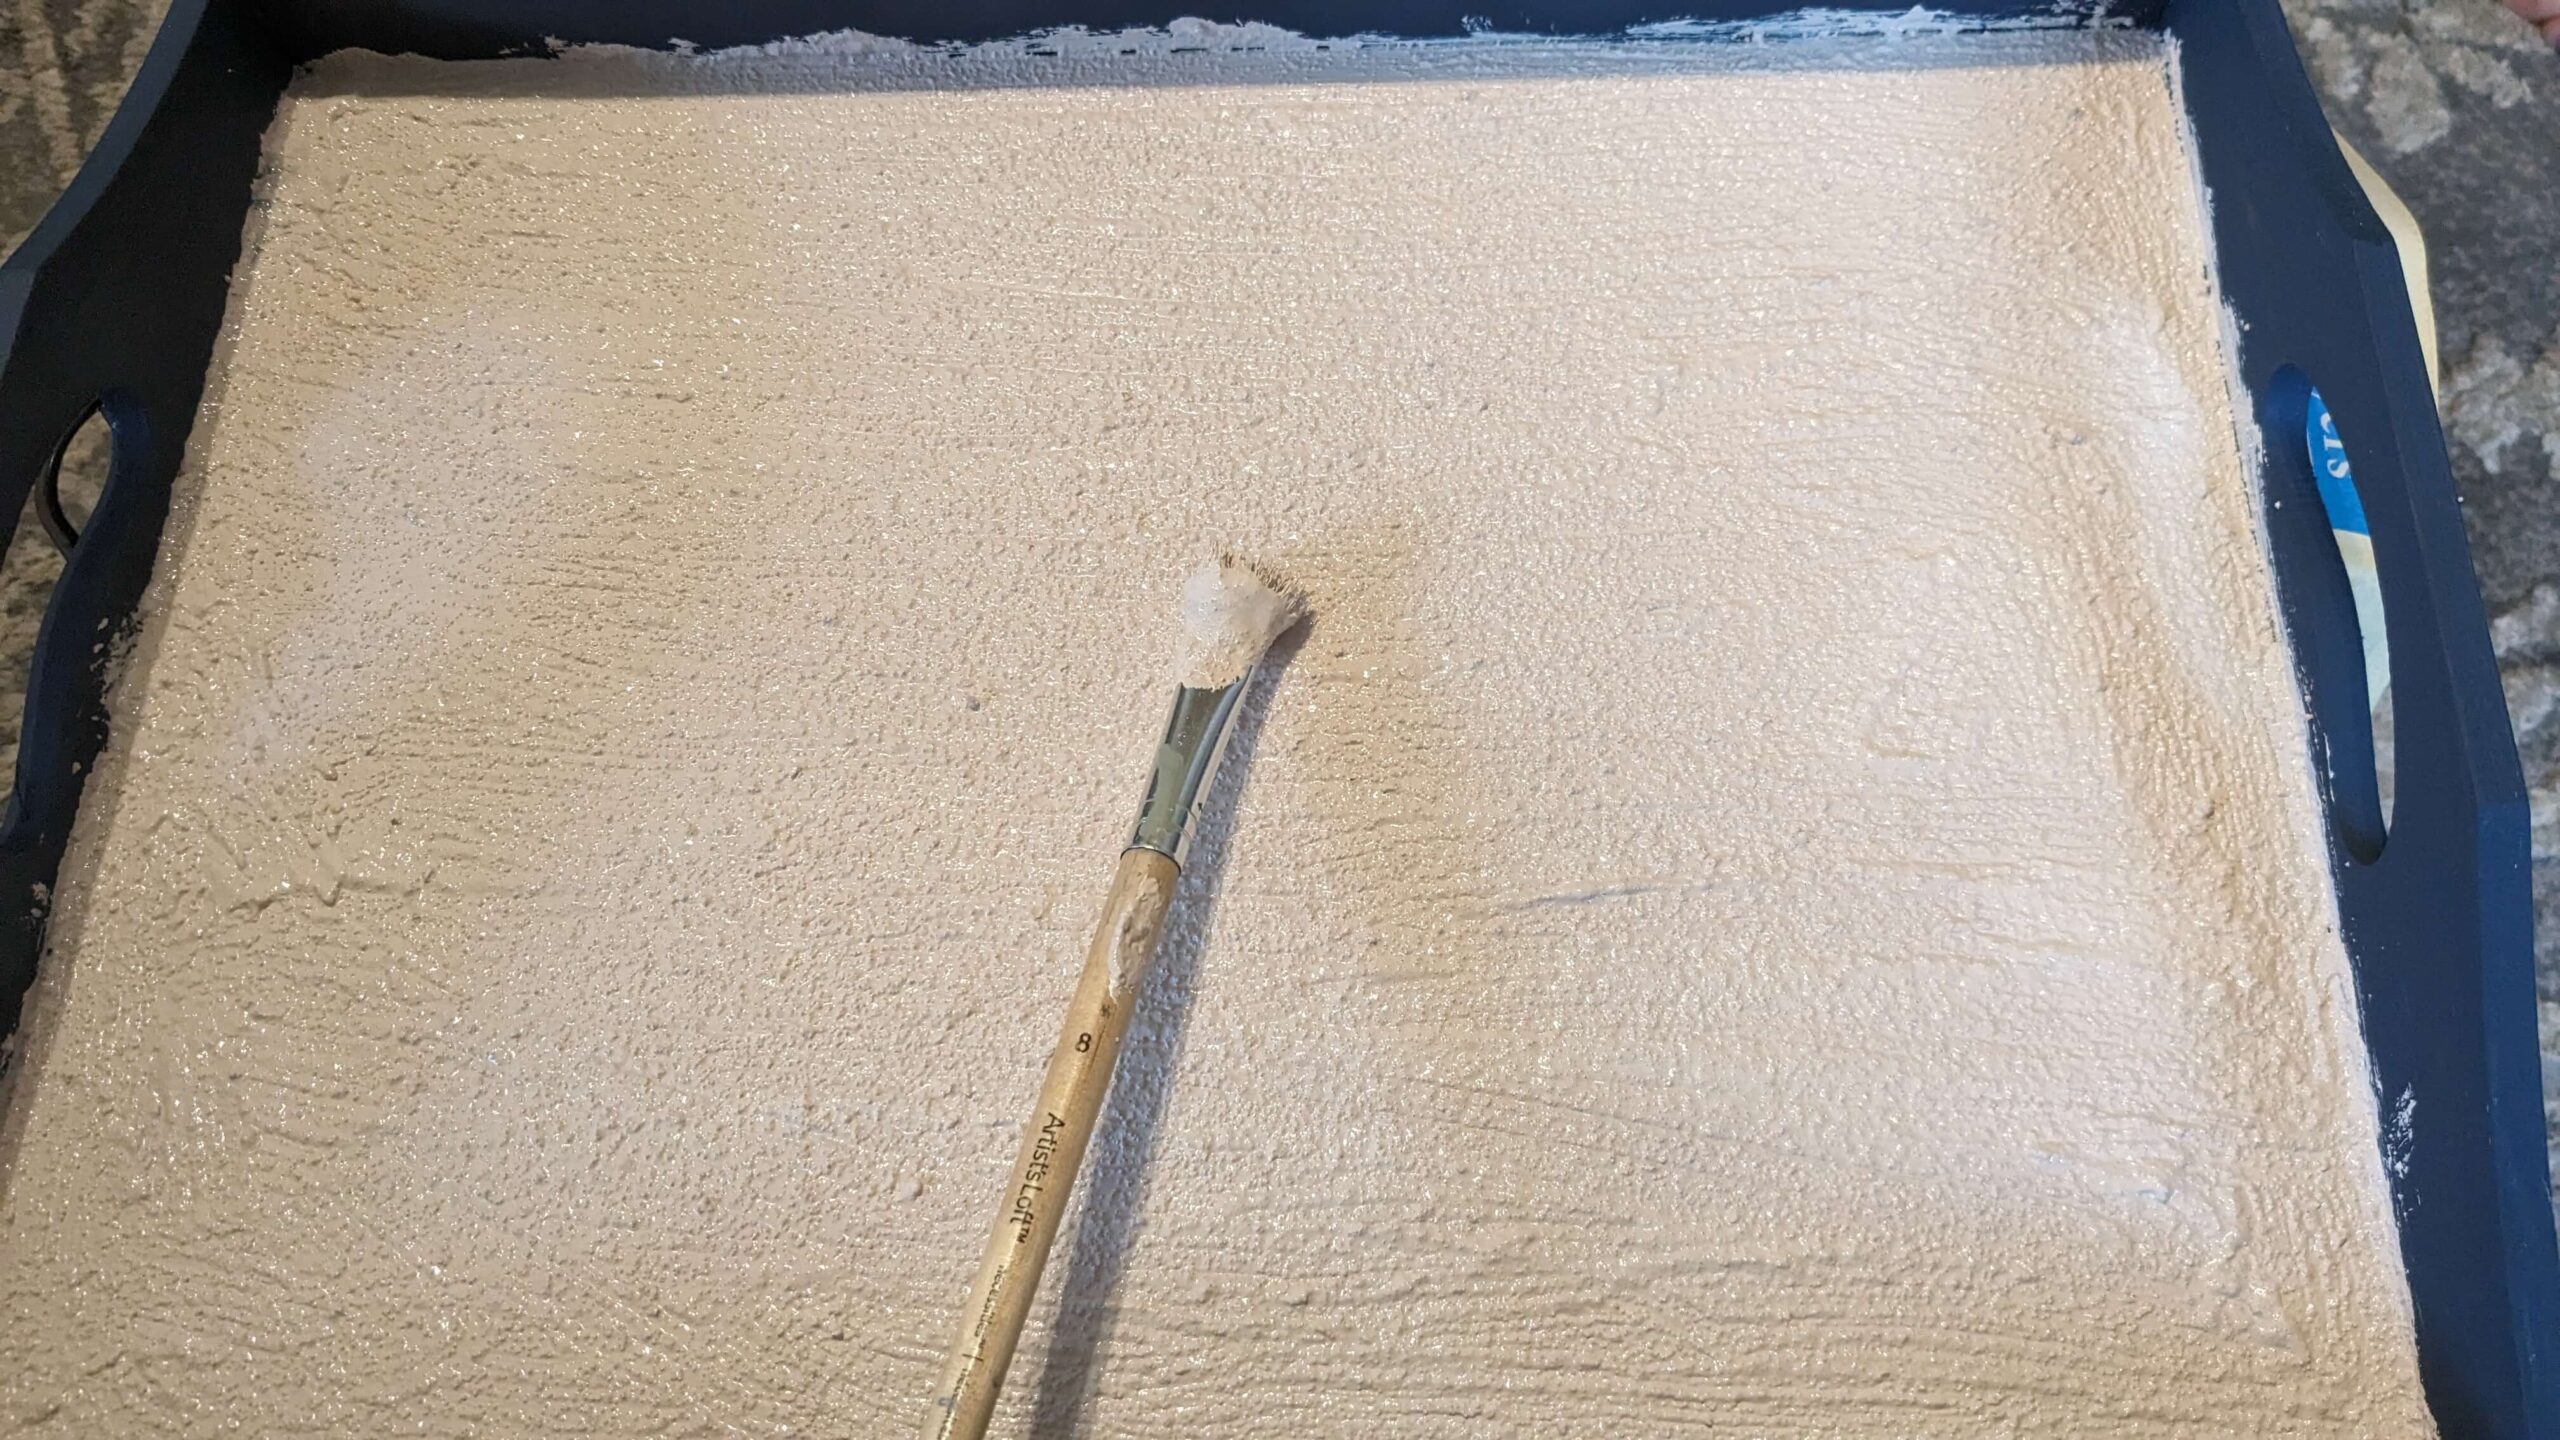
I applied the “sand” with a pallet knife and paintbrush. It clumps onto the brush quickly which made it hard to get into the corners, so the pallet knife came in handy there.
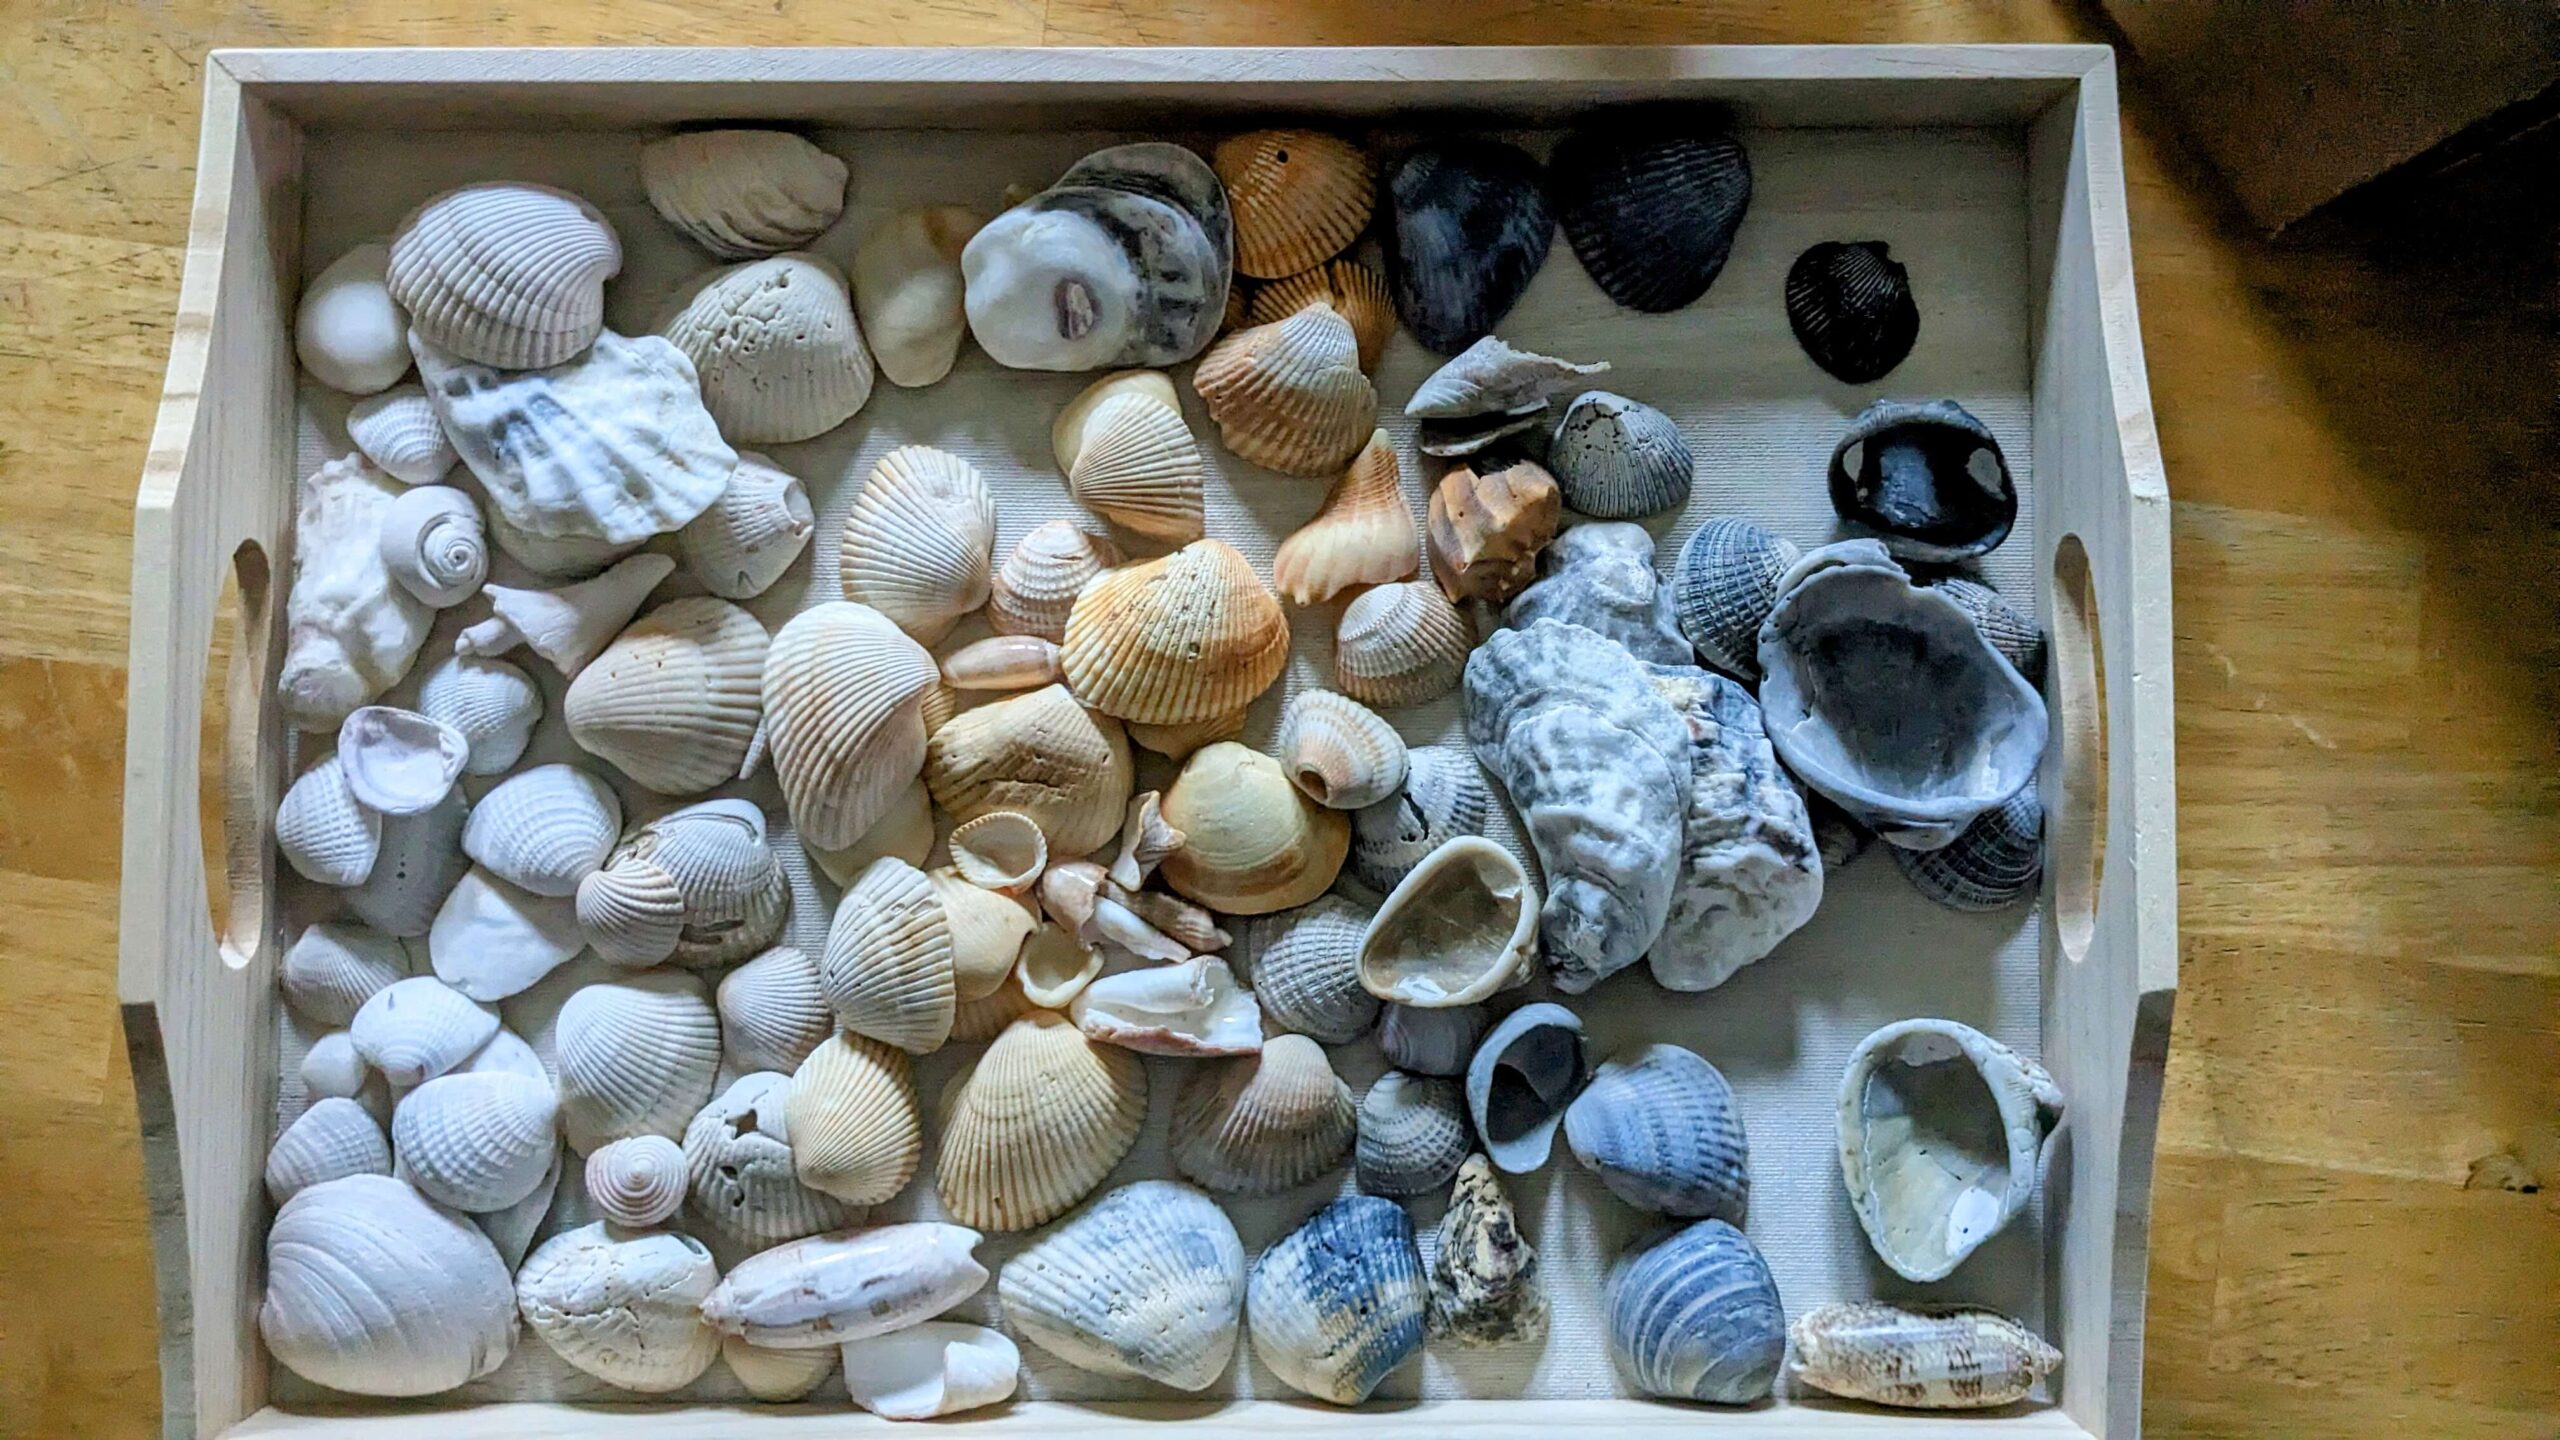
How to prep and sort shells for a sea shell craft?
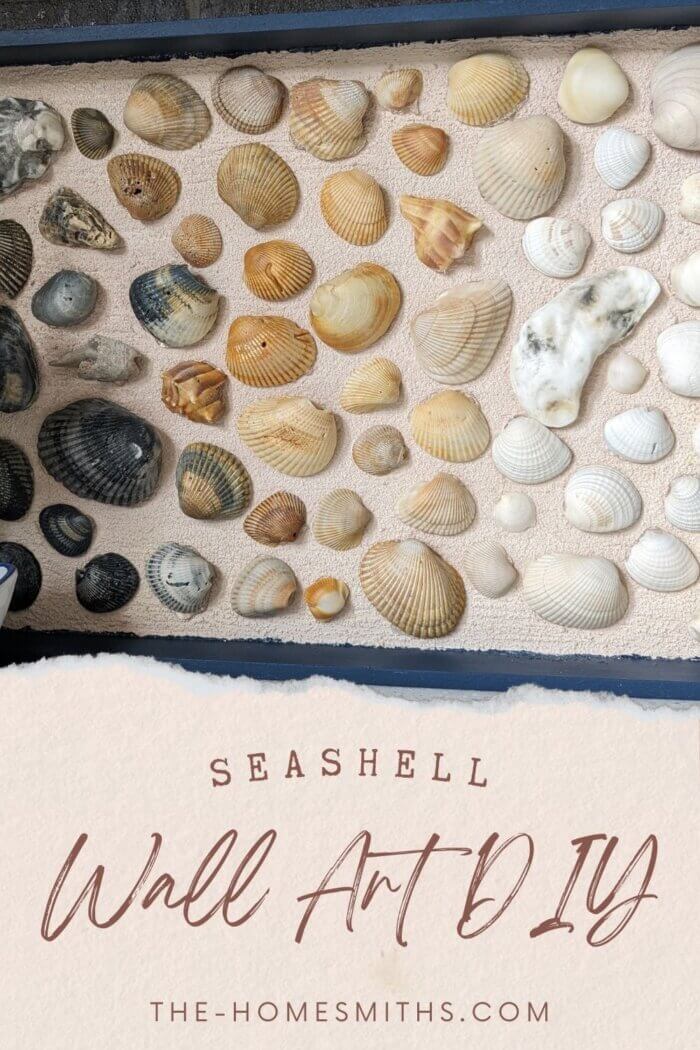
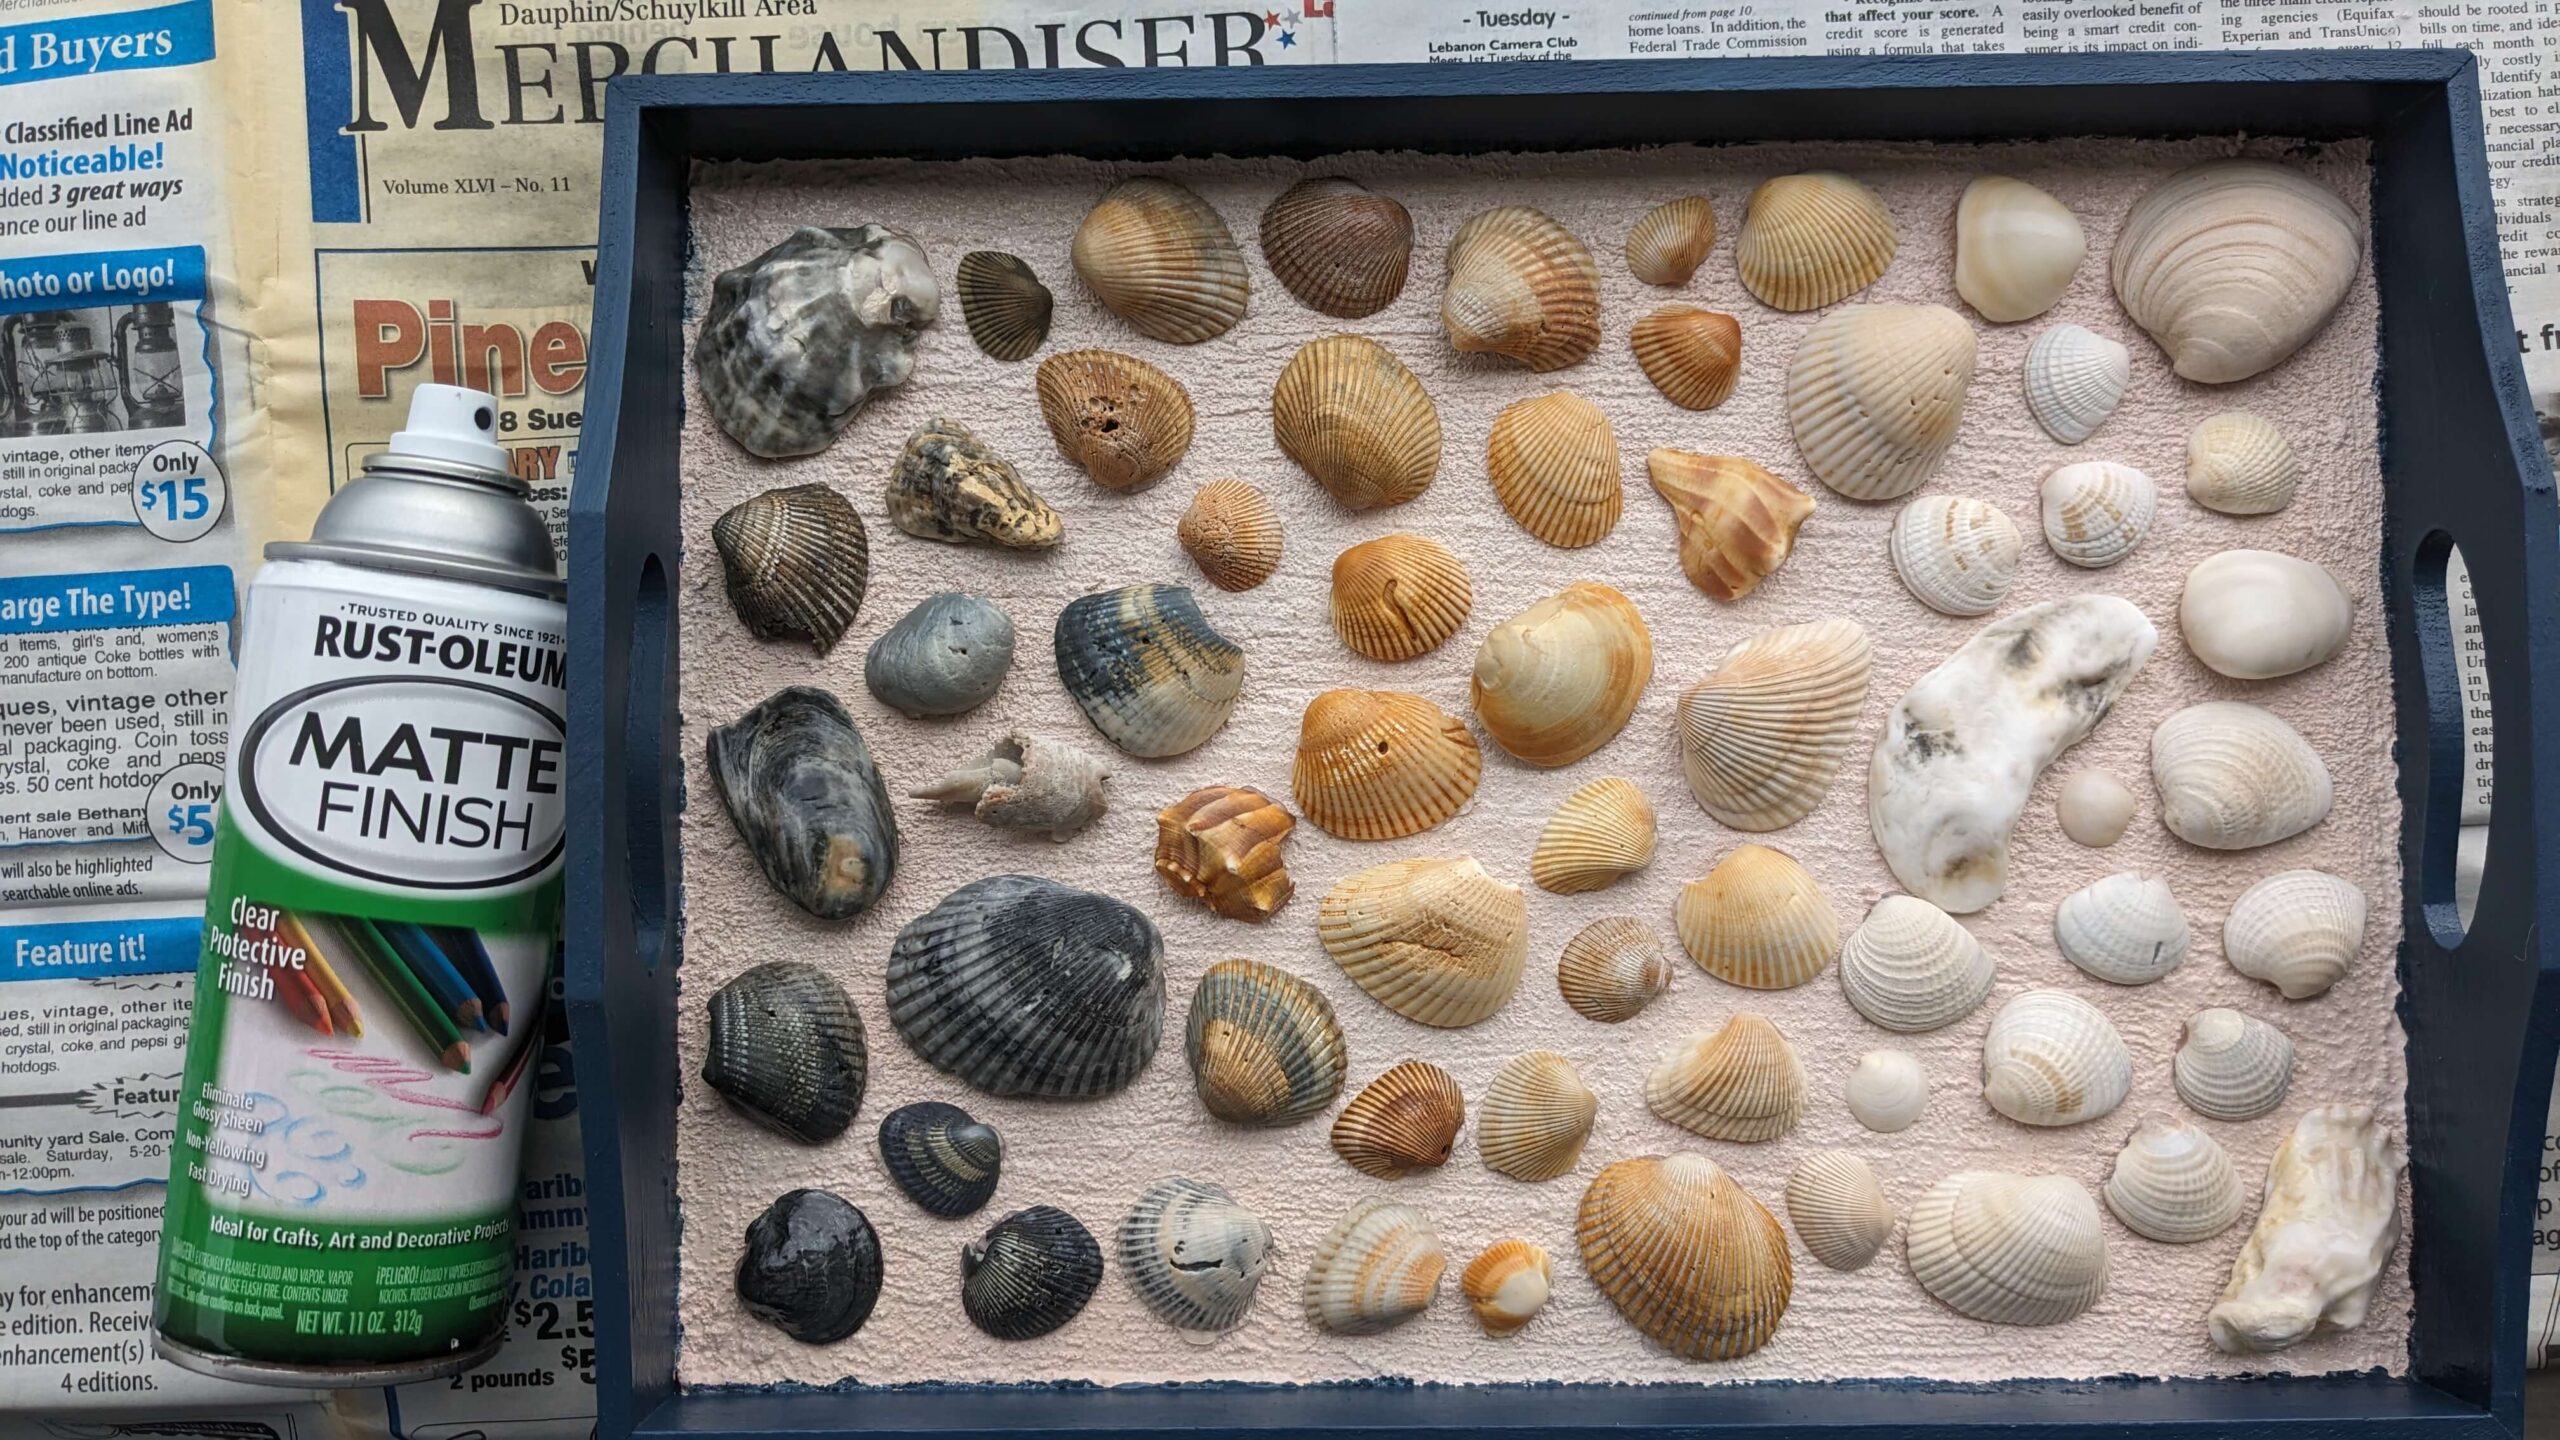
You have to decide what you want the outcome to look like. I wanted an ombre-type effect where the shells went from bright white on one side and faded in a gradient to black on the other.
After picking out way more shells than I would use for the craft, I thoroughly cleaned the shells of dirt, dust, and sand. I laid them on a towel and made sure they were completely dry before I used them.
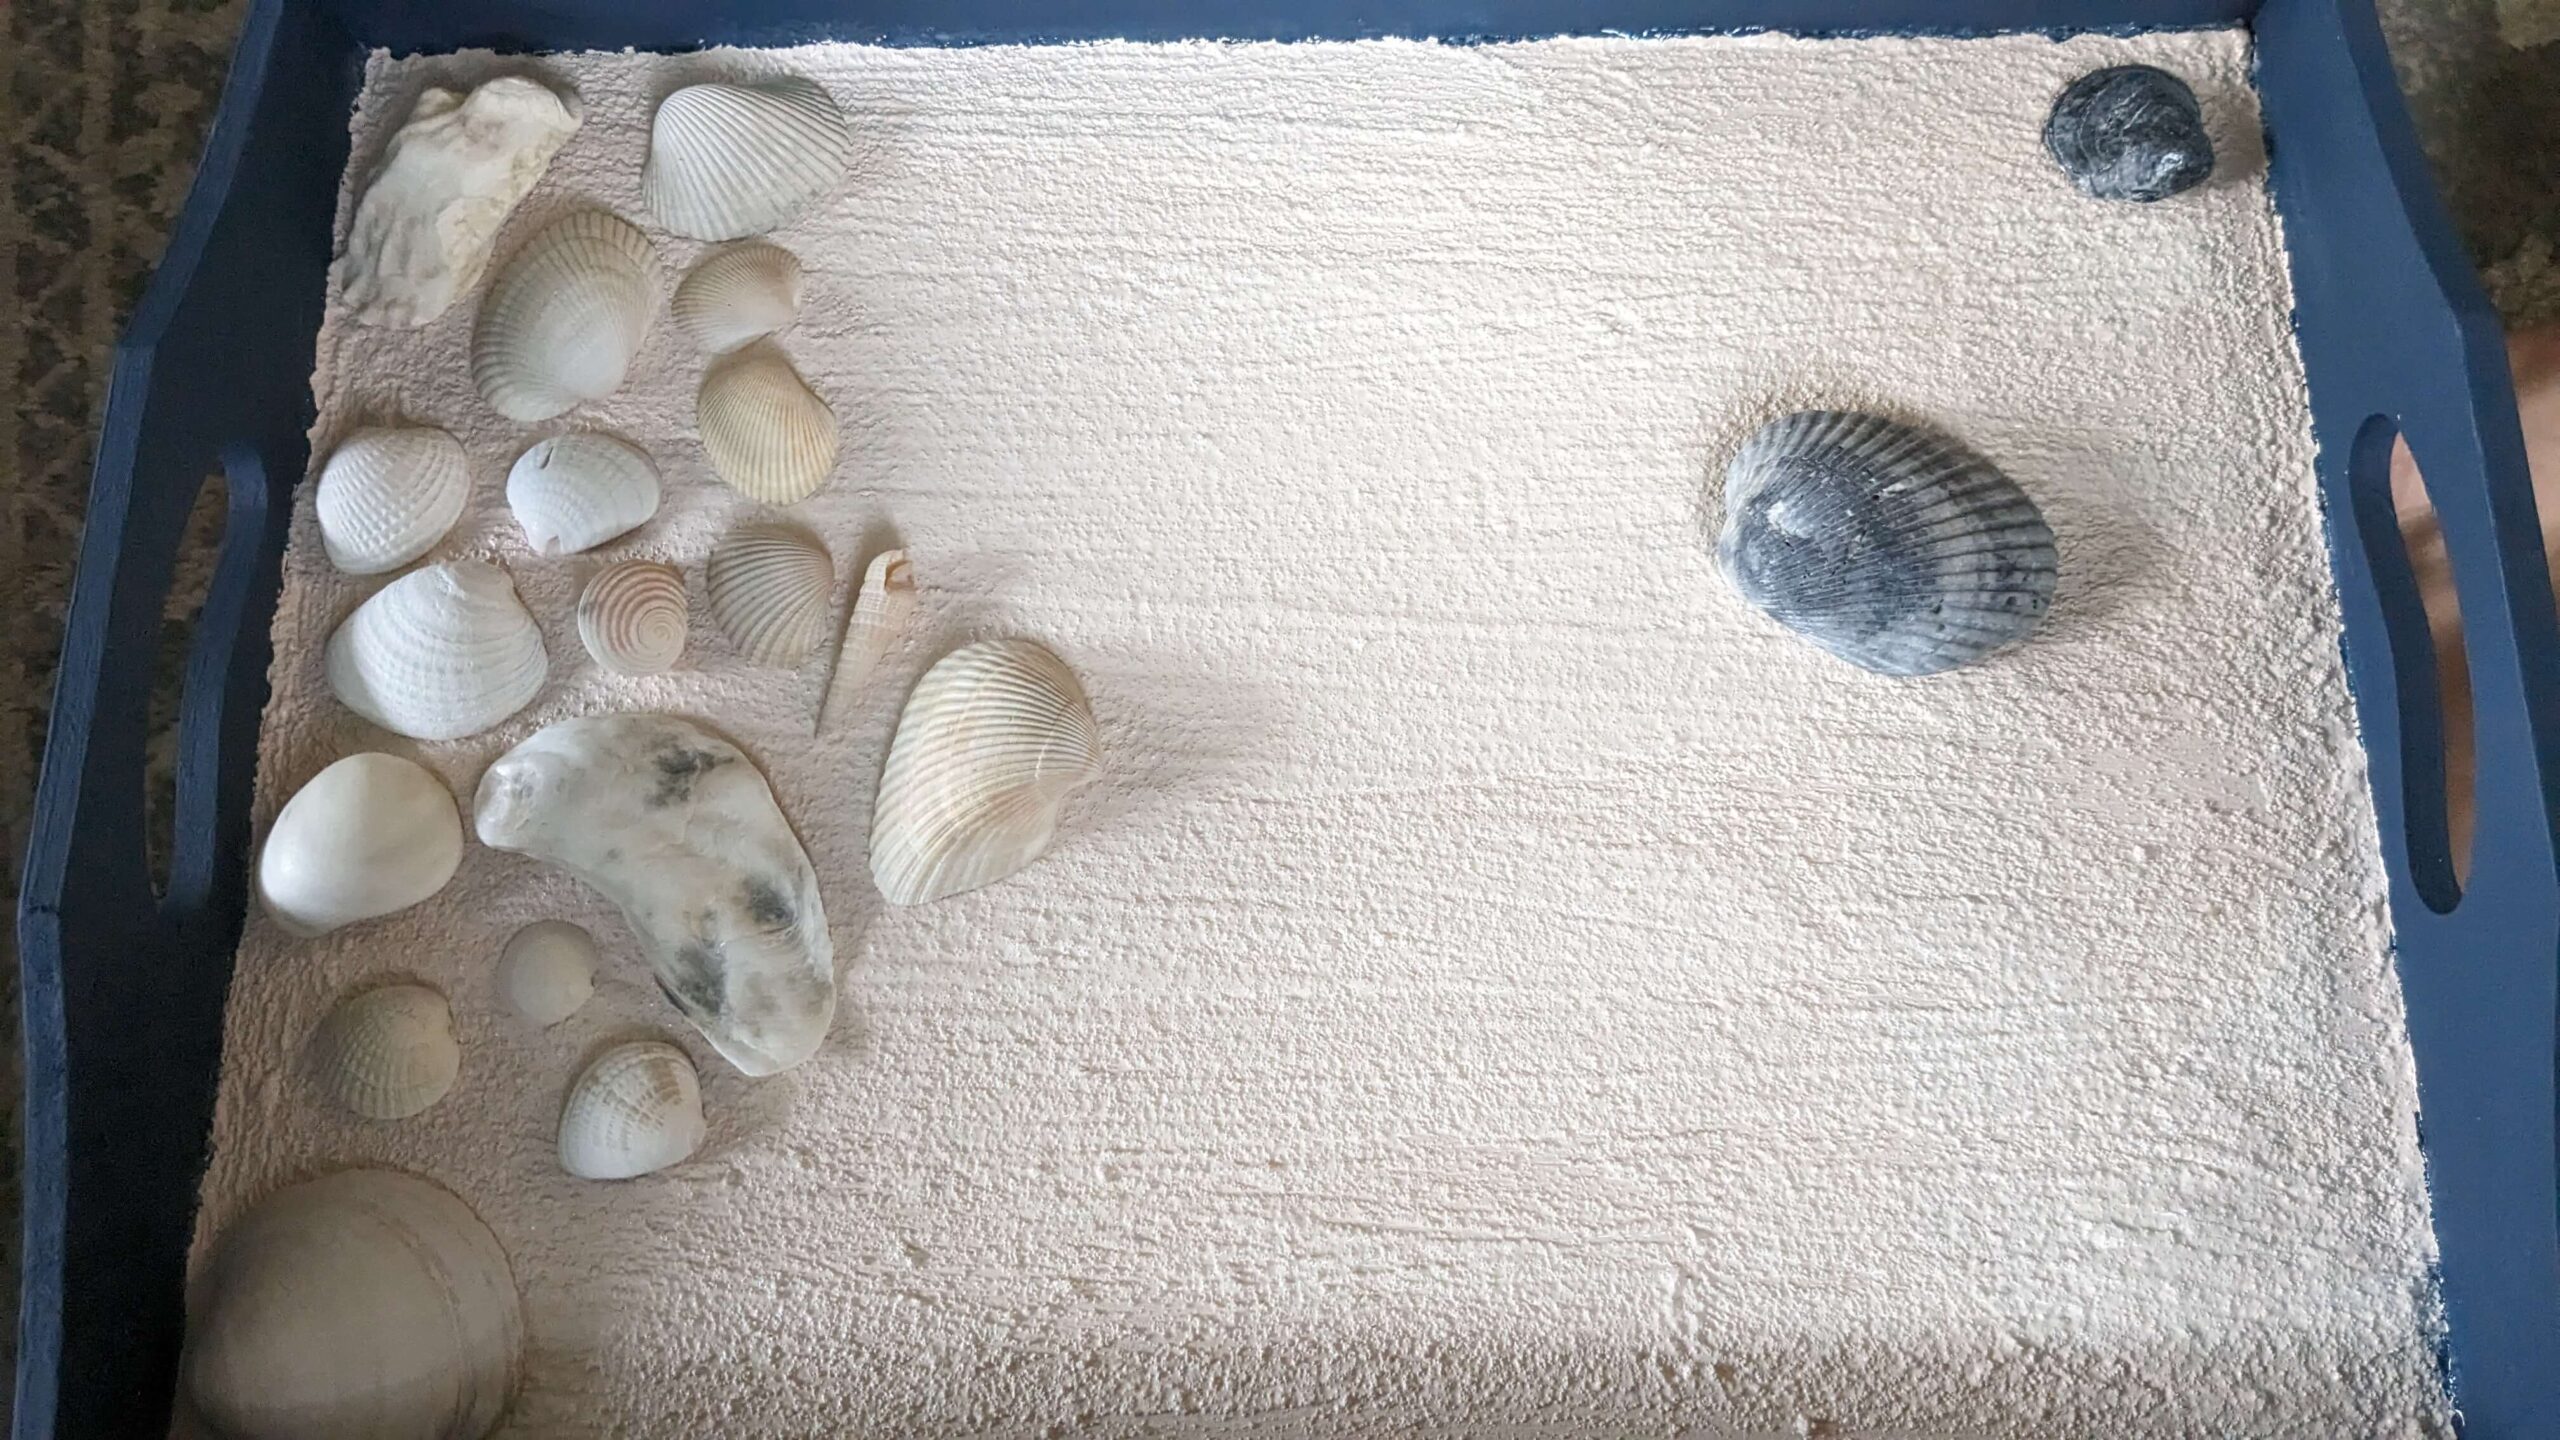
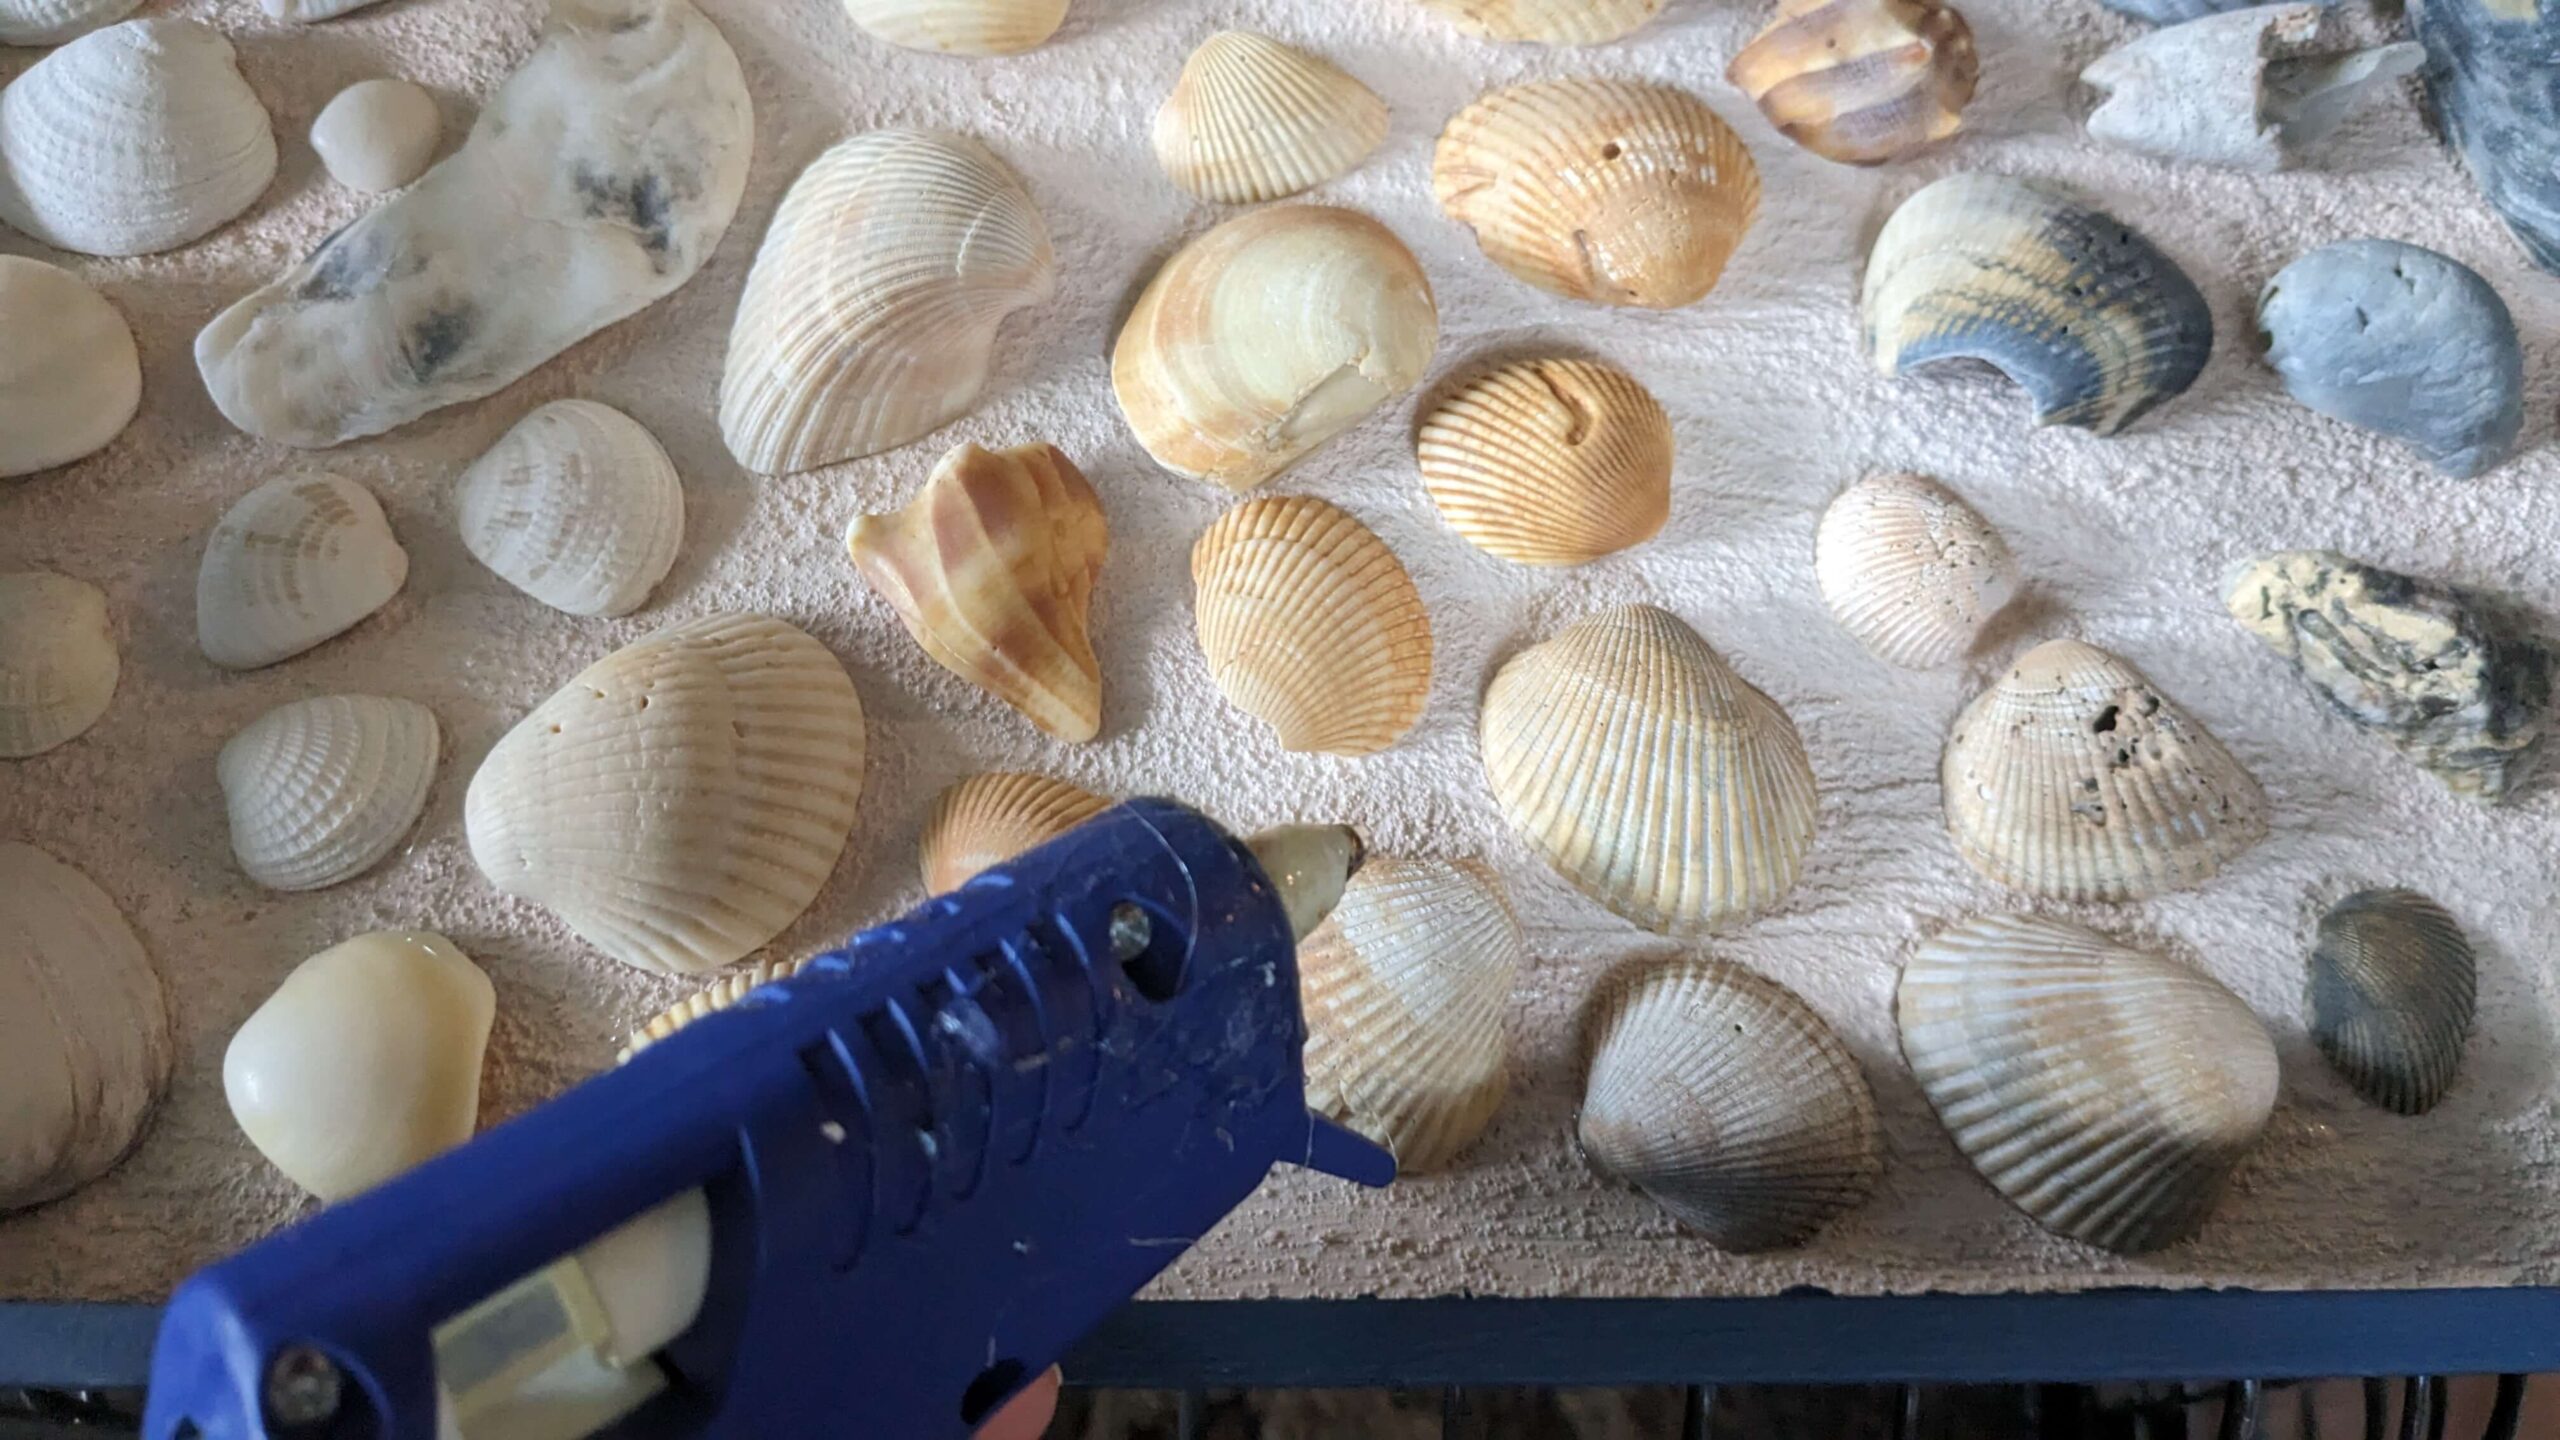
Placing and gluing the shells:
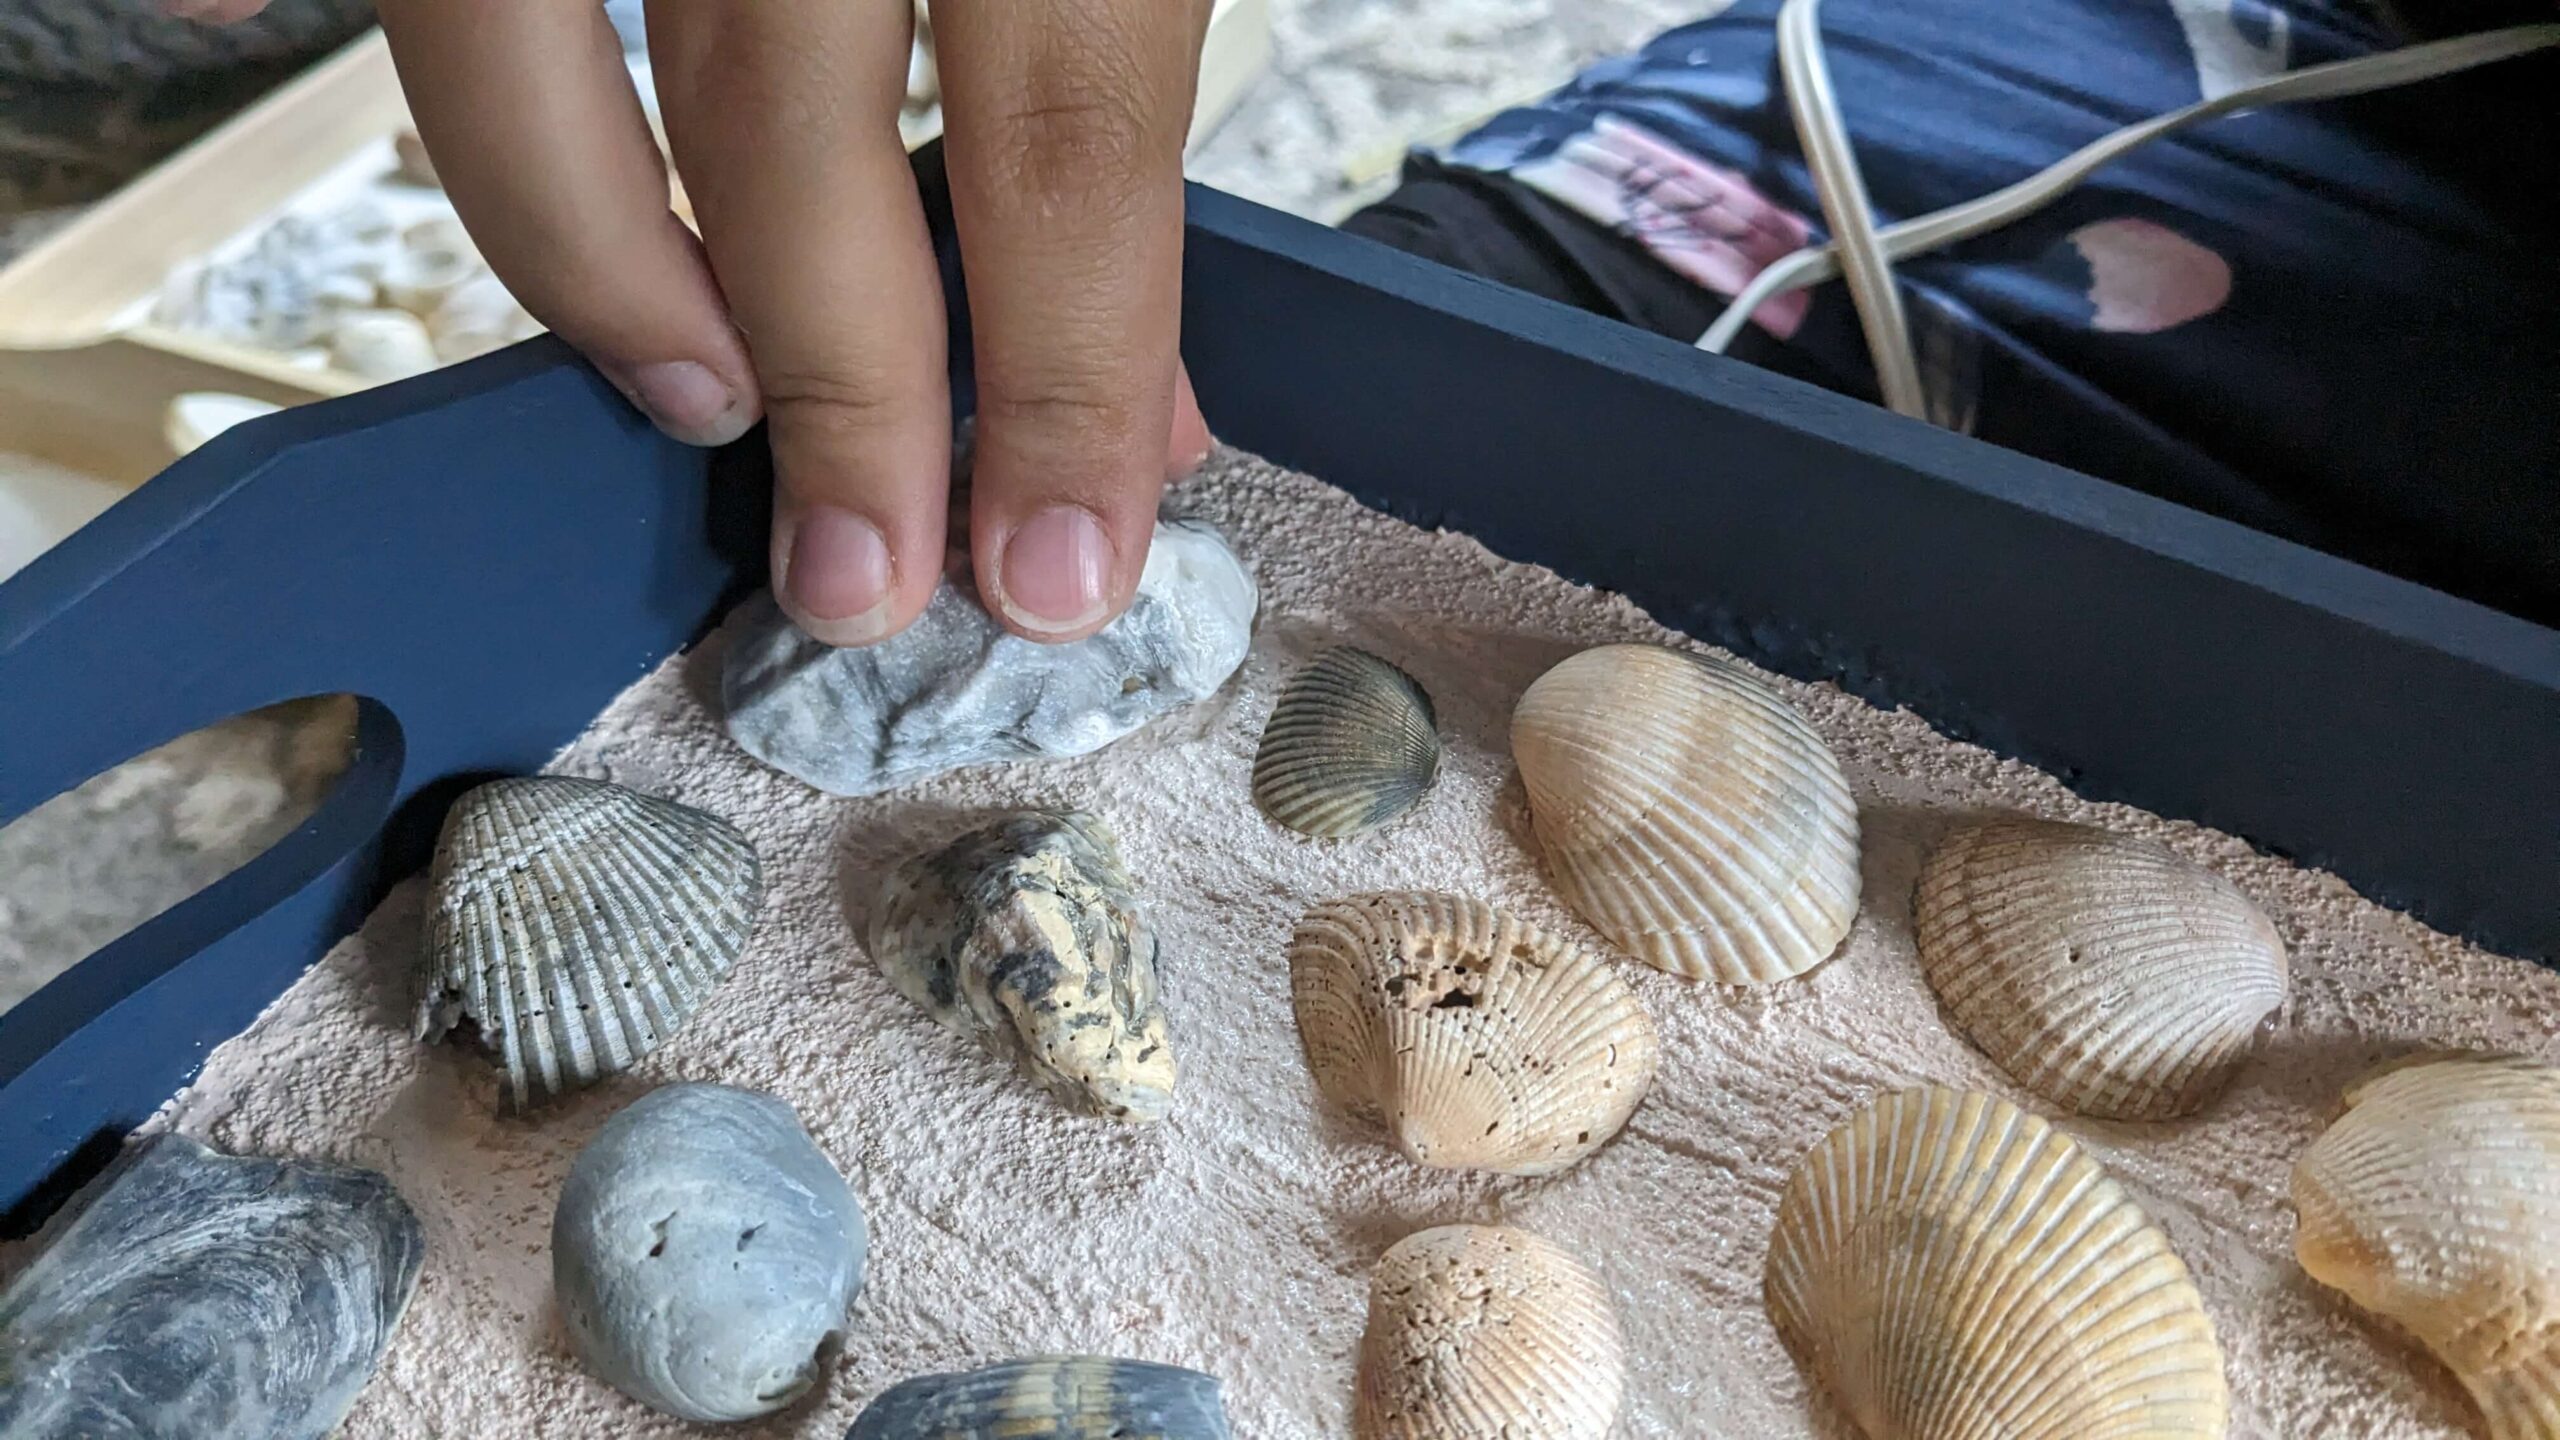
This process is, to me, the most fun. I loved taking the time to methodically lay out the sea shells, playing around with which way to face them, colors, and sizes. It didn’t take very long and in the end, I wished I had a larger area to cover with shells.
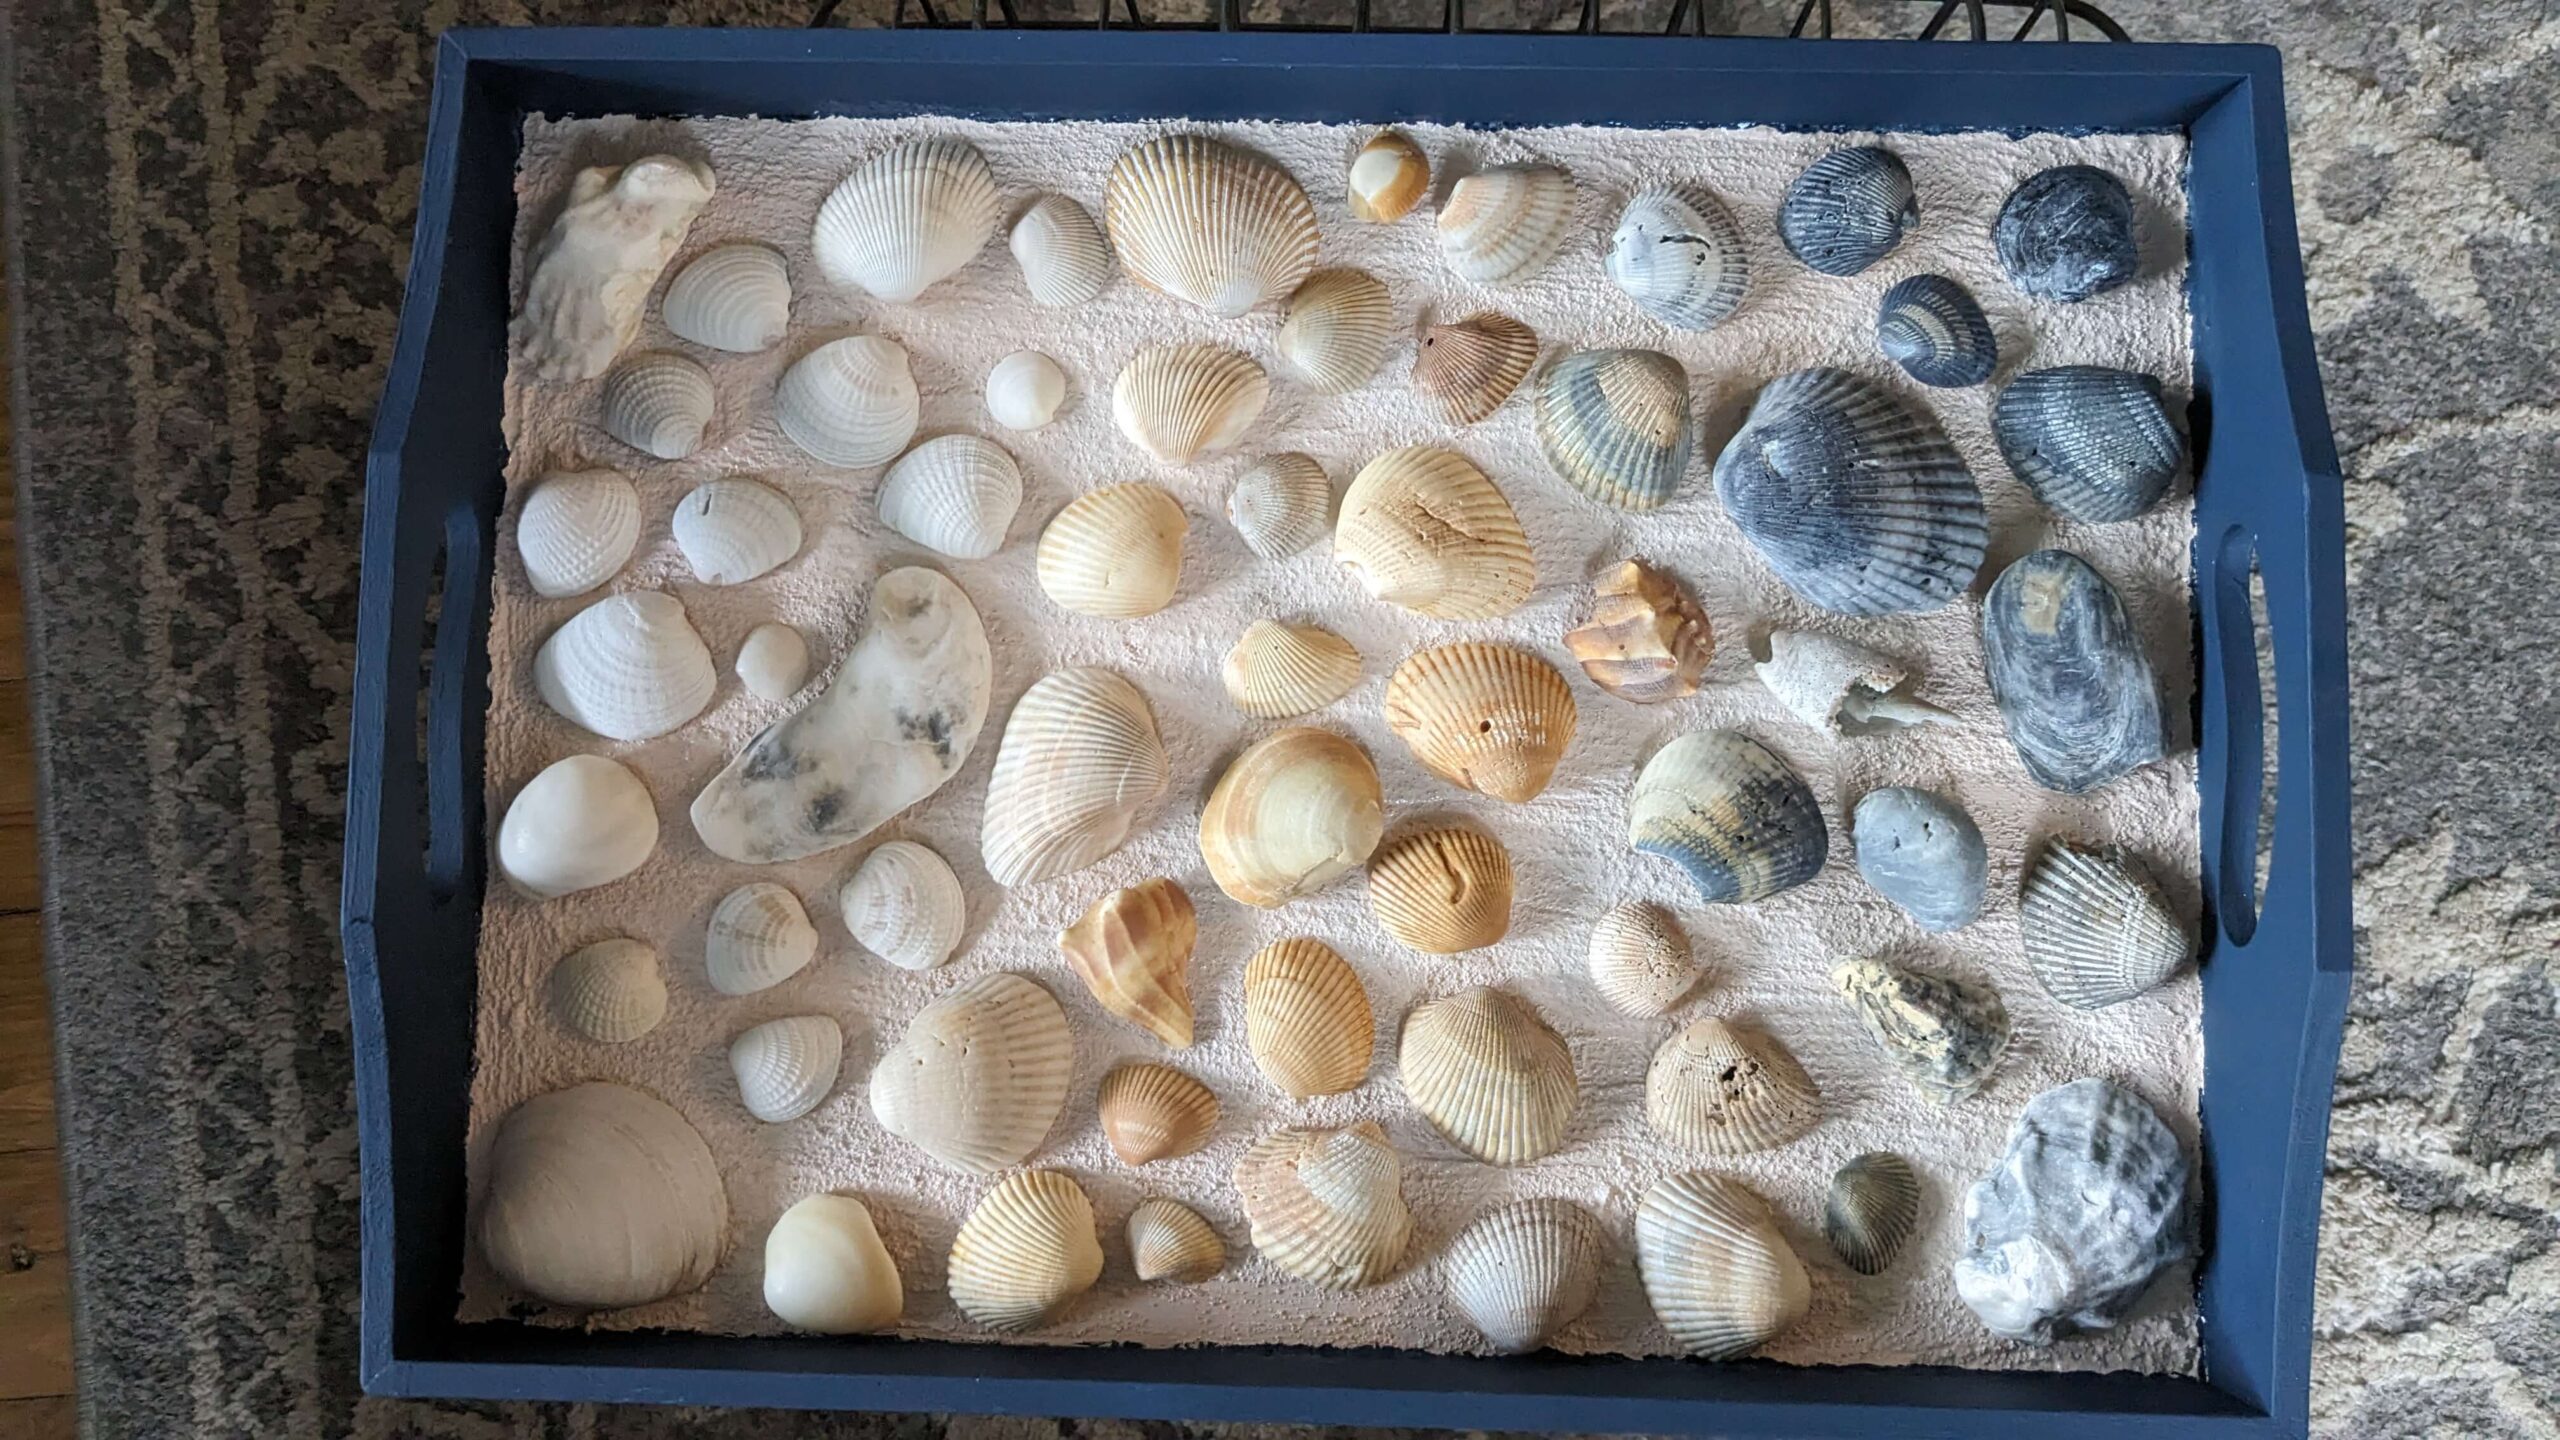
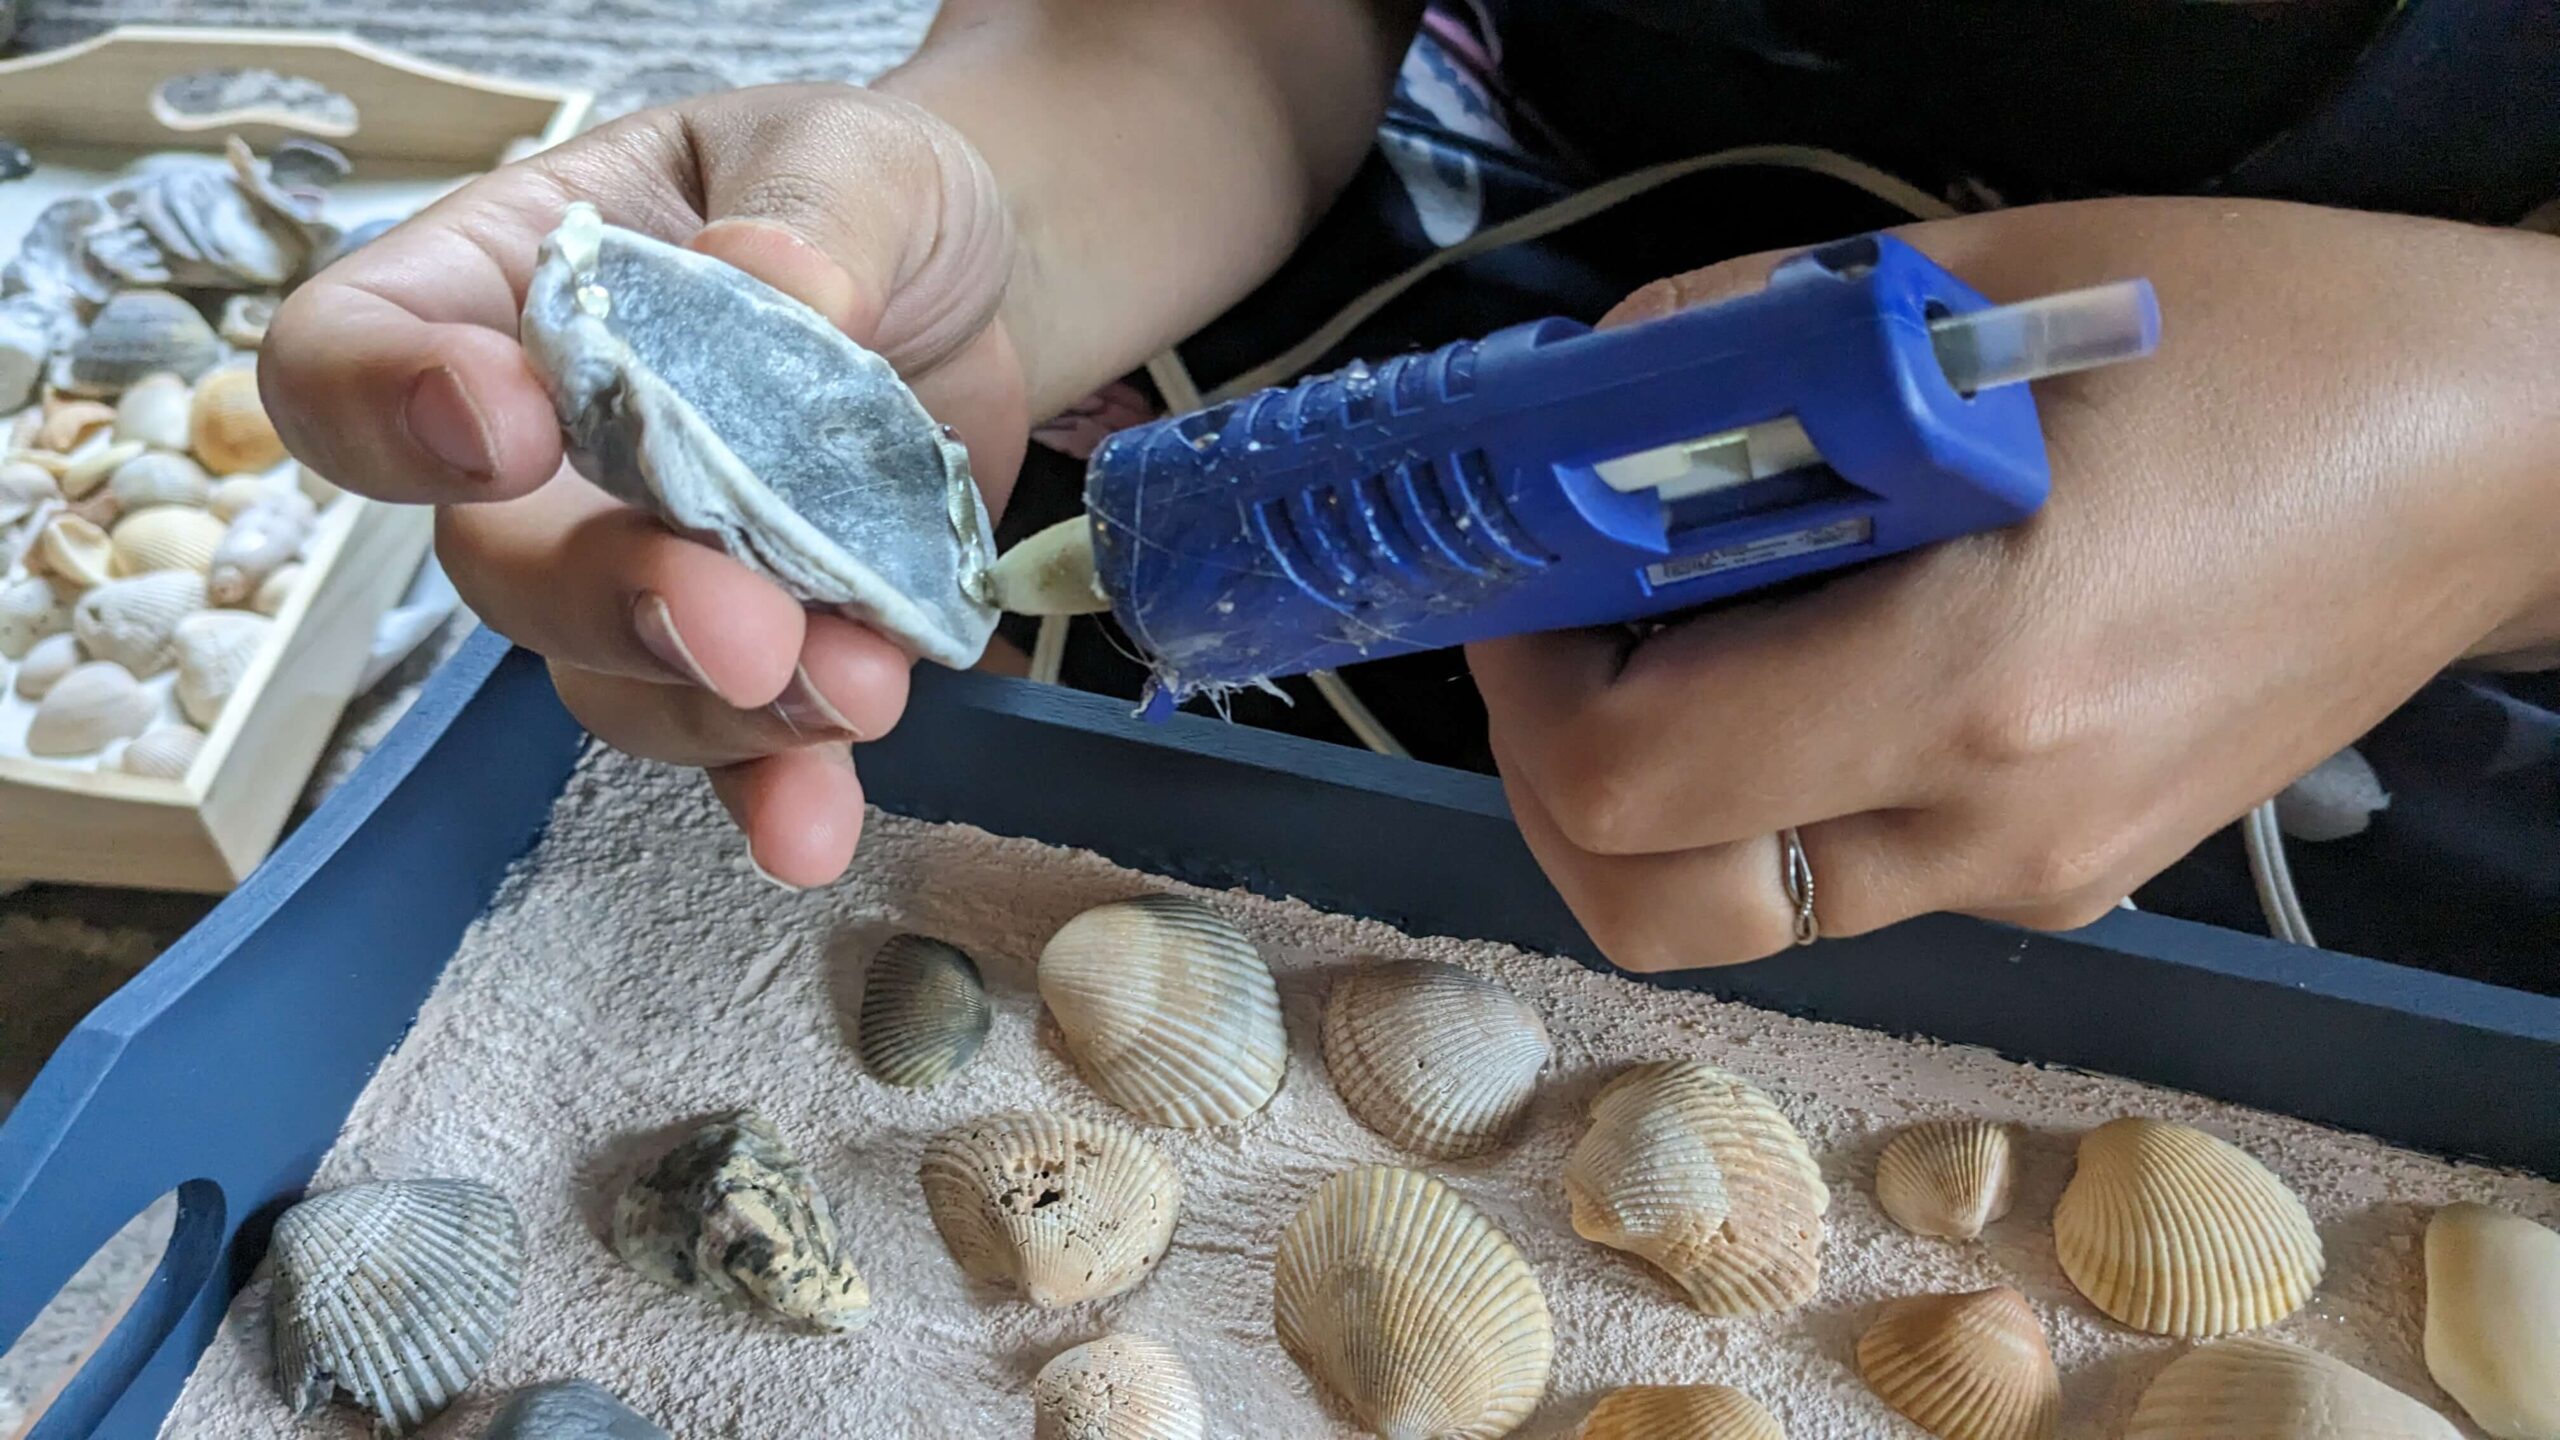
Once I was happy with the location of each shell, I hot glued each sea shell to the tray. This took me a bit of trial and error because as I was gluing them on, I realized that they would bump right off. Eventually, I got a good system down and all it took was paying extra attention to how the shell was resting on the tray. Obviously, shells do not have perfectly flat edges so they don’t sit perfectly on the board. Only hot glue the areas of the shell that touch the board. I had tried to just do the front and the back, and then I tried doing the whole thing, but both resulted in the shell falling off or dripping too much melted glue.
After hot gluing all the shells, I made sure it had completely cooled and set. Then I stood the tray up the way I intended for it to be displayed. I let it sit for a few hours and checked for any shells that may have fallen. Then I ran my hand over each shell to see if any were loose and reinforced with more glue.
I’m sure you could use superglue as well, but I felt more comfortable using the glue gun.
Finishing the tray:
When I was comfortable with the stability of the sea shell art, I sprayed the whole piece with a matte sealant spray. This had a really cool effect on the shells, specifically the orangeish-colored ones, making them a little brighter. The sealant spray made the art piece look like one cohesive piece because everything ended with the same finish.
This sea shell art was fun to make and, I thought, a great way to use up sea shell souvenirs. I still have plenty more shells so I will be looking into more ways to use them. If you have any sea shell art ideas, let me know in the comments below!
Save it for later!