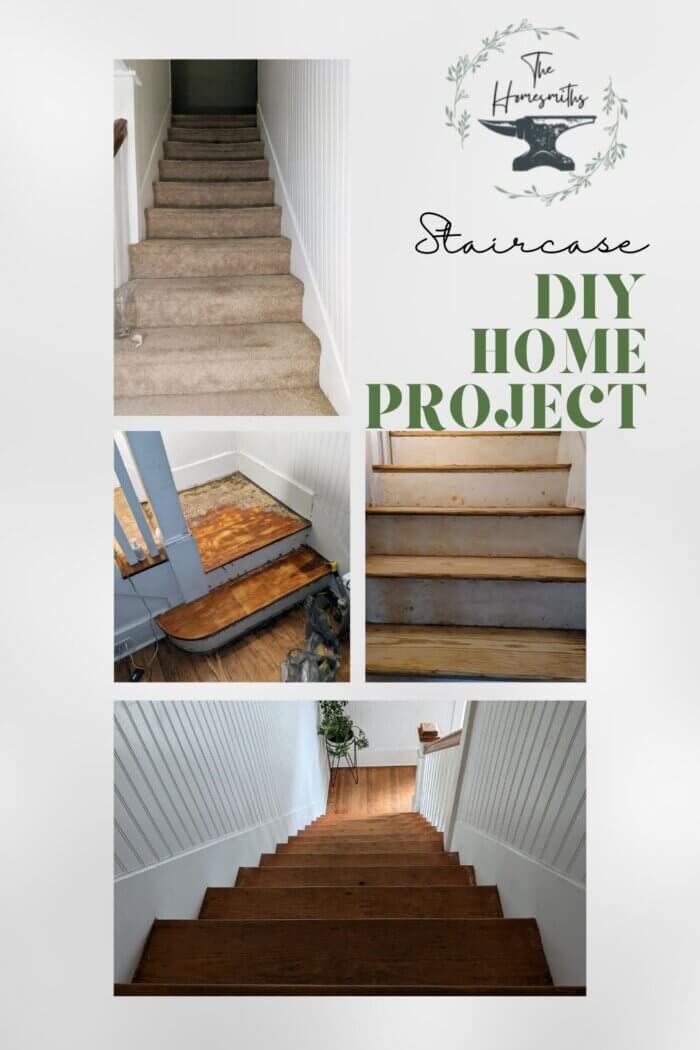
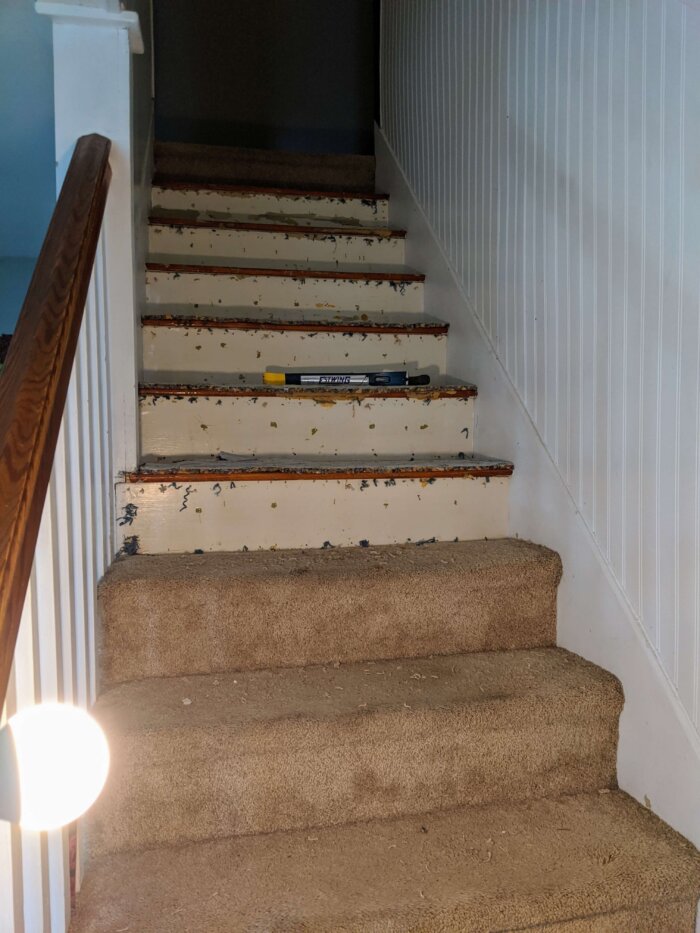
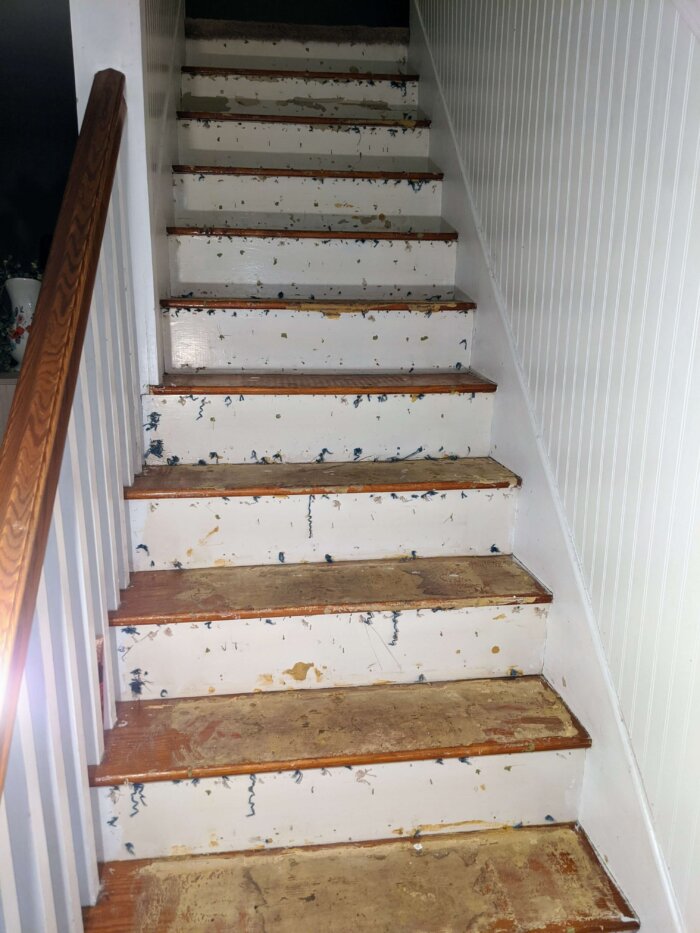
Refinishing stairs is a great first DIY project for your home. It requires time and some tools, but is worth it when you see the results. Our stairs were carpeted, glued, nailed, stapled, and unfinished. Check out how we did it and answers to some common questions on refinishing stairs below.
Check out some of our other DIY projects here!
How hard is it to remove carpet from stairs when refinishing them?
If the stairs underneath are in good condition, and if your carpet was originally installed with only tack strips, then removing old carpet from your stairs should be straightforward. You could finish the process in one afternoon. If glue or staples are present, anticipate your project taking longer.
Can refinishing wood stairs be a DIY project?
Removing carpet from stairs was our family’s first DIY project. This is something that can be done without outside help as long as there are no major complications with the stairs themselves. Our family was able to remove carpet, glue, and staples from stairs and restore them back
What are the potential problems when refinishing stairs?
The problems that we ran into included having to remove hundreds of staples from the treads and risers after pulling off the carpet, and having to heat and scrap off glue from every single tread. It was a long process that went from being an afternoon project to a several-week project. Other complications usually arise from the stairs themselves. The treads themselves could be in bad condition or the carpet could have been hiding damage.
How long does it take to refinish wood stairs with carpet?
If you have the right tools at the start, and there are no glue or staples to deal with, it could potentially be done in a day or an afternoon. However, each complication you discover can significantly add time to the project. The staples and glue on our stairs took us weeks of afternoons to get it done right.
What to do with your old stair carpeting?
We rolled up our old stair carpeting, put it in trash bags, and had it taken away in our normal trash bin. If your carpet is in better condition, you could resell, recycle, or repurpose it throughout your house. If you have a large quantity of carpet, you may need to contact your local waste management company.
Disclosure: Some of the links below are affiliate links. This means that, at zero cost to you, The Homesmiths will earn an affiliate commission if you click through the link and finalize a purchase.
What tools do I need to refinish wood stairs?
- To remove carpet from stairs, you will need:
- Knife or Scissors
- Crowbar or flathead screwdriver (if you have to remove the tack strip)
- Hammer (if you have to remove the tack strip)
- To remove staples from stairs, you will need:
- Pliers of various kinds
- Needle nose pliers are great for initially pulling up staples, but if the staples break, you will need slip joint pliers or another variety with more grip.
- Pliers of various kinds
- To remove glue from stairs, you will need:
- Heat gun
- Using these comes with precautions! If you stay in one spot for too long it can damage your floor.
- We used hairdryers throughout our entire process, which took much longer but ensured that the floors would not get scorched.
- Metal putty knives
- Metal paint scrapers
- Paint stripper (if necessary)
- Heat gun
How to refinish stairs: Carpet, staple, and nail removal
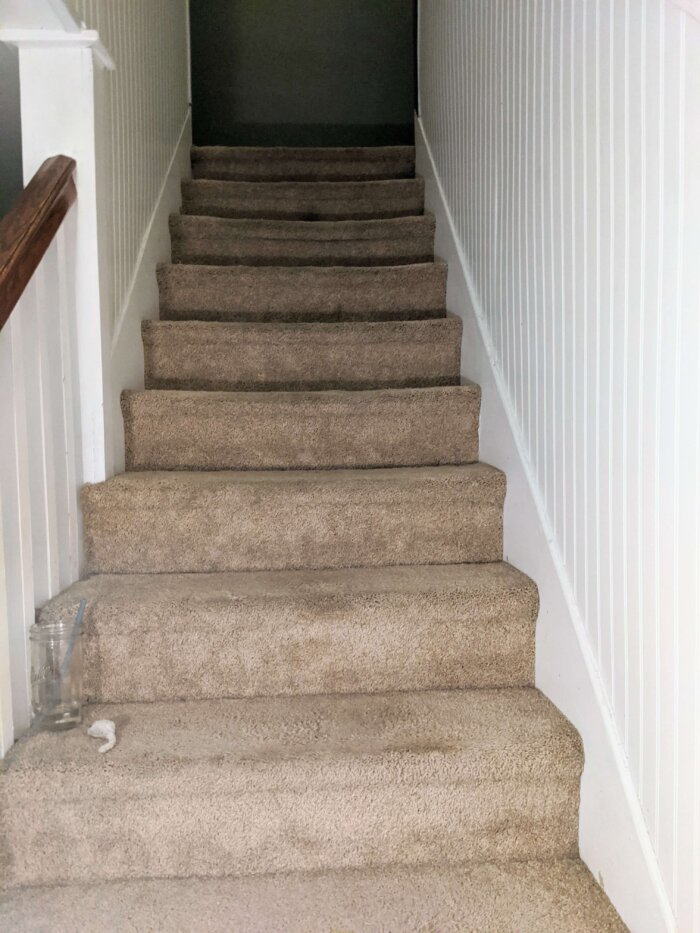
First, use a knife or scissors to cut the carpet and the underside of the top step. If it’s loose, you can staple or glue the carpet back under the lip of the top step.
Next, pull the carpet off each step. Plan to cut the carpet after every couple of steps so that you have manageable pieces to work with. Be careful when tugging the carpet away from the stairs. It can be stapled and or glued to the steps and risers which will require effort to pull it away. The problem is that once it releases, if you’re not braced, you could fall backward down the stairs. So be cautious!
When you have the carpet up, roll it up and bind it with tape or tie it. Then place the carpet in large trash bags. Before throwing it into your regular trash, ensure that your garbage disposal company and township/borough don’t have instructions regarding carpet disposal.
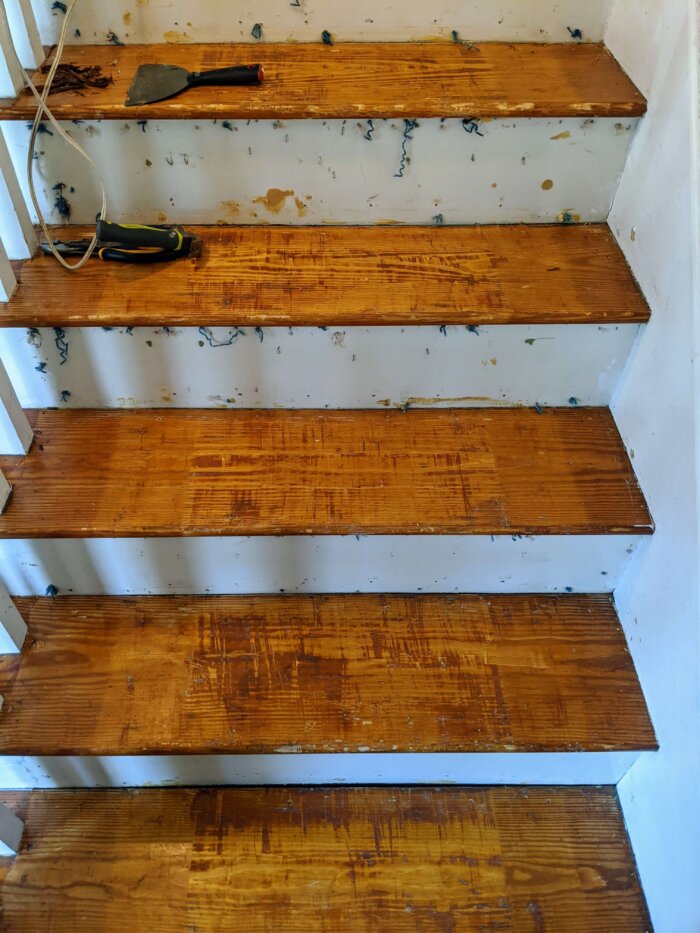
Next is staple and nail removal. You’ll want different sizes of pliers to go through each step and riser, making sure to carefully remove each nail and staple. Sometimes the staples would break so we would need to switch the type of plier that we used in order to pull the small leftover piece of staple out. Use an empty coffee can, milk carton, or some sort of box to throw them all out so you don’t rip a bag with sharp edges.
How to refinish stairs: Glue removal
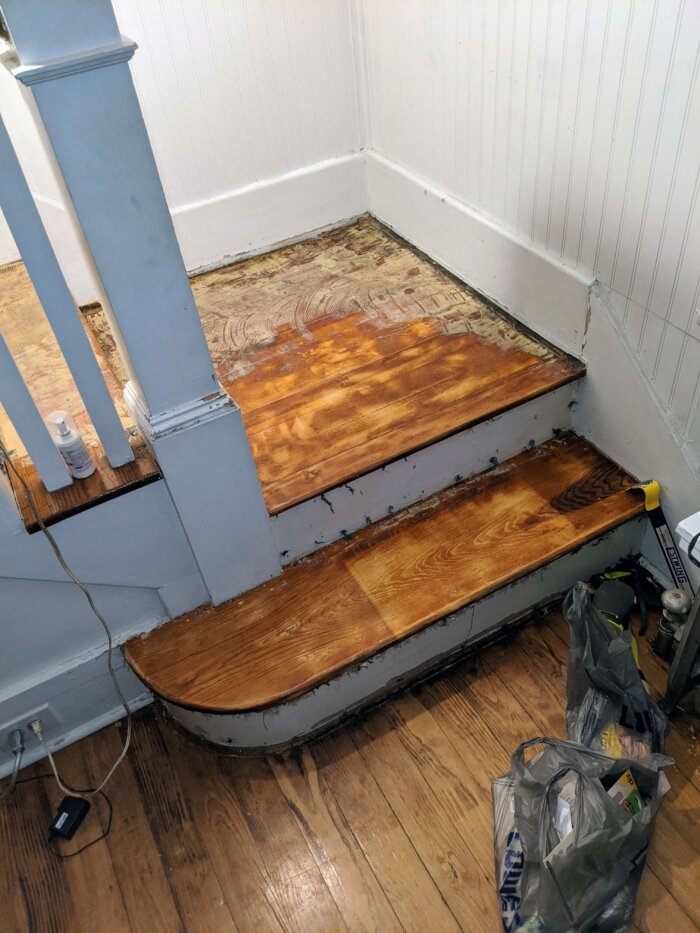
Once all the staples are removed, you’ll start working on removing the glue from the stairs. This was the most time-consuming part for us because we didn’t have a heat gun (we had to use two hair dryers). If you can get a hold of a heat gun and you are comfortable using one, we recommend it. Otherwise, you can make a hair dryer work with extra time and effort. It takes longer, but it does work. To do this effectively, work in small sections at a time. Let the heat soften the glue on the steps or risers and then use a metal putty knife or paint scraper to pull and scrape the glue away. Having an empty tin or box you can scrape the adhesive off of your tool into will speed up your process too!
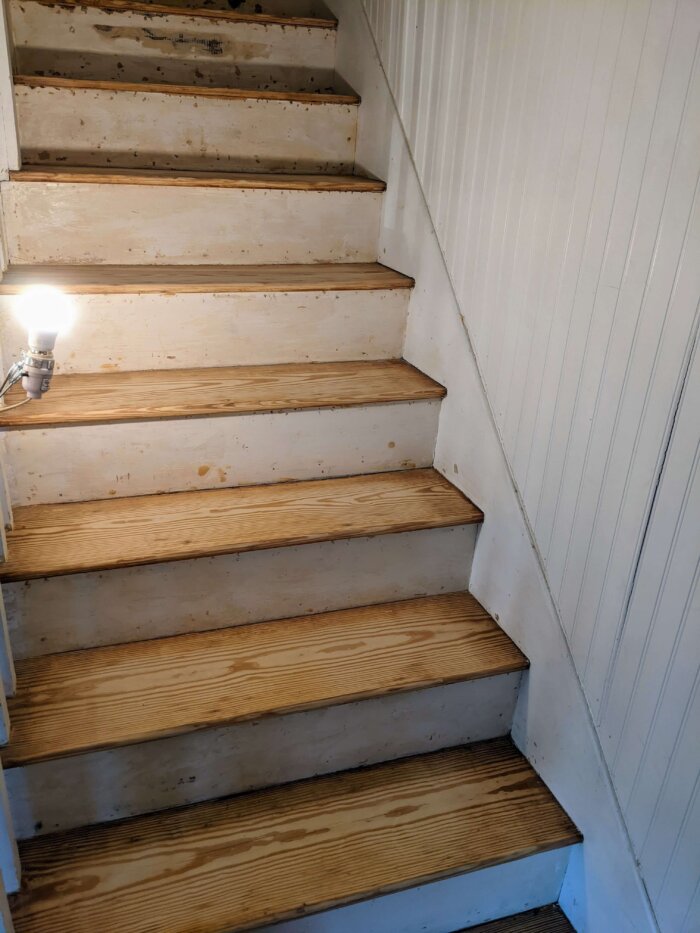
After most of the glue was removed from the stairs, we still had a lot of residue that was difficult to scrap up. We took a recommendation to try Citristrip Paint & Varnish Stripping Gel to help get the rest of the glue off, which was messy but worked very well. It got the stairs in a great condition for painting and staining. We also used the gel on the banister, which helped speed up removing the old stain color.
How to refinish stairs: painting and staining
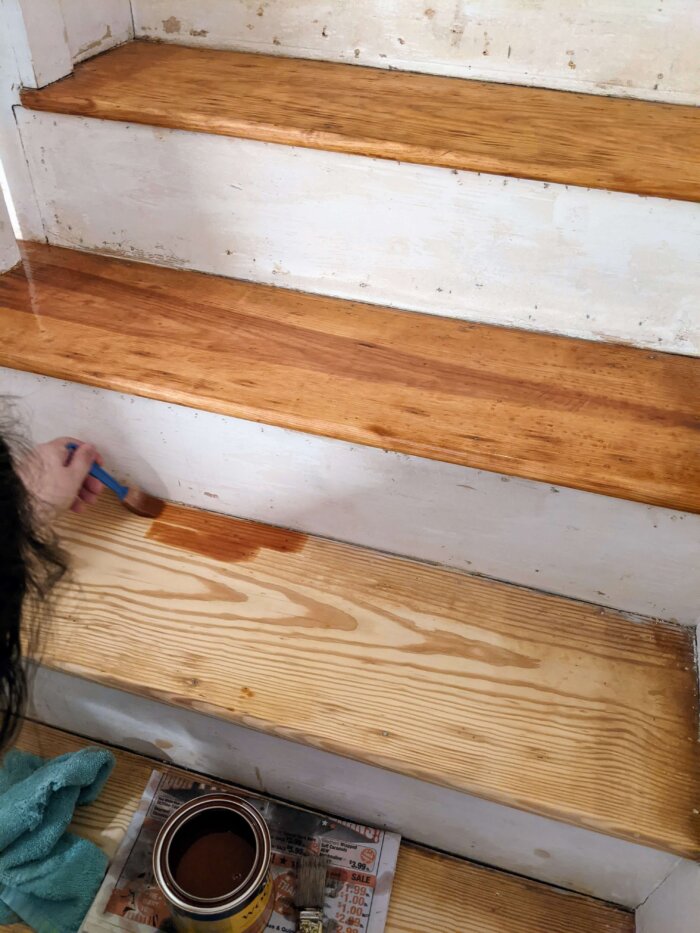
After all of the work mentioned above, nothing was more exciting than the prospect of actually finishing our staircase. We needed to decide if we wanted to add varnish over the stain to keep the stairs cleaner and protect the color. The problem with varnish is that the stairs become much more slick, and with the prospect of children running up and down them we decided against it. Using only stain on the stairs gives the wood more grip for ourselves and our kids. It also will gradually fade in color where it is often stepped on, giving it the well-used look of the old homes my wife and I admire so much.
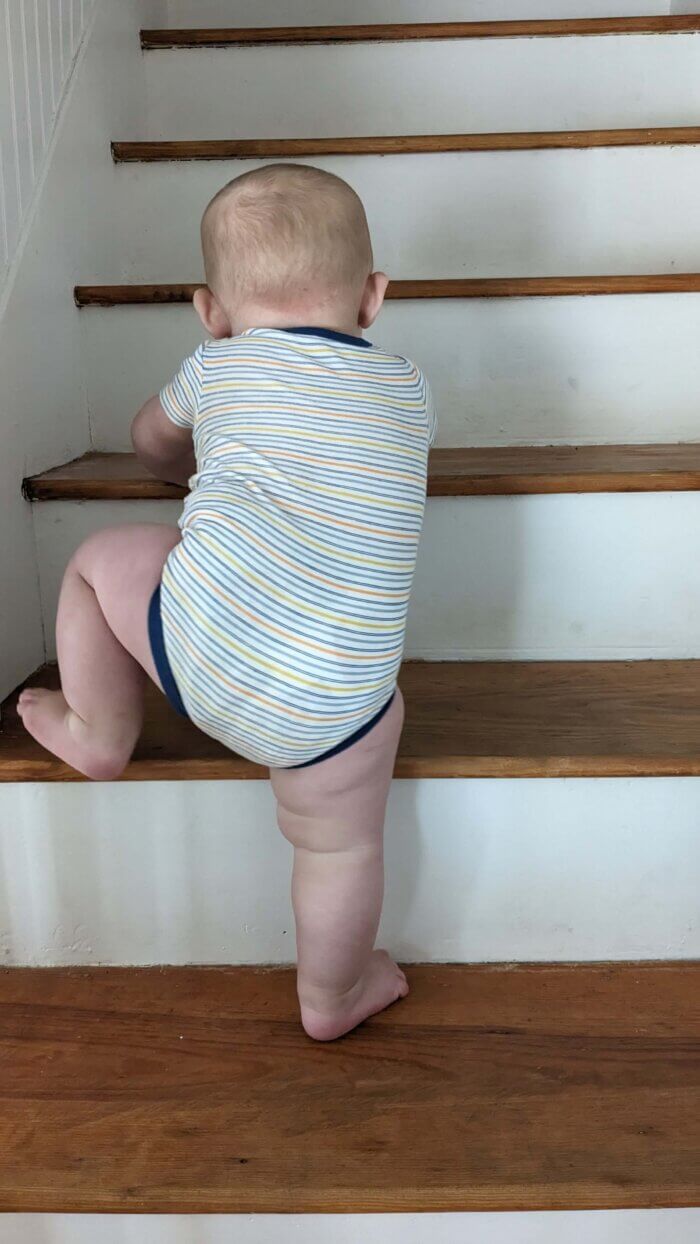
We decided to paint the risers white to match the wall and beadboard color, which I think turned out really well. Then we stained the steps twice as well as the banister to give it a nice dark look. While we didn’t love the process, we loved how it turned out and would do it again if need be.
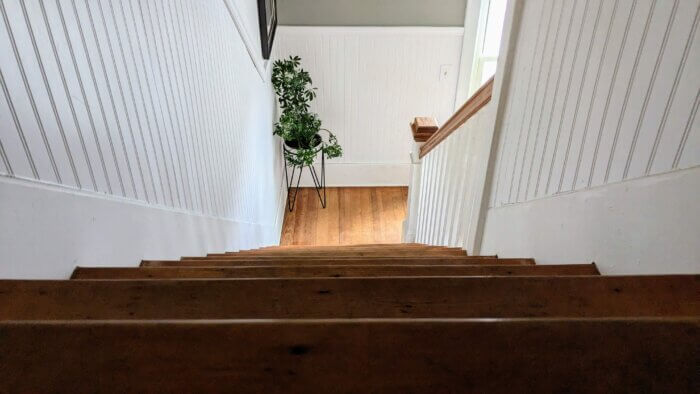
This step-by-step process of refinishing stairs is a recount that we feel could have been helpful if we had read it before starting this DIY project. Let us know if you’ve found any of these tips helpful and if you have any other tips or suggestions!
Save it for later!


You did a beautiful job – these stairs look amazing!
Thank you!
Those look amazing!
Wow! Looks great! We bought our house 2 years ago, straight from the 1960s. Pulled up the carpet and found hardwood!!
But the stairs to the basement have all been glued and I needed this as inspiration that it’s possible! Thanks!
I hope you get the chance to work on it. We’re really glad we did!
Beautiful job! This encourages me to get started on my stairs!
Thank you! I hope you get the chance to try it!
I’m so ready to get rid of the carpet on my stairs!
We are so glad we did. If you do it, I hope you enjoy it like we have!
What an amazing transformation. That is a BEAUTIFUL staircase!!!
Thank you! Our home is not perfect, but we think the staircase is one of the best features!