
A great DIY gift for a pet lover in your life. This simple embroidery pet wall art craft can be as personalized as you want it to be.
DIY gifts are a huge portion of how we do gift-giving occasions. This is a DIY embroidered wall art that we were able to personalize to represent the pets that our families love. We like to DIY Christmas gifts for our family members. We don’t have a huge budget for Christmas so in a lot of cases we can give a more meaningful gift if we DIY something personal. My sister-in-law Brittany is one of the kindest people and she is a pet lover. (If you see this before Christmas Britt, Surprise and Merry Christmas!). She is one of those people who is fun to give presents to because she is always appreciative and enthusiastic about whatever she gets.
We try to get our Christmas stuff bought and wrapped early so that’s why I worked on this in August. We wanted to give her something personal and she has two cats named Spud and Cheddar. I’ve done a larger version of this wall art with a whale for my in-law’s beach house, but I wanted a smaller version that she could pack in a carry-on if she flys and I thought that one representing each cat would mean that two smaller ones would make the most sense.
With a few supplies and no experience needed, you can customize some embroidered wall art for the pet lover in your life too!
Supplies for personalized pet wall art:
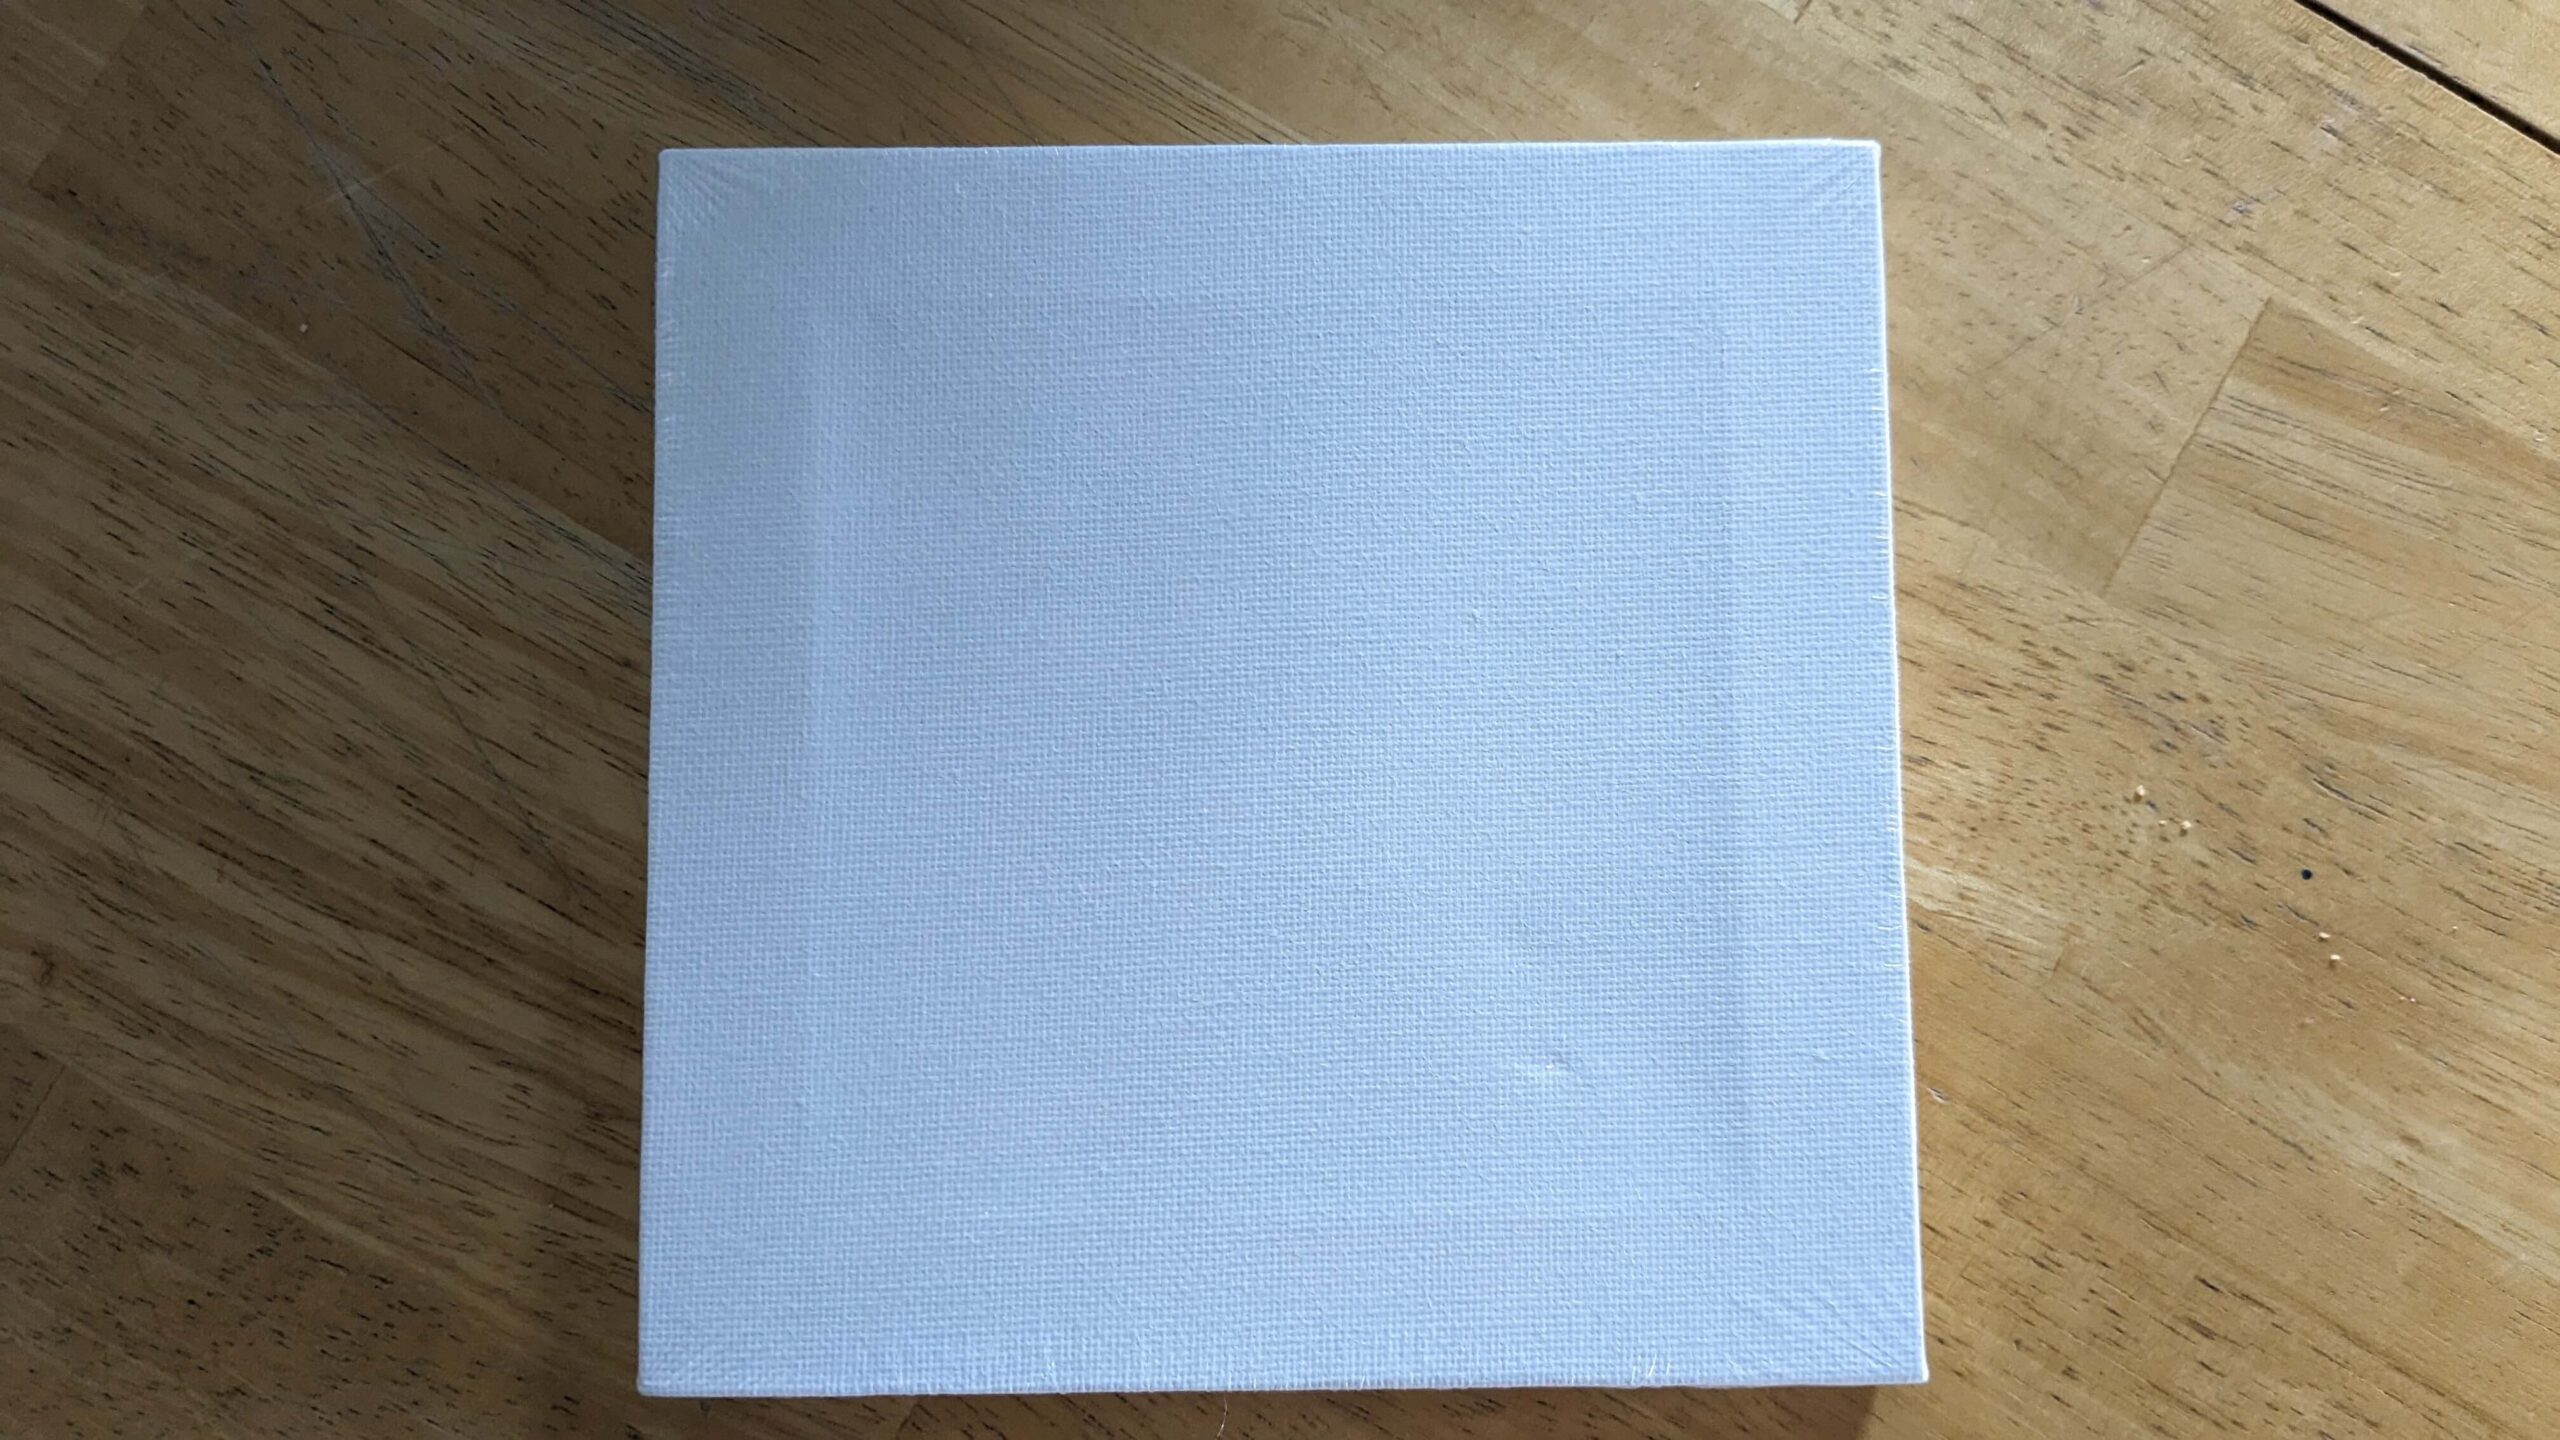
- Canvas (size of your choice, I used these 6″x6″)
- Painter’s Tape
- Acrylic paint in the colors of your choice
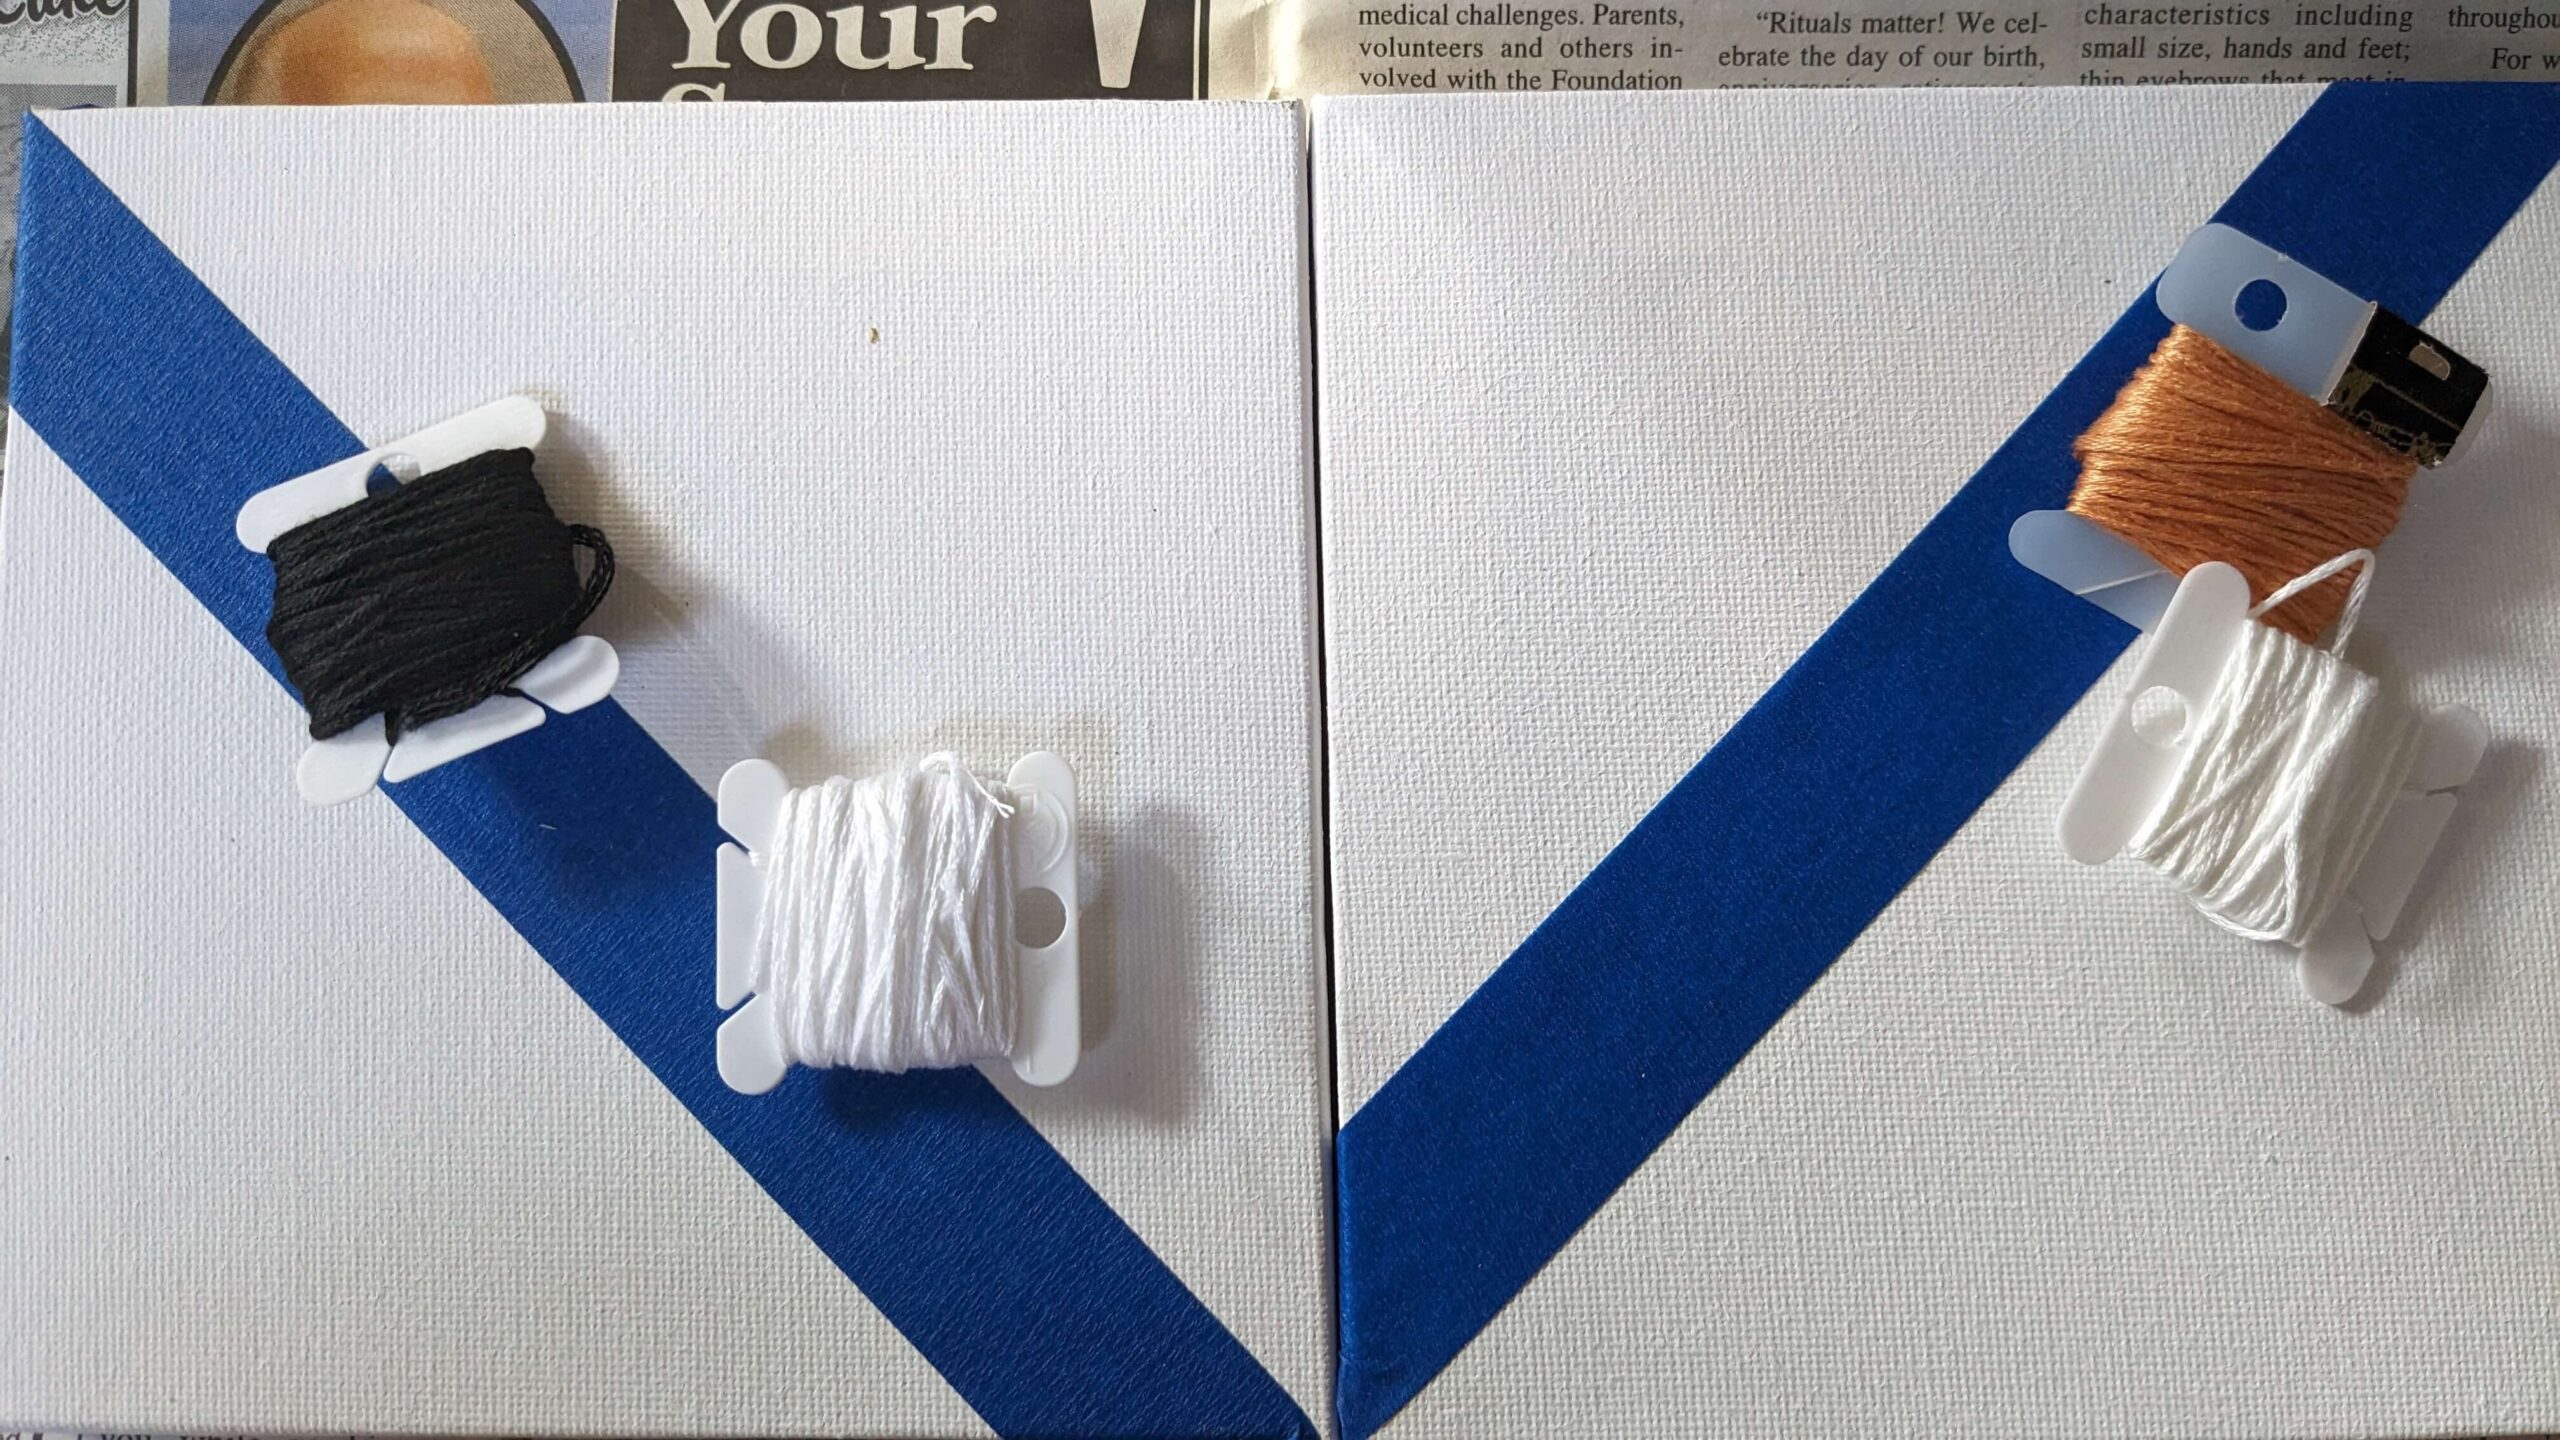
- Embroidery floss in the colors of your choice
- Sewing needle
- The image you want to embroider
Picking the image:
Brittany’s two cats were what I wanted to put on her wall art. Although this is personalized wall art for her pets (cats) and their colors, I think this wall art would be beautiful with any animals or even floral designs.
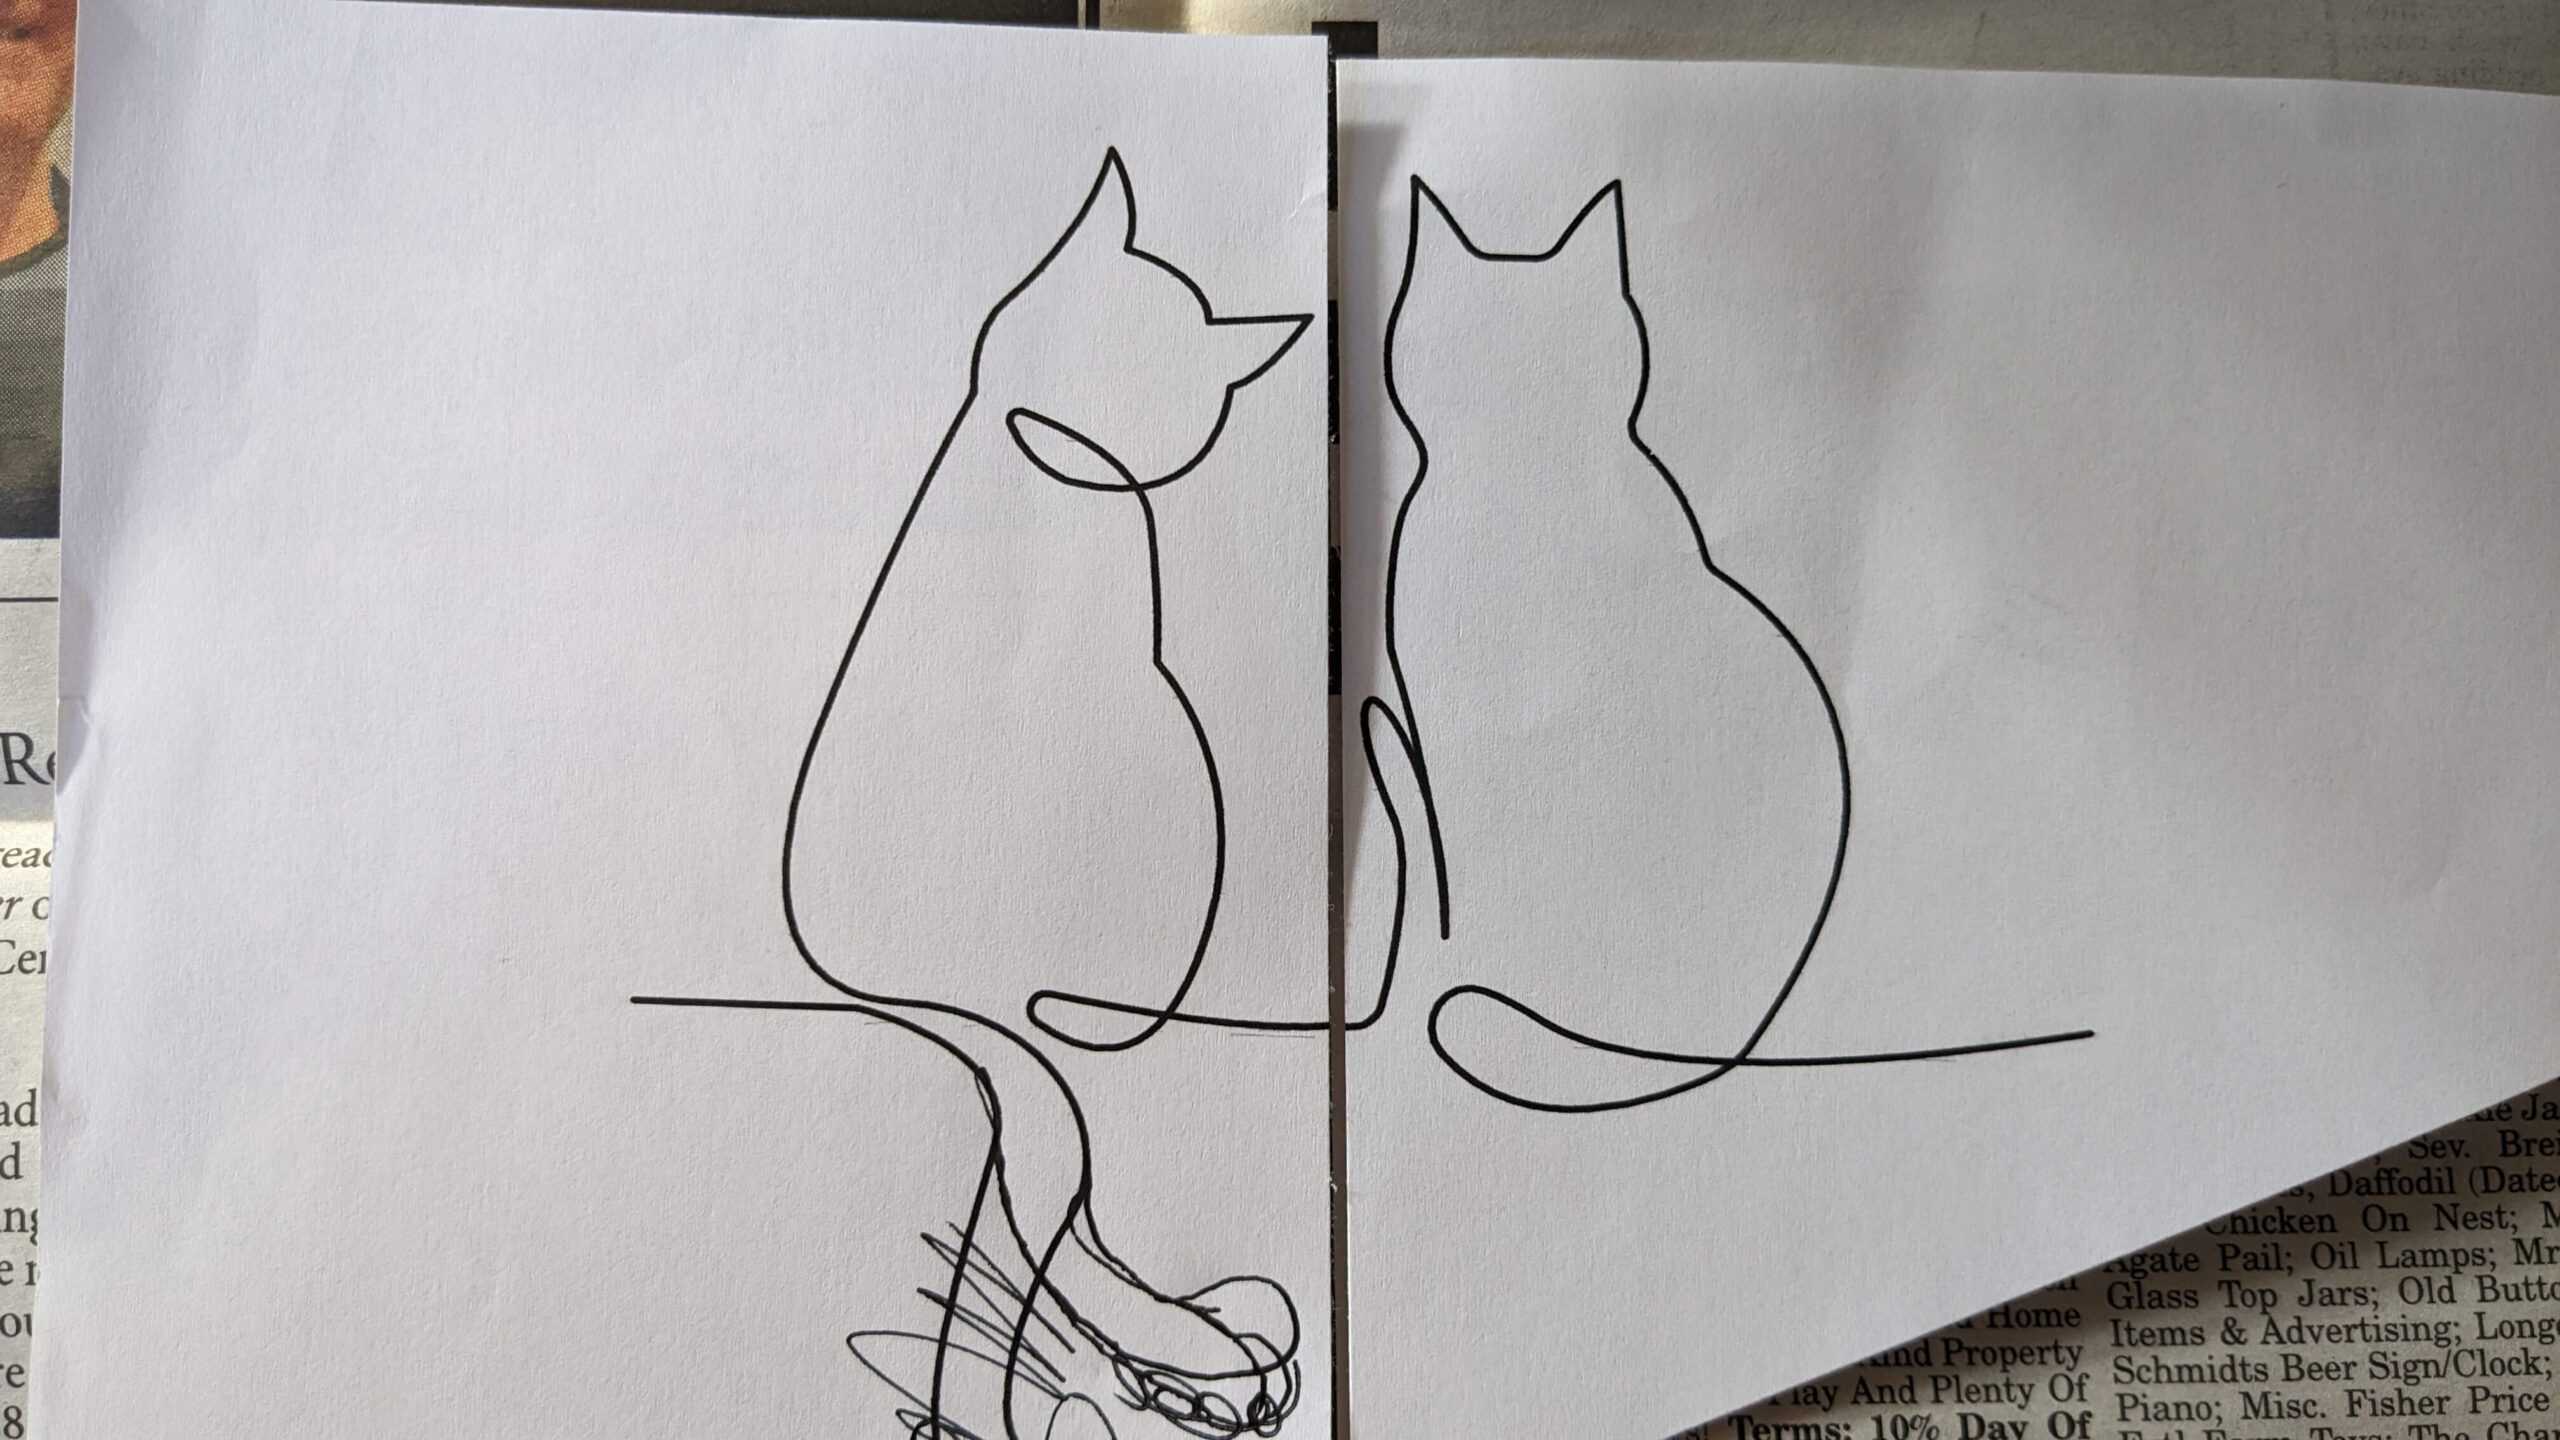
I went on to Canva and searched cat line art. I find that line art is easier to use than a traditional picture because I have a distinct outline of what I will be embroidering.
When you pick out the design that you are going to use for the art, make sure that it fits the canvas for embroidery purposes. The cat pictures that I chose were almost too big because I forgot about the wood frame the canvas is stretched over. The tail on the black one was a tight fit, I had to adjust the line of the tail to go out to the right instead of down.
Prepping the canvas:
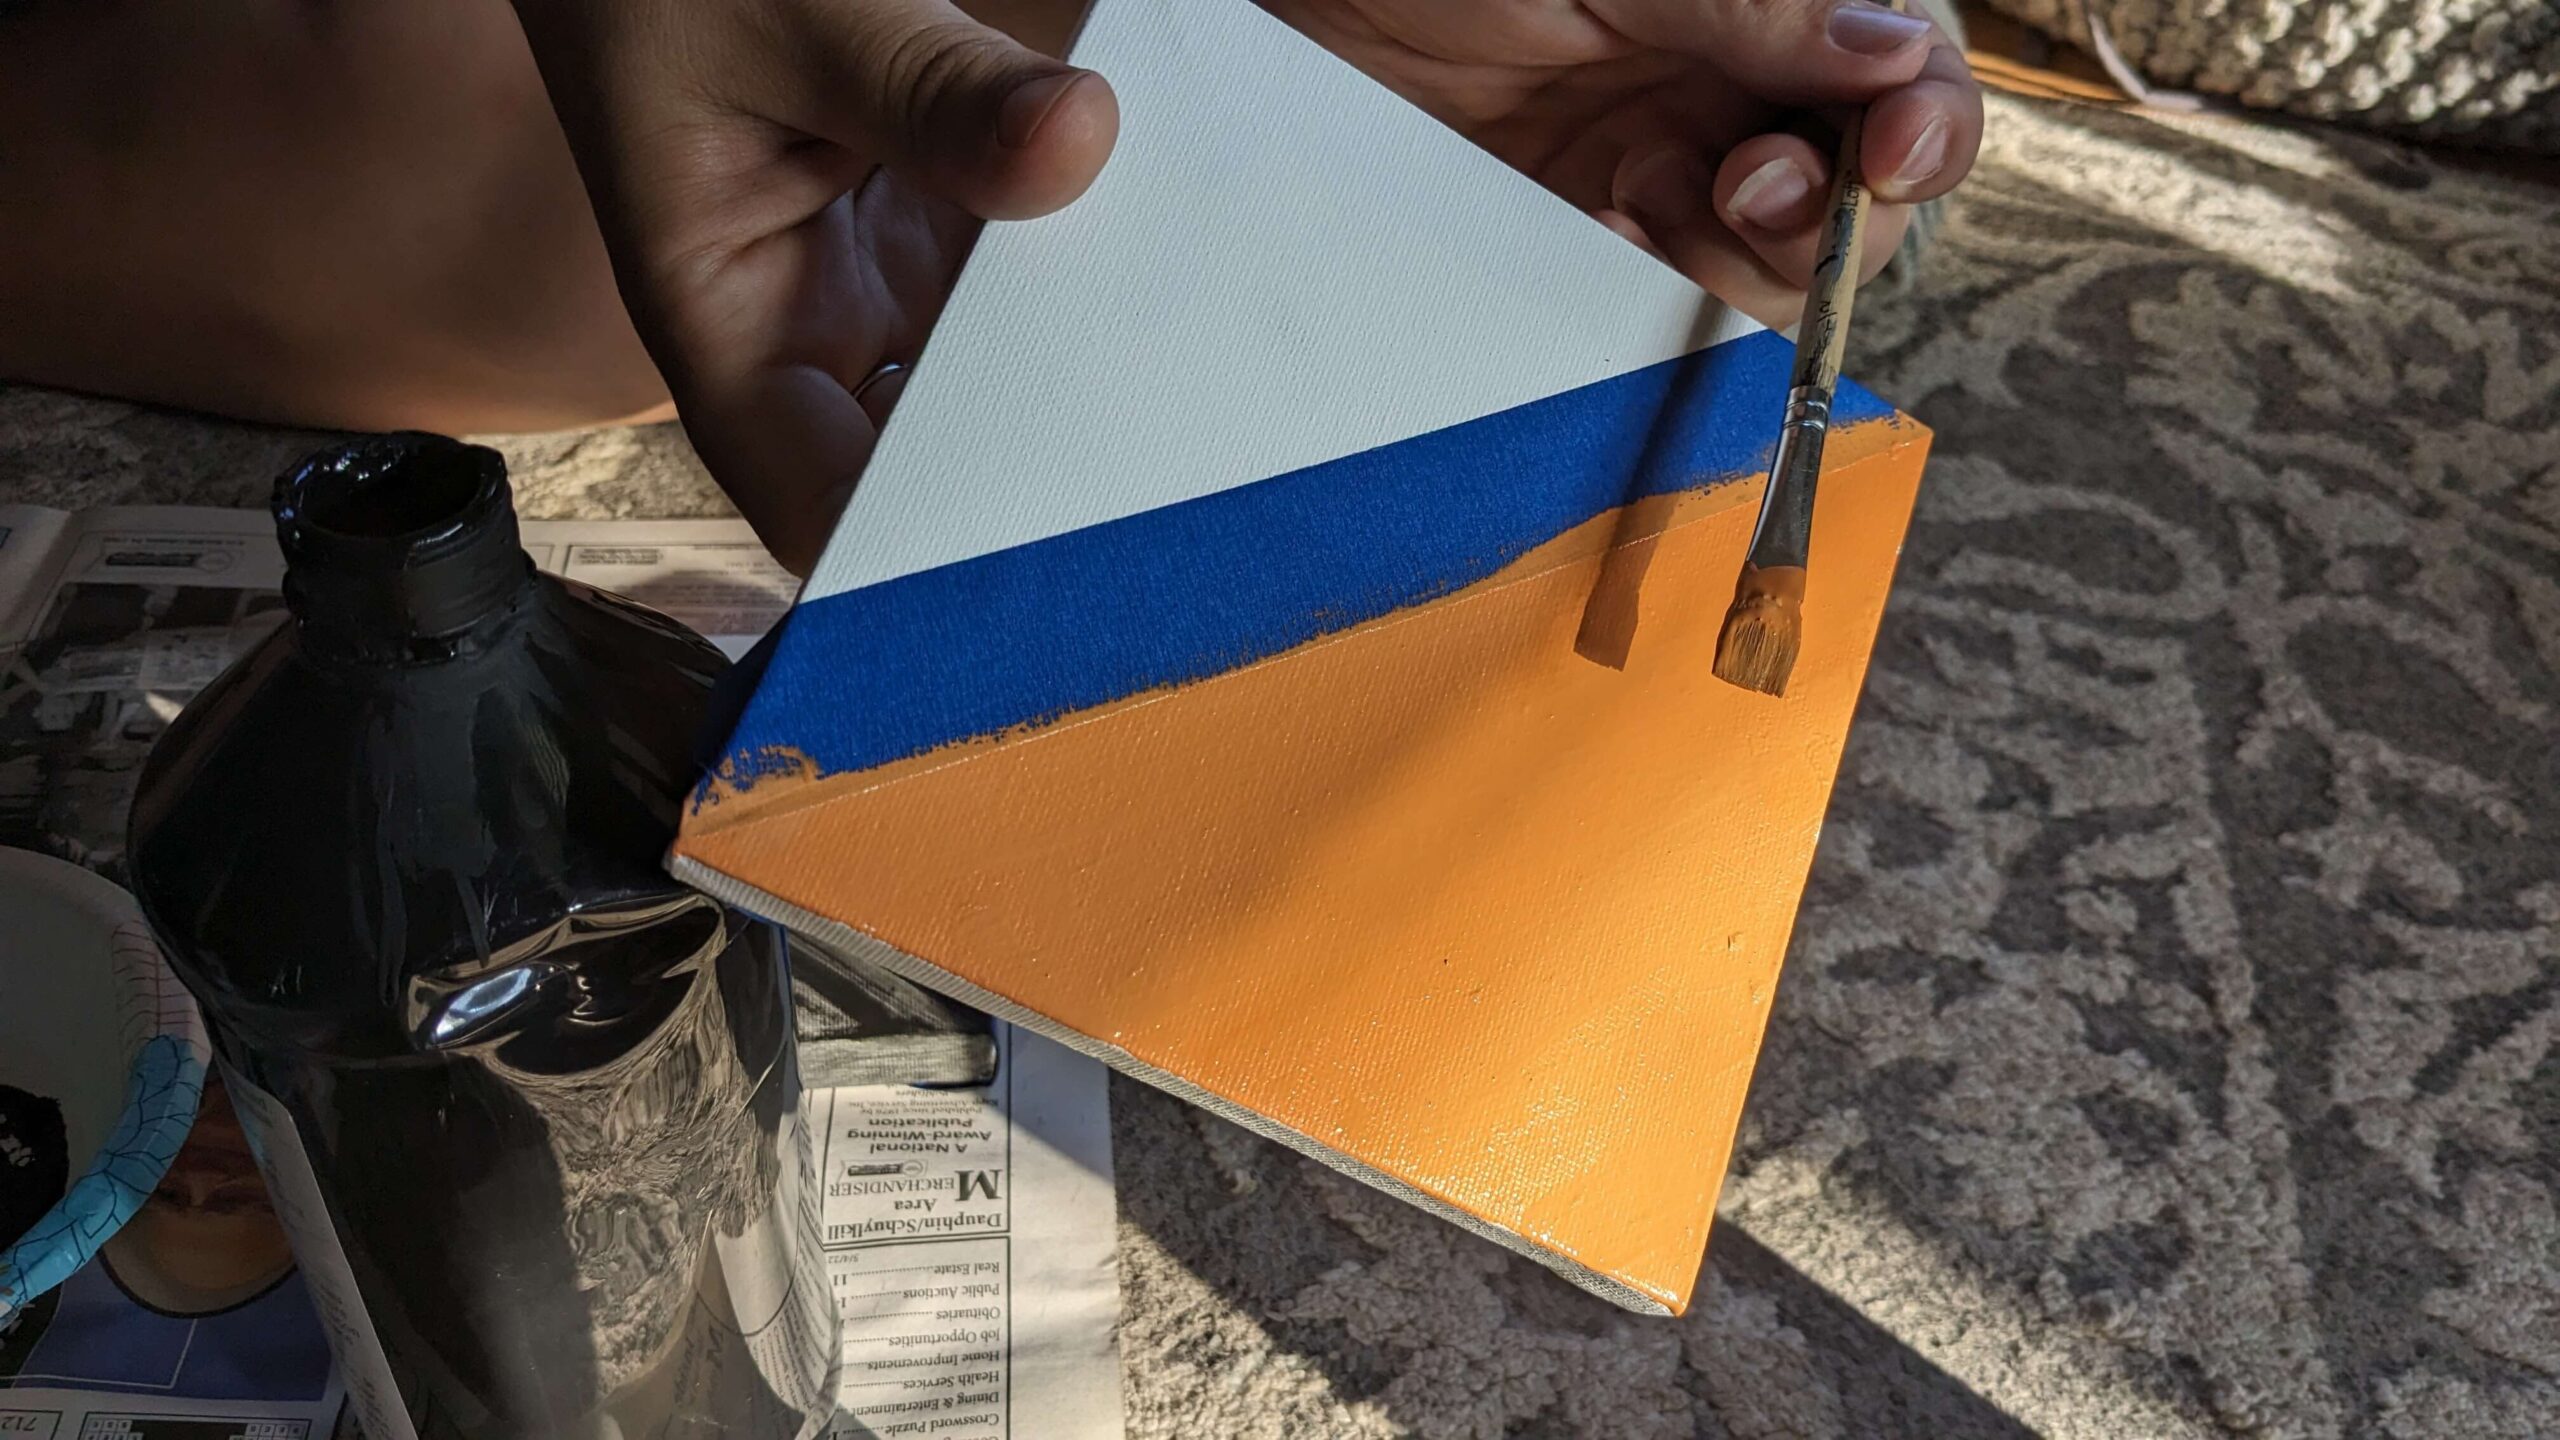
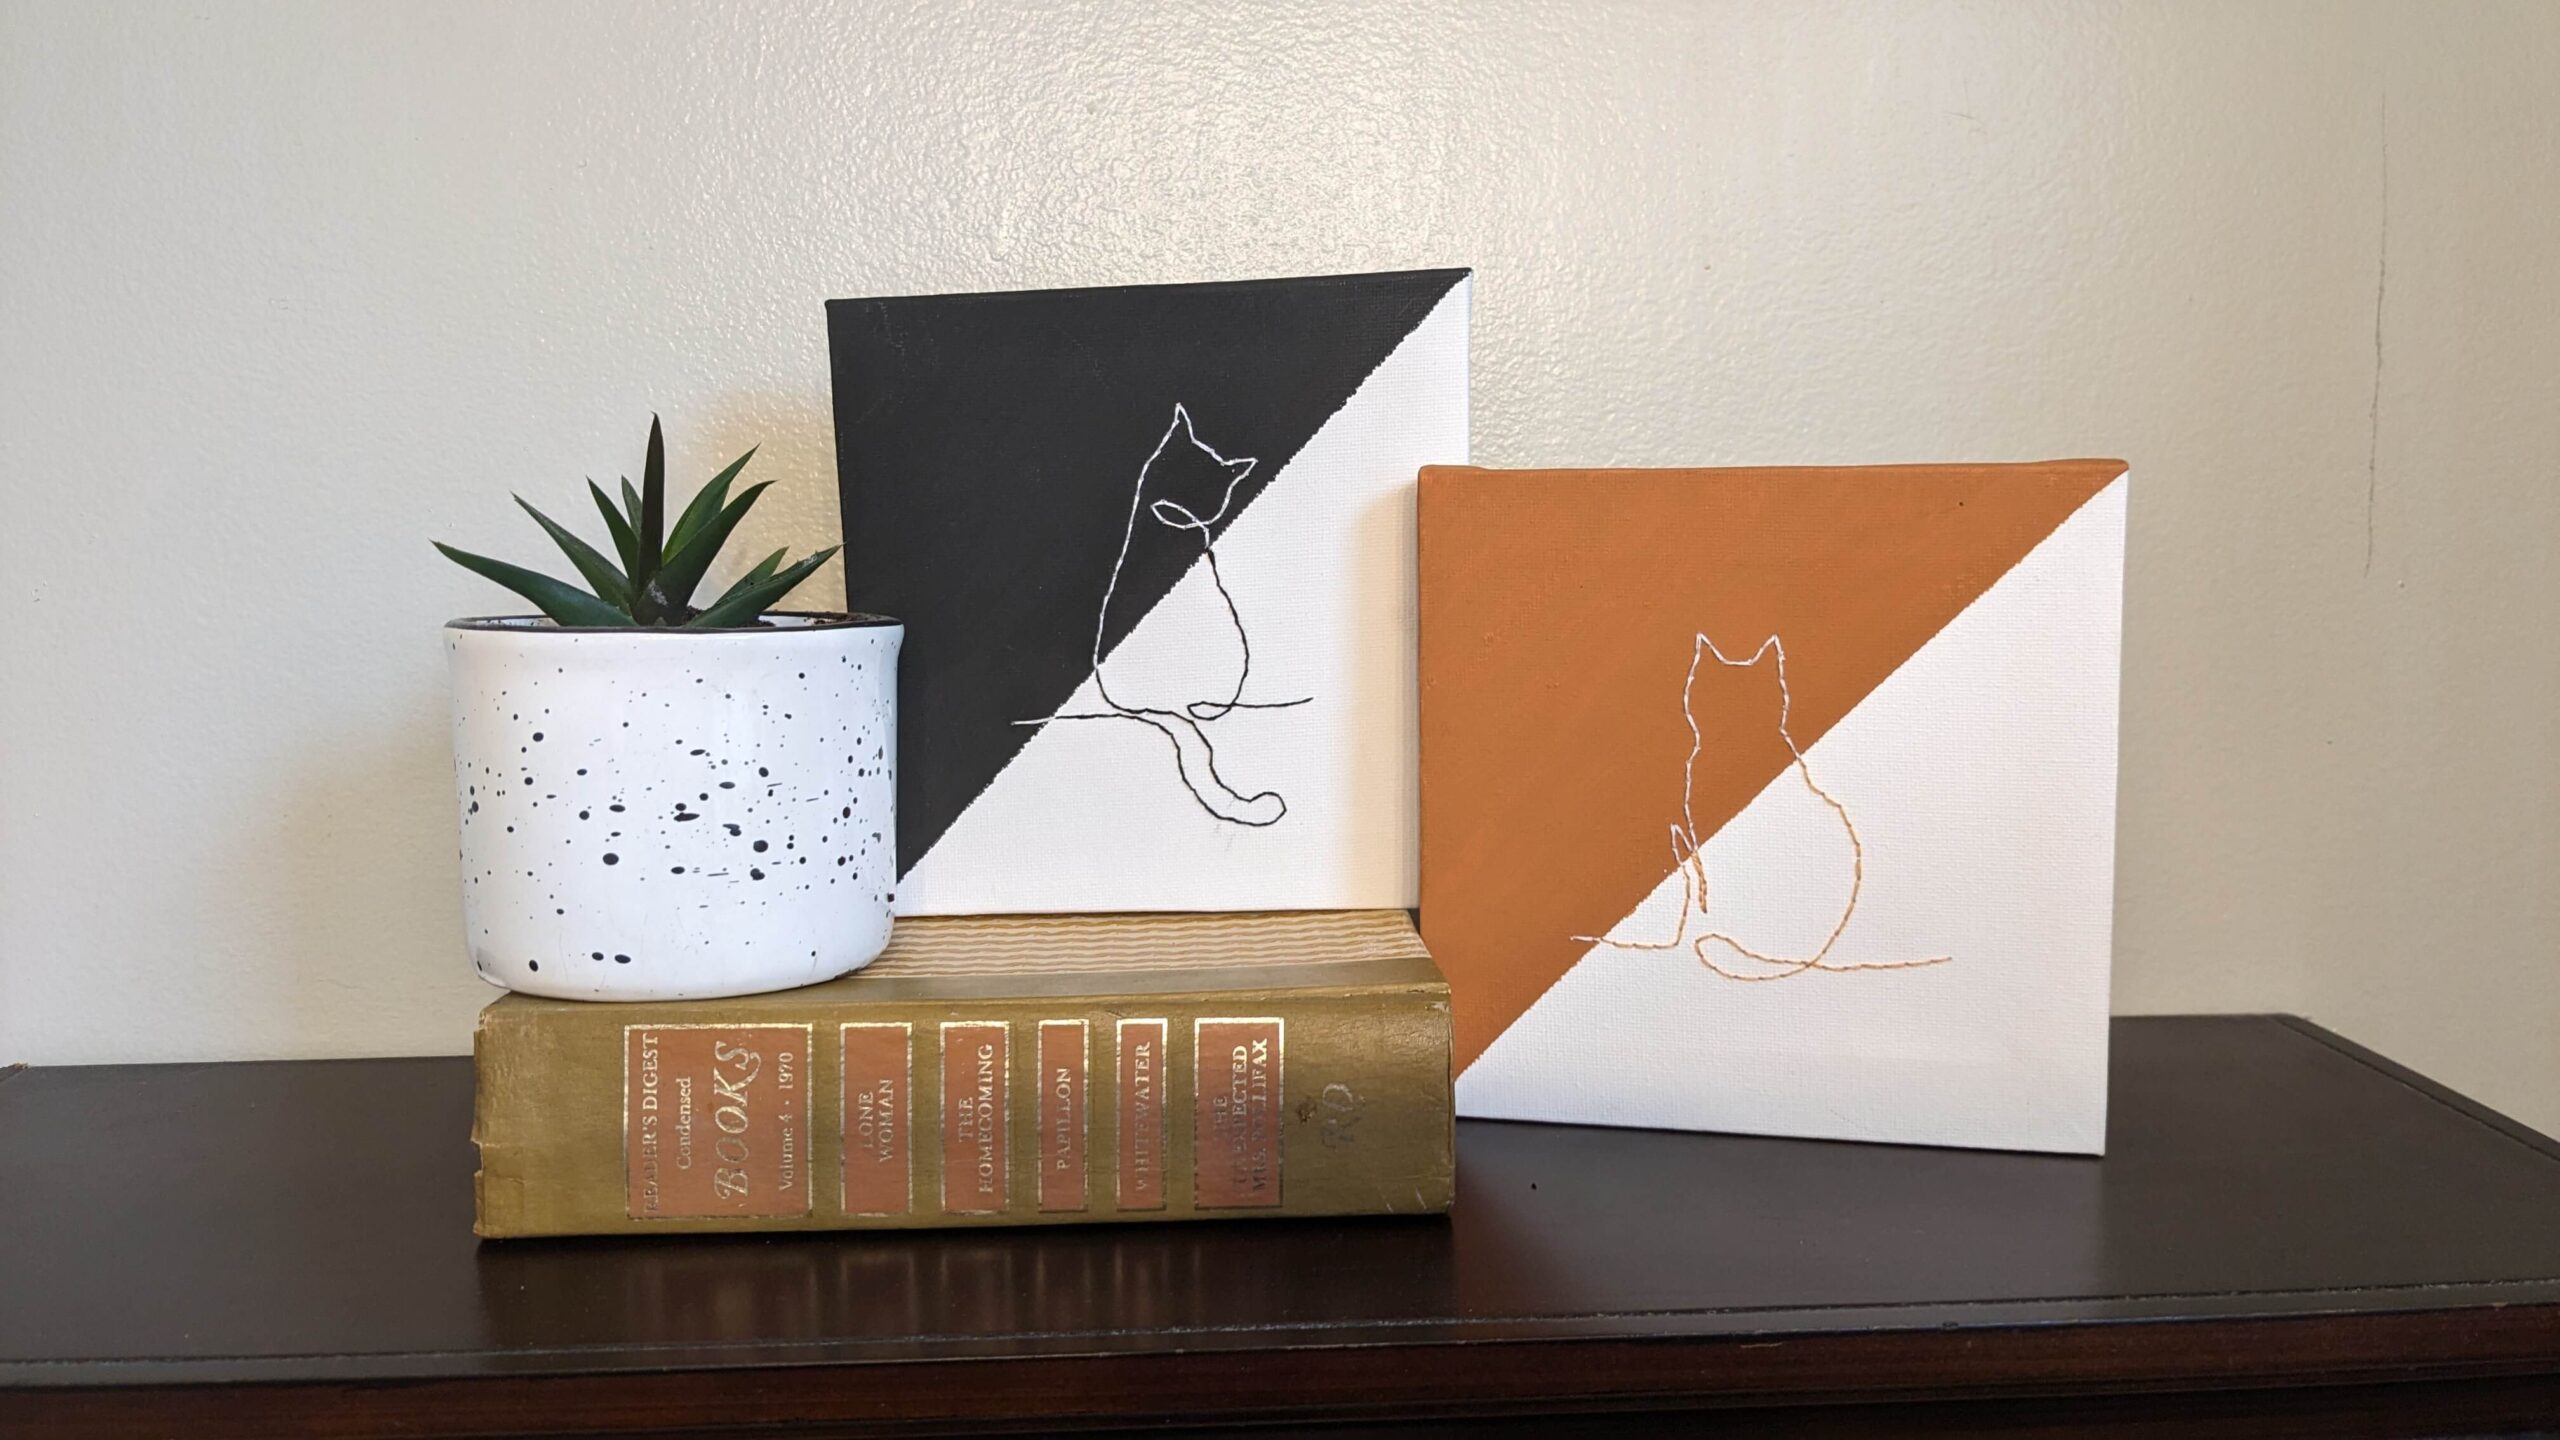
Spud is a black and white cat and Cheddar is an orange and white cat. I wanted to do an art piece representing each, but I didn’t want it to look Halloween with orange and black. So I mixed orange with a few other colors until I got the shade that I wanted. I also wanted to make sure that I could match that color to an embroidery floss.
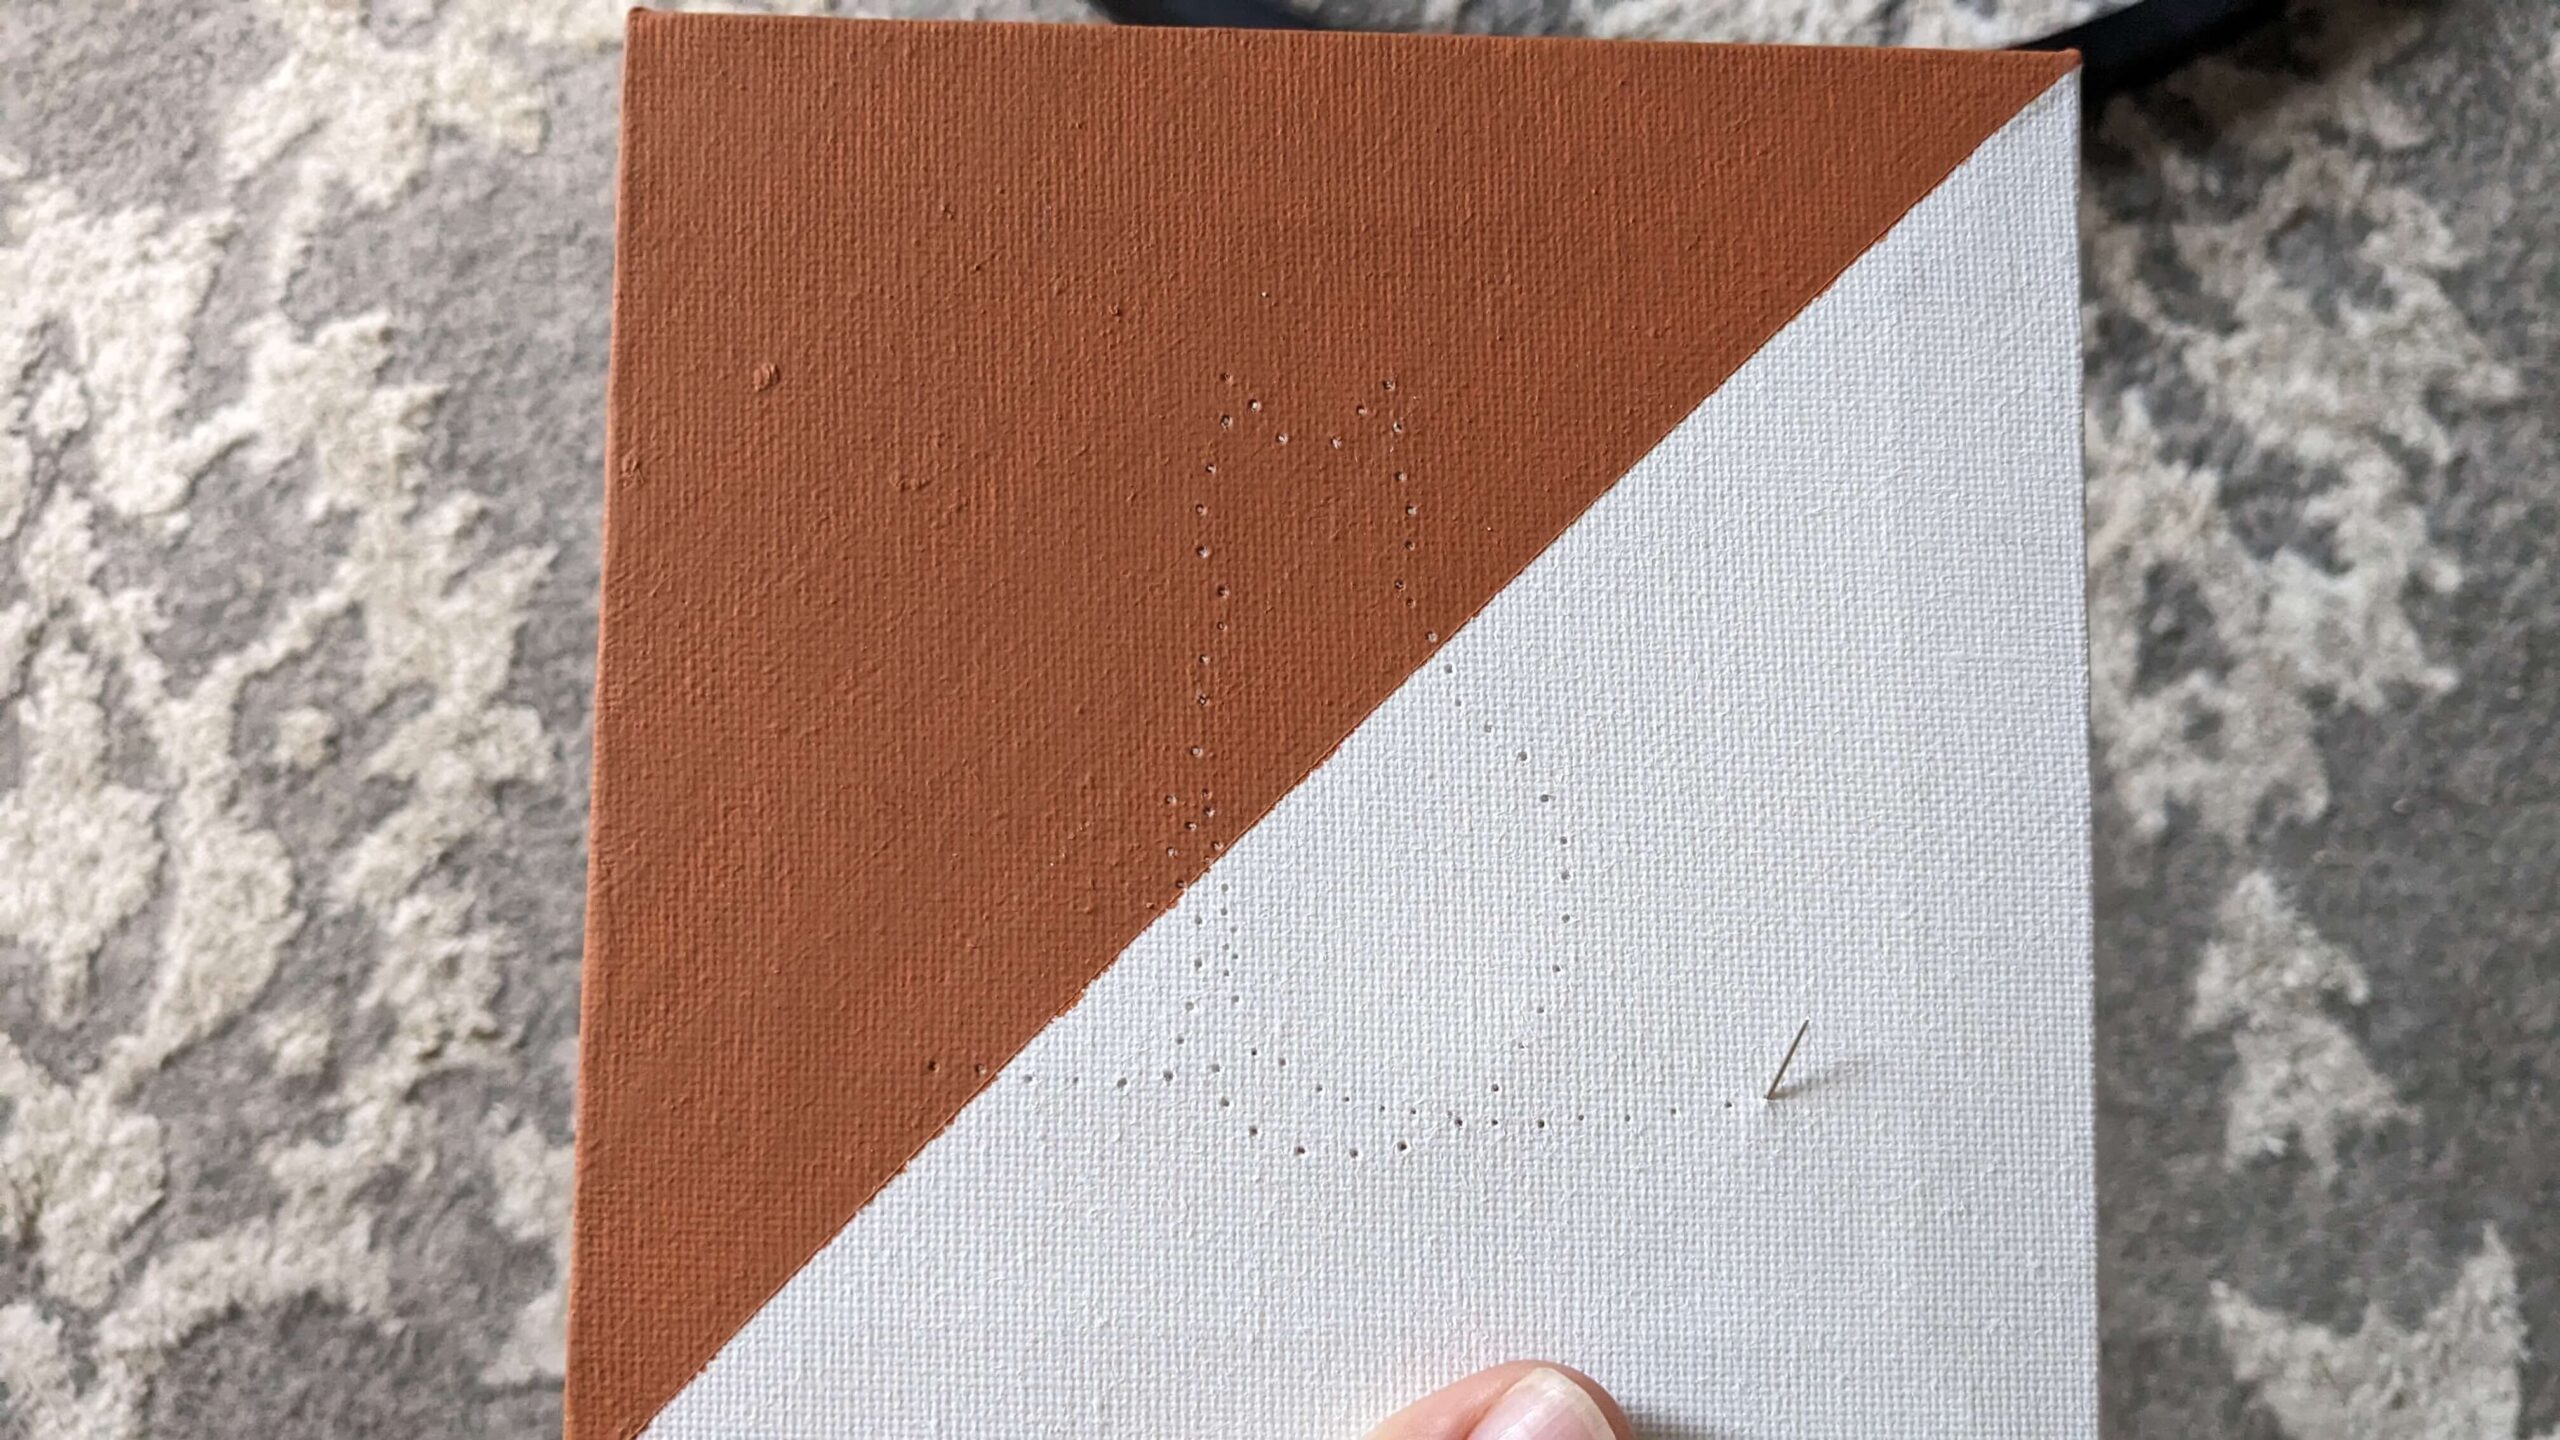
Using painter’s tape, I created a diagonal line and then painted several coats of paint on one side of it, waiting in between each coat for it to dry.
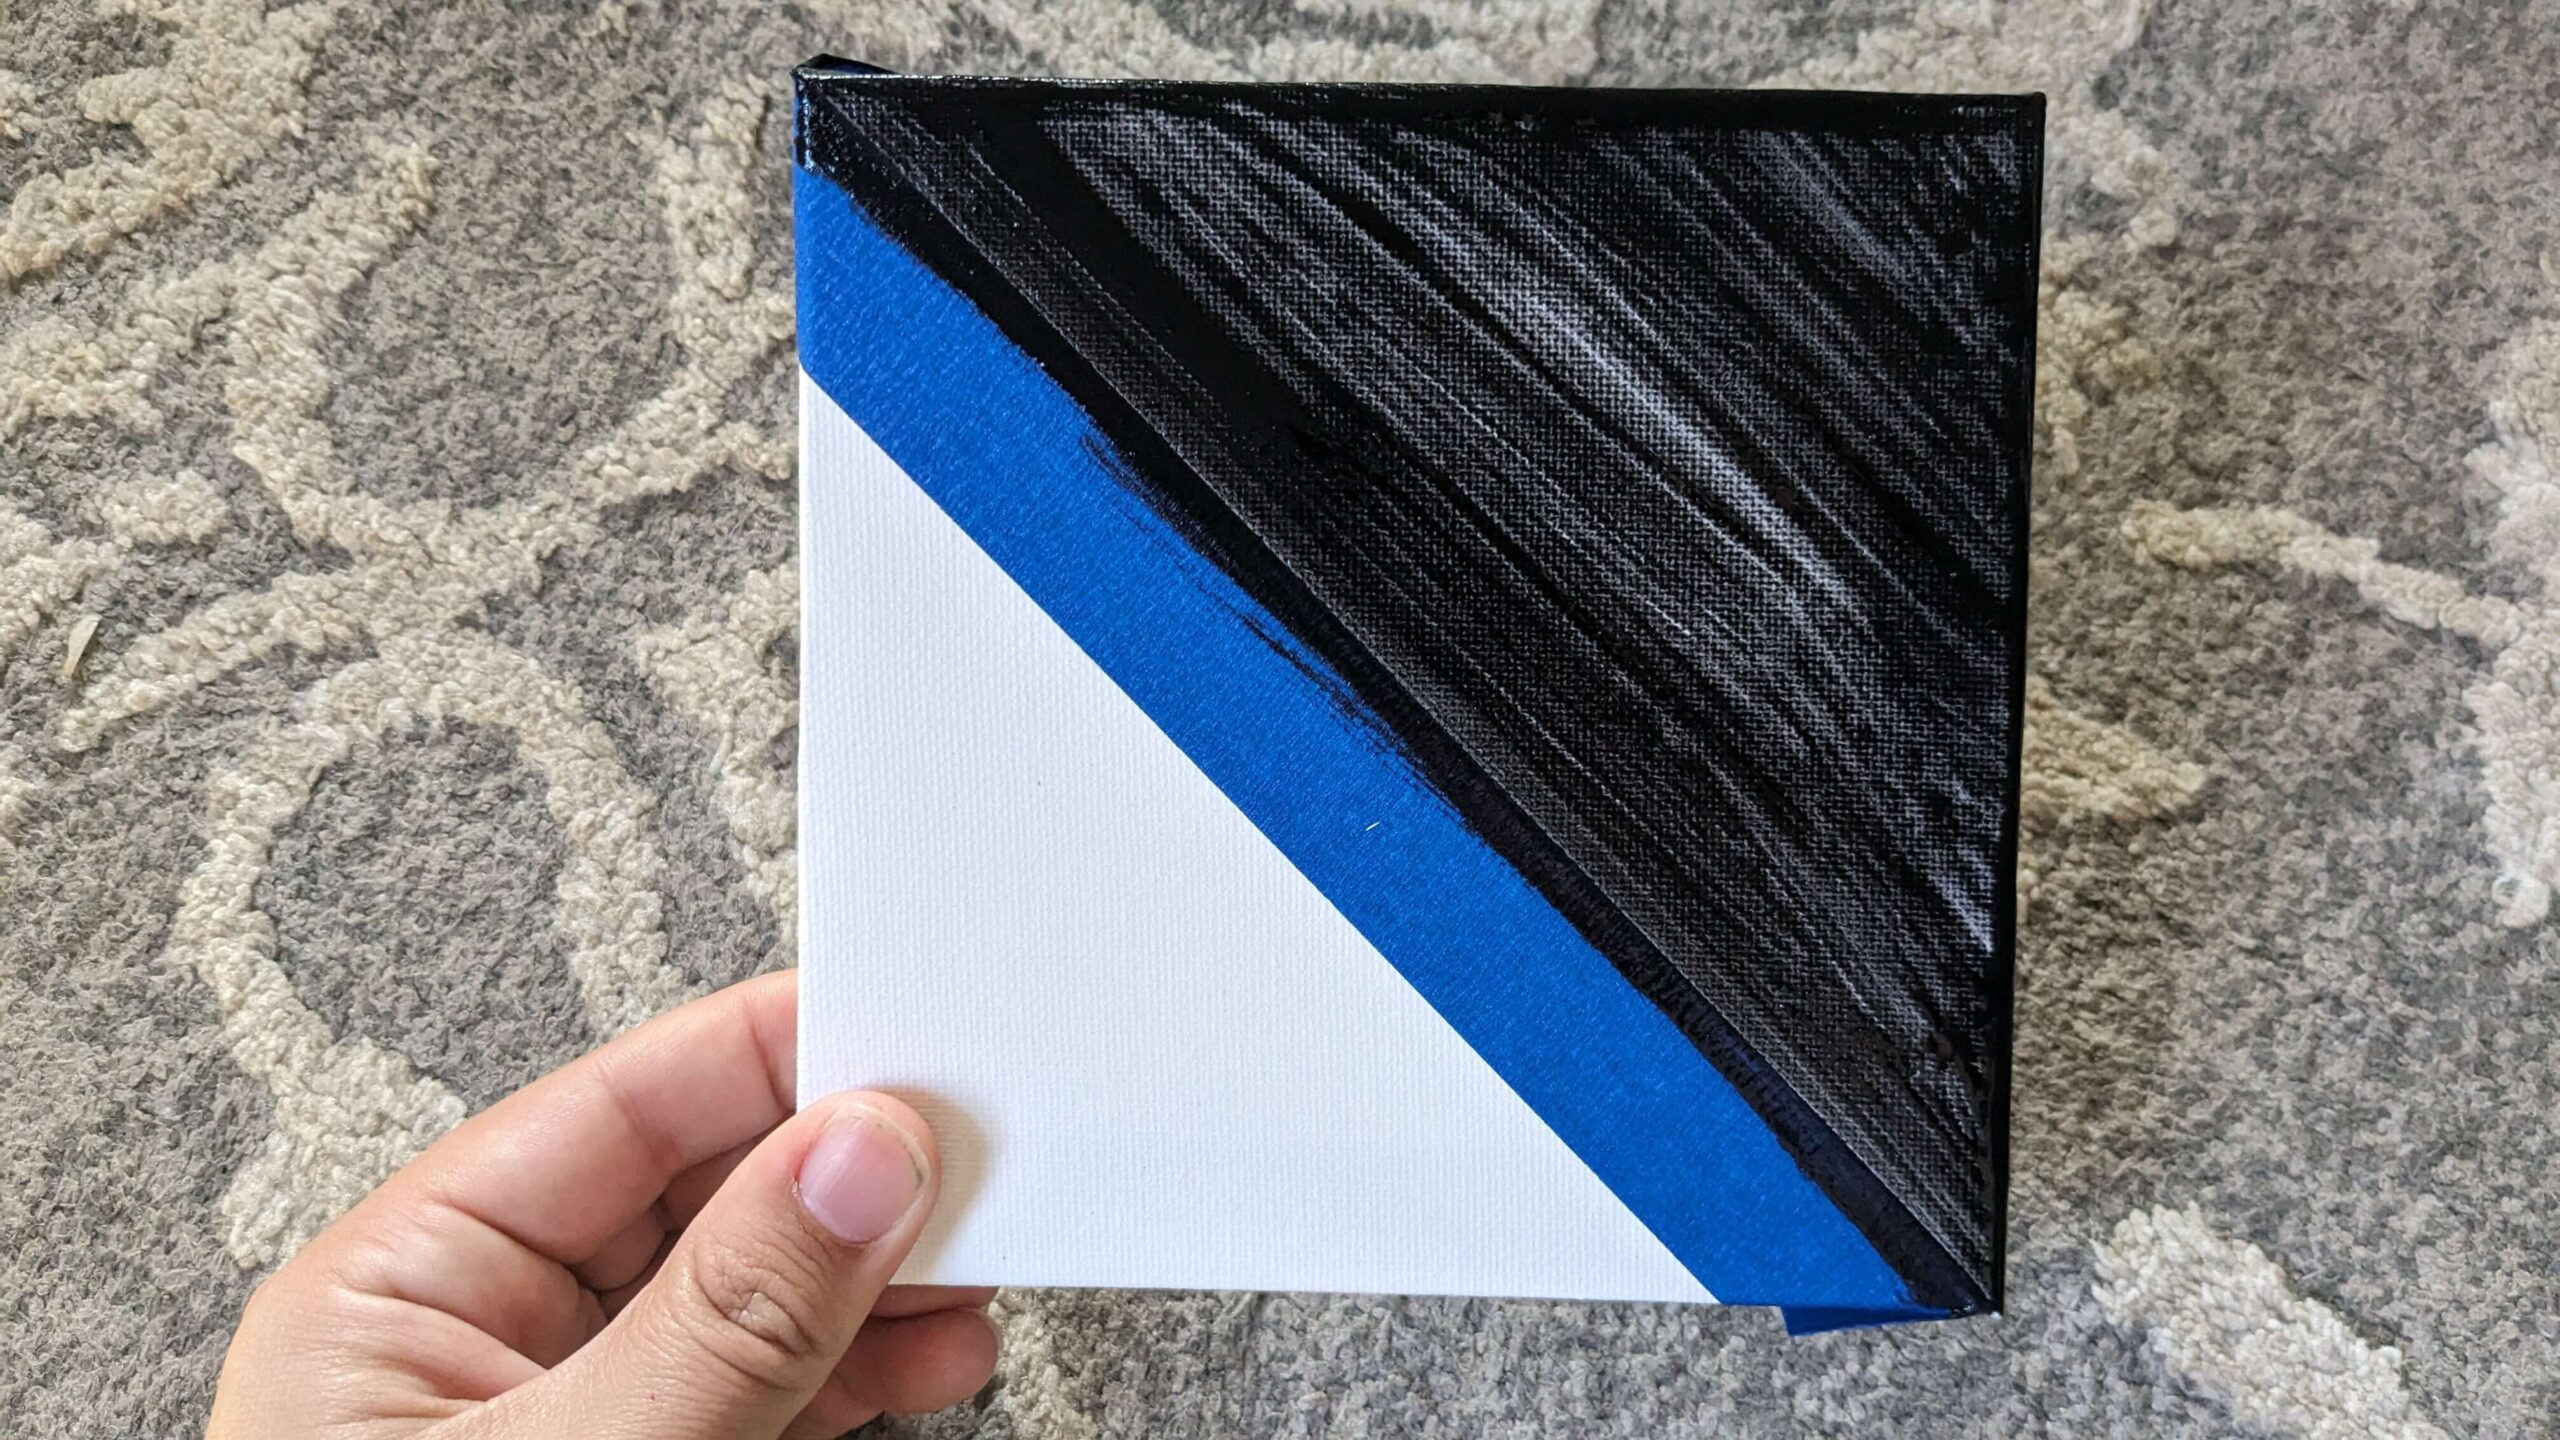
I only painted one half and chose to use the white of the canvas to represent the white of the cat.
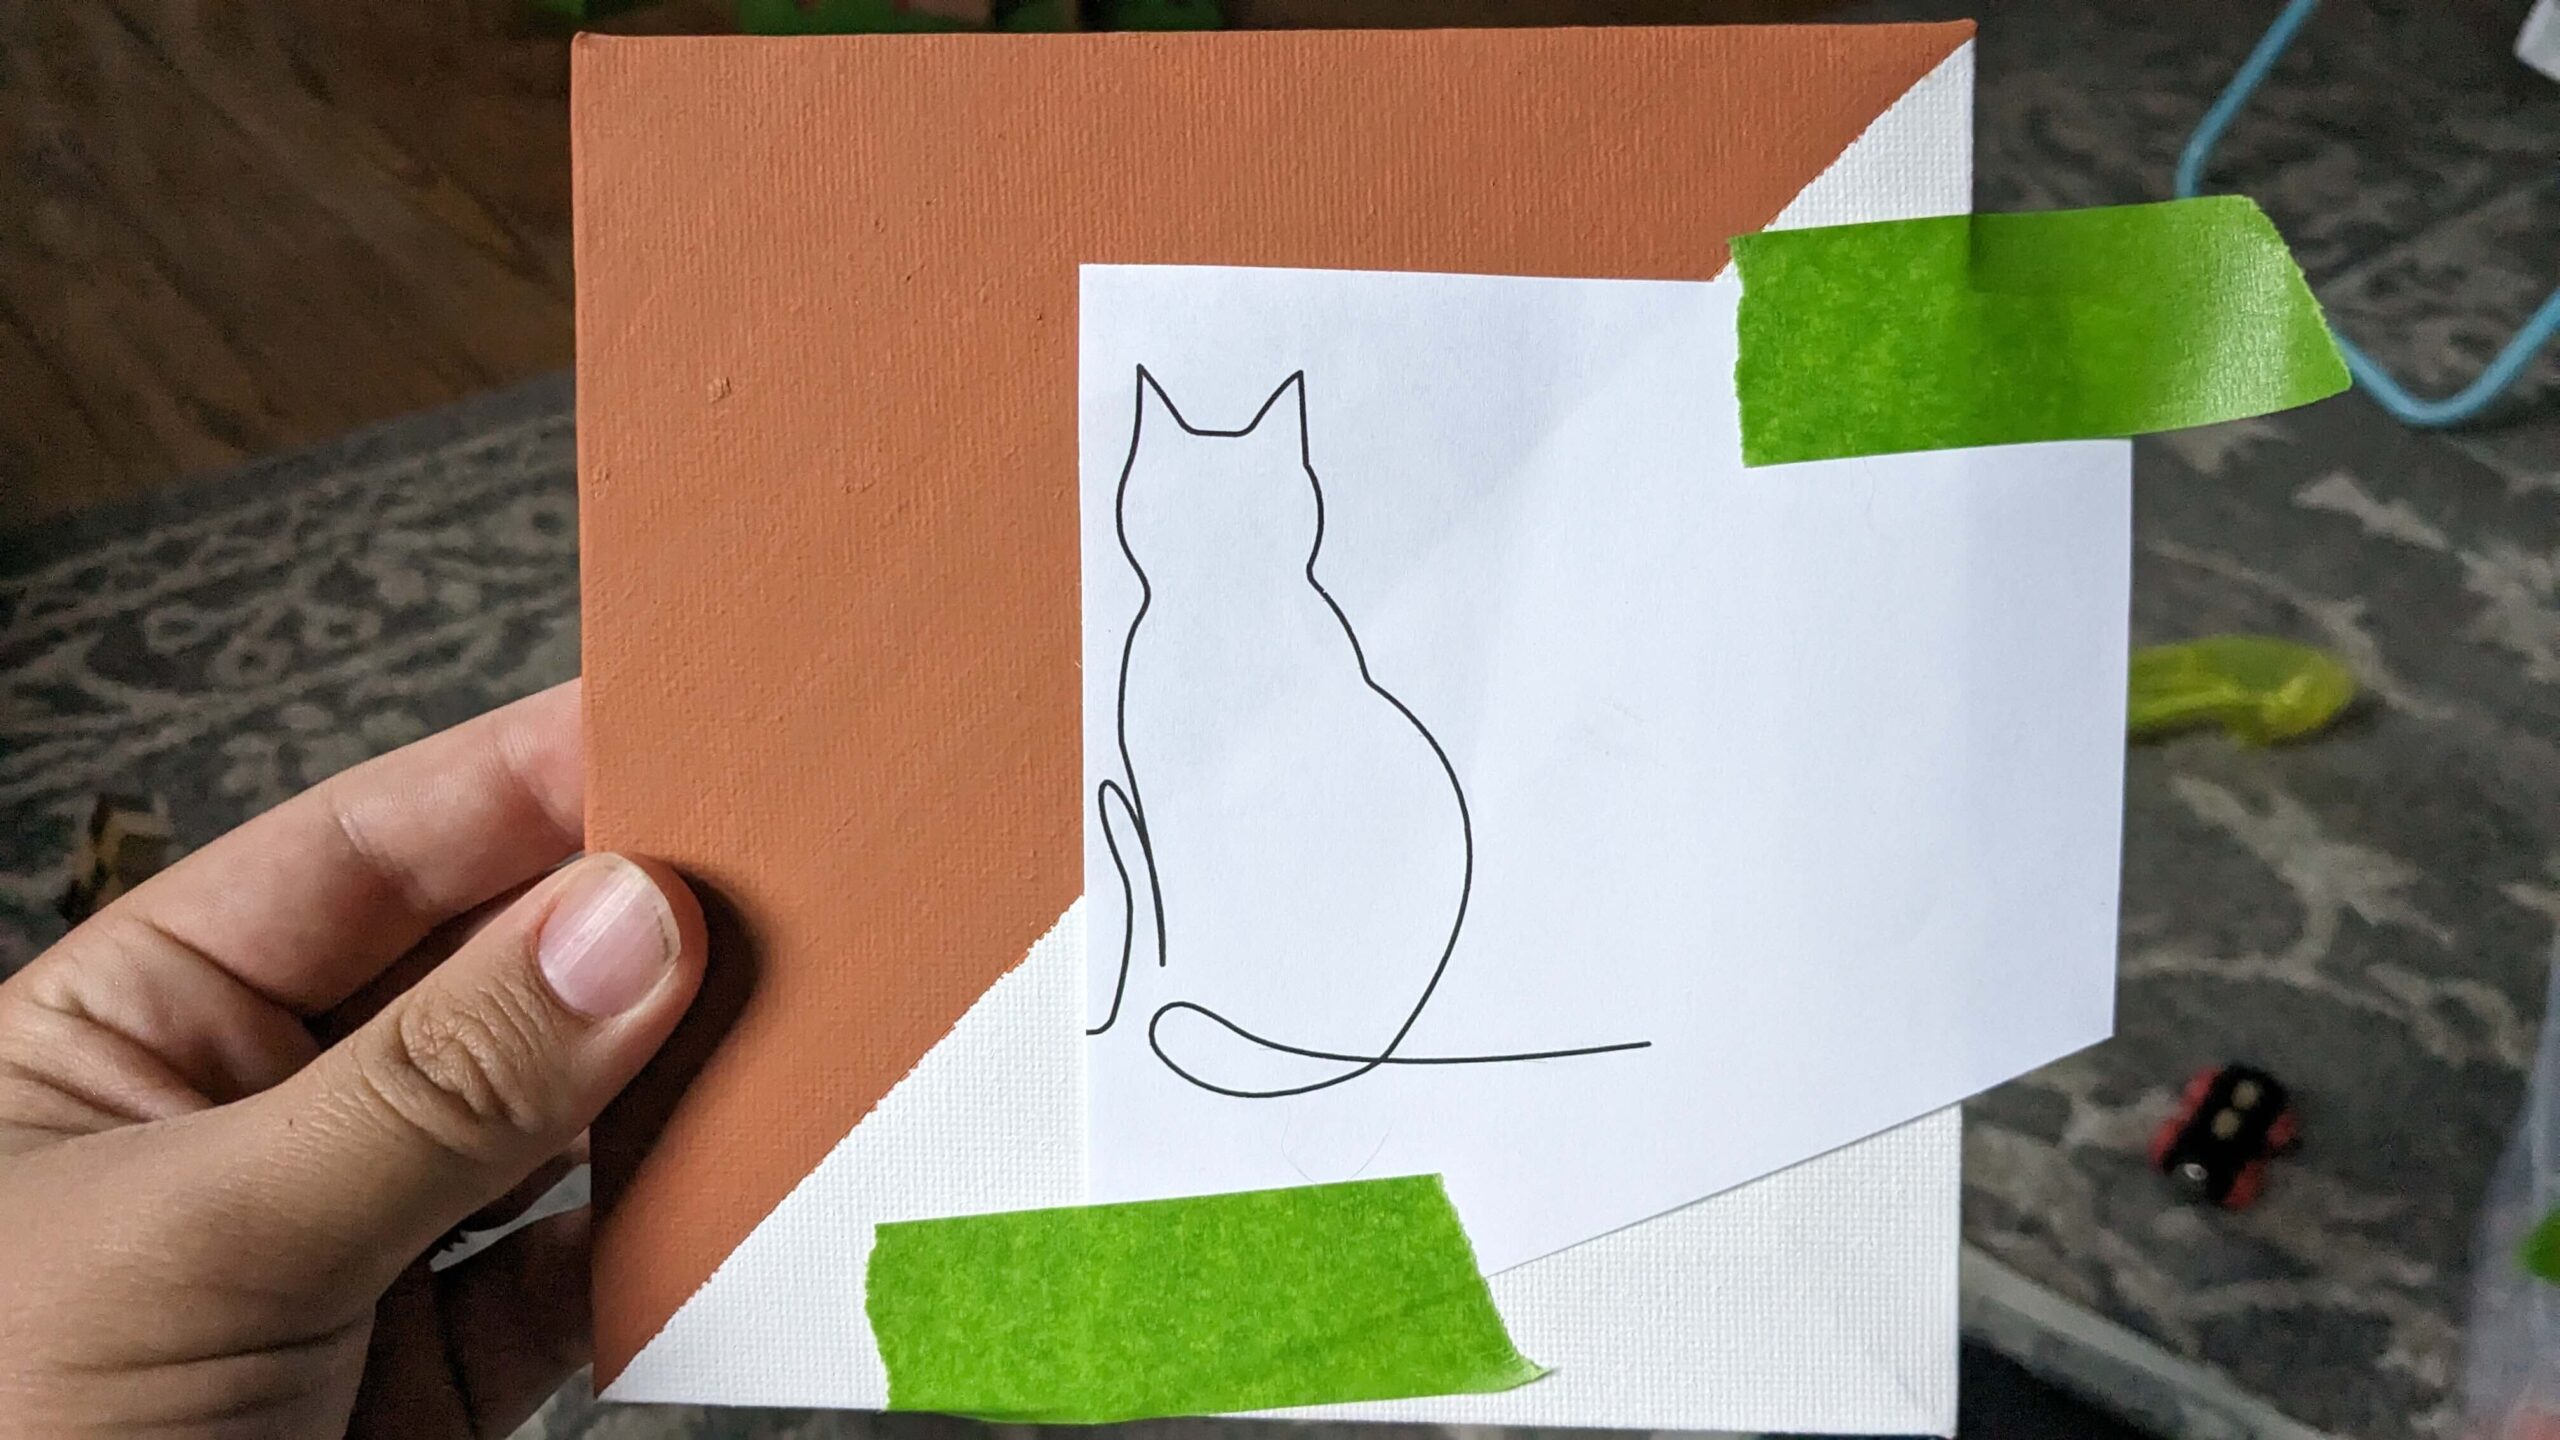
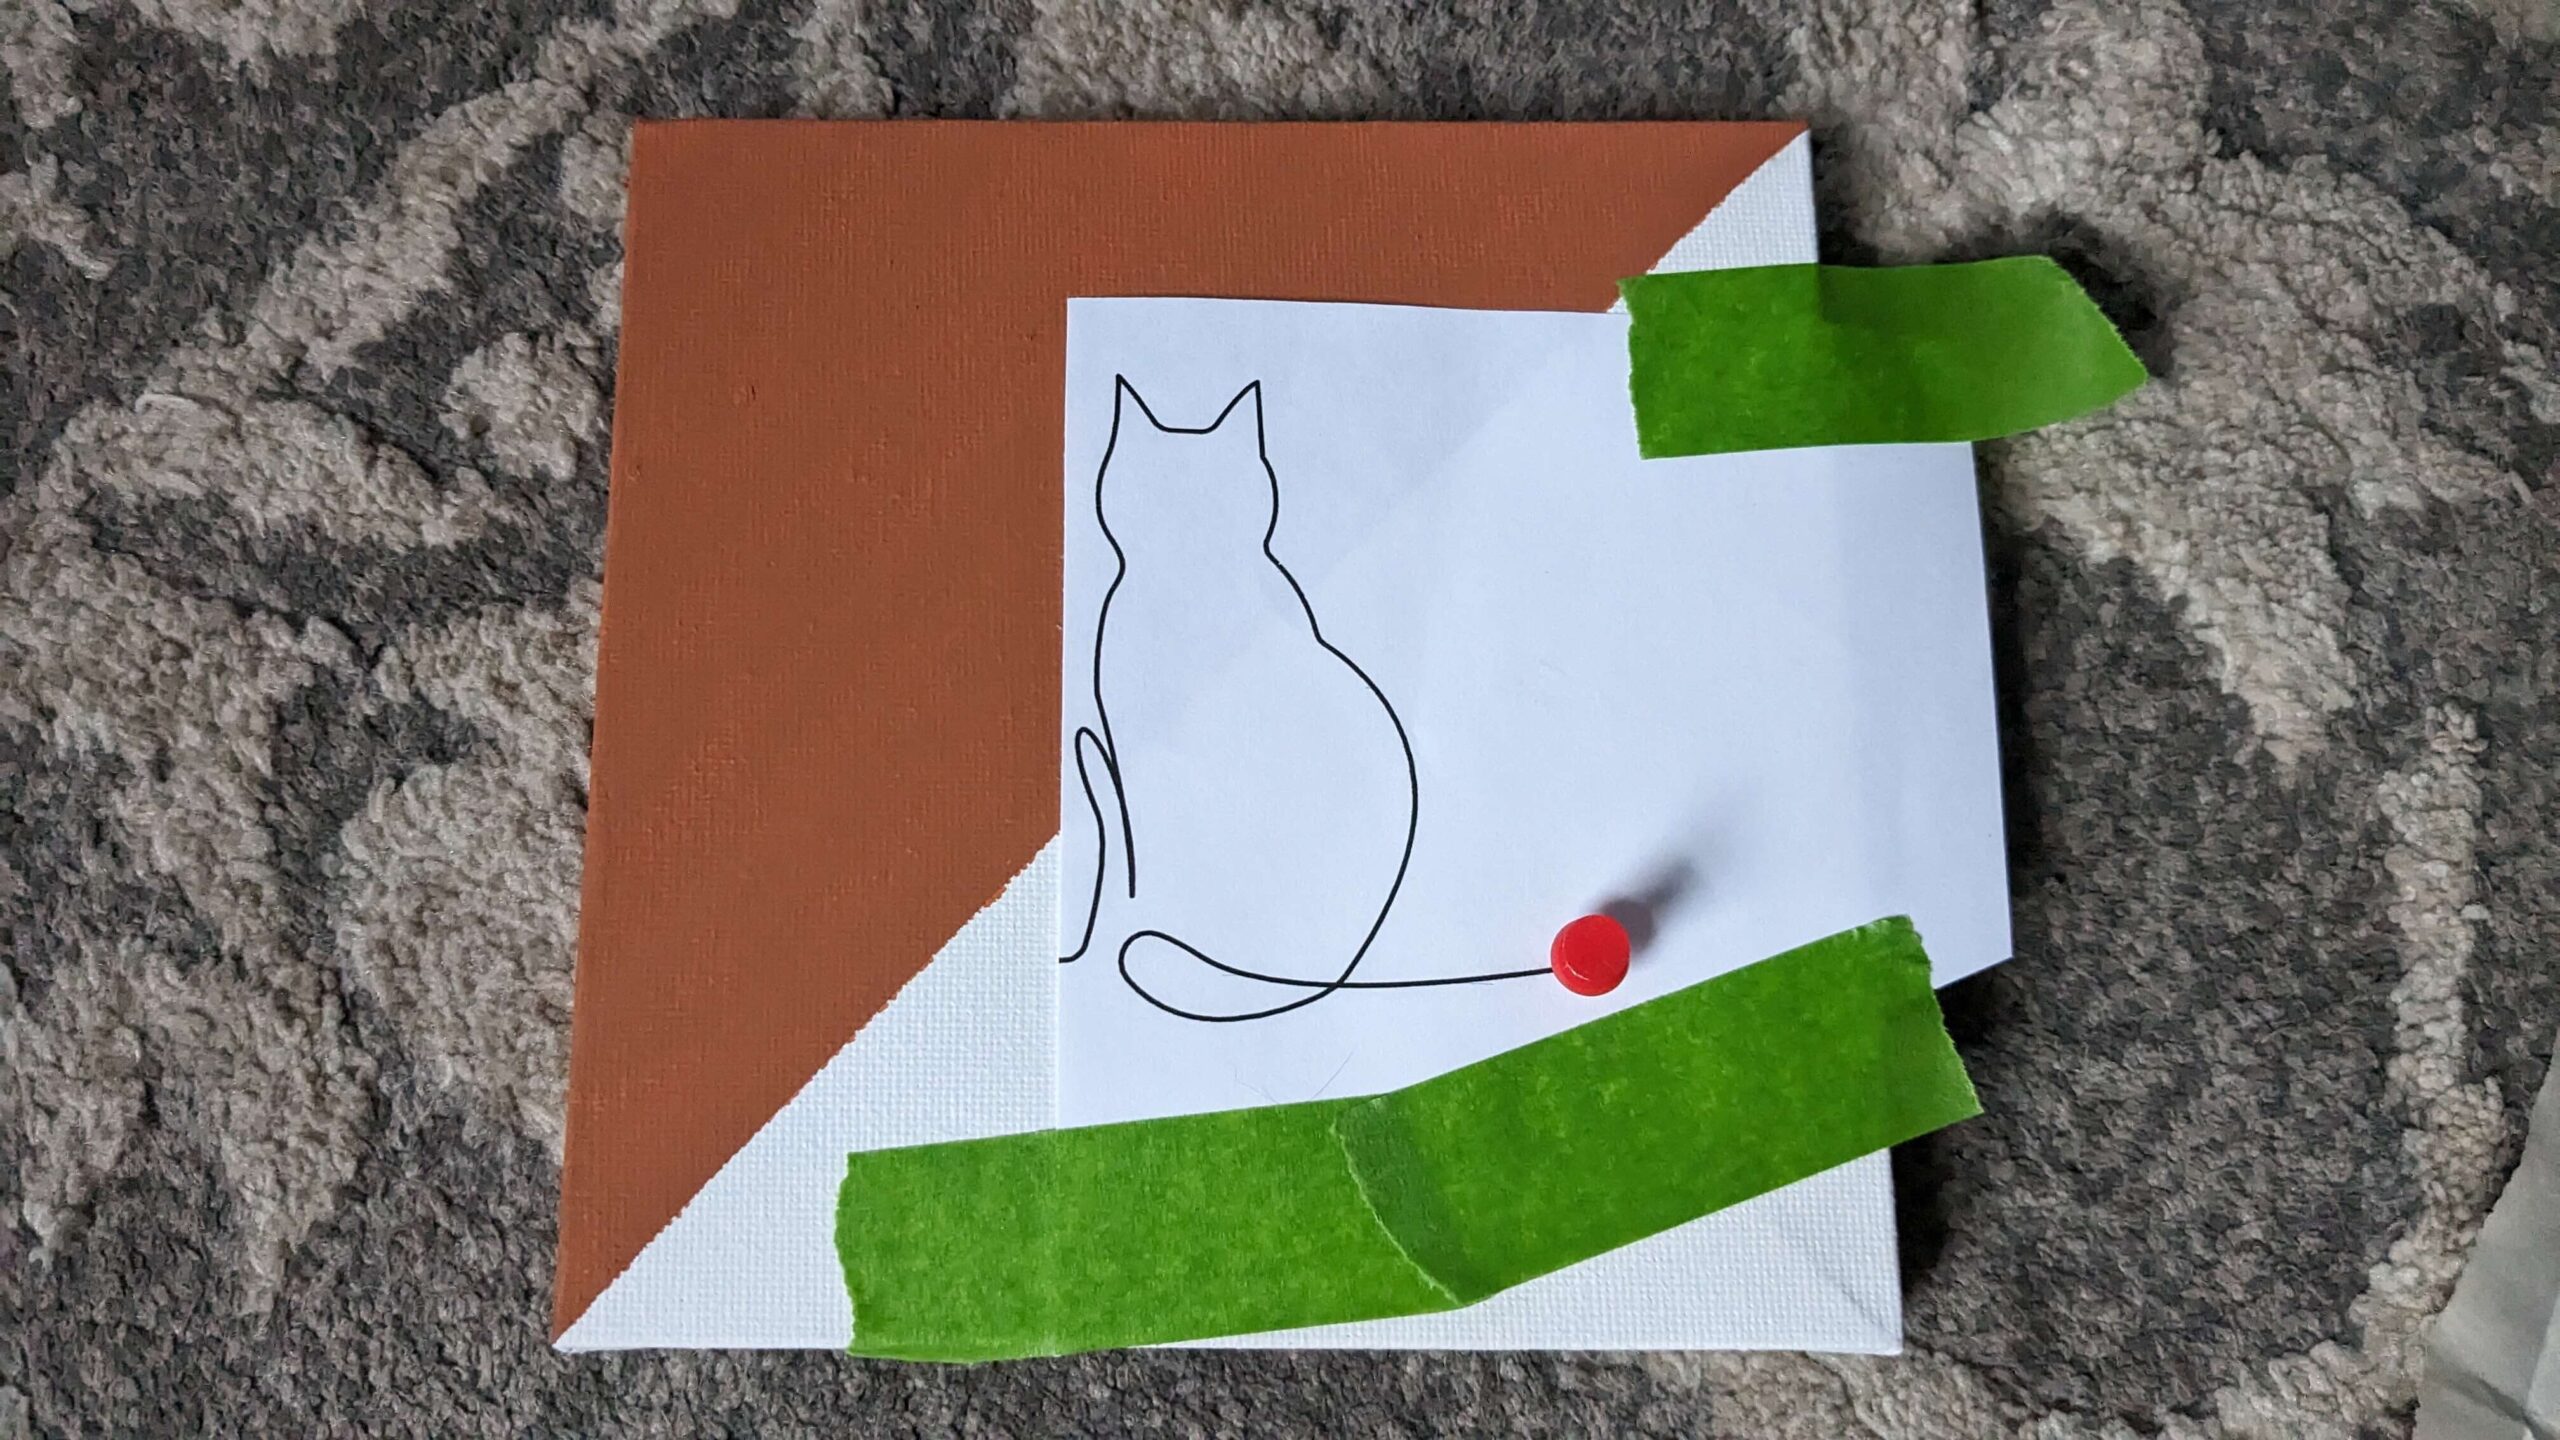
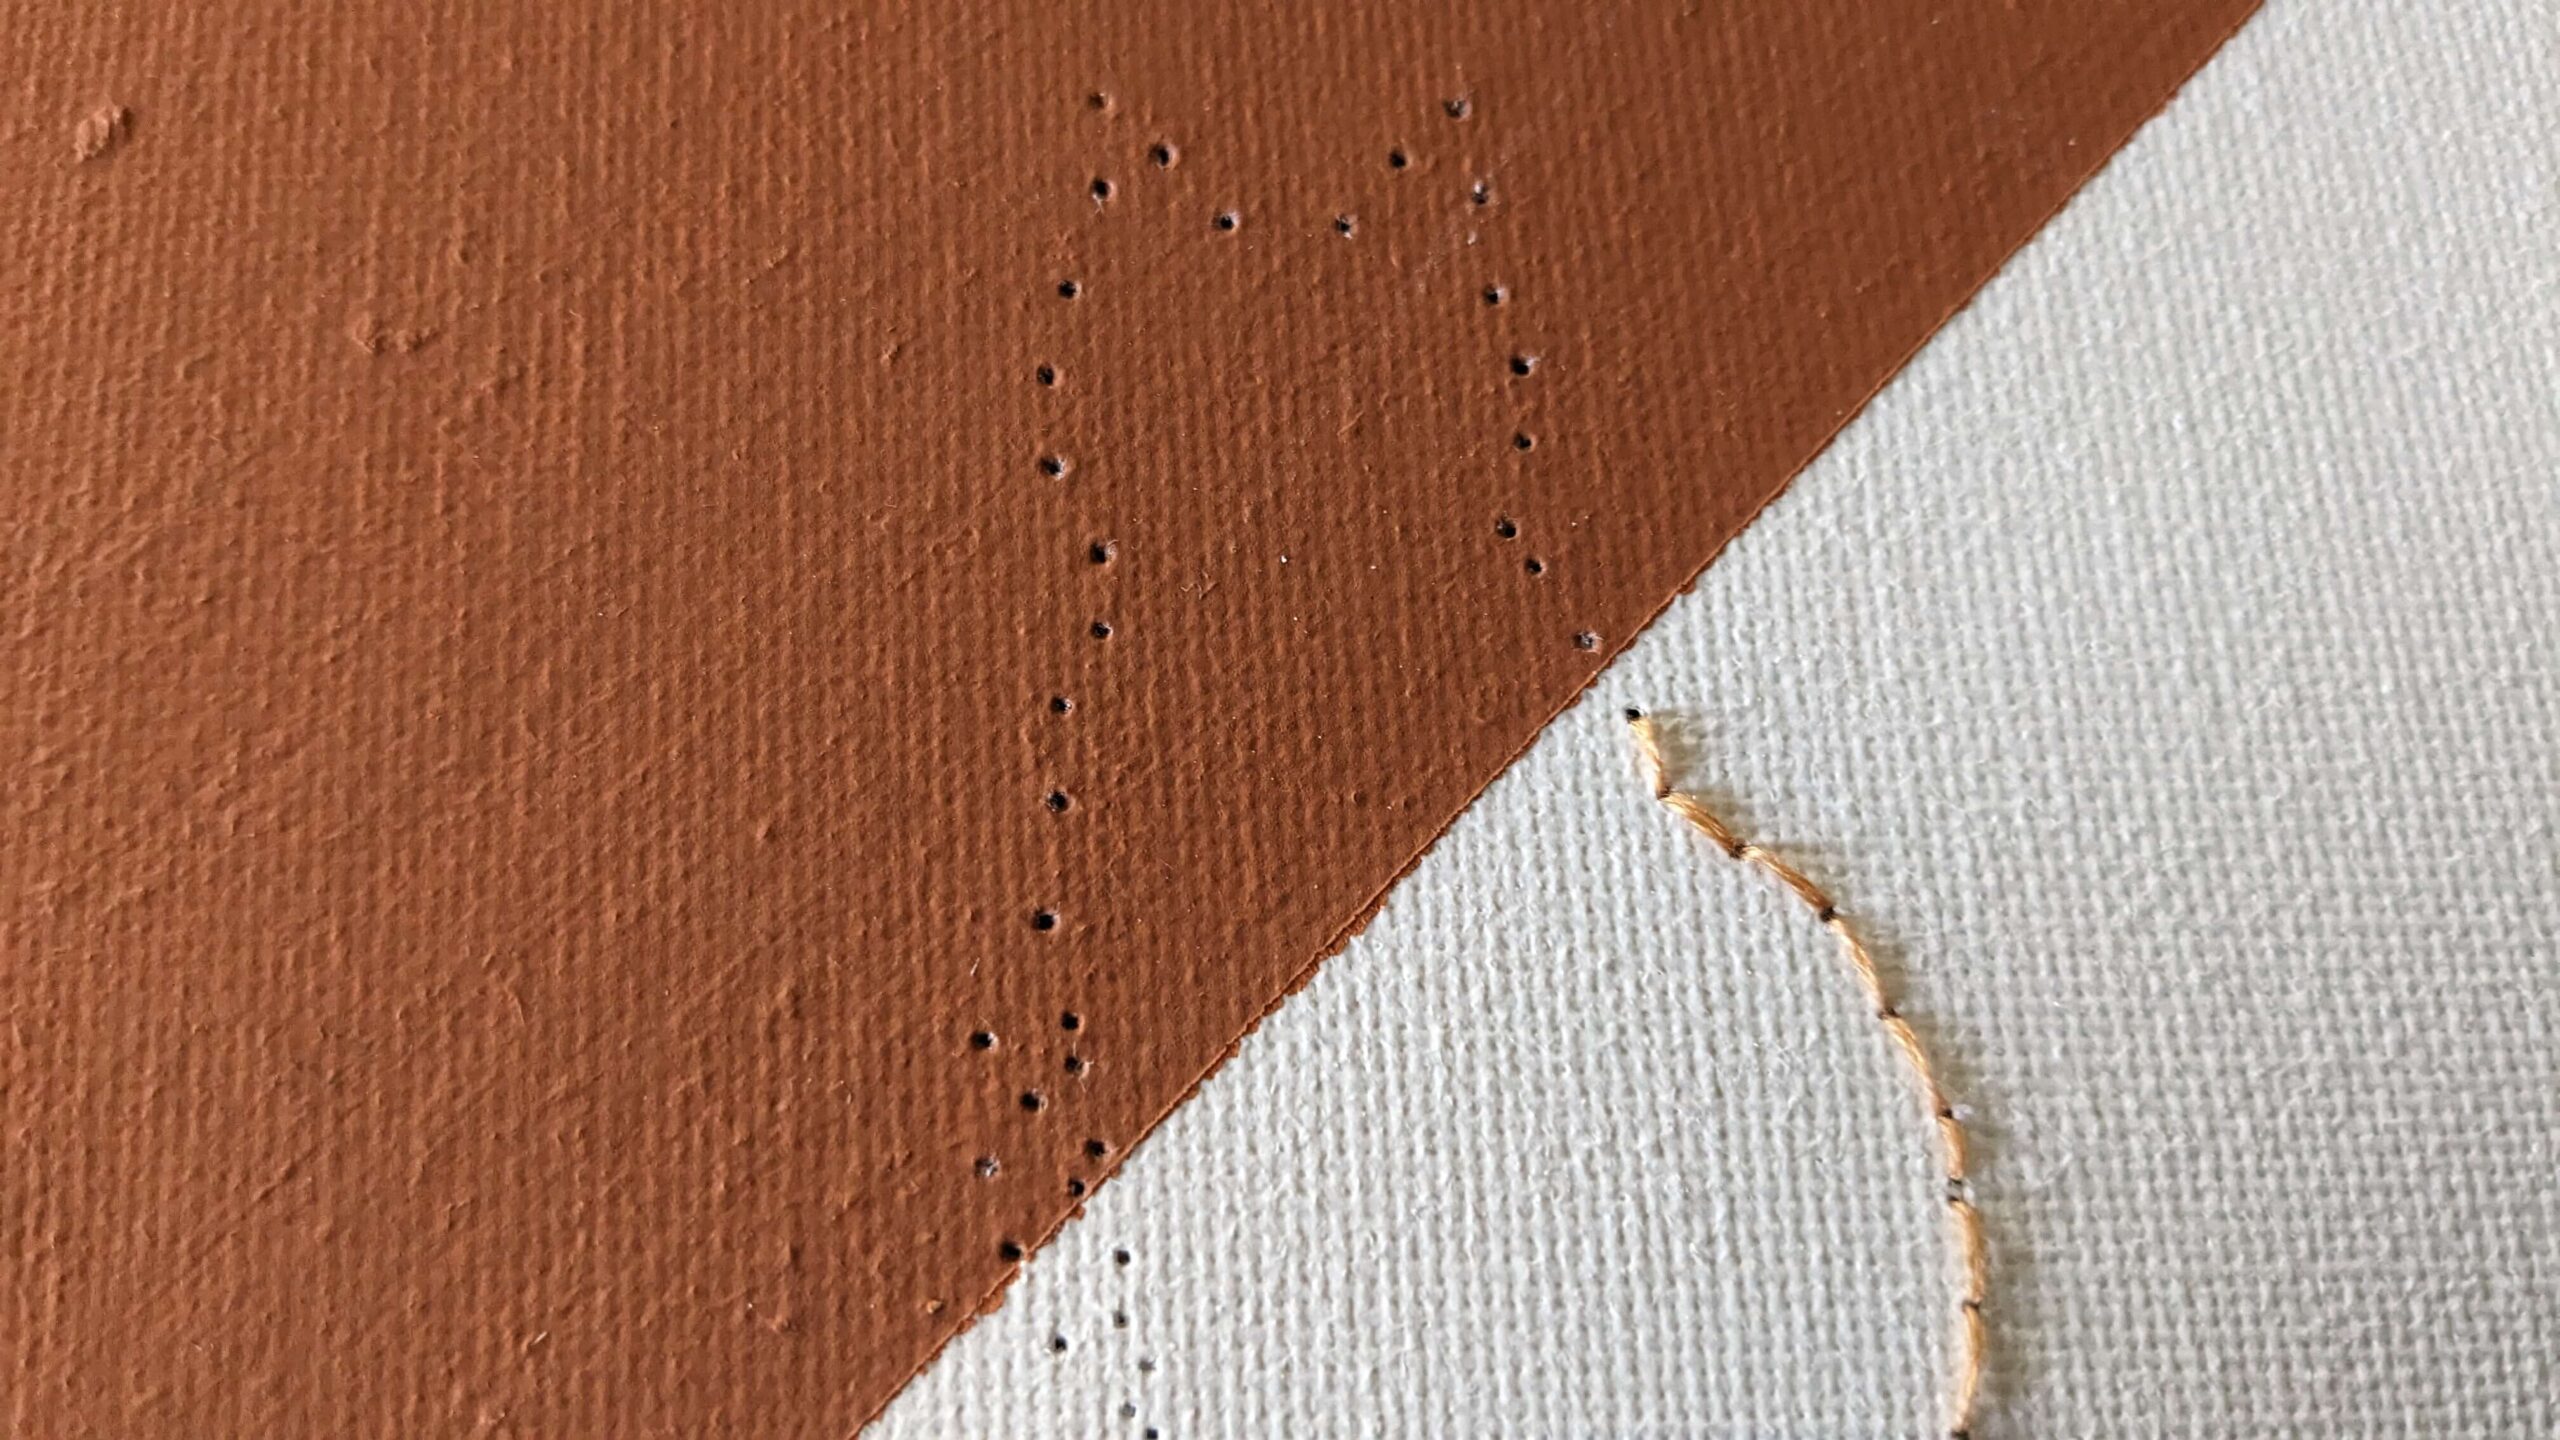
After the paint had dried and I removed the painter’s tape, I used a little bit more painter’s tape to tape the cat art onto the canvas. I made sure that it was centered and wouldn’t cause me any problems with the wood frame underneath the canvas, and only adhered the tape to the non-painted side.
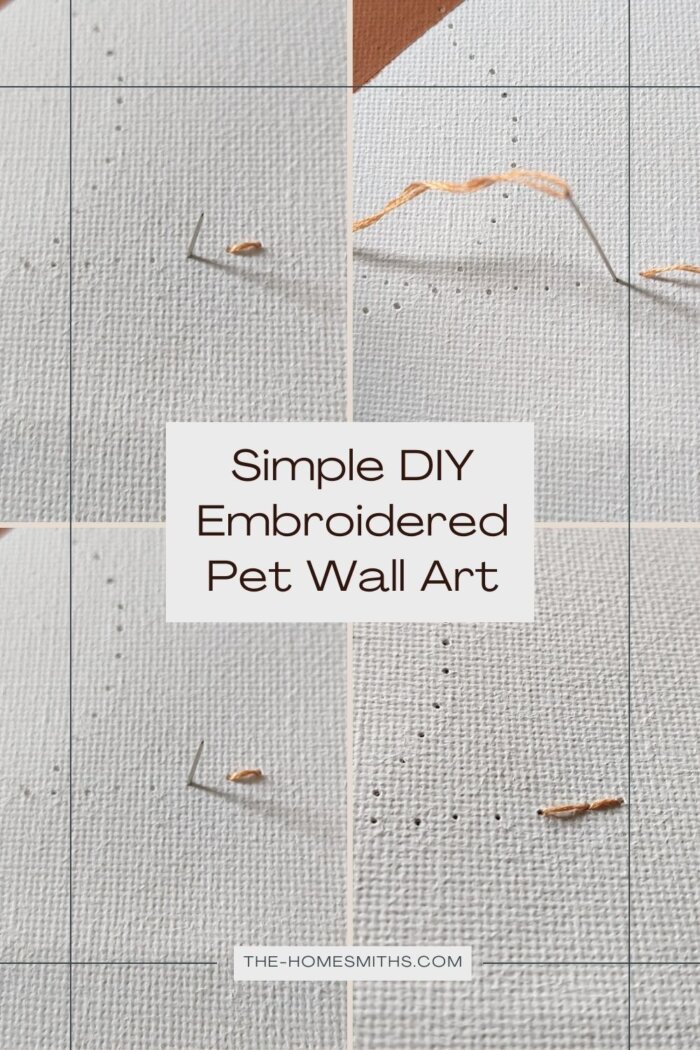
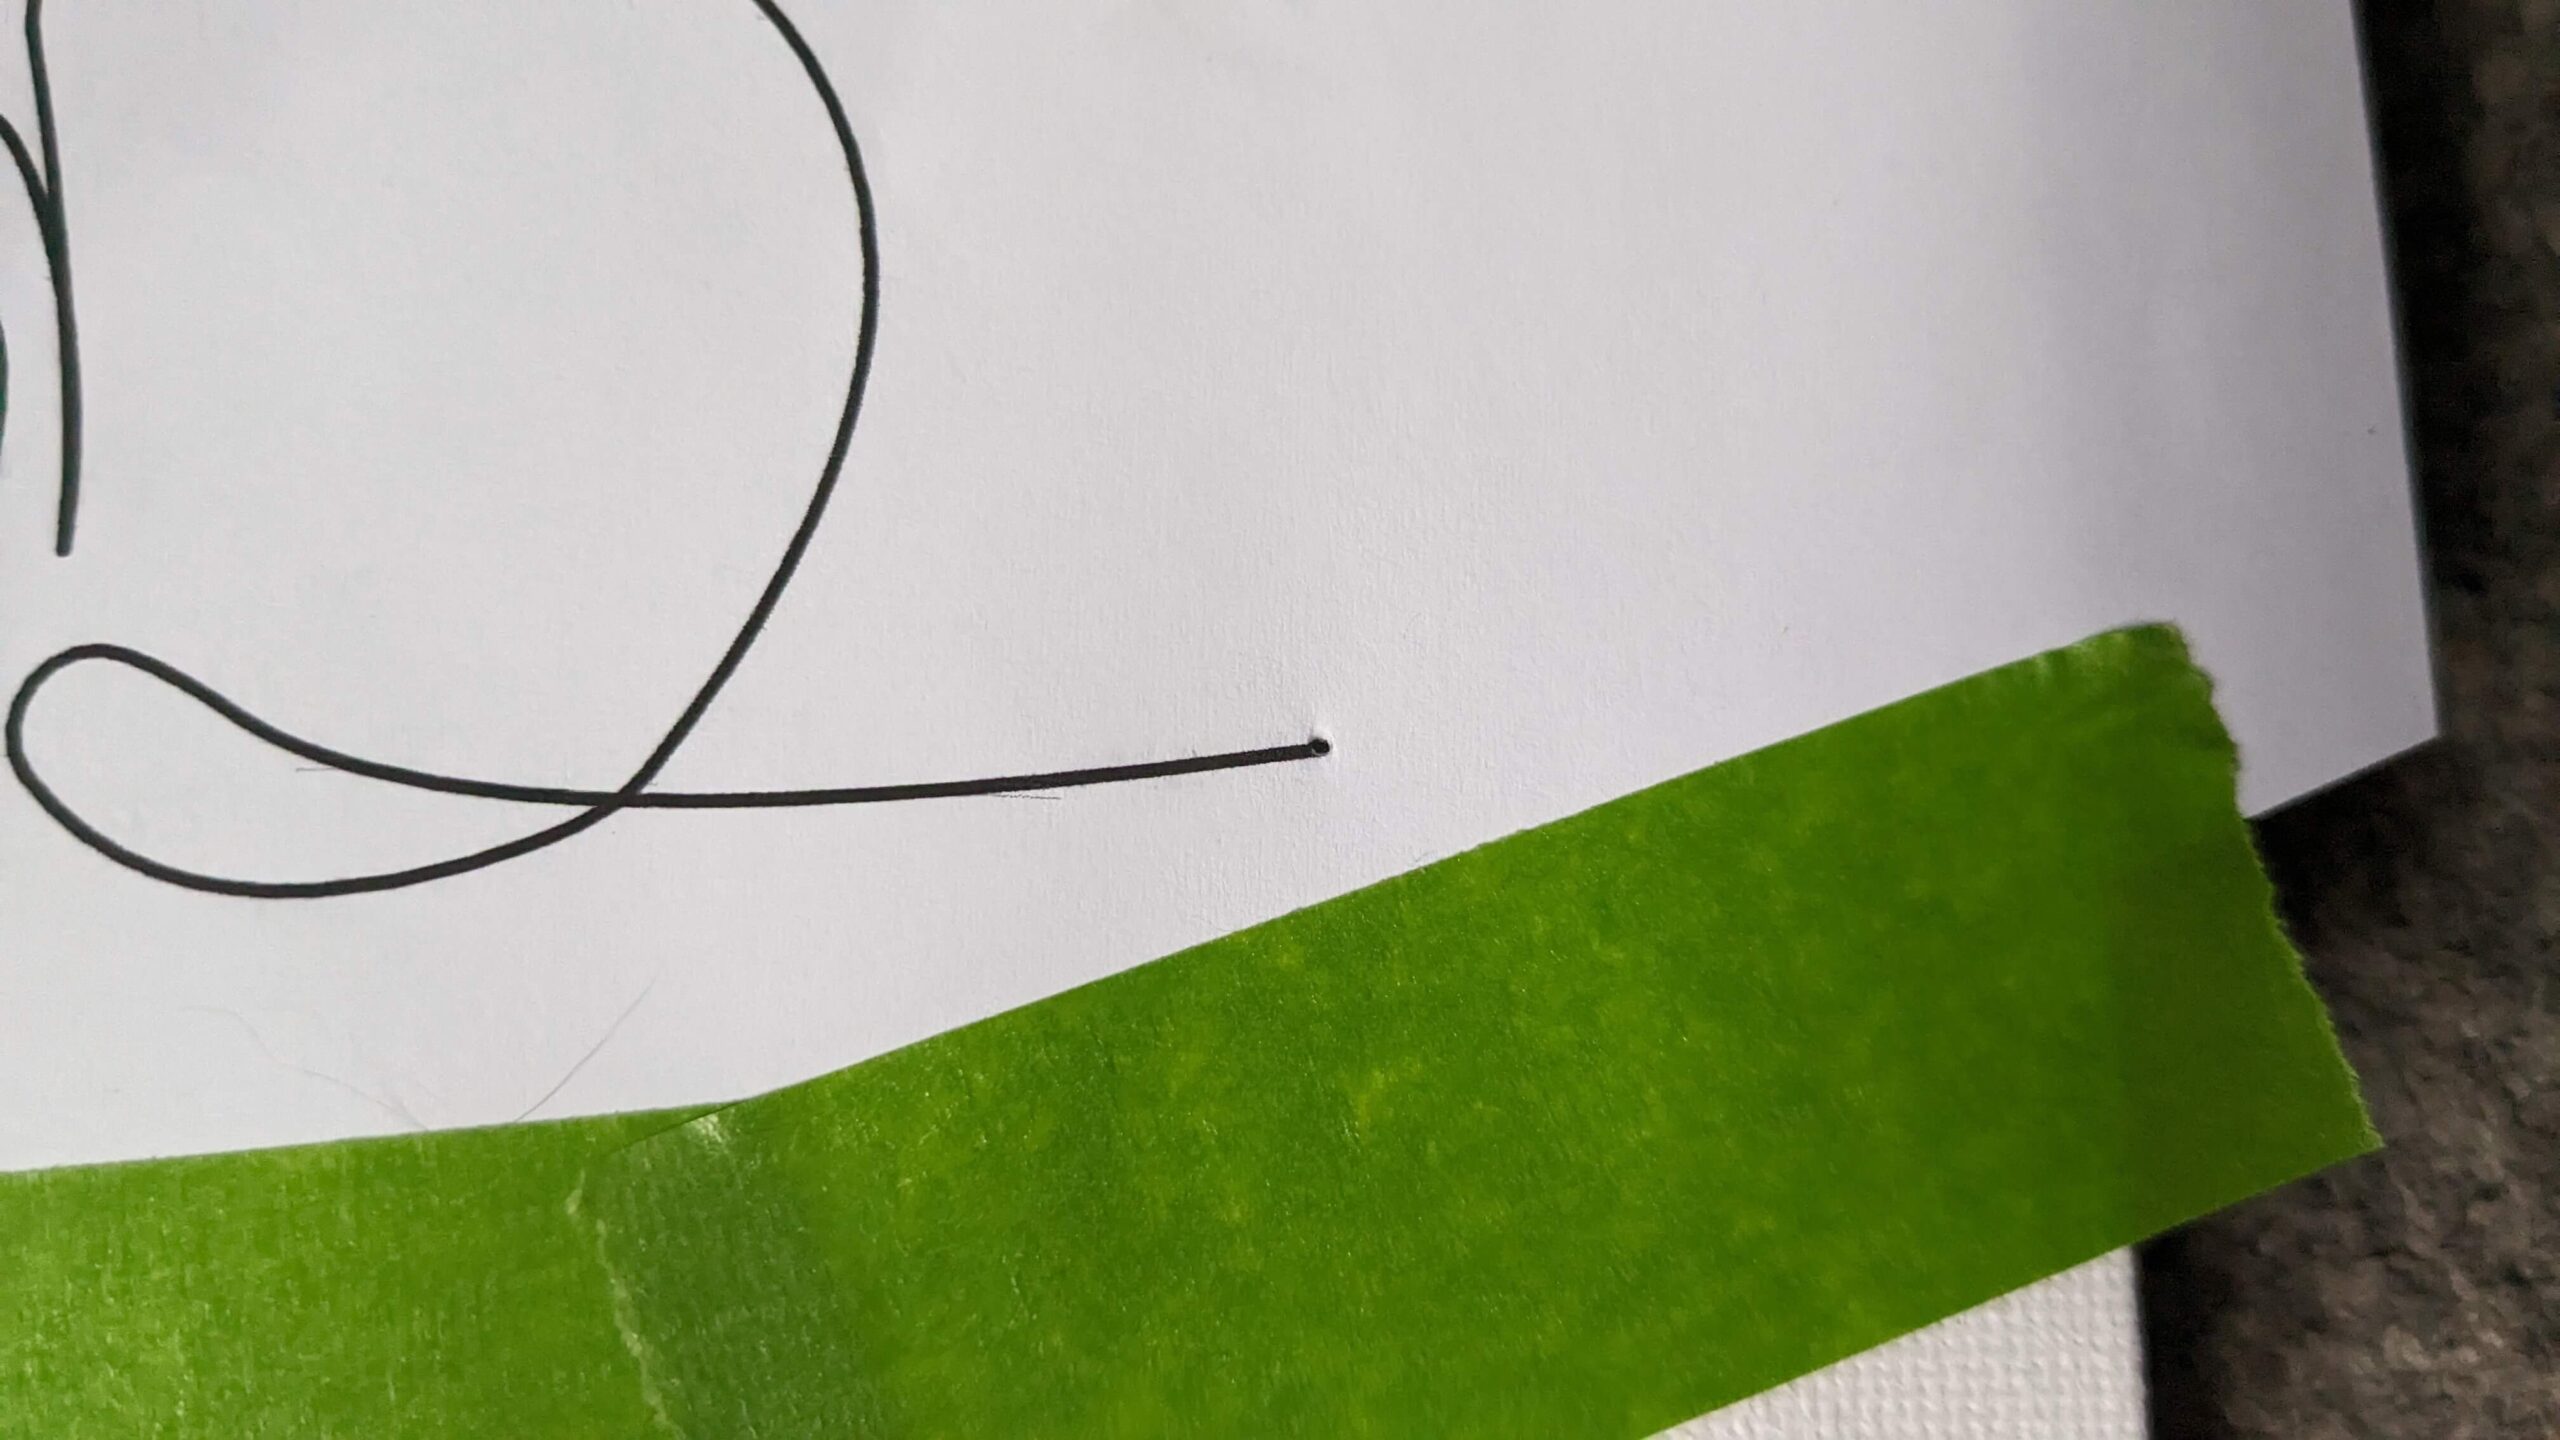
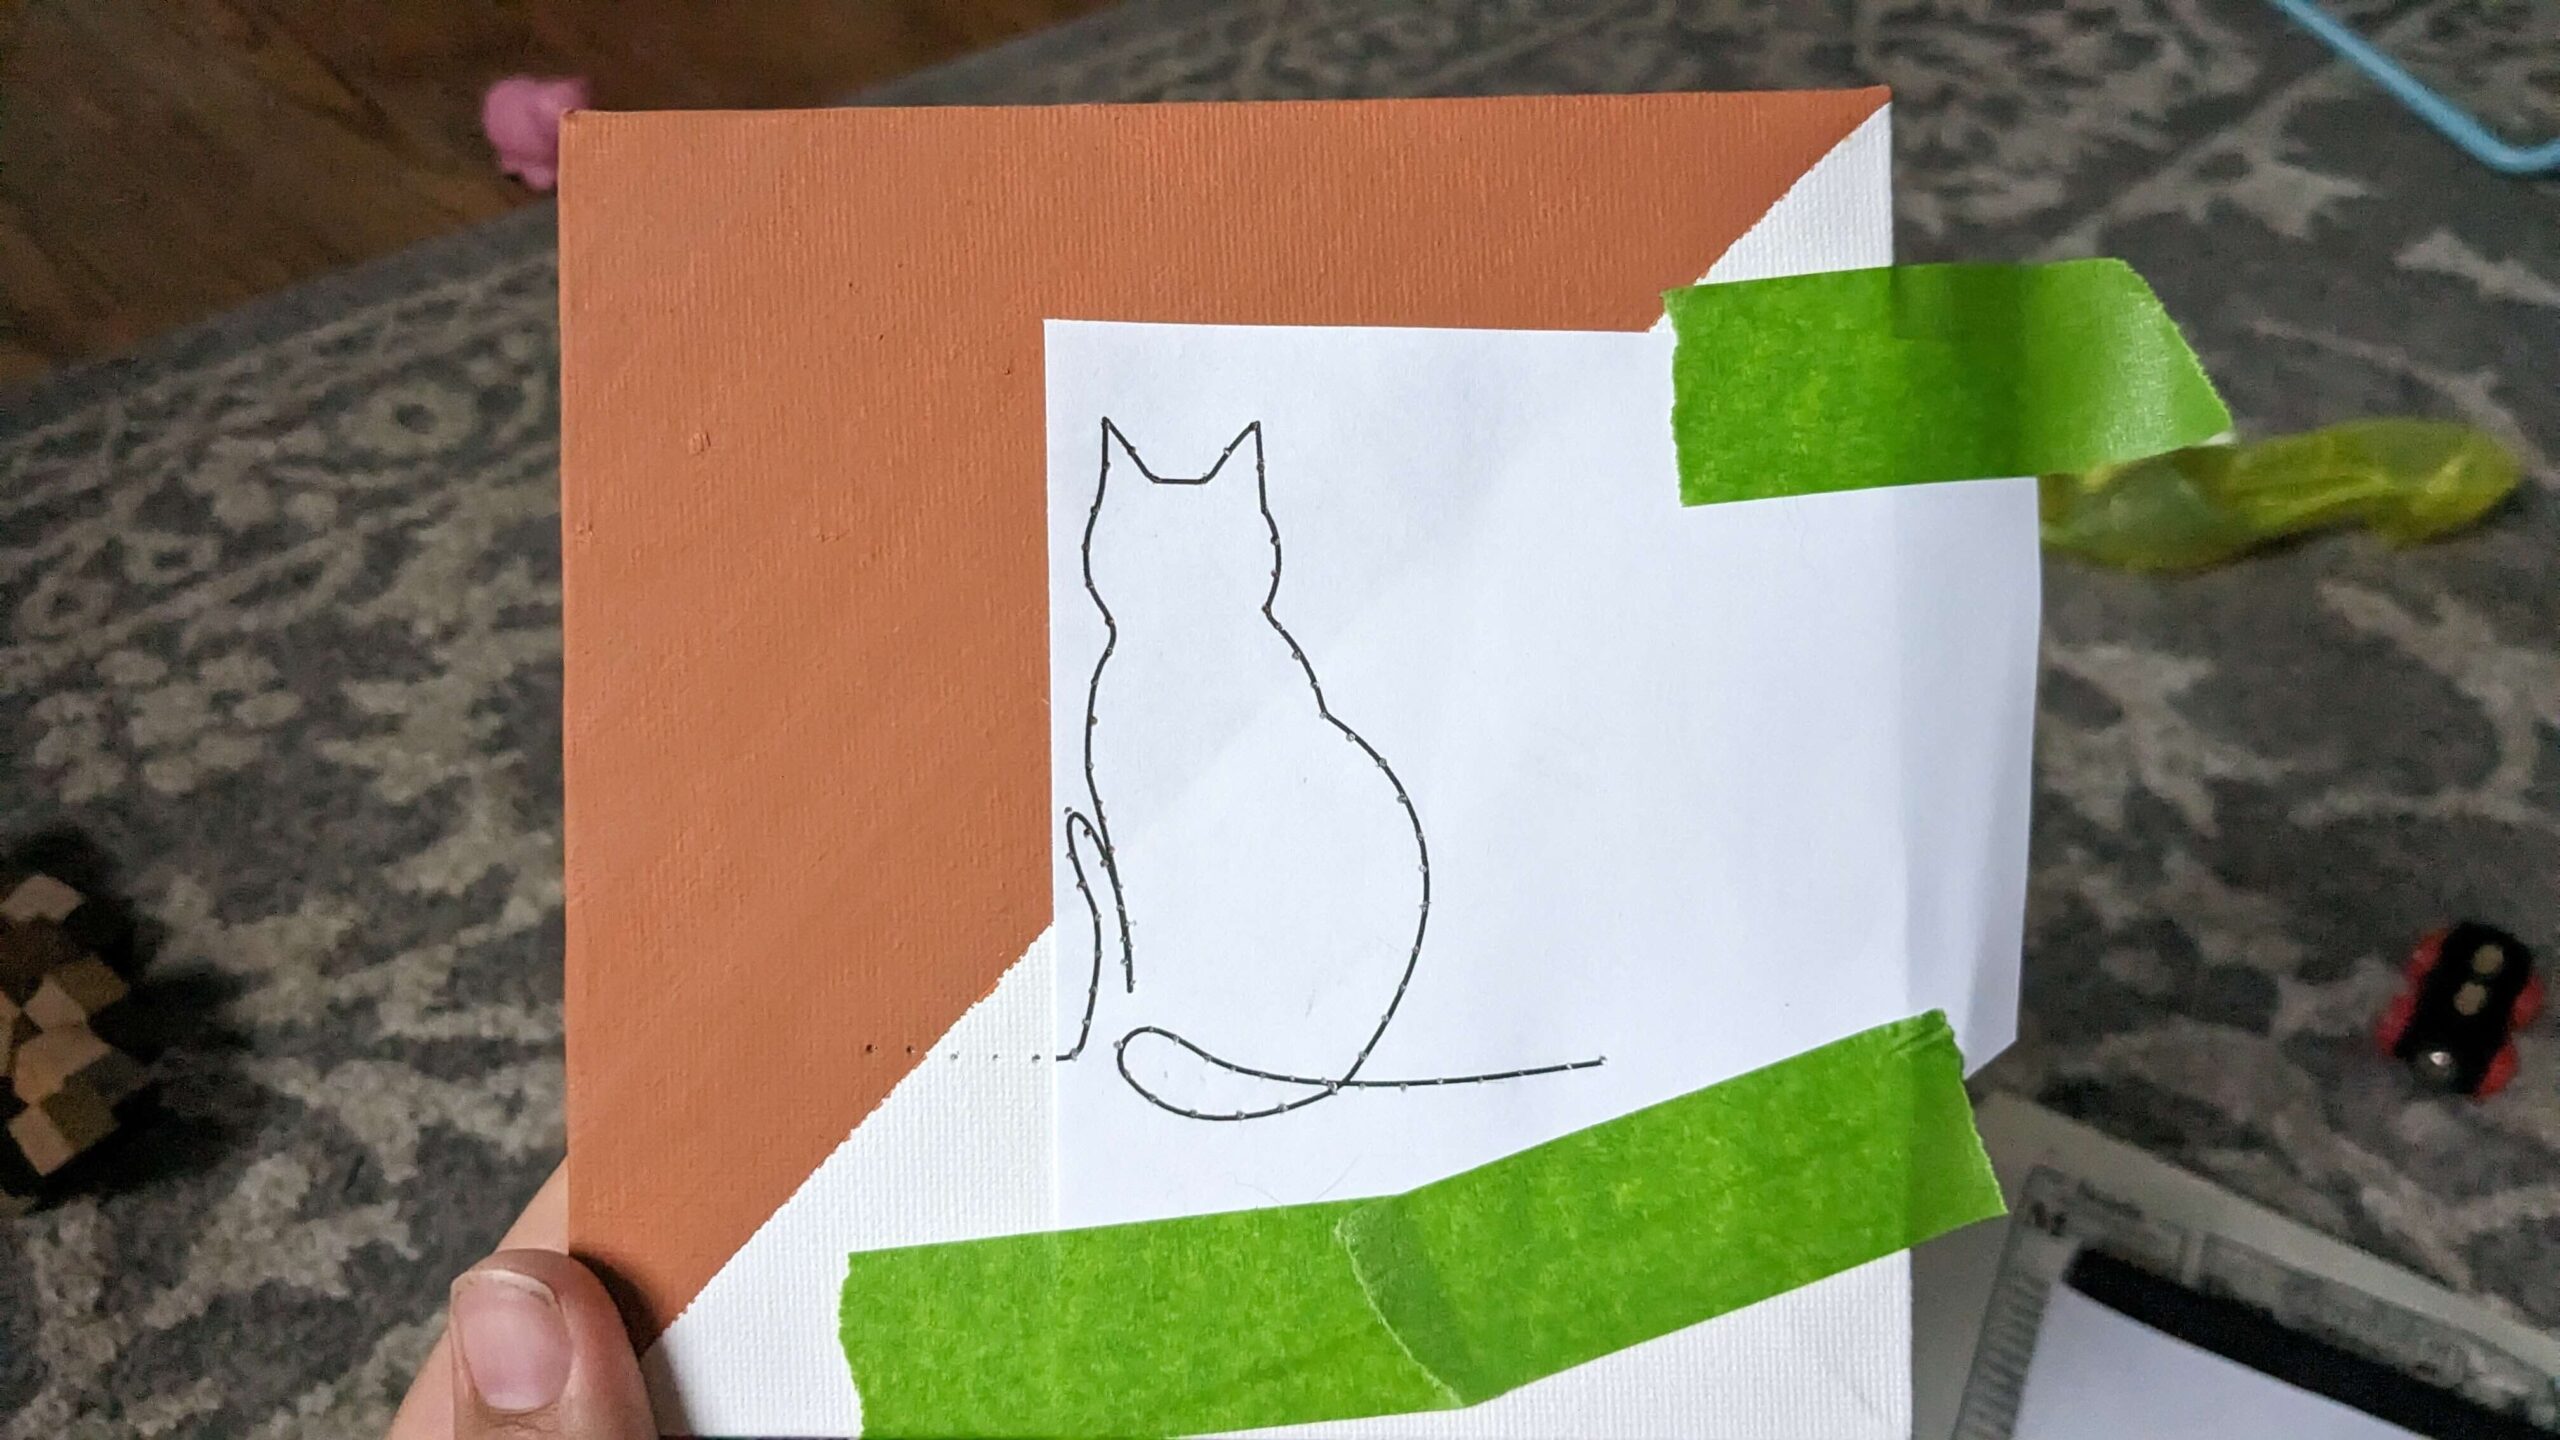
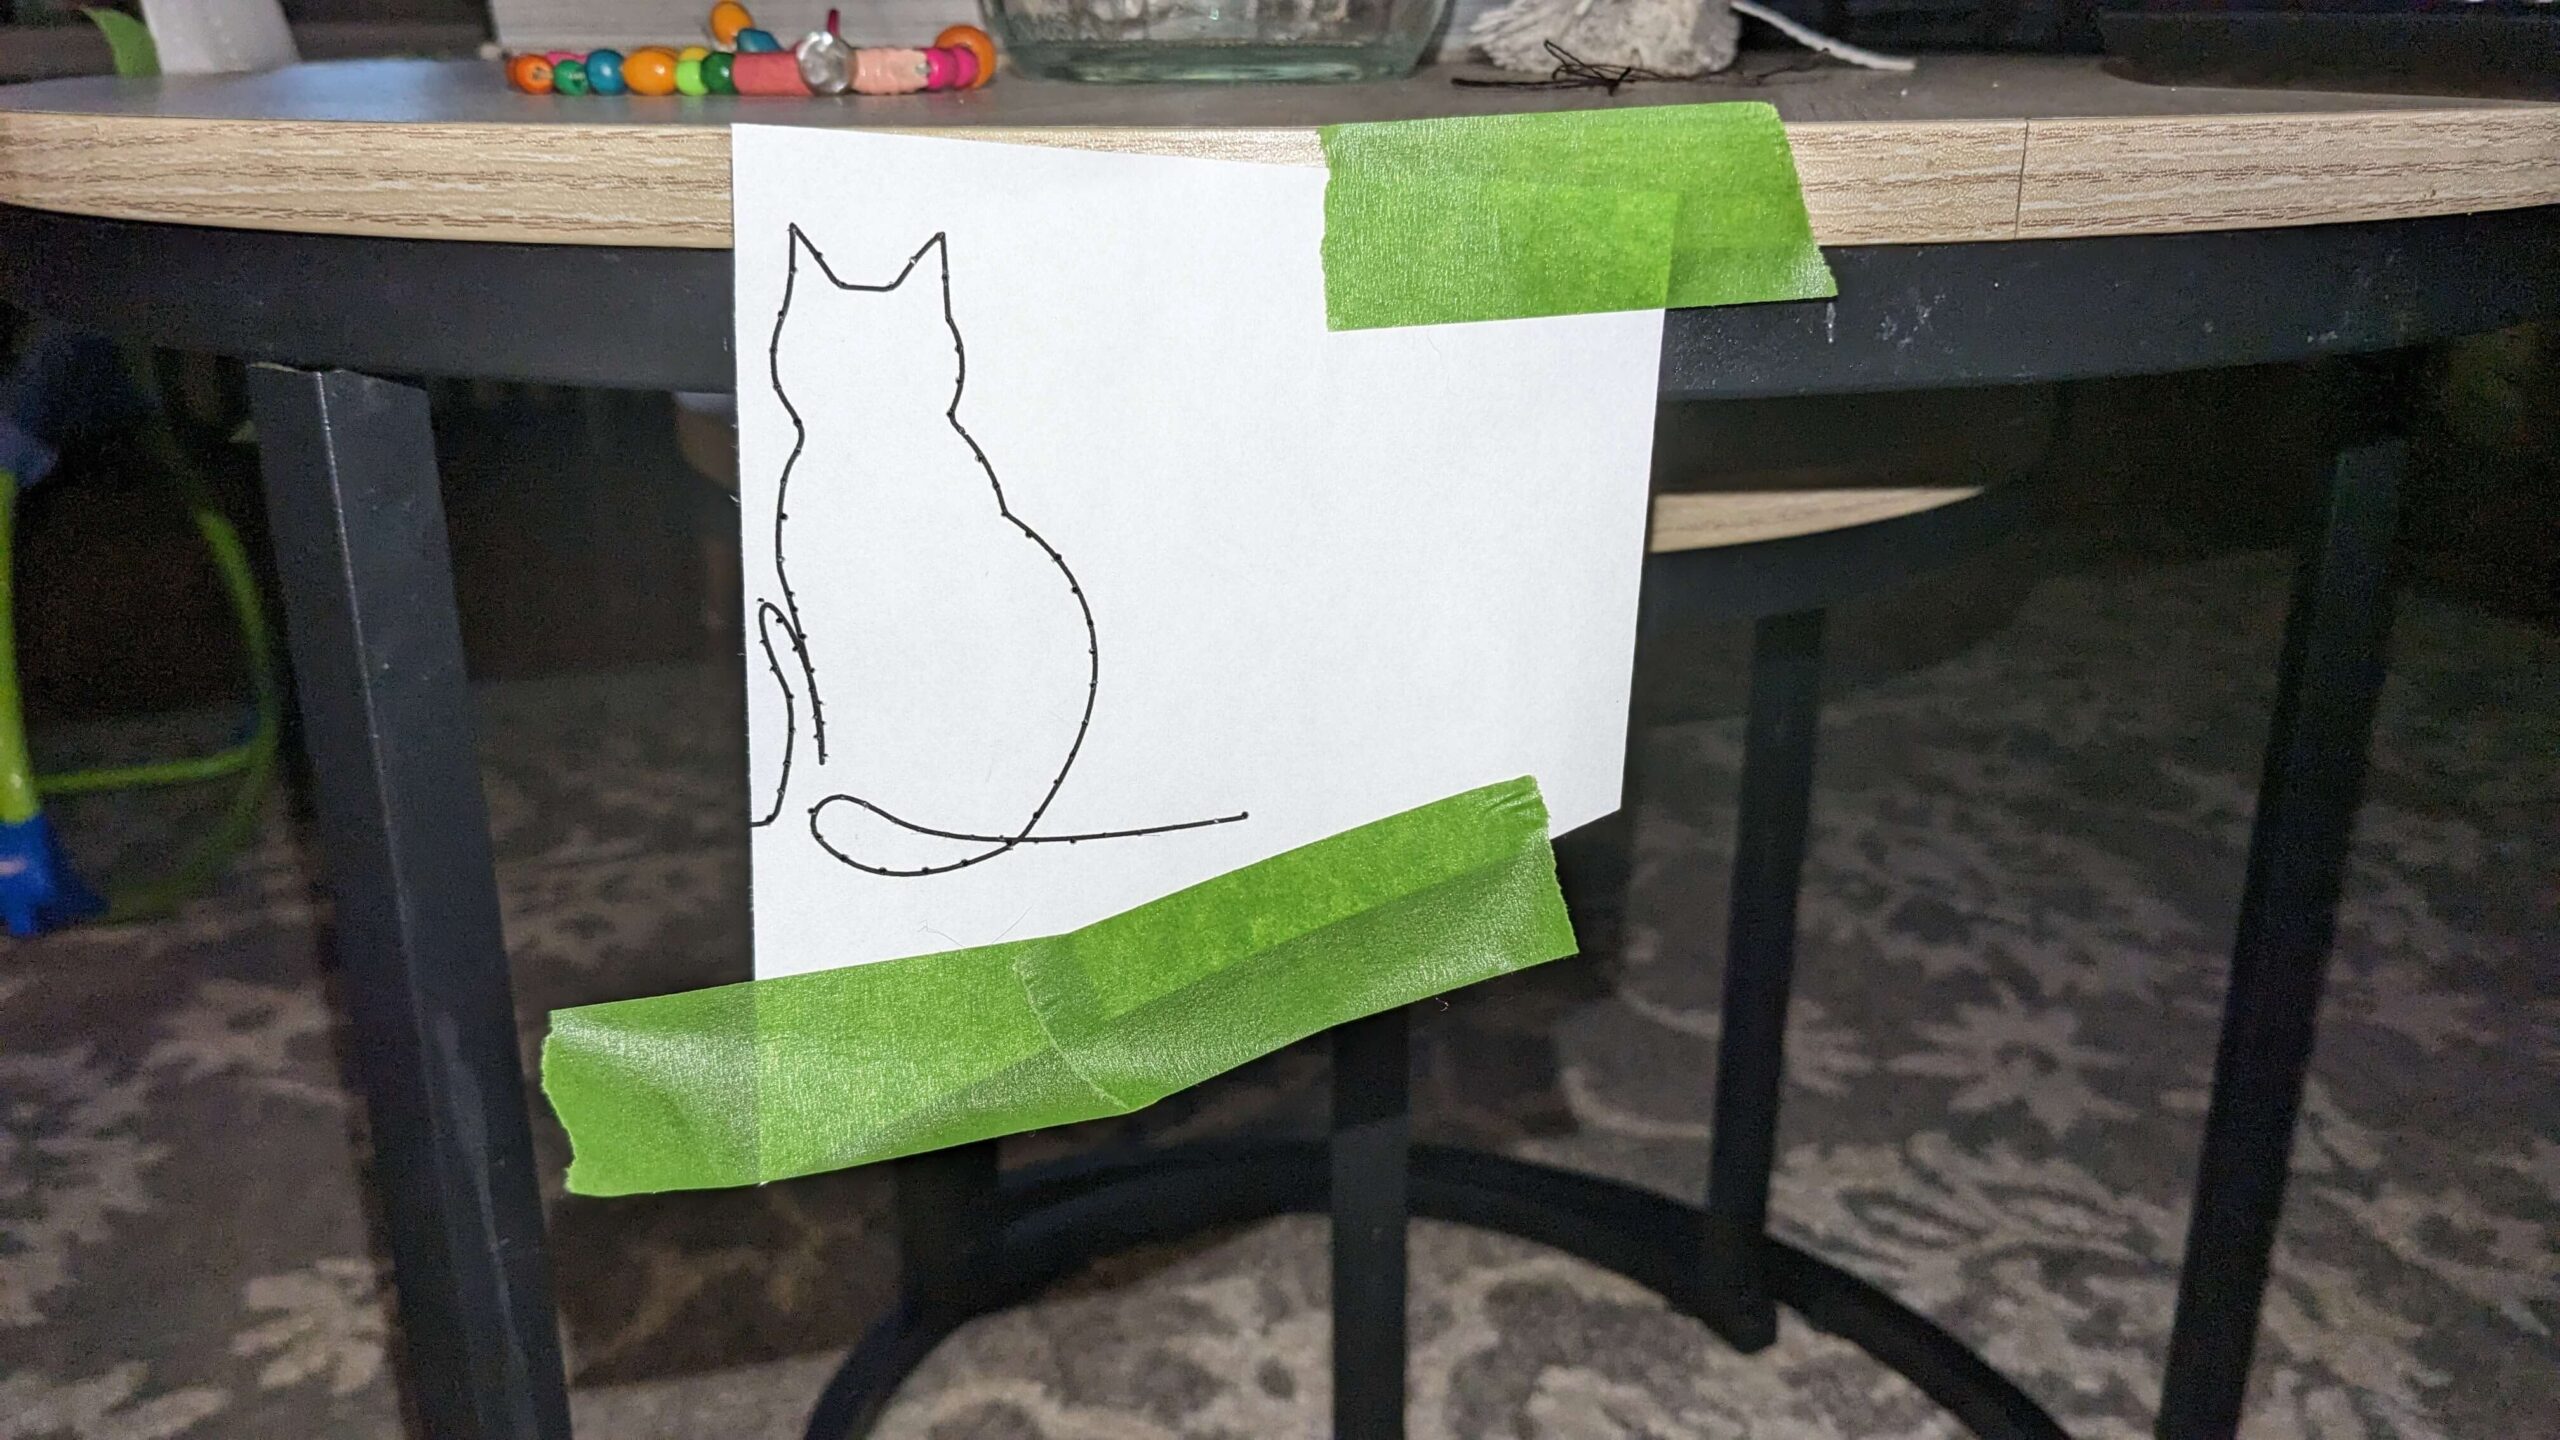
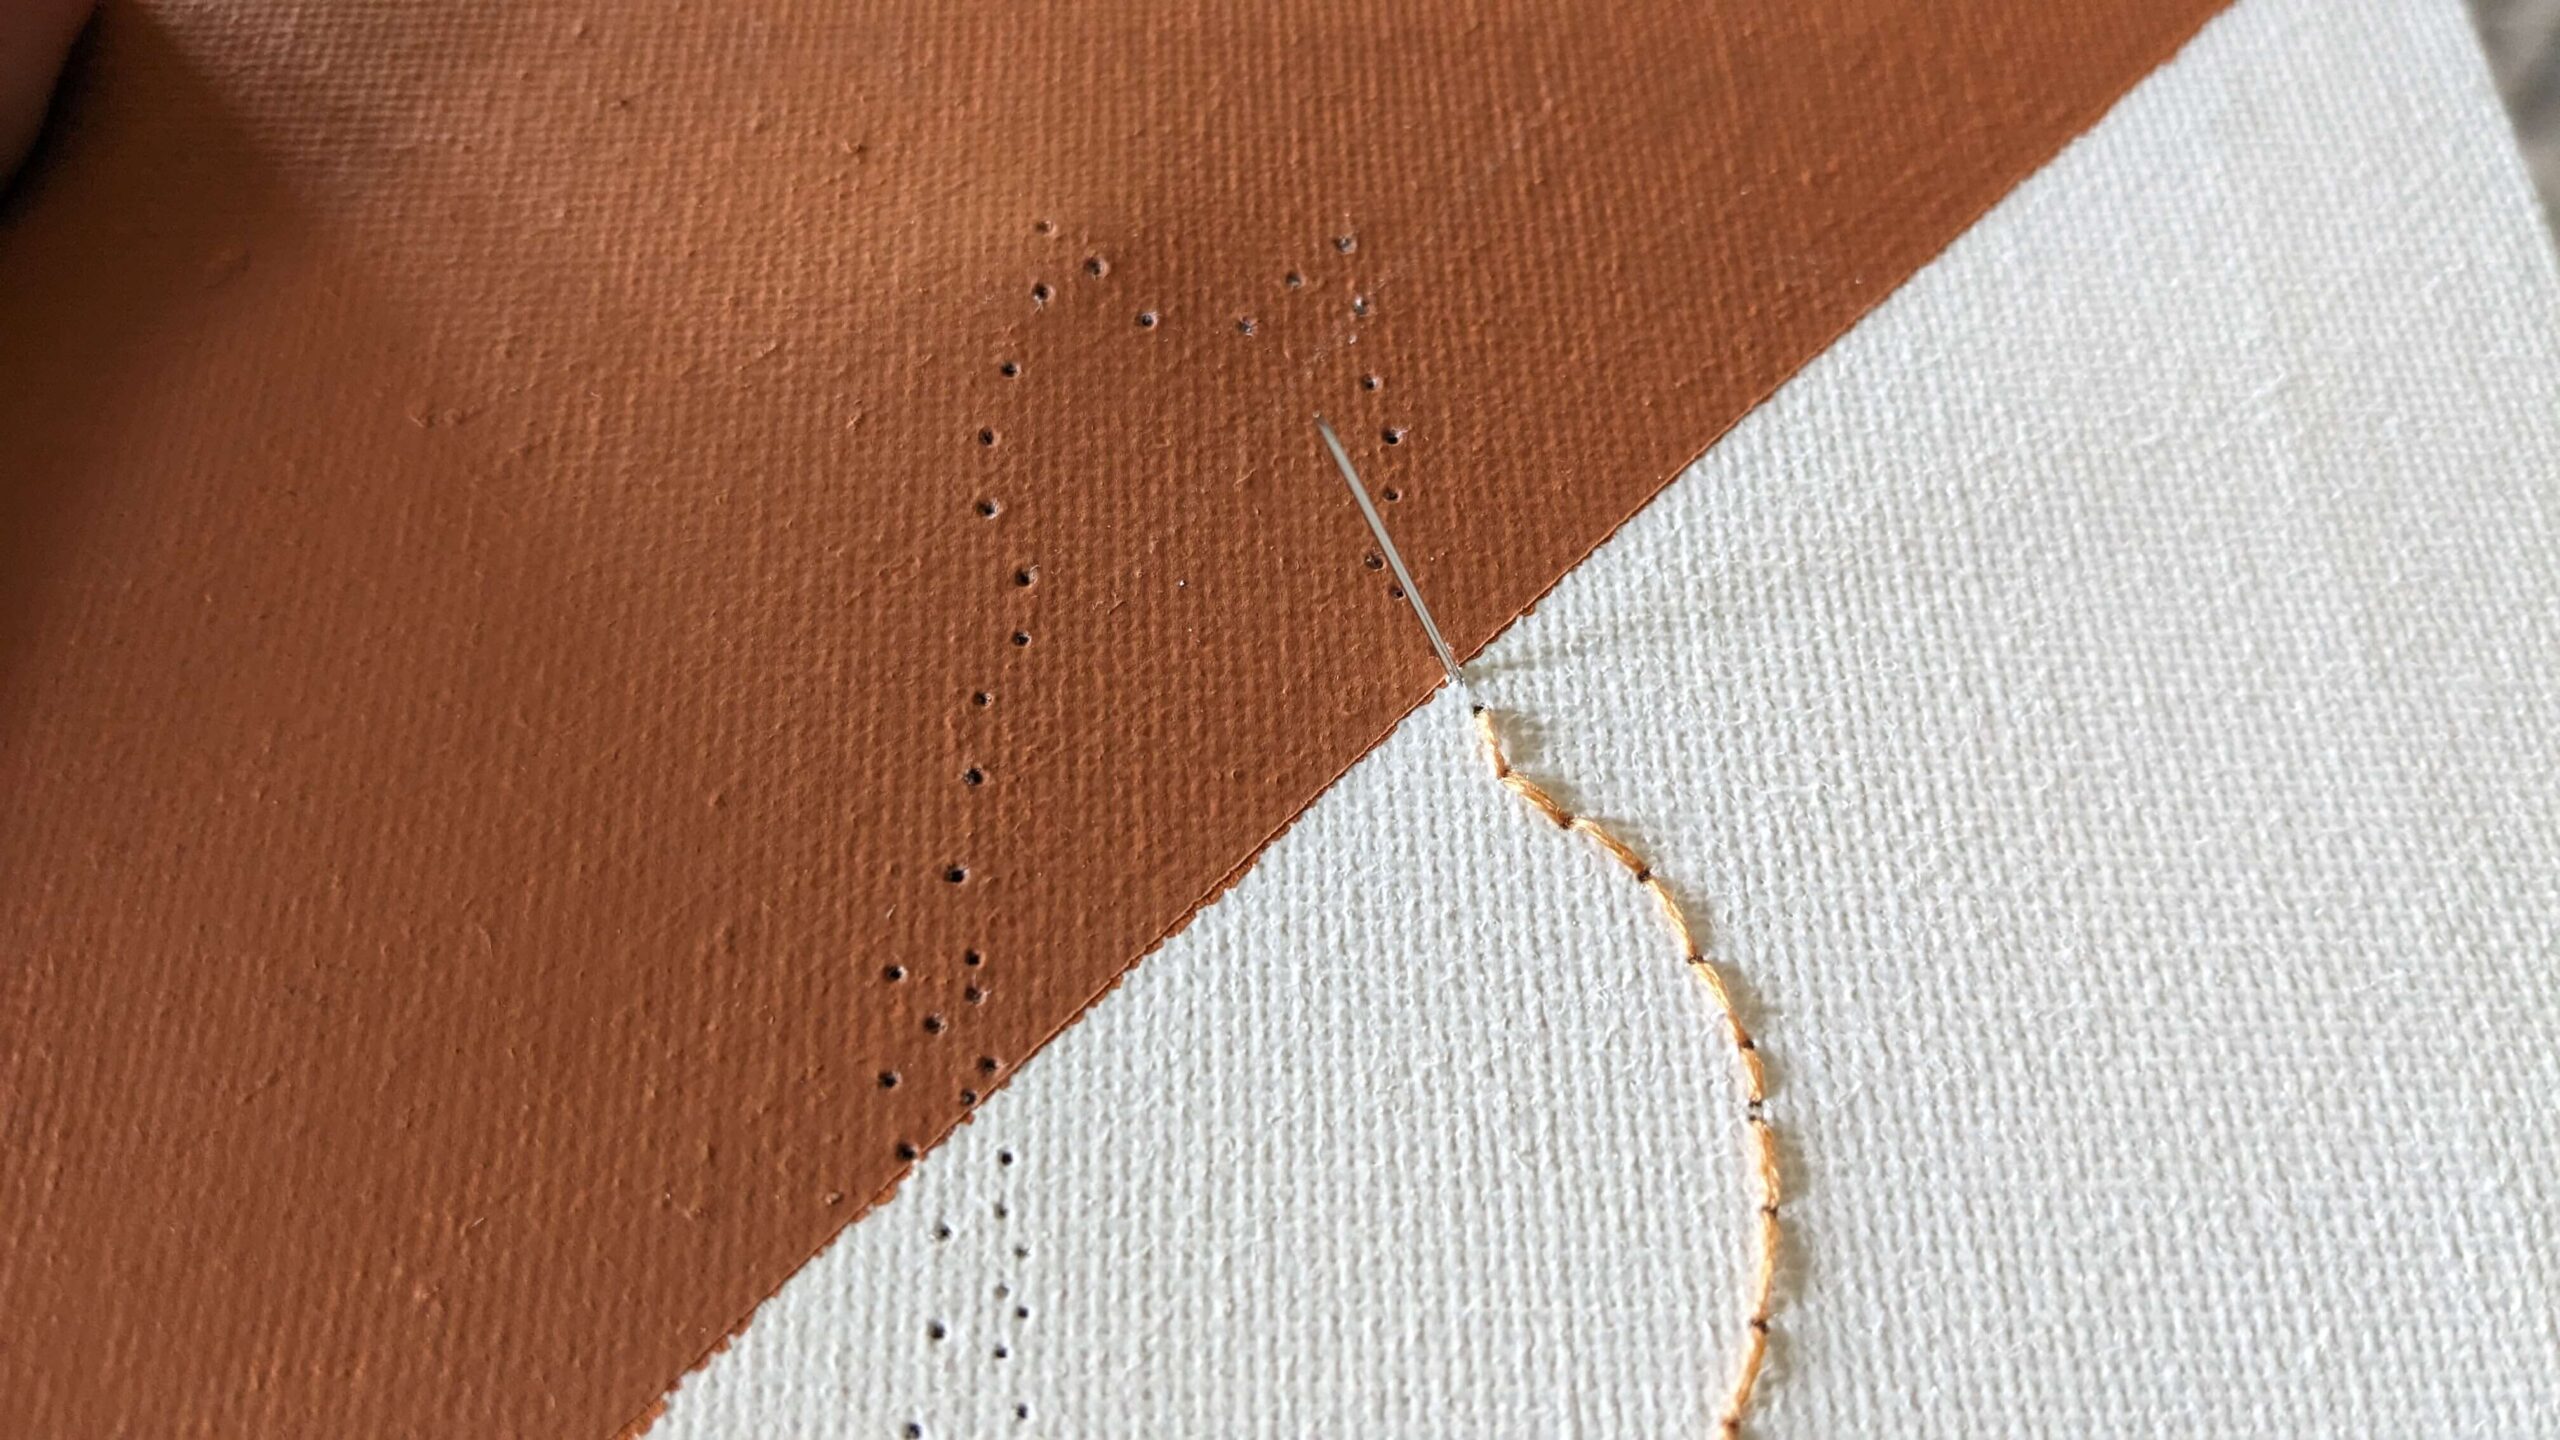
Then I used to push pins to place the holes that I would embroider through. I did my best to make sure that they were evenly spaced. Some of them were closer than others, especially around curves. When I was done with the push pin, I took off the picture and taped it to the table near where I would be embroidering. Some of the lines either overlapped or were close enough that I wasn’t sure I would be able to identify which direction to thread the needle just from the pre-made holes. Having the picture in eyesight made it a lot easier to pause and clarify instead of taking guesses and having to go back and undo what I had done.
Embroidering the picture:
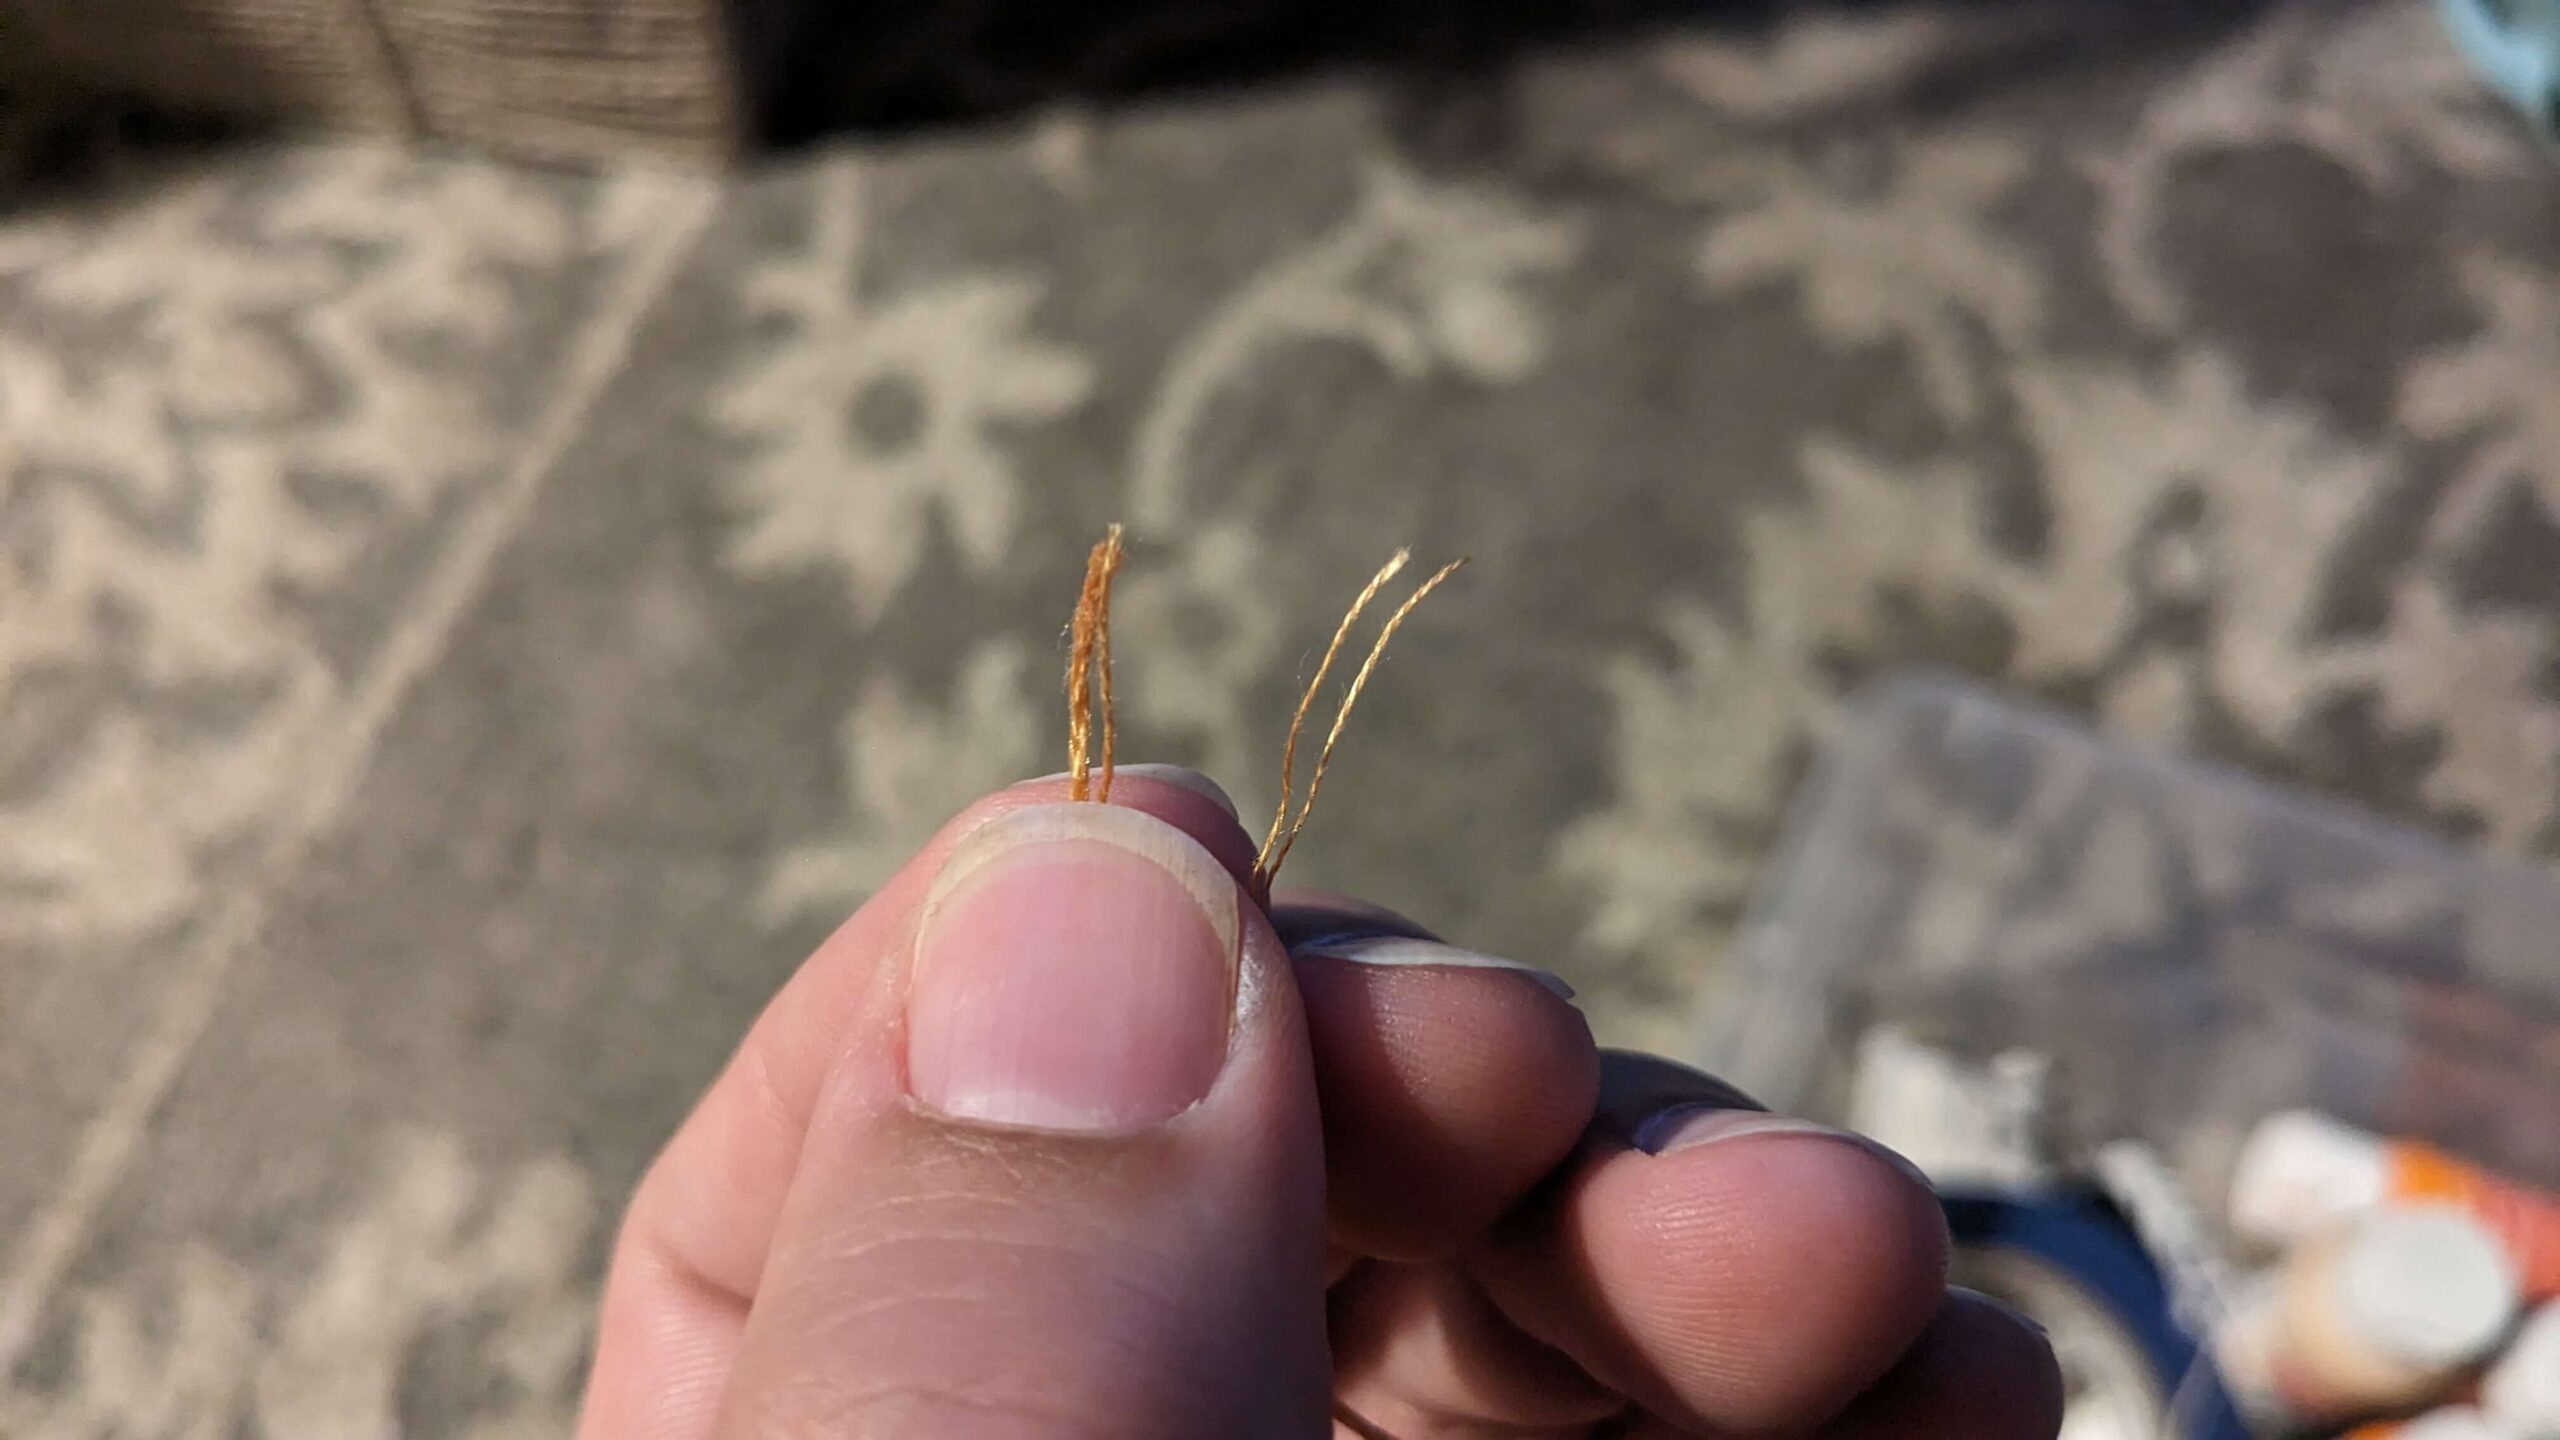
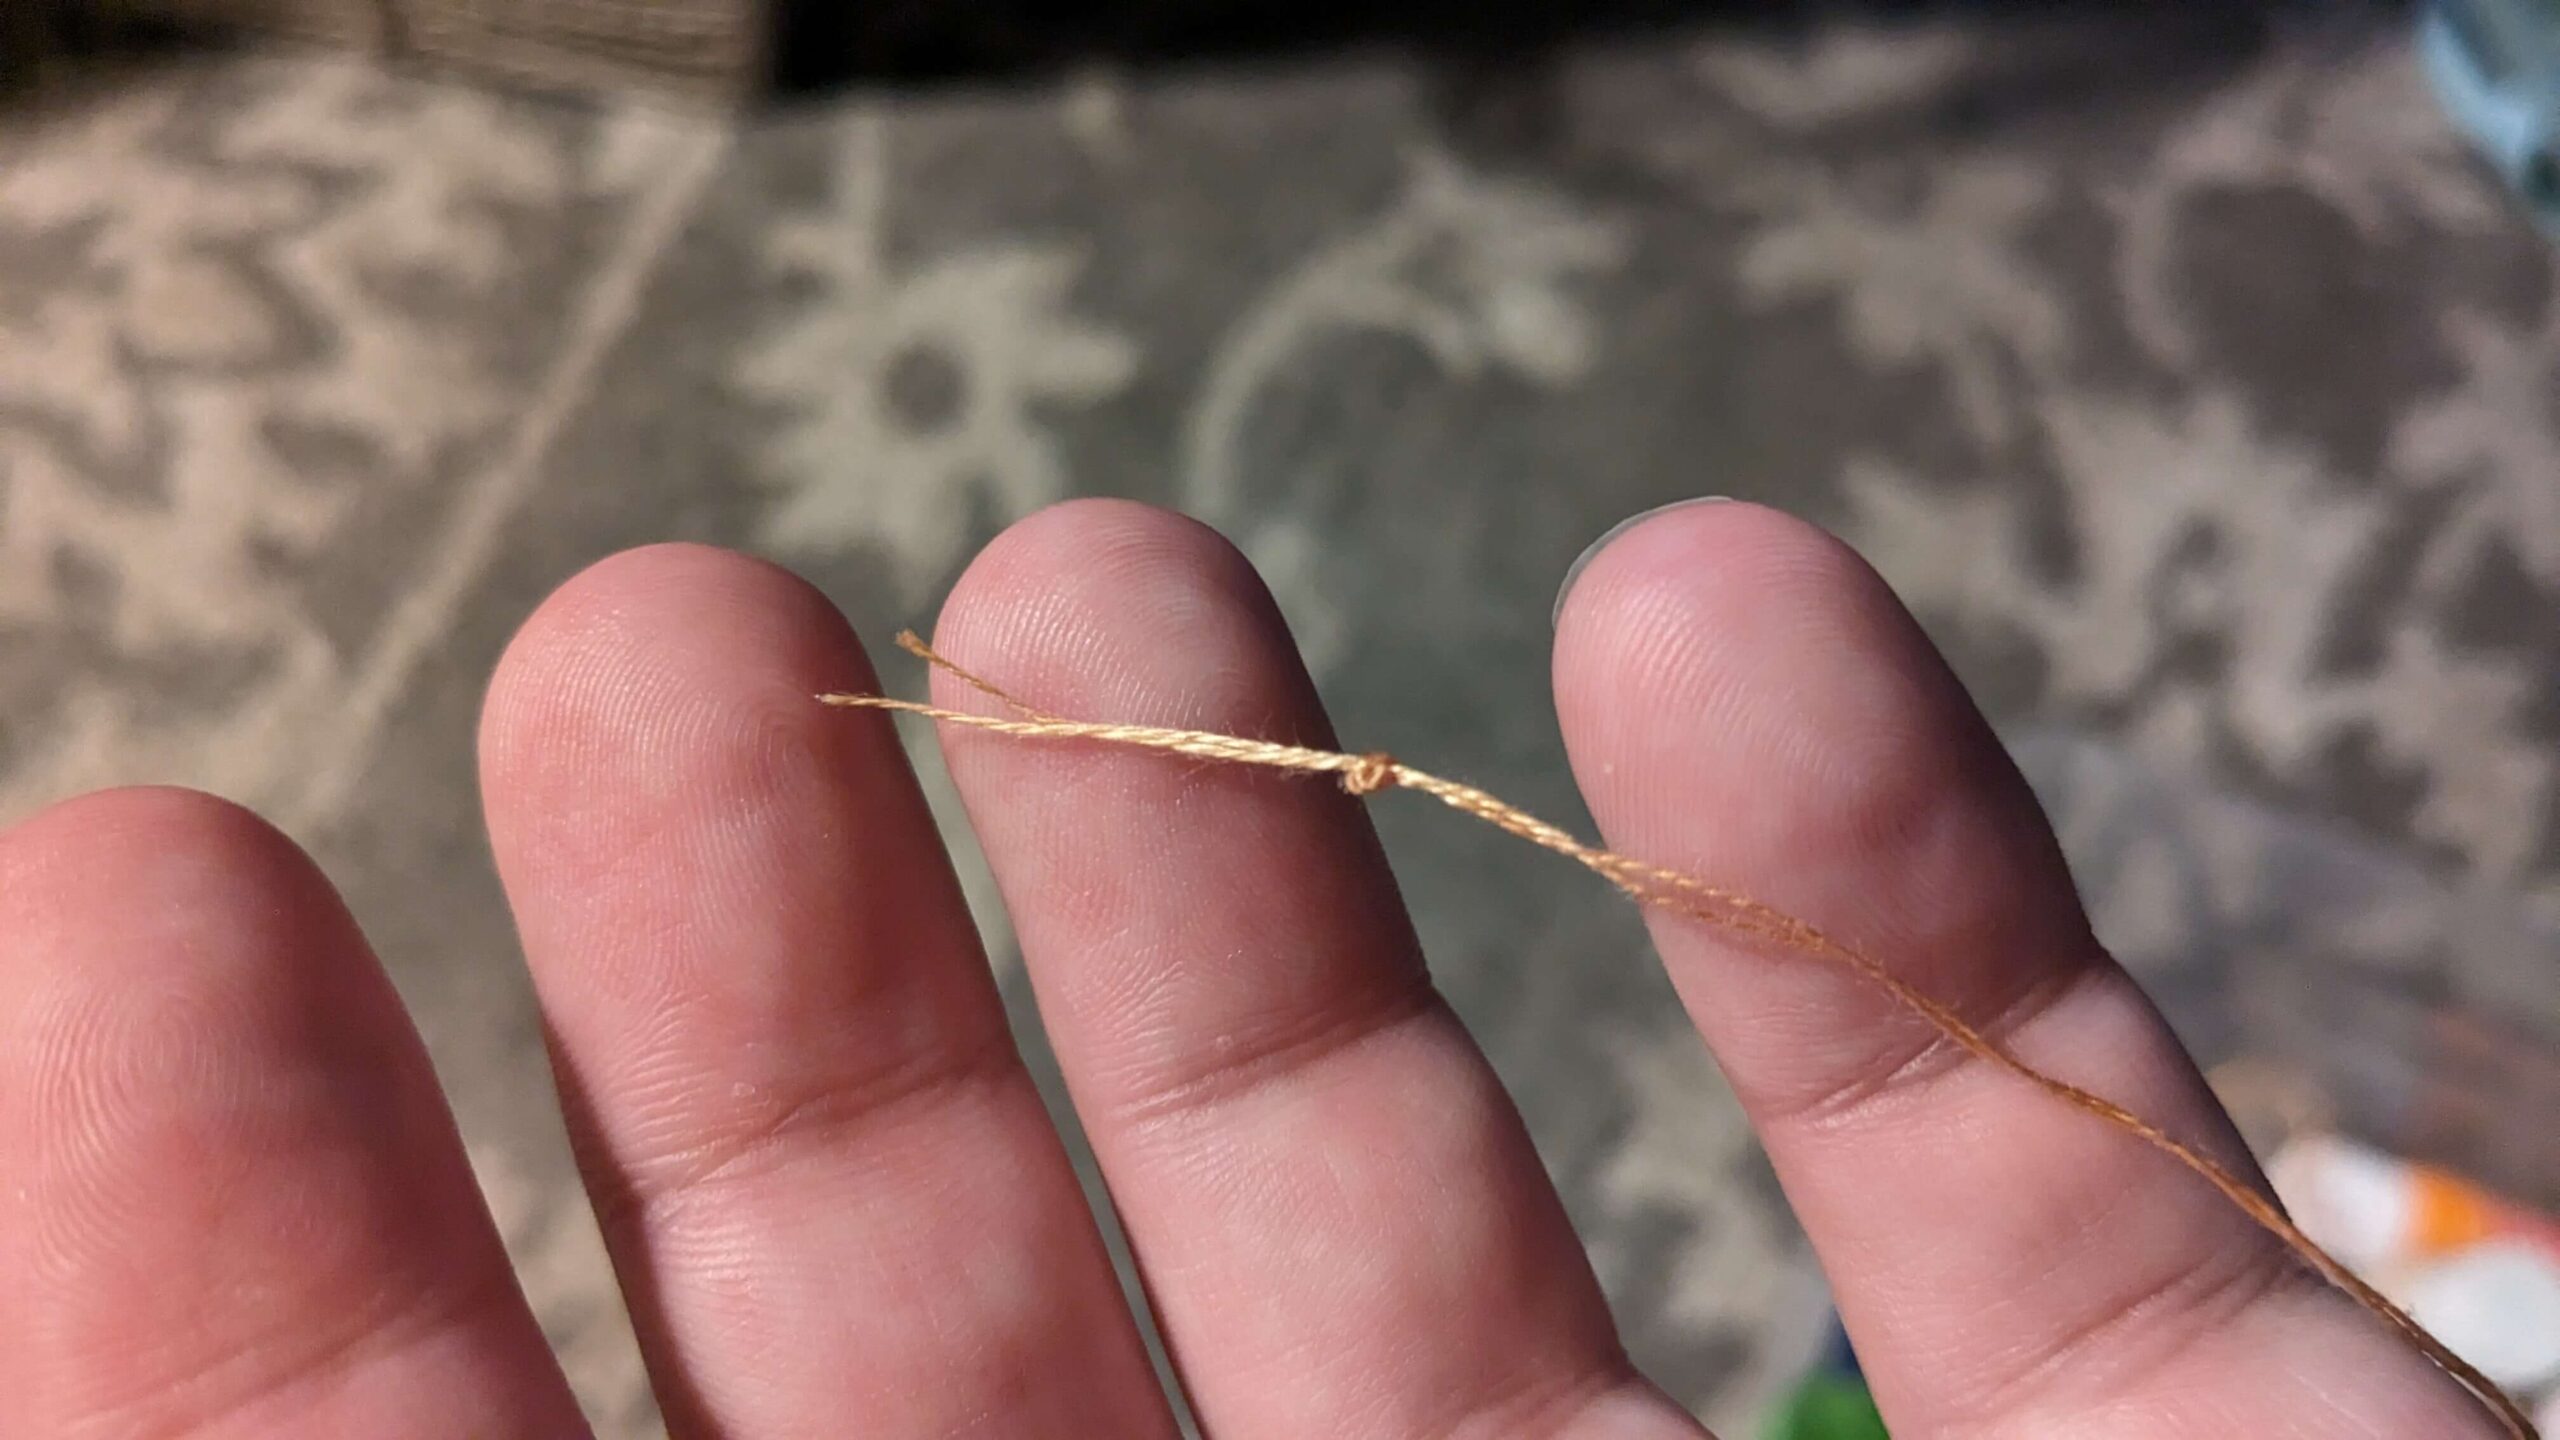
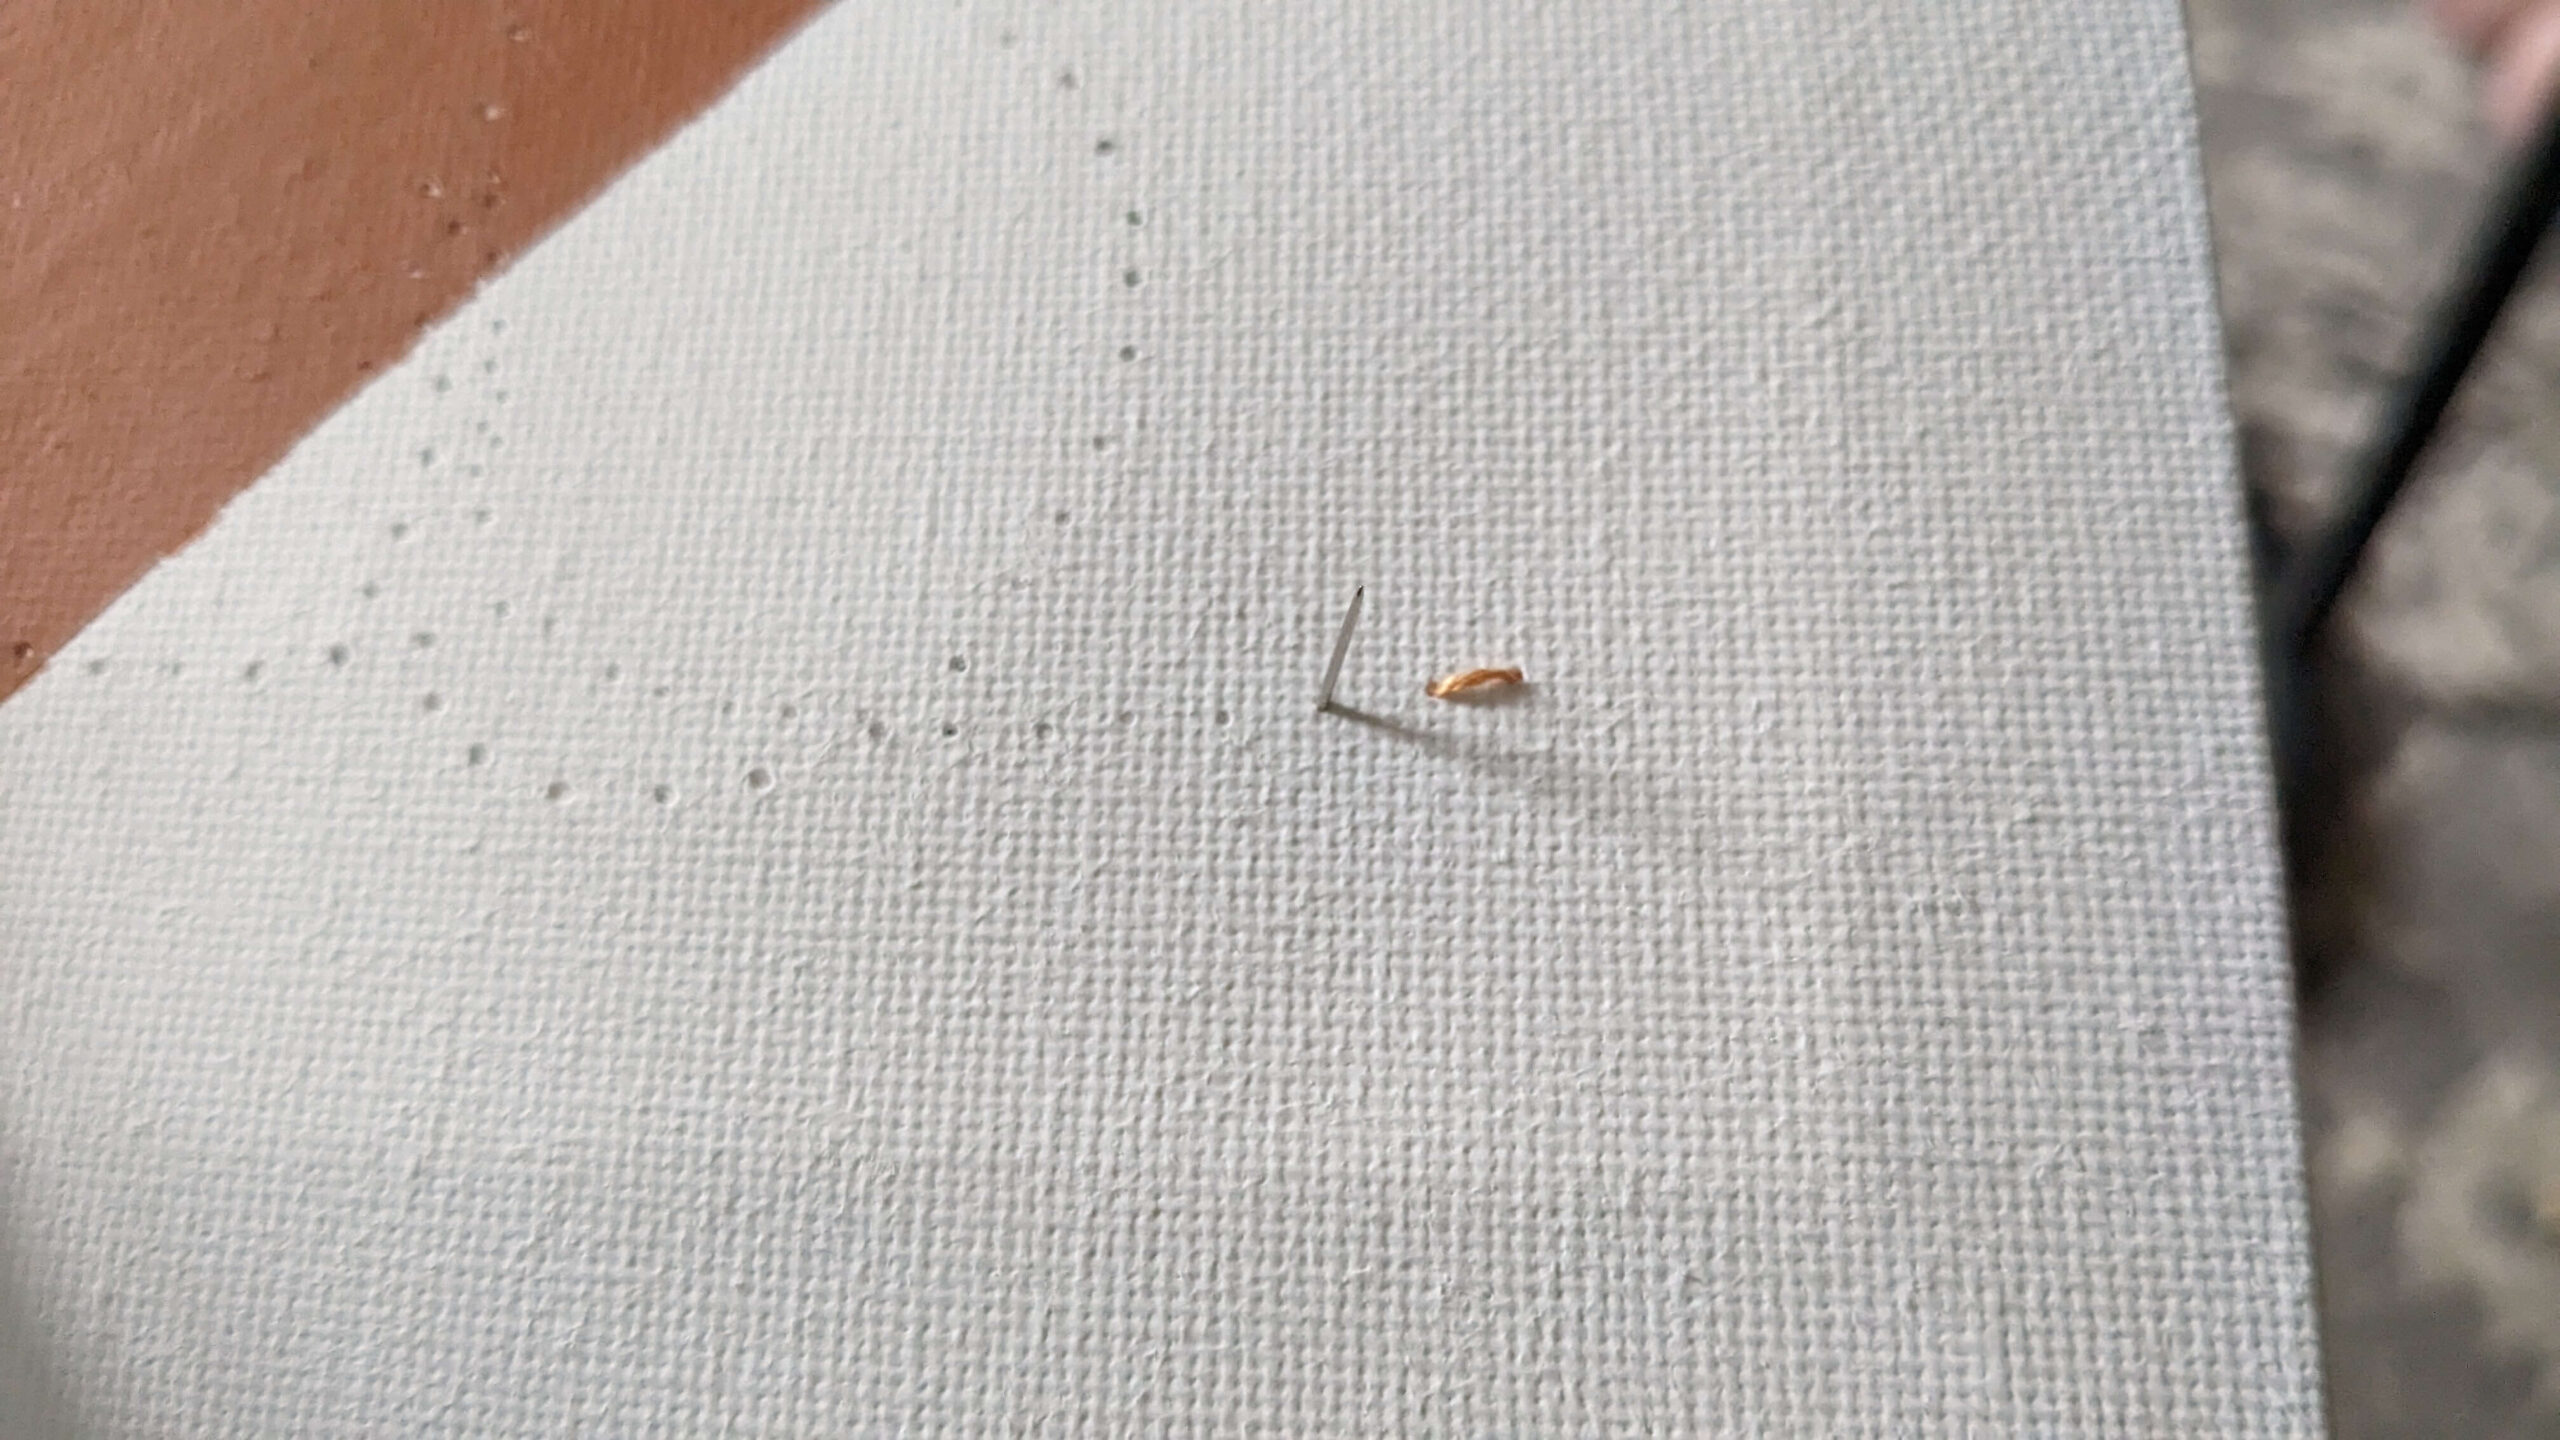
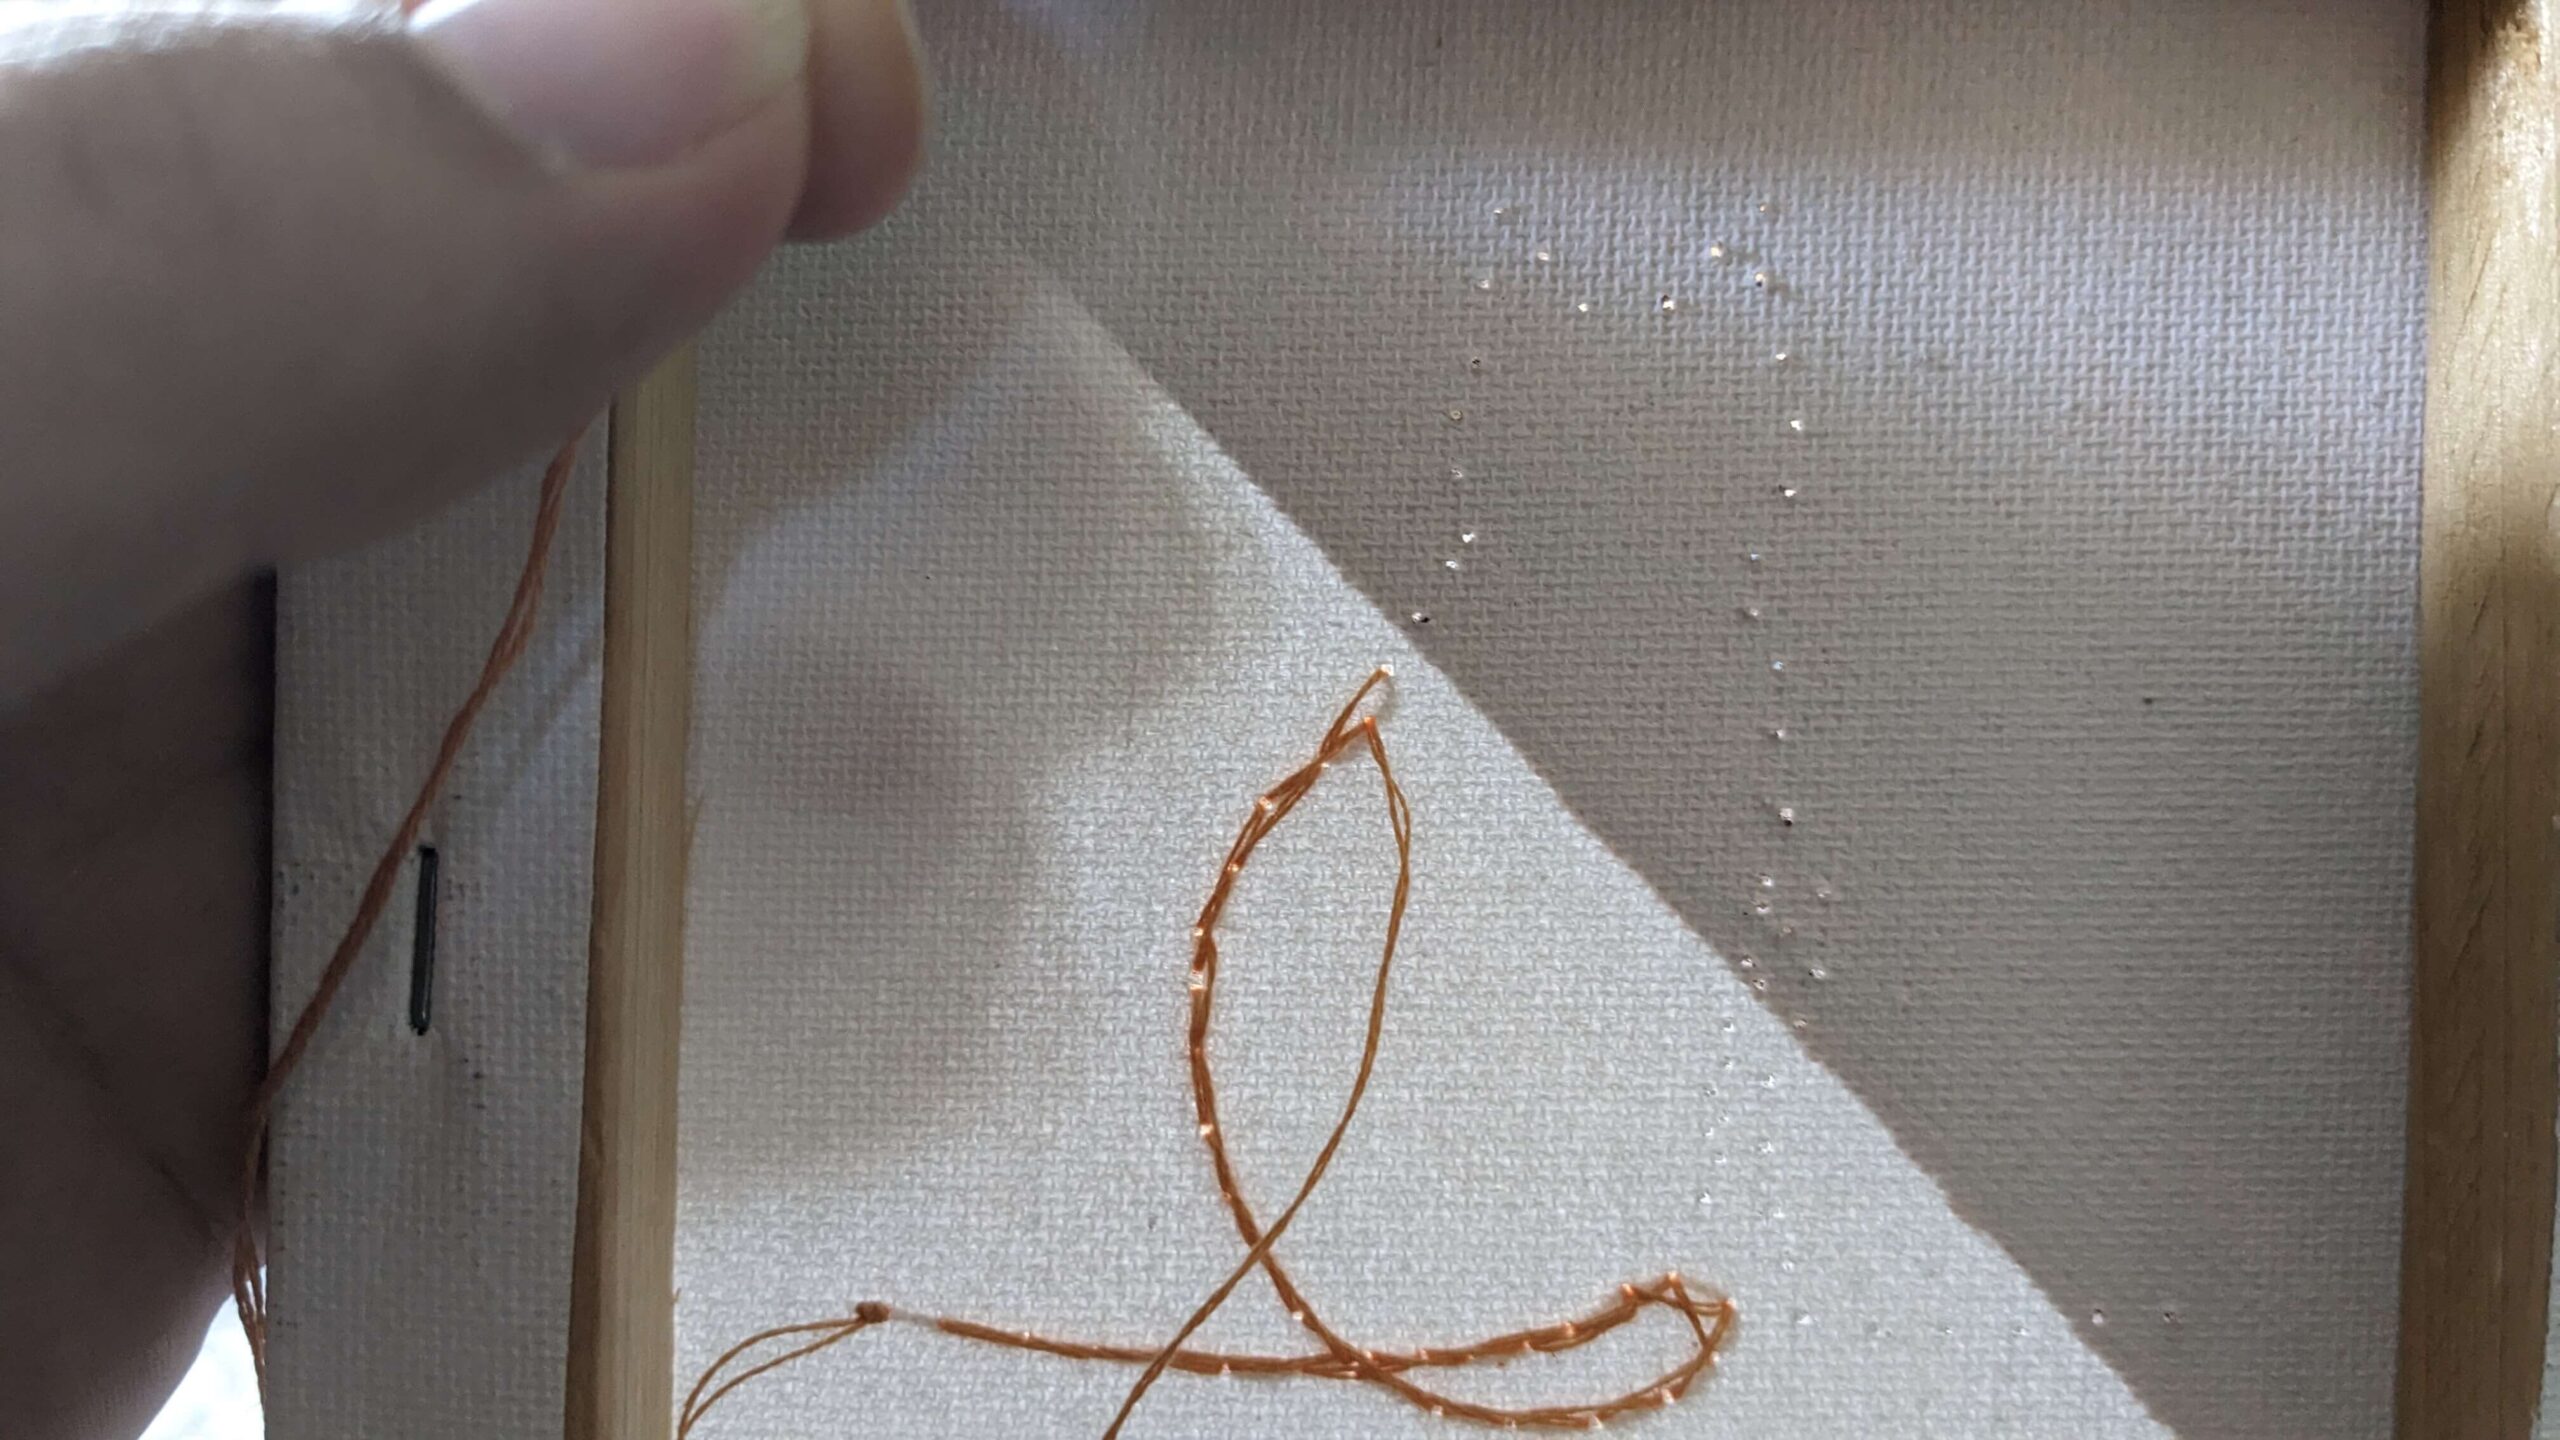
Before threading the needle, I took the embroidery floss and measured the length a little bit longer than my arm. I probably didn’t need so much, but I didn’t want to have to rethread for the one side. I chose to do the orange thread on the white side of the canvas first. There were six pieces of string wrapped up in the embroidery floss, I separated them and threaded a sewing needle with two of them, I did not pull it the whole way through, I just folded it over long enough that it wouldn’t fall out of the needle. I then double-knotted the end of the two strings.
I have only embroidered a few small things before, a friend of mine is really good at it and does beautiful work that she sells. She taught me and a couple of middle school students a few different stitches. I’m sure that she or someone with more skill could do a more detailed stitch than I did. She would probably even know if there is a specific name for this one.
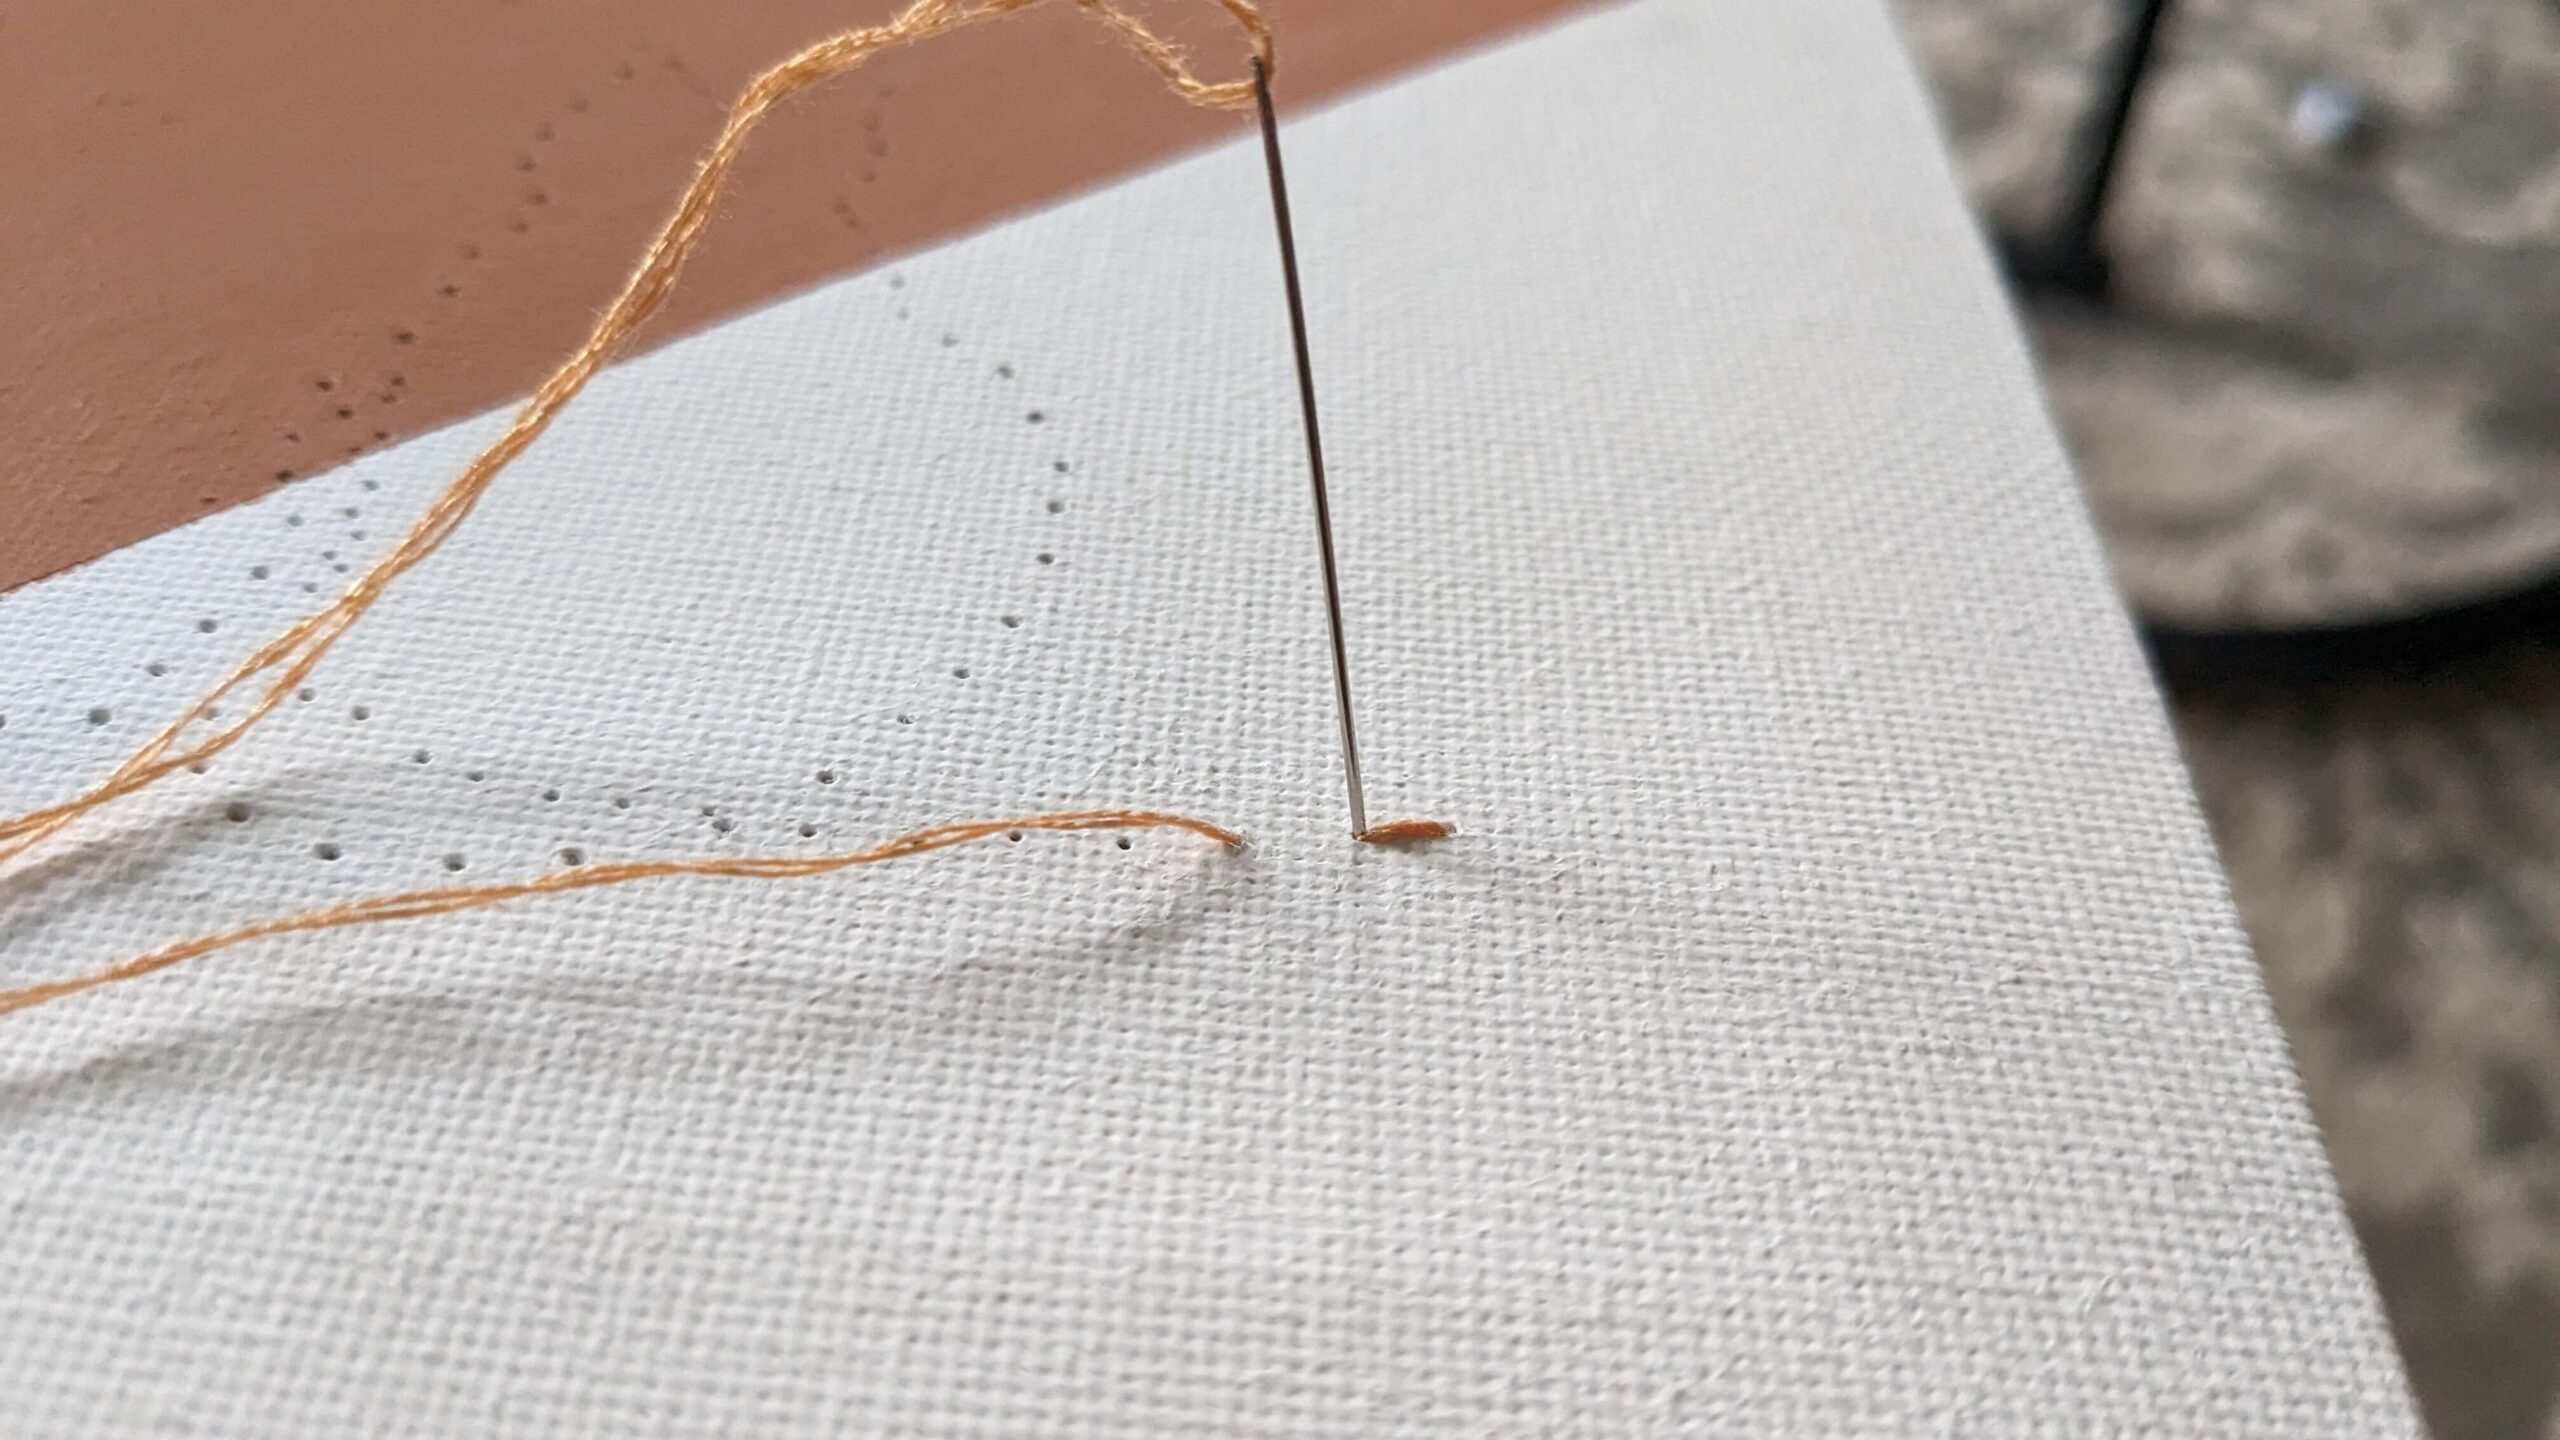
The stitch that I used was a simple one. I pushed the threaded needle up through the first hole. I threaded it down through the next hole. When I pulled it all the way through the second hole, I pushed it up through the third hole and then backtracked and put it into the second hole. I then went up through the fourth hole and back into the third. I continued in this pattern the entire time.
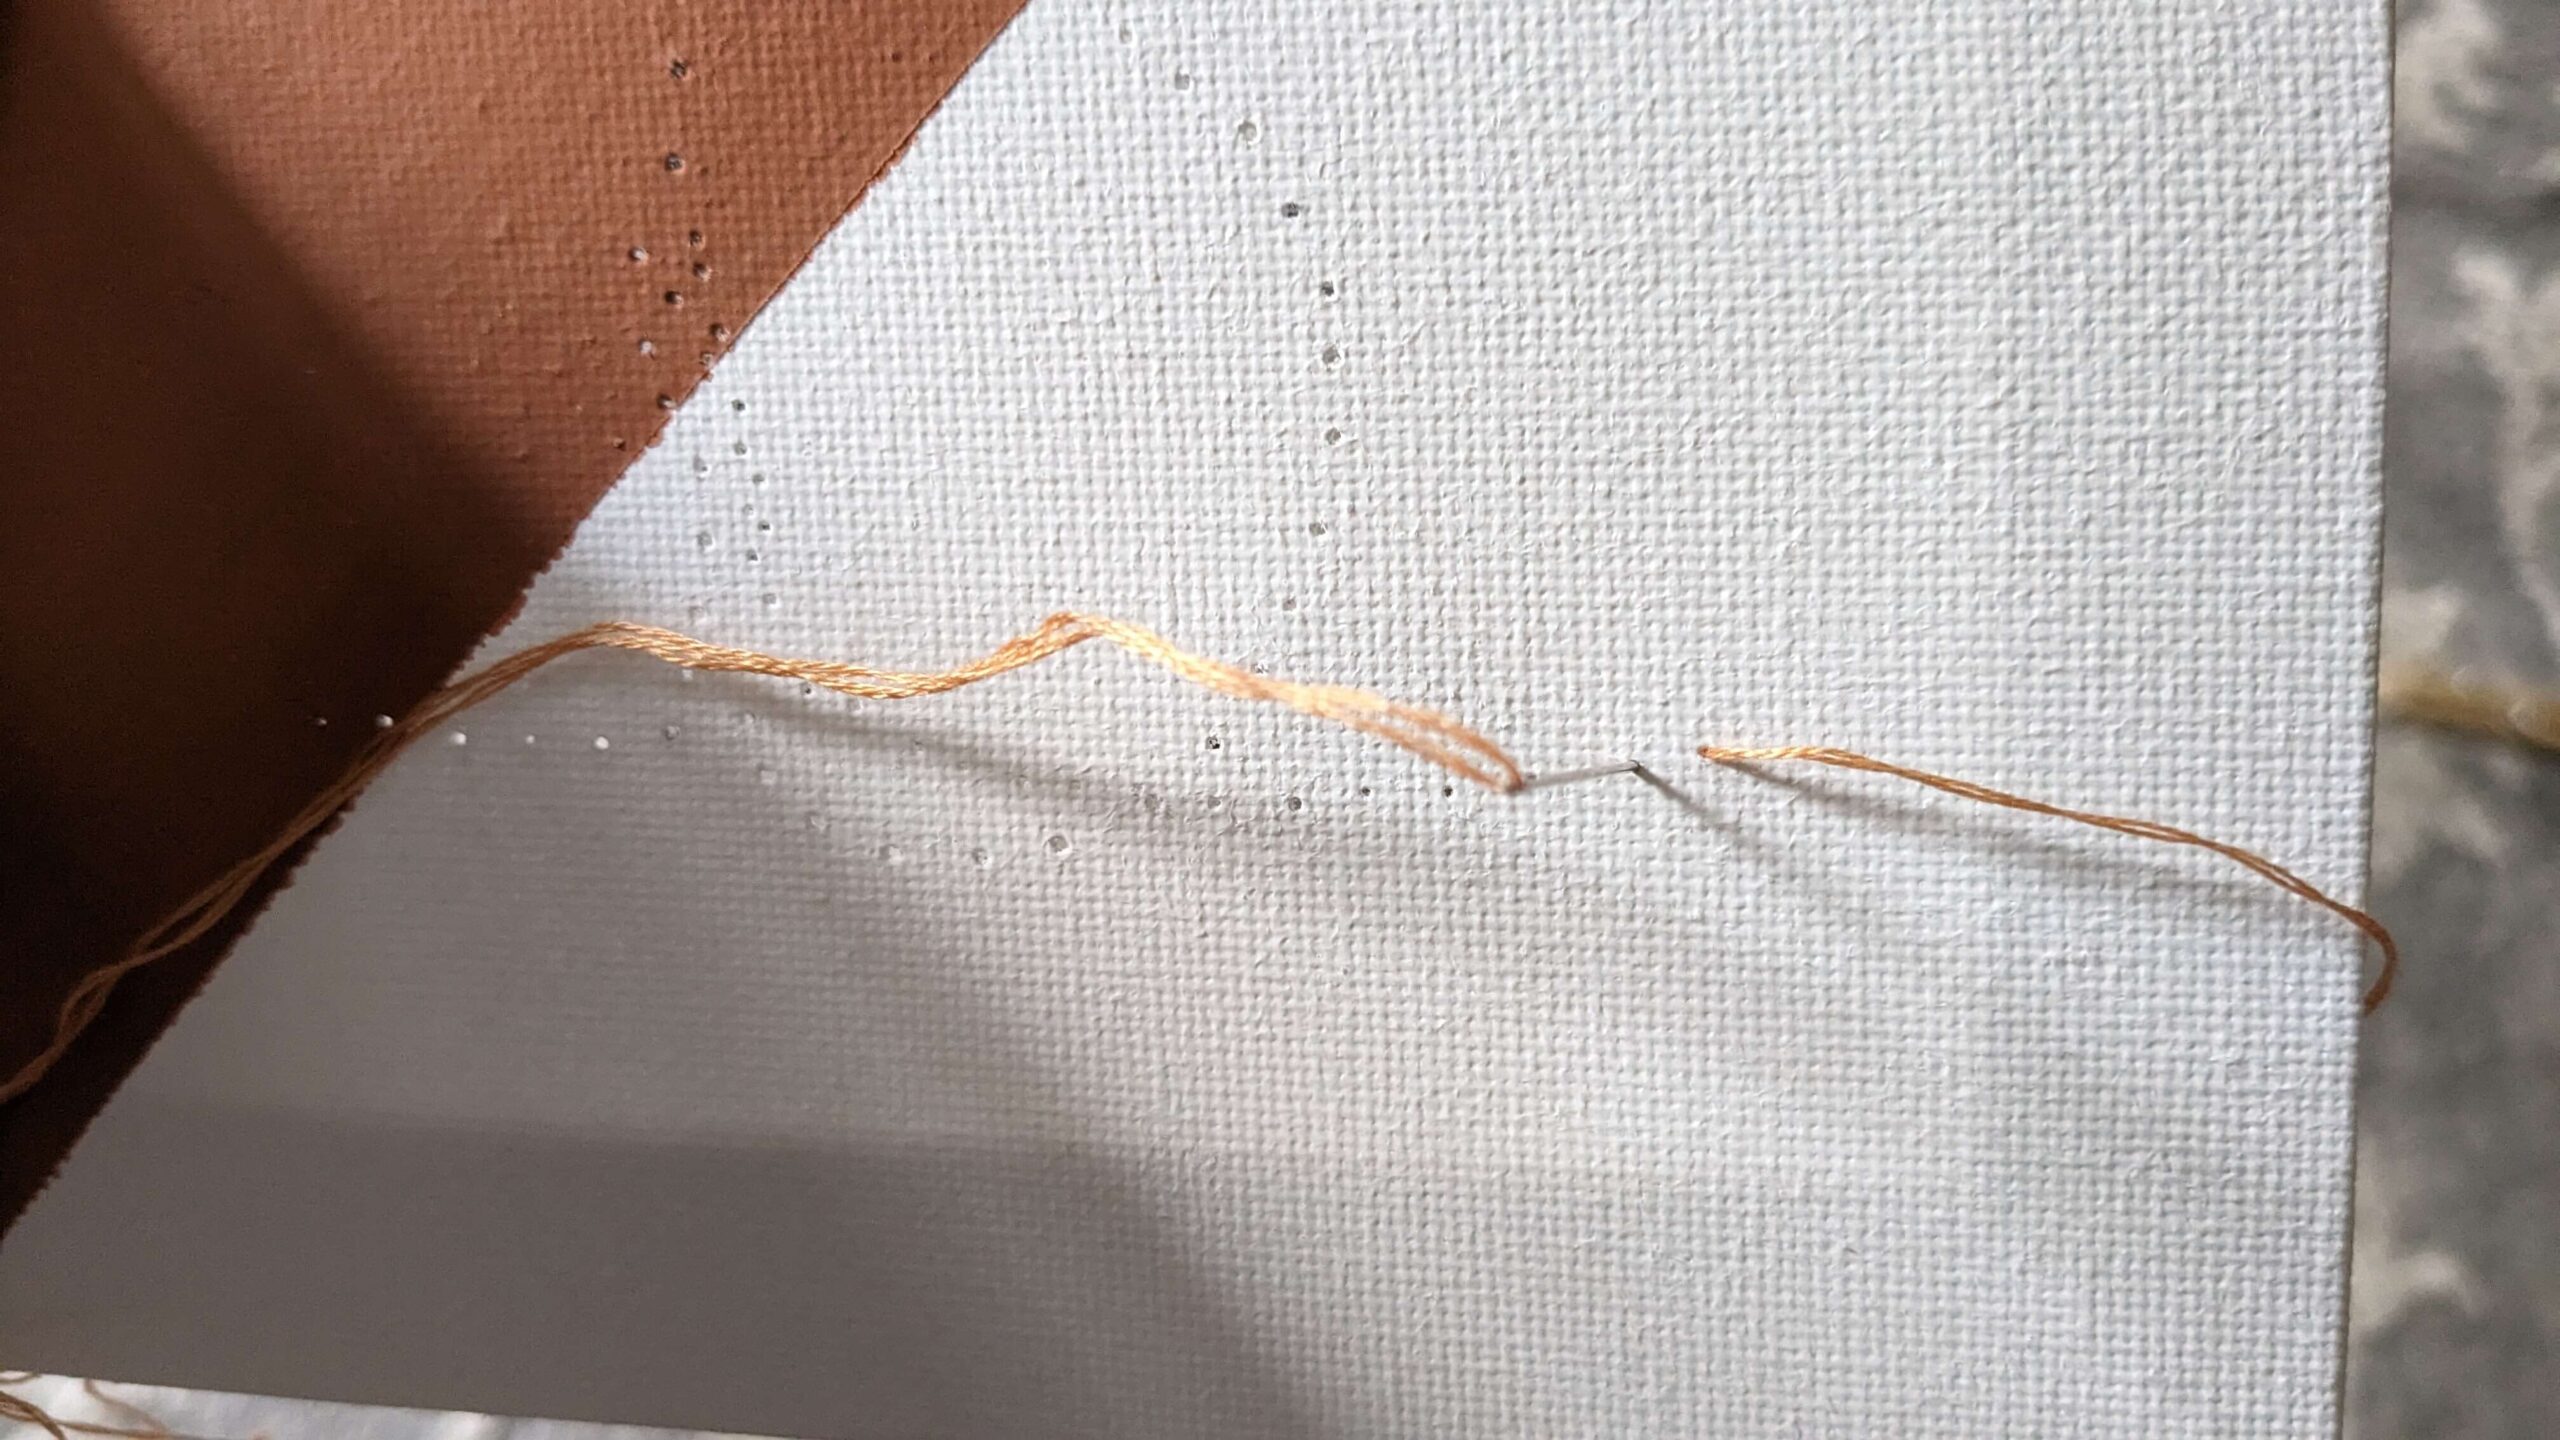
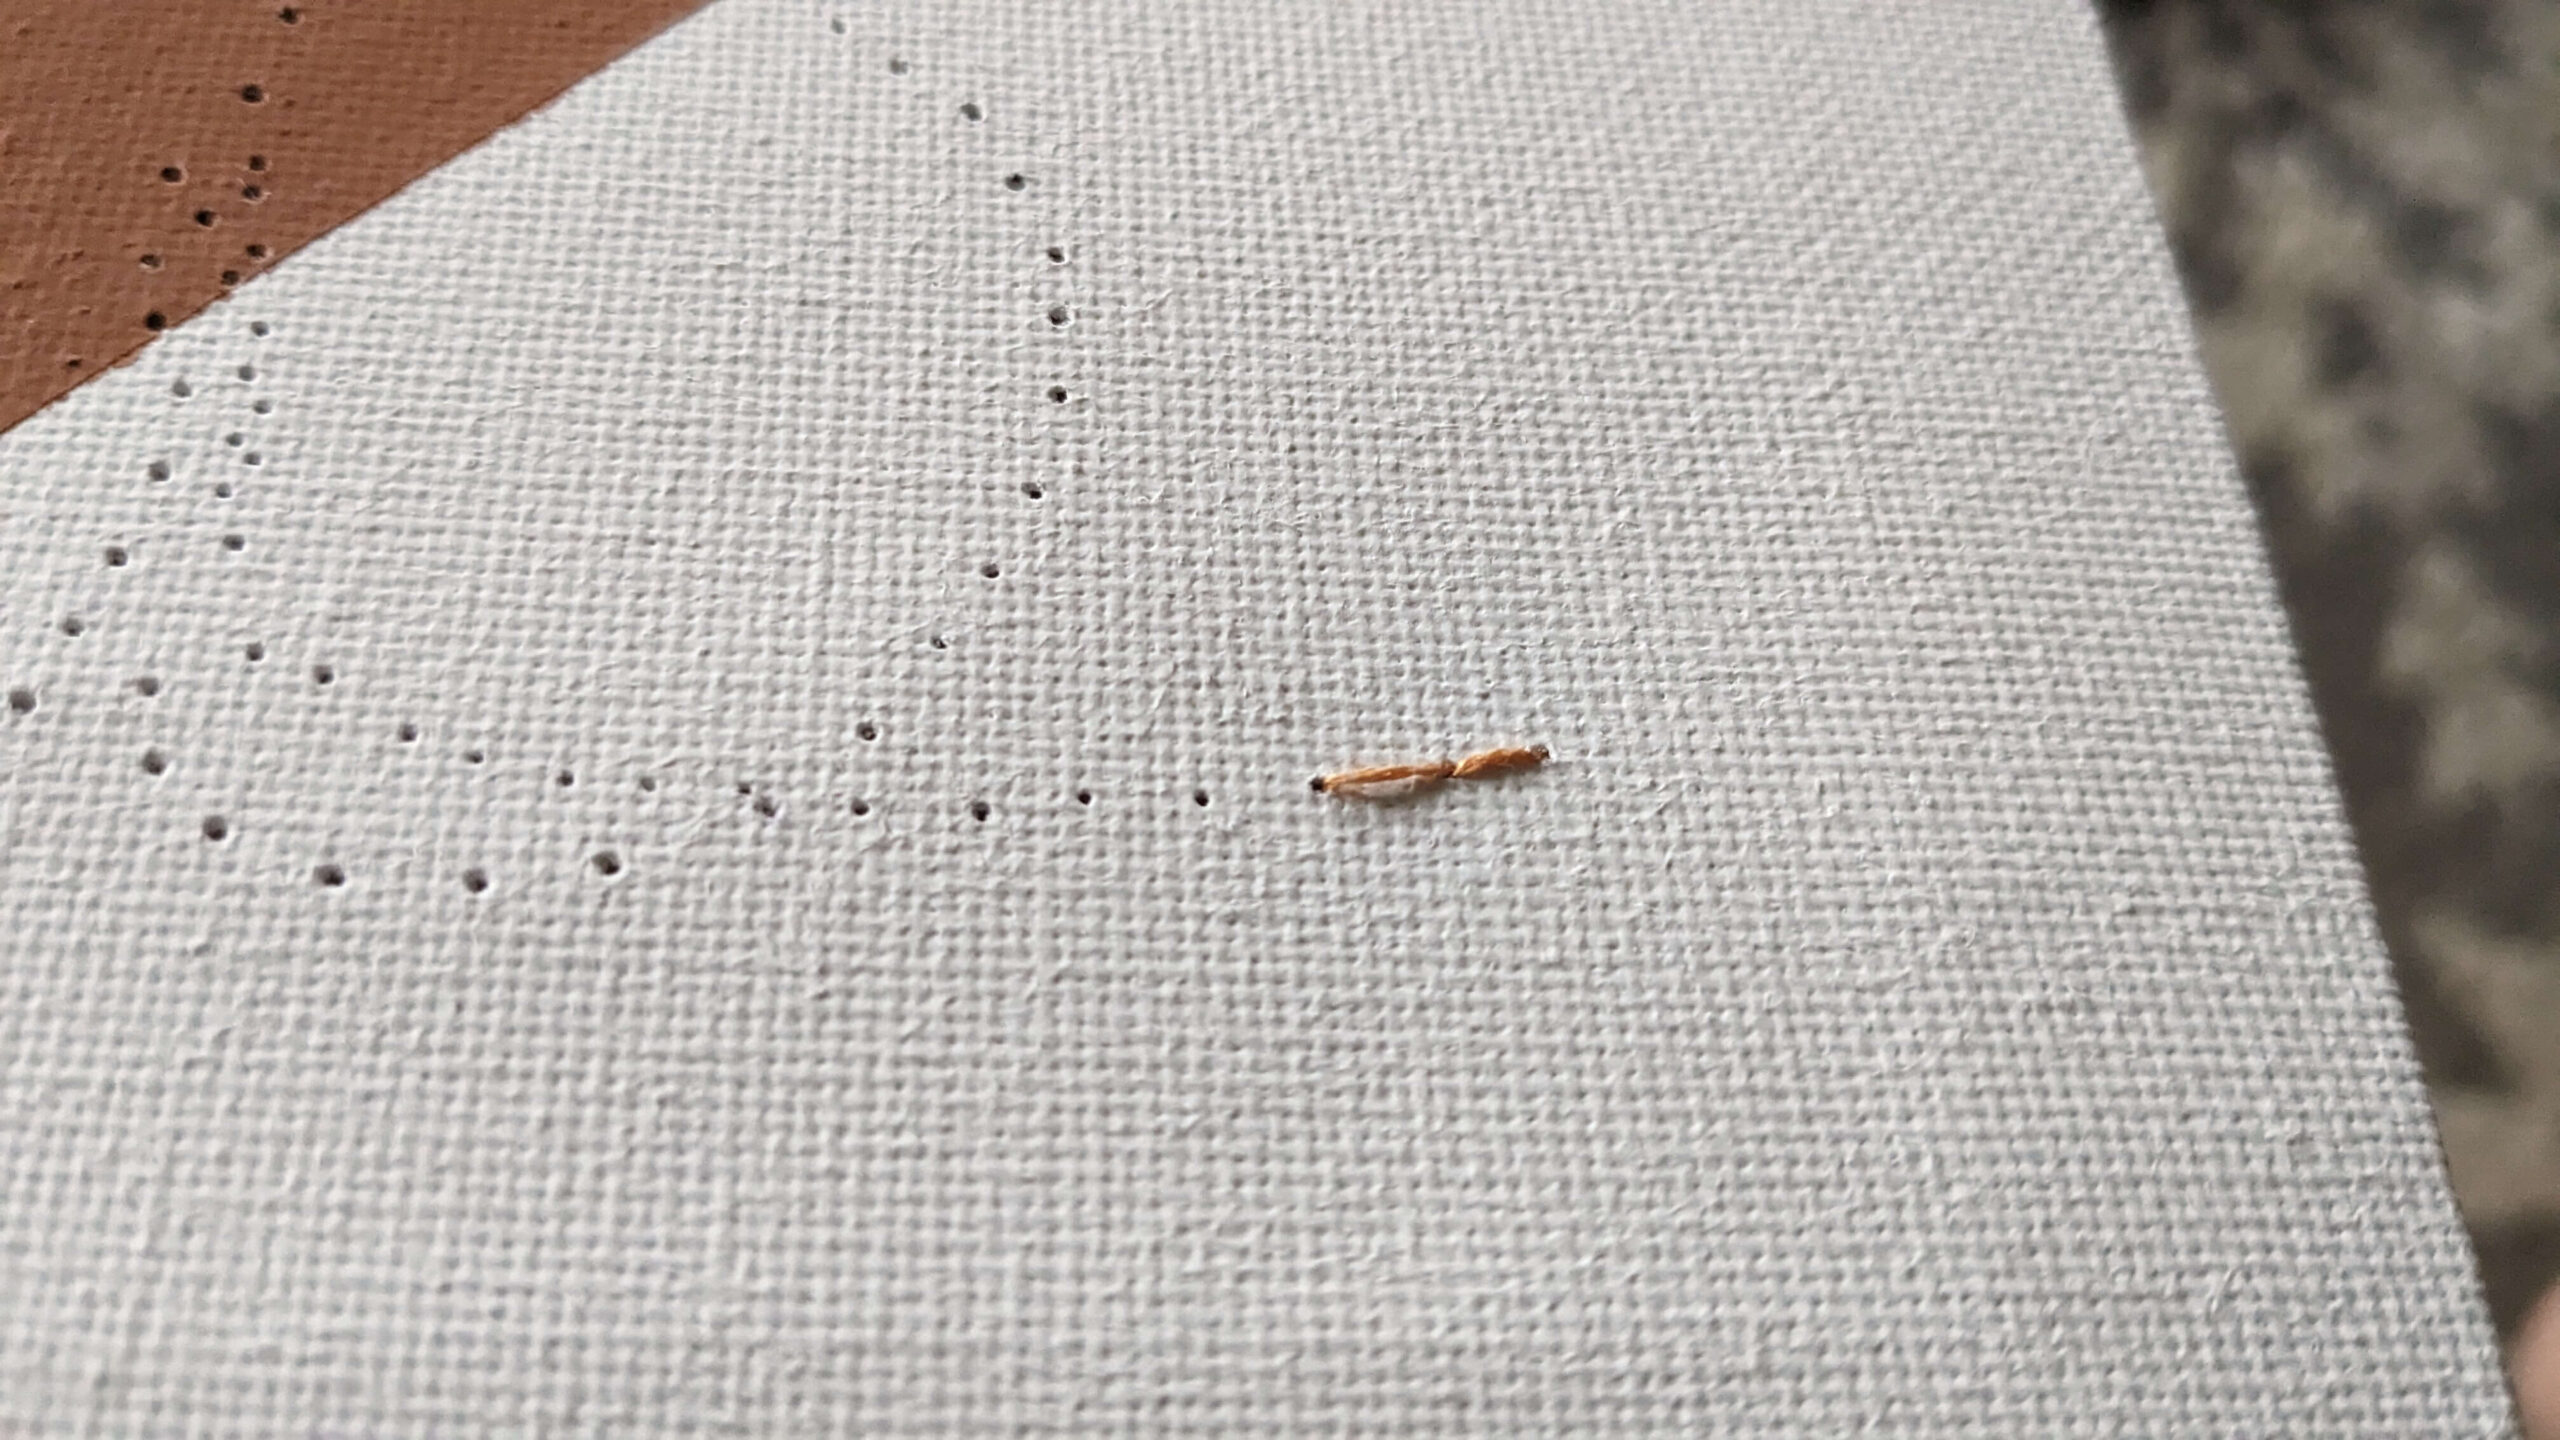
When I used the push pin to create my outline, I could not completely clearly see where the line of the color change was. I had to be aware of this while threading because the colors have to change on the line. To do this, wherever I saw that there was a line of holes for embroidery to thread through but the line would be interrupted by a gap across the line, I would just thread an extra hole in the middle of the color change. (See pictures below)
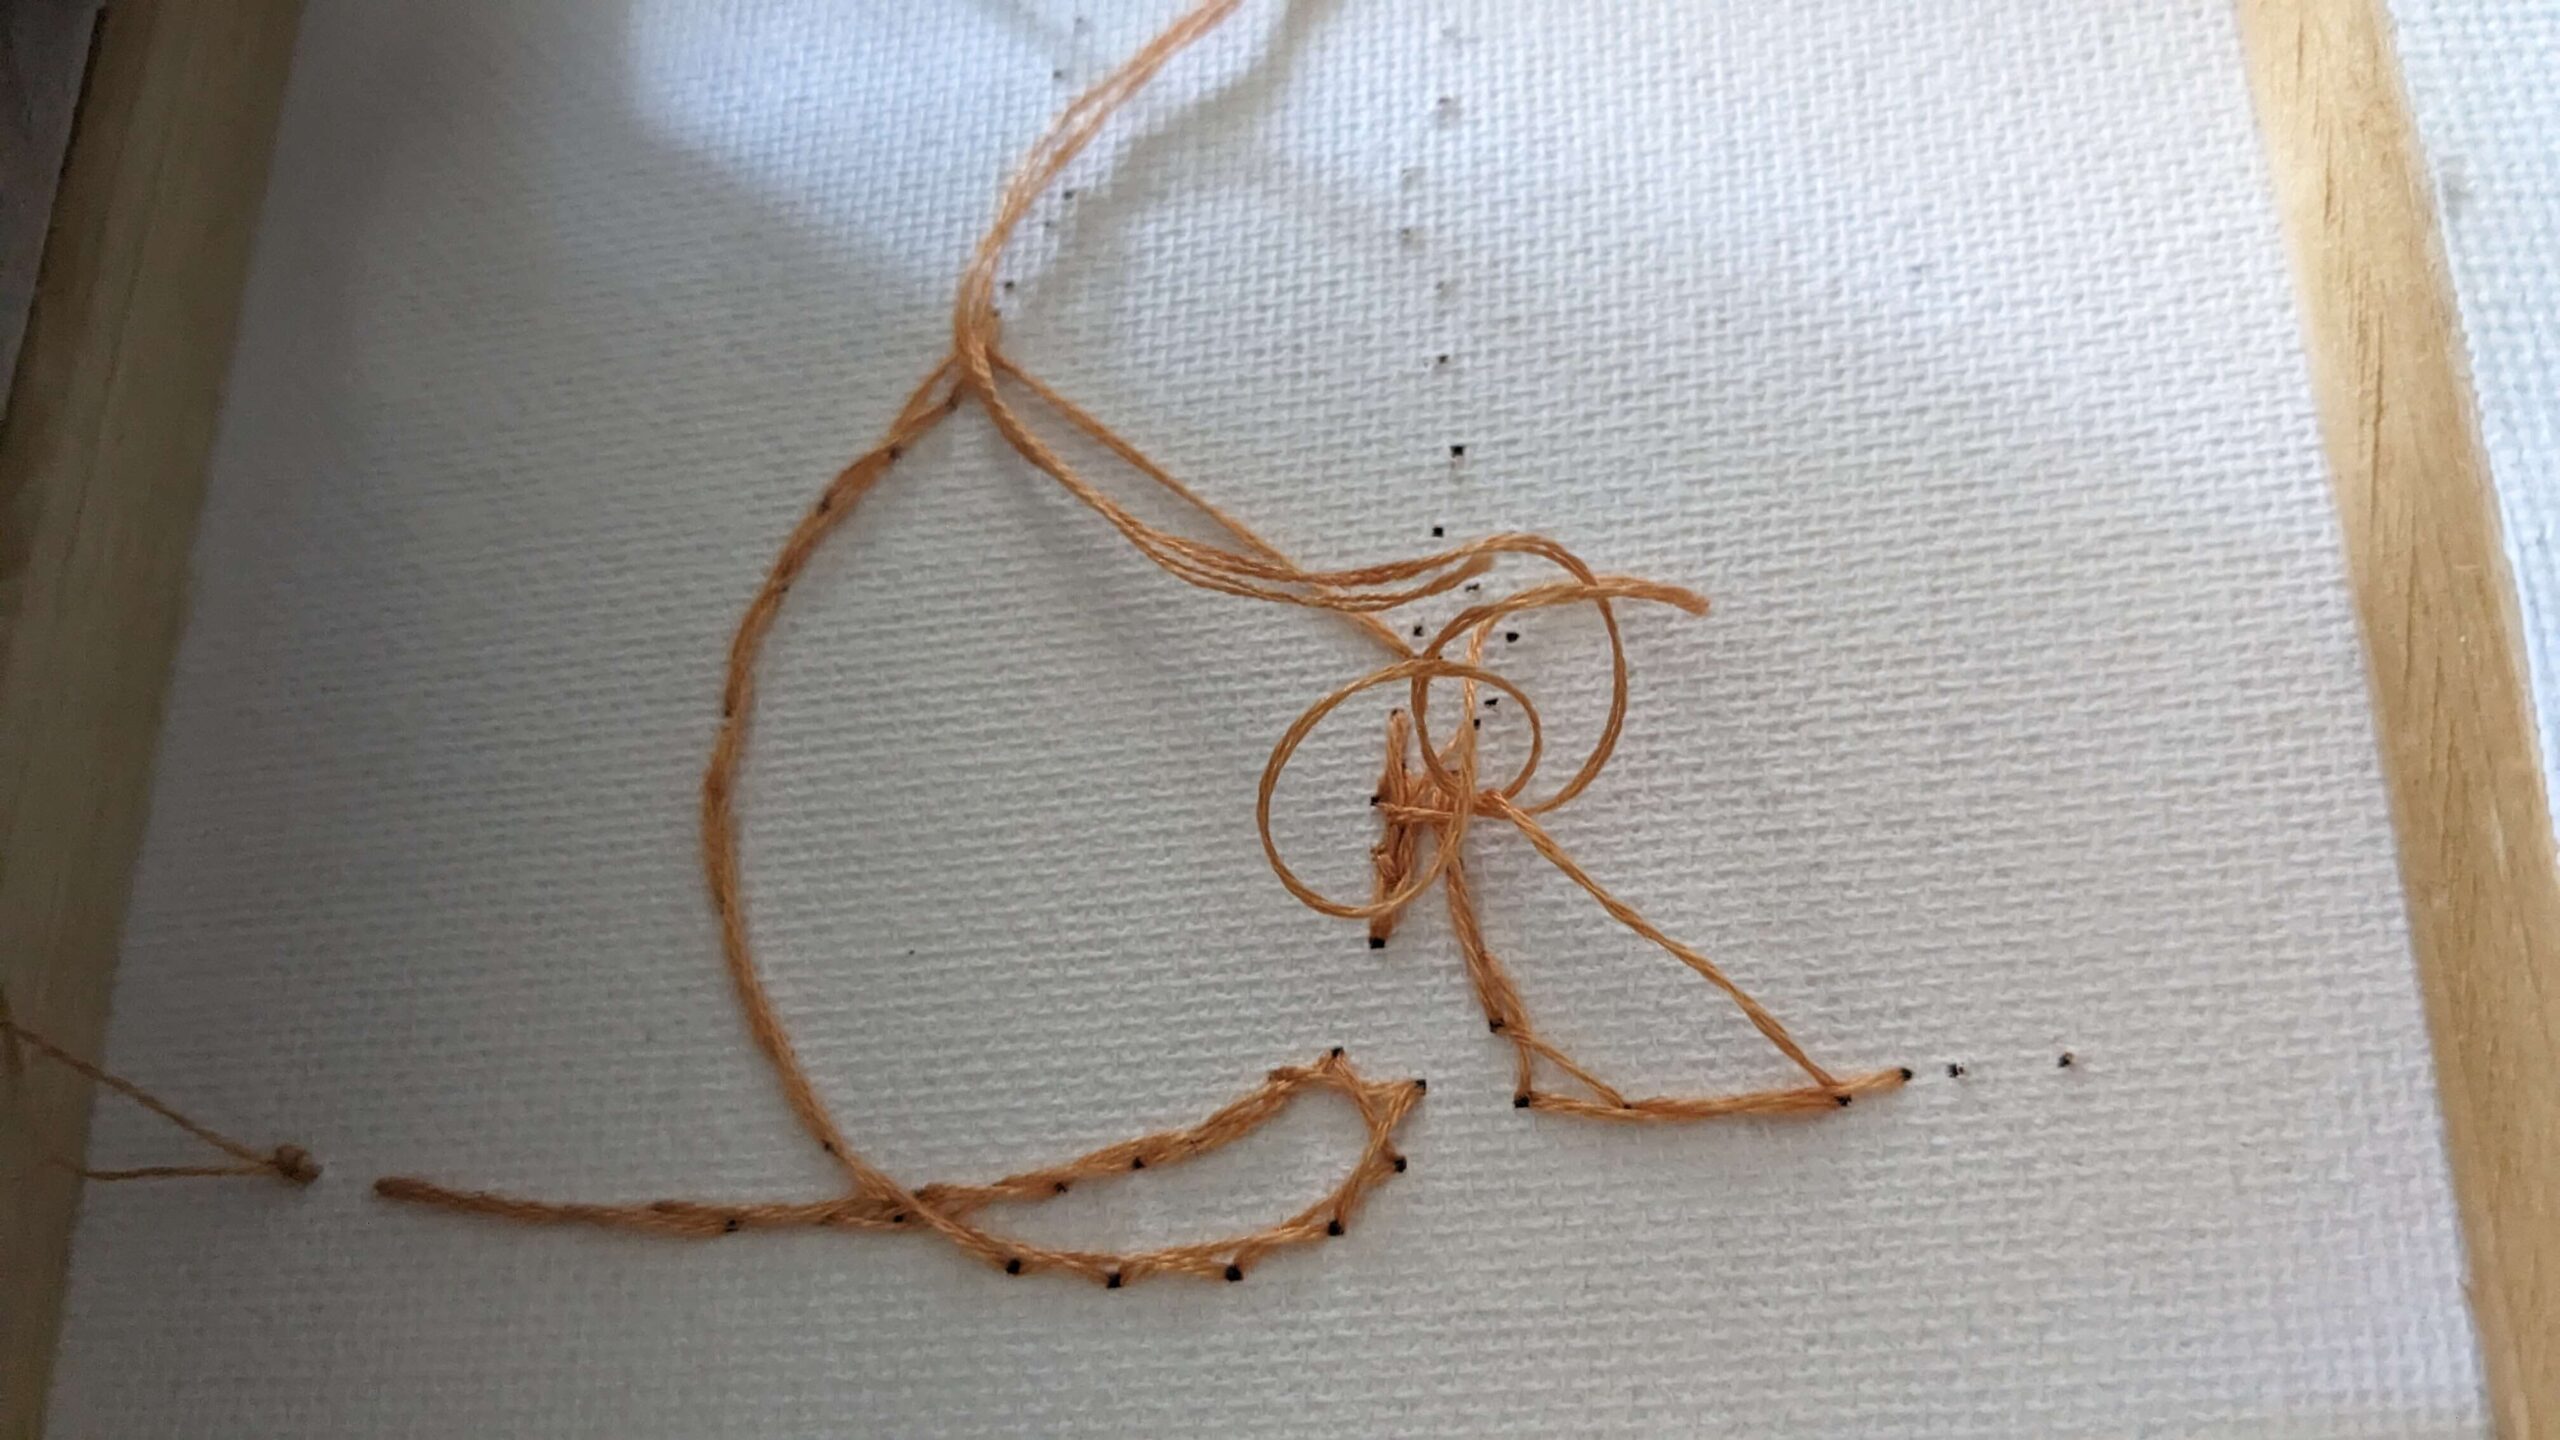
Referencing the punctured cat line art photo while embroidering this was key to my success. It ensured that I did not create any extra lines of embroidery over the top. When I reached where the orange paint started on the right side of the embroidery, I just backtracked into the hole behind the last one and then brought my needle over the left side of the embroidery and continued in the direction. When I was done with the orange thread, I tied it off and then started the process with the white thread on the orange side.
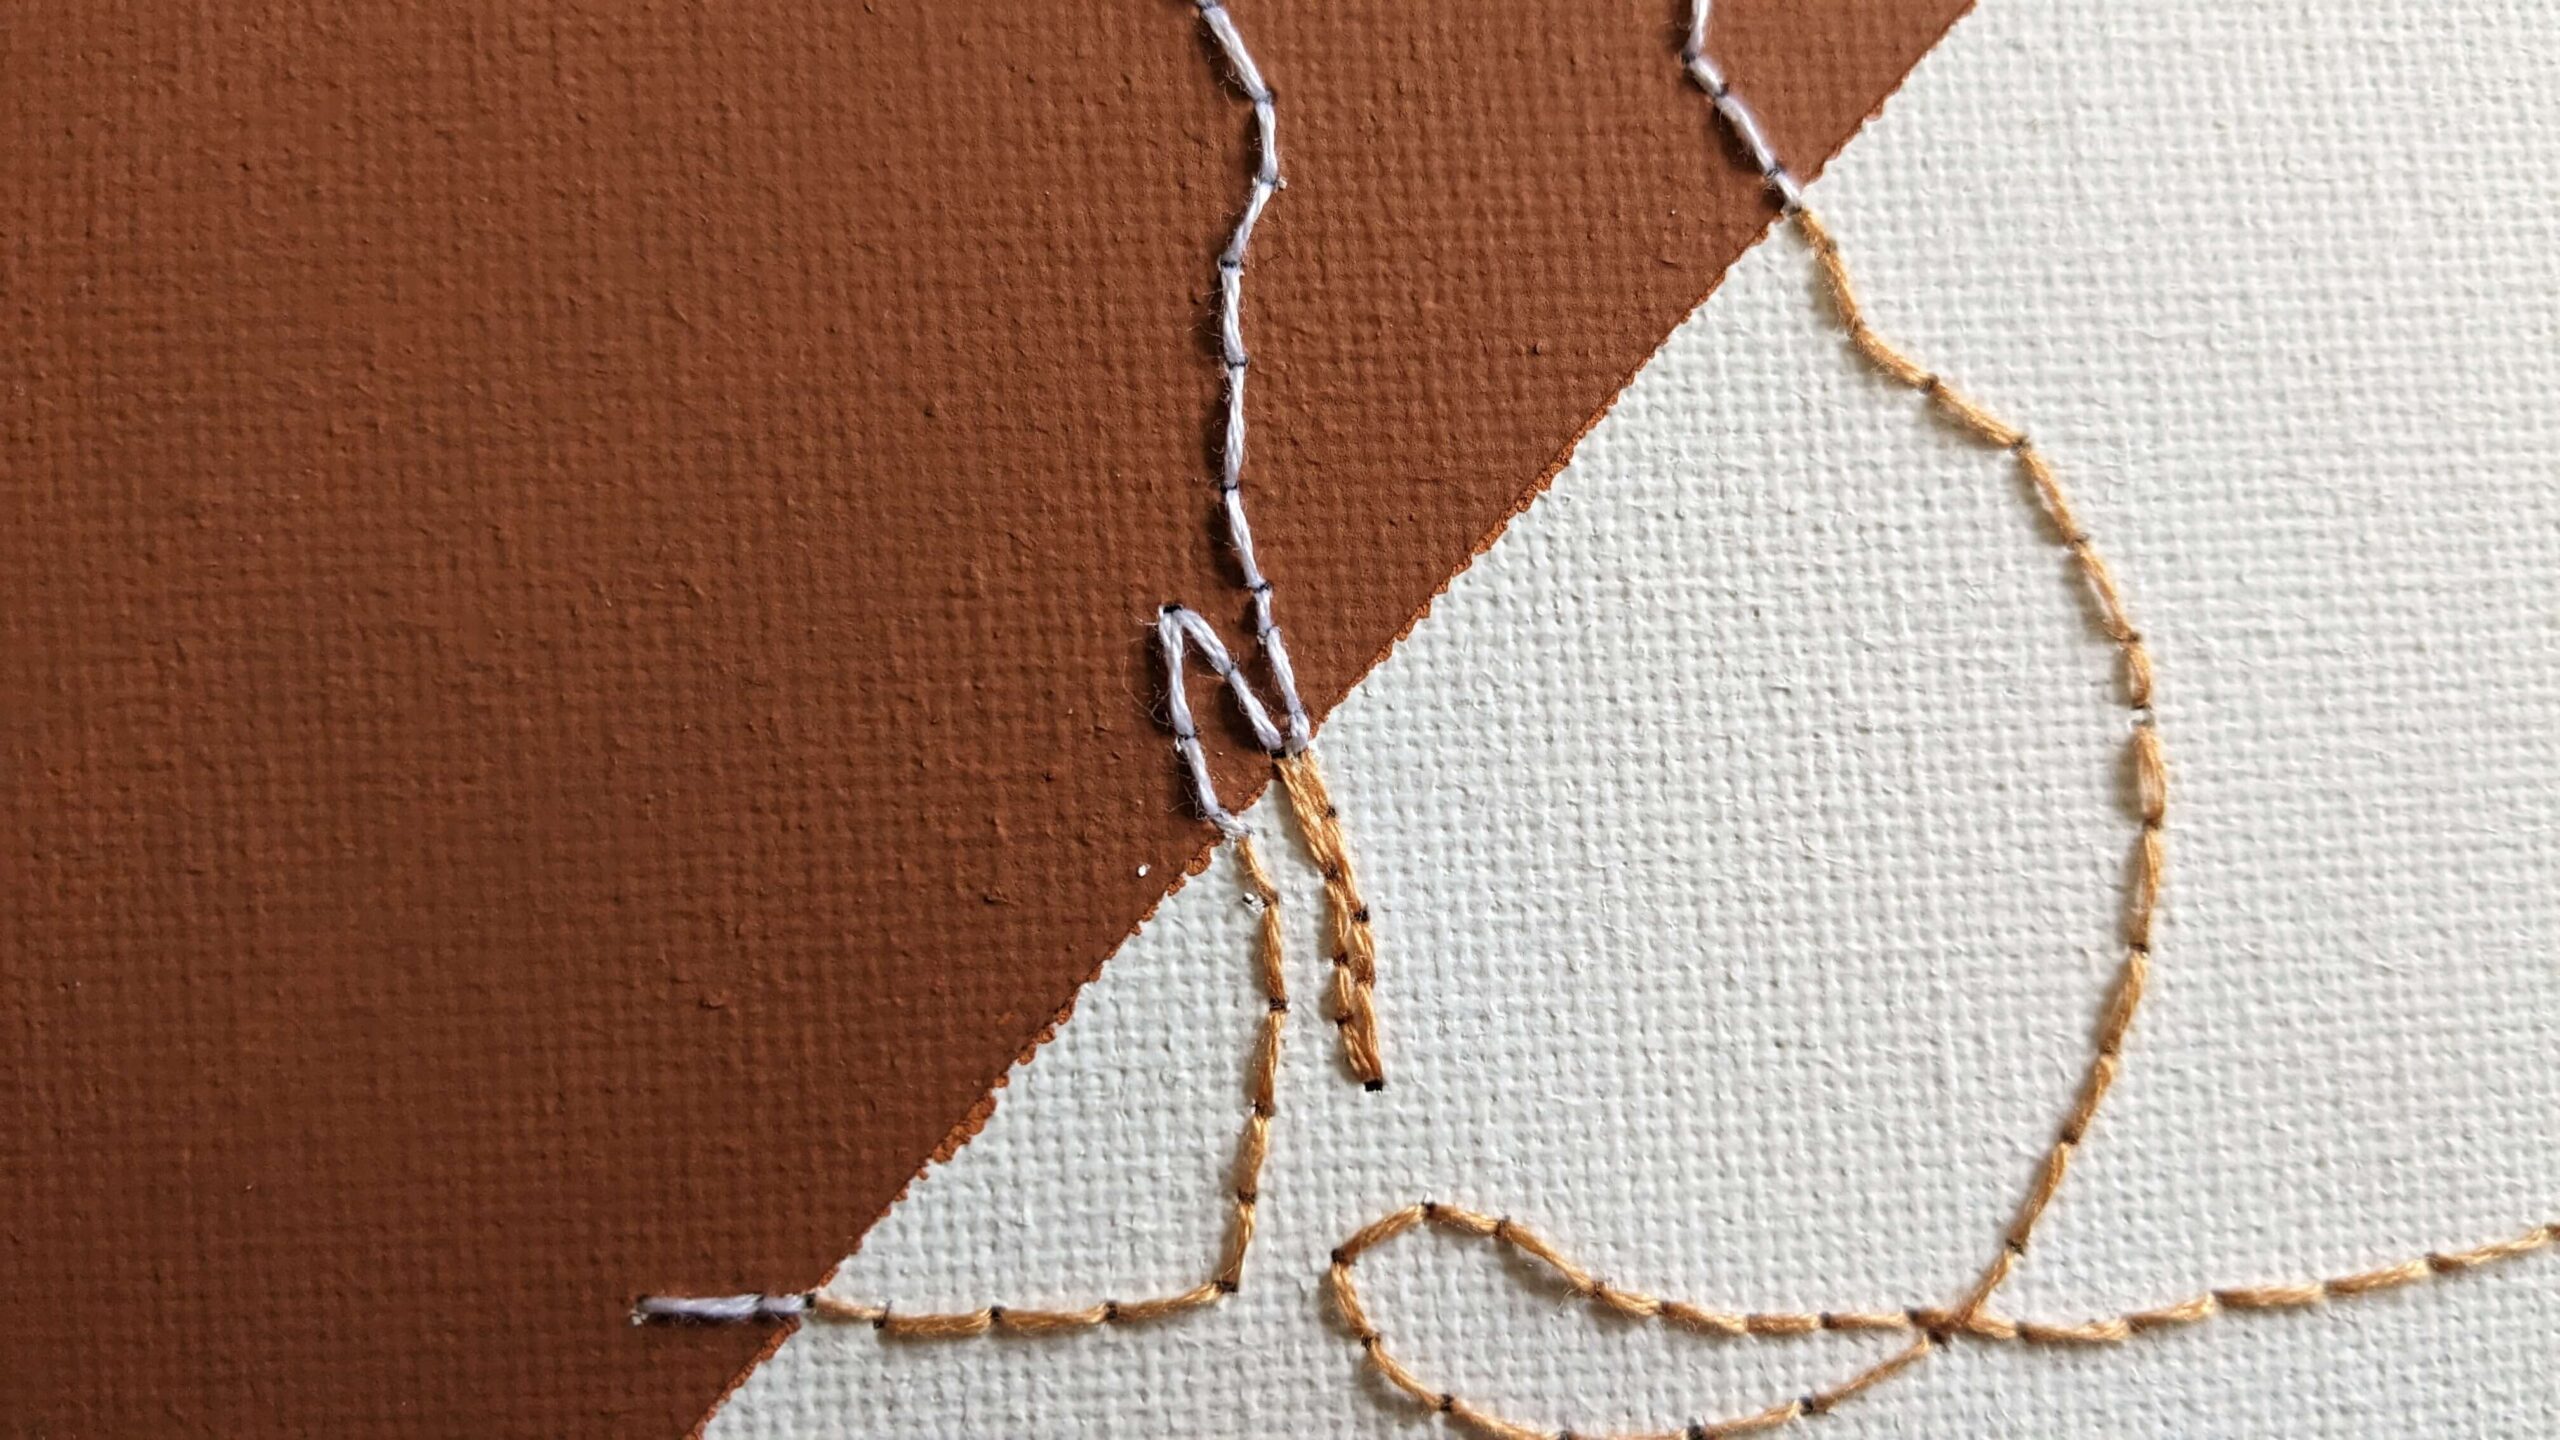
Threading the painted side is more complicated because it’s harder to feel/see the needle from behind so I spent a lot of time looking front and back before pulling the needle through. I embroidered this side the exact same way as the other side. The only thing of note is that where the two colors meet, I had an orange and white thread coming out of one hole (see picture).
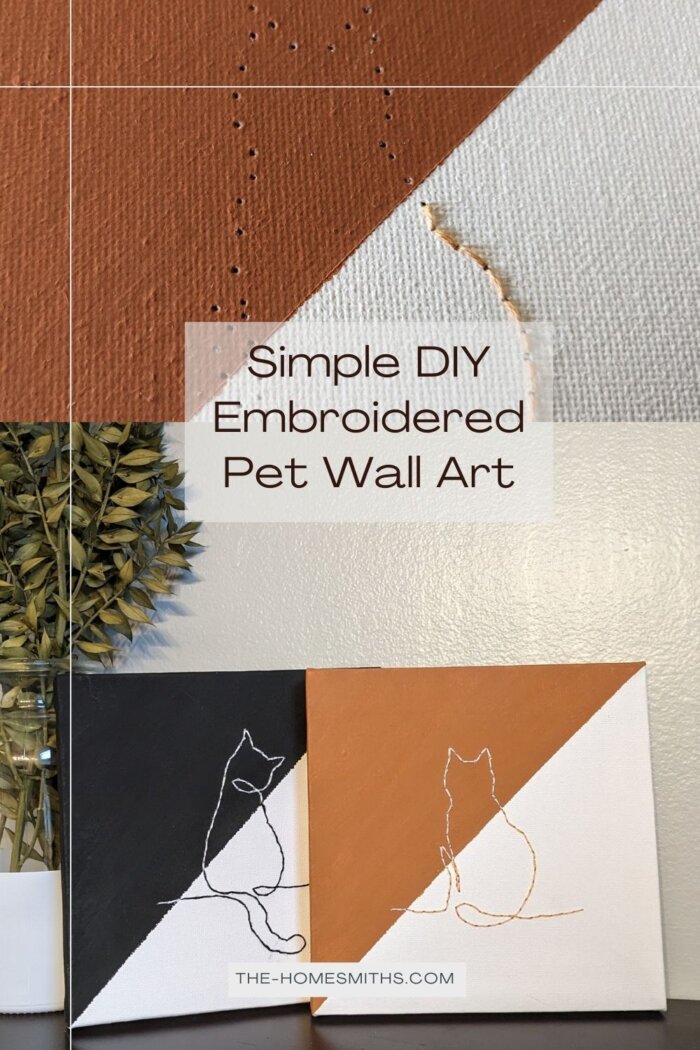
Finished products:
I am so pleased with how this personalized pet wall art came out. Brittany will enjoy the gift because it’s something for her home but encompasses such a large part of her life and personality. I am really excited to gift it to her and play around with other versions of the personalized embroidered wall art.
Let me know in the comments if this is something you would like to try!
Save it for later!