Homemade chicken stock is one of the best things to learn how to make in your kitchen. With some planning, it can be made with leftovers and pieces of vegetables that you would normally throw away. This makes it practically free! Read on for common questions and instructions on how to make homemade chicken stock.
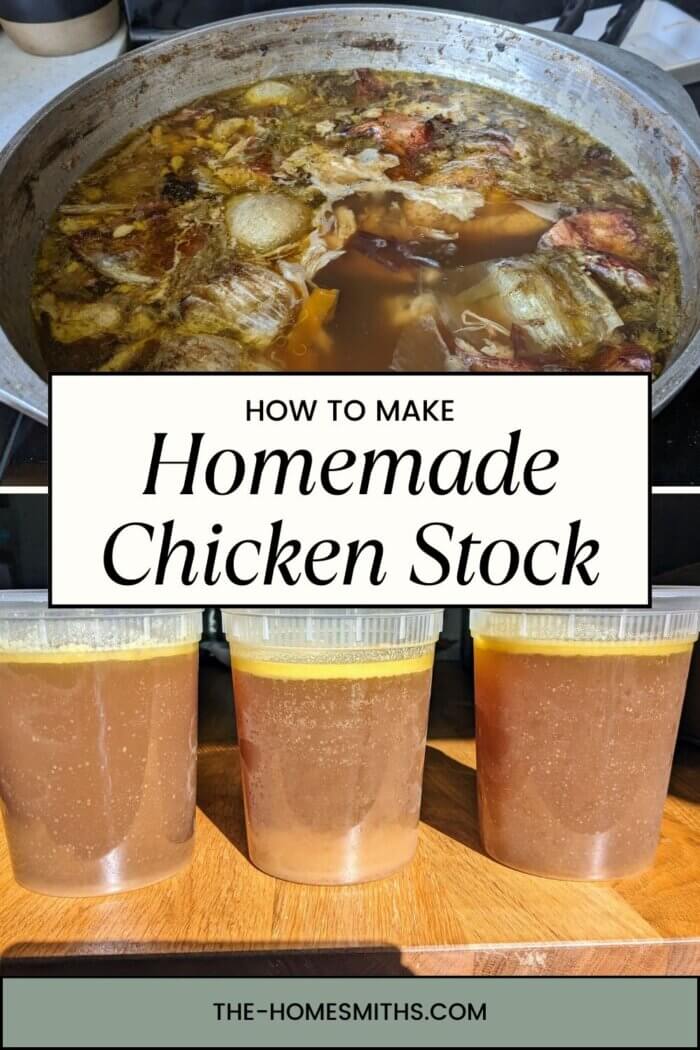
What is the difference between chicken broth and chicken stock?
Chicken broth is made from the cooking of chicken meat and bones and cooked for only a few hours. Broth is visually lighter than chicken stock. Chicken stock is cooked for a much longer time and with chicken bones and vegetables. It can simmer for 8-12 hours.
What is the difference between chicken broth and bone broth?
Bone broth is closer to chicken stock than broth as bone broth is cooked with the meat bones and for a significant period of time. Bones with connective tissue and high amounts of collagen or specifically used for bone broth. Some people cook bone broth for up to 48 hours. Also, there are requirements for a broth to be diagnosed as bone broth. Namely, that is the quantity of protein required per cup.
Why make homemade chicken stock?
Making homemade chicken stock is a great way to save money! It also reuses food that is typically thrown away and stretches the ingredients that you have. We love making homemade chicken stock too because we control the ingredients in it.
Store-bought chicken stock can have increased quantities of sodium, MSG, yeast extract, sugar, and unspecified “natural flavorings.”
What can you put in homemade chicken stock?
Our homemade chicken stock usually contains the bones of a whole chicken, carrots, onions, celery, and garlic. We do sometimes put in bay leaves or mushrooms if we have those. You can also add tomatoes or asparagus,
What should you not put in homemade chicken stock?
You should not put potatoes in homemade chicken stock because they are too starchy. Vegetables like broccoli, cauliflower, bok choy, and cabbage can make the stock bitter or cause the people consuming it to have gas. Zucchini and green beans are also vegetables to avoid when making stock because of how bitter they can get as well.
Disclosure: Some of the links below are affiliate links. This means that, at zero cost to you, The Homesmiths will earn an affiliate commission if you click through the link and finalize a purchase.
What tools do I need to make homemade chicken broth?
A strainer is the only “specialty” item you should have for chicken broth.
If you want to know what else we recommend to keep in a home cook’s kitchen, check out our Essentials Guide.
How do you make homemade chicken broth?
When I make homemade chicken stock, I use primarily leftovers or the vegetable ends and skins that we would normally throw out or toss in the compost. So I’m not spending any extra money on ingredients.
We don’t have enough vegetable and bone scraps from any one meal to make large quantities of chicken stock. So there is always at least one, if not two, freezer gallon ziplock bags in our freezer labeled stock. I put the ends and skins of onions and garlic, the bottom and tops of celery, and the skins and tops of carrots in these bags. I don’t often cook with mushrooms but if I do, I’ll throw whatever’s left into the bags as well. Tomatoes are also great to throw in these bags!
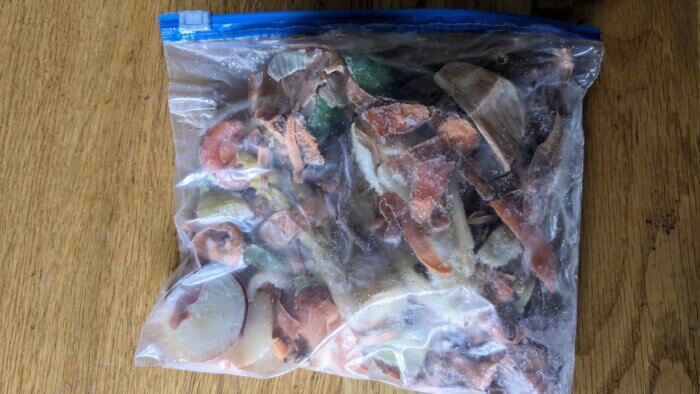
![]() Frugal Living Tip: This is also a great way to make sure that food doesn’t go to waste. If you have vegetables that are nearing the point of needing to be eaten or trashed, you can throw these in your freezer bags for stock eventually.
Frugal Living Tip: This is also a great way to make sure that food doesn’t go to waste. If you have vegetables that are nearing the point of needing to be eaten or trashed, you can throw these in your freezer bags for stock eventually.
When it comes to the chicken bones, I don’t discriminate. Whatever chicken bones I have I will also throw into the bags of frozen vegetables. I always cook my chicken, pick the bones as clean as I can for the meals that we are having, and then put those cooked bones in the freezer. This can range from a whole chicken to the thigh bones, or the breast bones.
Now I can talk about making chicken stock. Up until now it’s all been prep work. (If you want to call putting food in the freezer “work”)
Roasting the ingredients:
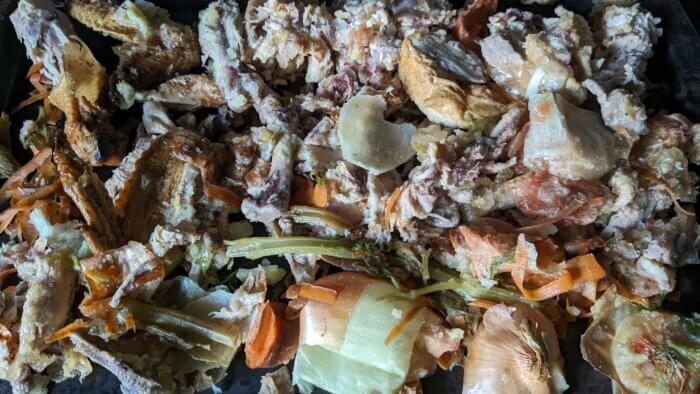
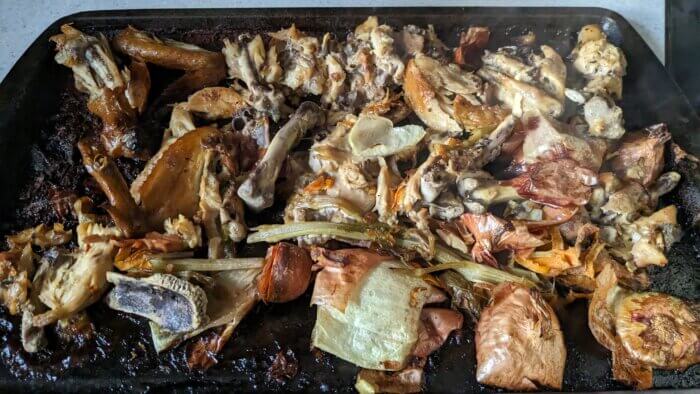
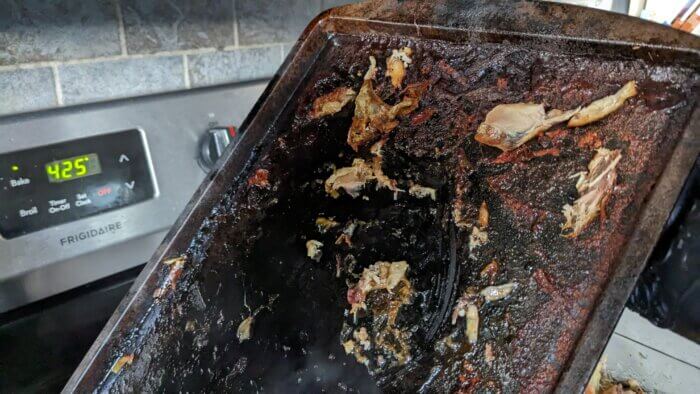
Preheat the oven to 425 degrees. I use an old baking sheet that I don’t care if it gets stained or crunchy bits crusted on. Dump the freezer bags of vegetables and chicken bones on the tray. Let them roast in the oven for a half hour or so. You want there to be some extra color on the bones and vegetables and there are drippings and brown sticky bits on the tray. The “brown sticky bits” are called fond. This is where you can get some really strong and developed flavor from.
I will check the oven after 15 minutes and then every five minutes to make sure the tray of food is roasting and not burning. If it starts to get too dry or looks like it’s close to burning, I’ll add a little water to the tray. If the food burns, it will make the stock bitter and almost unusable, so be diligent about preventing burning!
Building the stock:
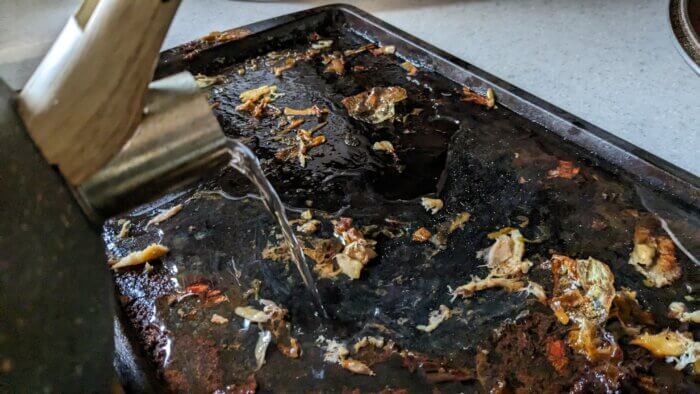
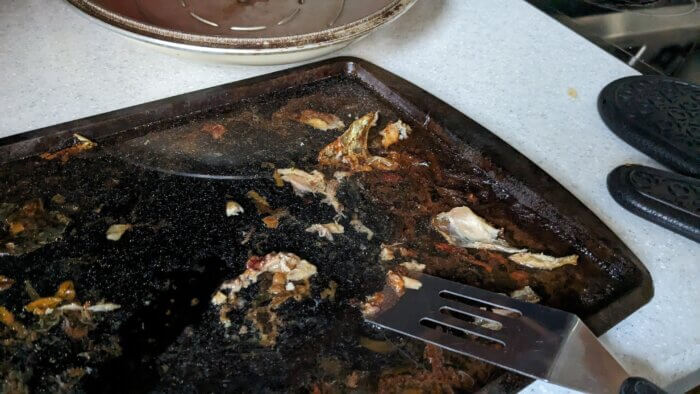
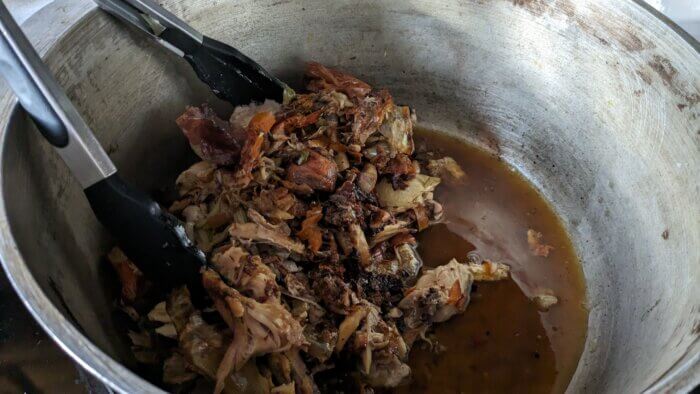
Next, scrape everything from the tray into a large stock pot. If the brown bits are sticking to the tray, put some water on it and scrape it in. You don’t want to leave this stuff behind.
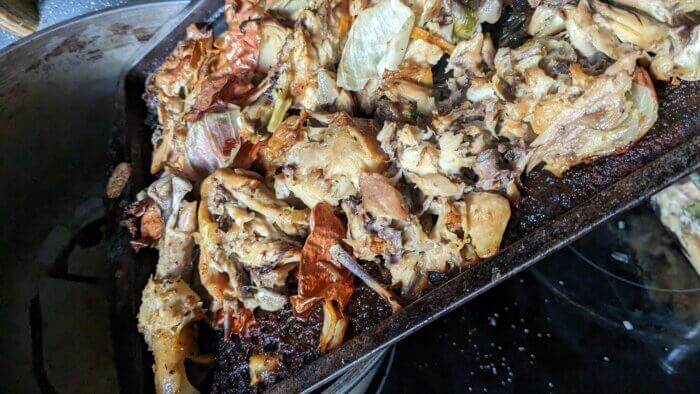
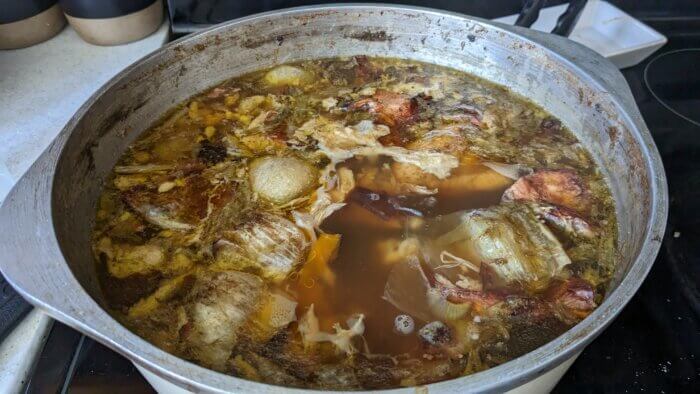
Once the tray is scraped clean, I fill up the stock pot with water, leaving only about an inch or two of space between the liquid and the rim of the pot. Make sure the ingredients are covered with water.
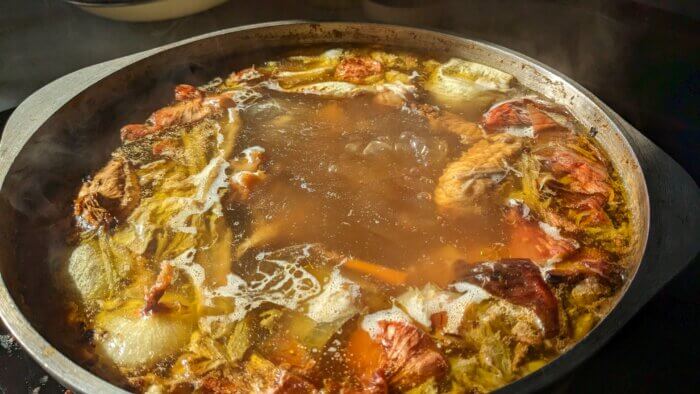
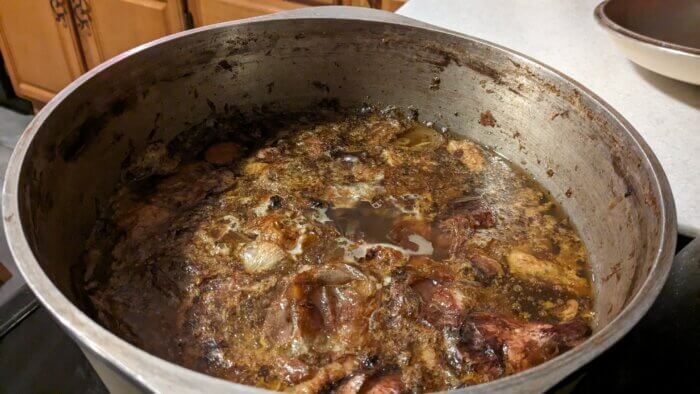
Bring the pot to a soft boil and then reduce the heat to medium/low and let it simmer uncovered for anywhere from 8-12 hours. It will reduce and depending on how much you’re starting with, it can easily reduce to half!
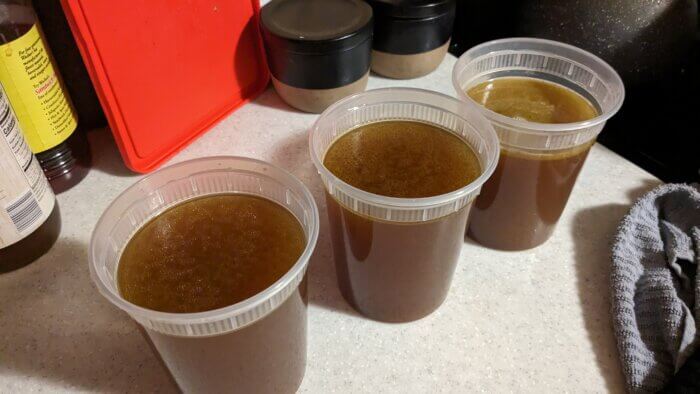
The stock will end with a beautiful golden brown color and when you are happy with the taste strain it into whatever storage you are going to use.
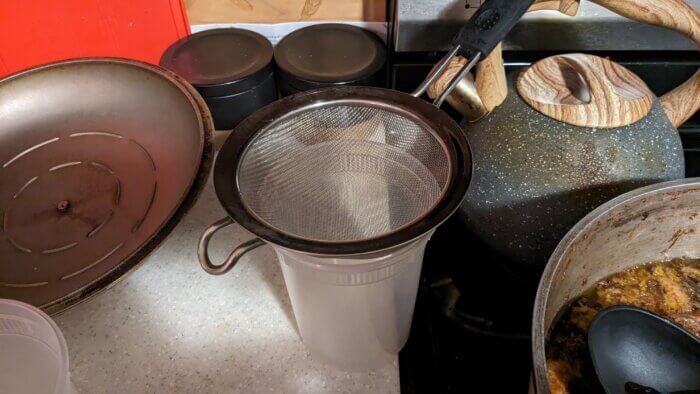
Some options:
Mason jars- you can store the stock in mason jars and put them in the fridge if you are going to use the stock within a week.
Plastic containers- these are great for freezing. I use empty yogurt containers and clear plastic ones like these. I fill them almost to the top and freeze them without the lid to allow for expansion, and then I put the lid on about 12 hours later.
Muffin tins- If you pour stock into muffin tins and freeze them, when they are frozen solid you can take them out and place them into a freezer bag. Each one of mine is about one quarter cup of stock which is really nice for small portions when called for in a recipe.
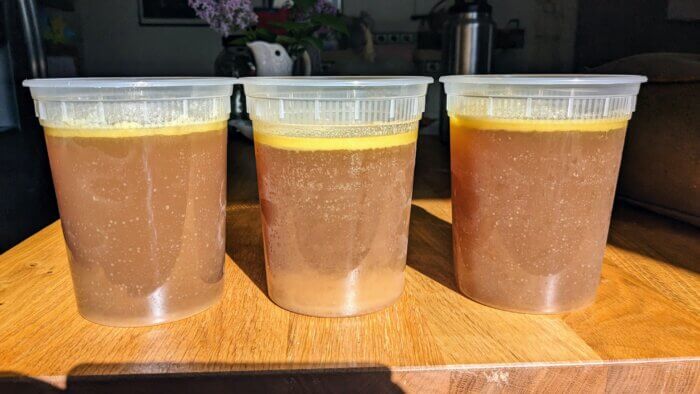
A layer of fat will rise to the top of your containers and solidify in the cold of the refrigerator or freezer. This is normal and we just mix it into whatever recipe we are using it for. If you don’t want the fat, you can easily scrape it off and throw it away. You could also use it as a fat for searing or sauteing another dish.
Check out one of our favorite dishes to use homemade chicken stock for!
I hope that this homemade chicken stock guide was helpful. Let me know in the comments below if you have any questions or if you have ever made homemade chicken stock!
Save it for later!

We LOVE making our own chicken stock! Our freezer always has ziplocks of veggie scraps & bones in it!!😁
I love being able to have that ziplock bag in the freezer. It’s so satisfying to know I’m stretching my groceries as far as possible.
Love how you roast it first to delete the flavors before creating the stock!
It’s one of my favorite ways to make it taste extra special!