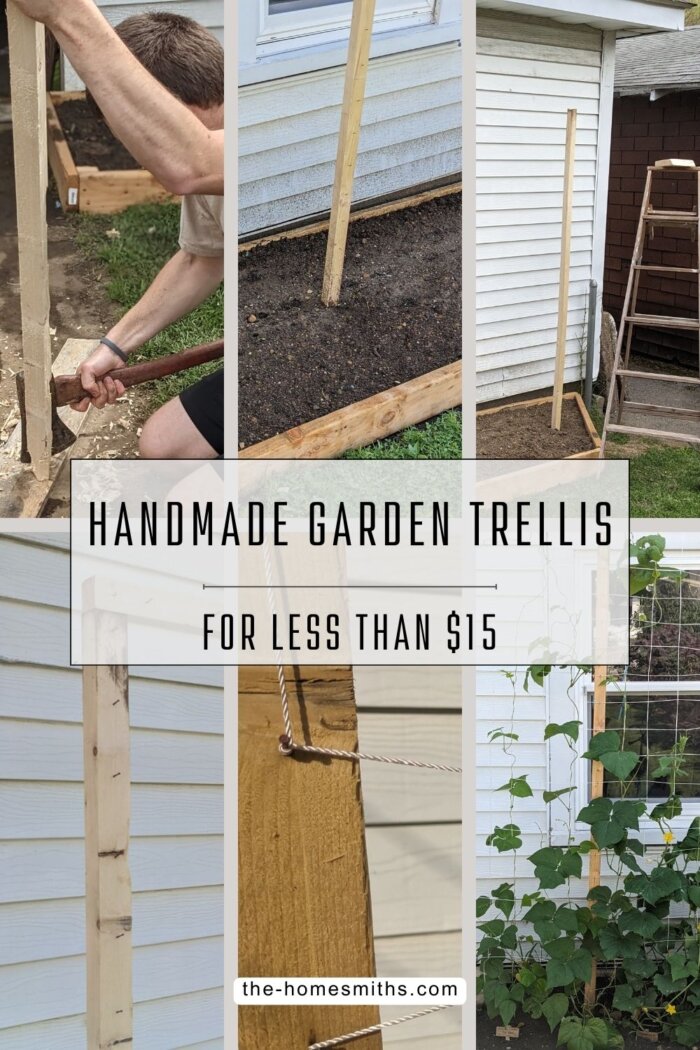
This year, we decided to grow a few different types of beans and cucumbers. We just needed to determine what kind of garden trellis we wanted to use to train them. We had looked through a few options but decided this was an opportunity to learn a new skill while saving money. I saw the idea for a handmade garden trellis in a book called “The Vegetable Gardener’s Bible” and realized it would take less than $15 to make. So, we gathered a few materials and went for it!
I never made any gardening structures before, but I discovered it was a simple process. The most tedious part is hammering in the nails and attaching the string. Overall, it was a fun project! It resulted in a visually beautiful yet functional addition to our backyard.
What materials do you need?
- Four 2x2x8 wooden boards
- Nails (finishing nails, wood nails, etc.)
- Axe and knife (something to sharpen the end of the wood boards)
- String or netting
- Ladder
![]() Frugal Living Tip: Use what you have! This is an obvious tip, but I did not have the best nails and string for this project, yet it was good enough for my purposes. Push against the need for unnecessary spending. Trust me, I have a hard time with it too!
Frugal Living Tip: Use what you have! This is an obvious tip, but I did not have the best nails and string for this project, yet it was good enough for my purposes. Push against the need for unnecessary spending. Trust me, I have a hard time with it too!
How long does it take to build a garden trellis?
I was able to complete the project in three afternoons. The first afternoon, I cut the wooded boards so that they could work as stakes, hammered them into the ground, and attached the top bar. The second afternoon, I hammered in the nails and attached the string horizontally to the nails. The final afternoon, I attached the vertical strings.
How long is the garden trellis? Can you make it longer?
This garden trellis is 8 feet long. If you buy a fifth board you can cut a simple half-lap joint to join two top boards. You would place the other three boards under the half-lap and on either end to create a 16-foot garden trellis! One day I will definitely make one of these.
How to make a garden trellis:
The first step to making the garden trellis was ensuring it could fit in our raised bed. Luckily, I could use the full length of the boards because our garden beds were longer than 8 feet. However, you could cut down the boards to whatever size works for your garden with no difficulty.
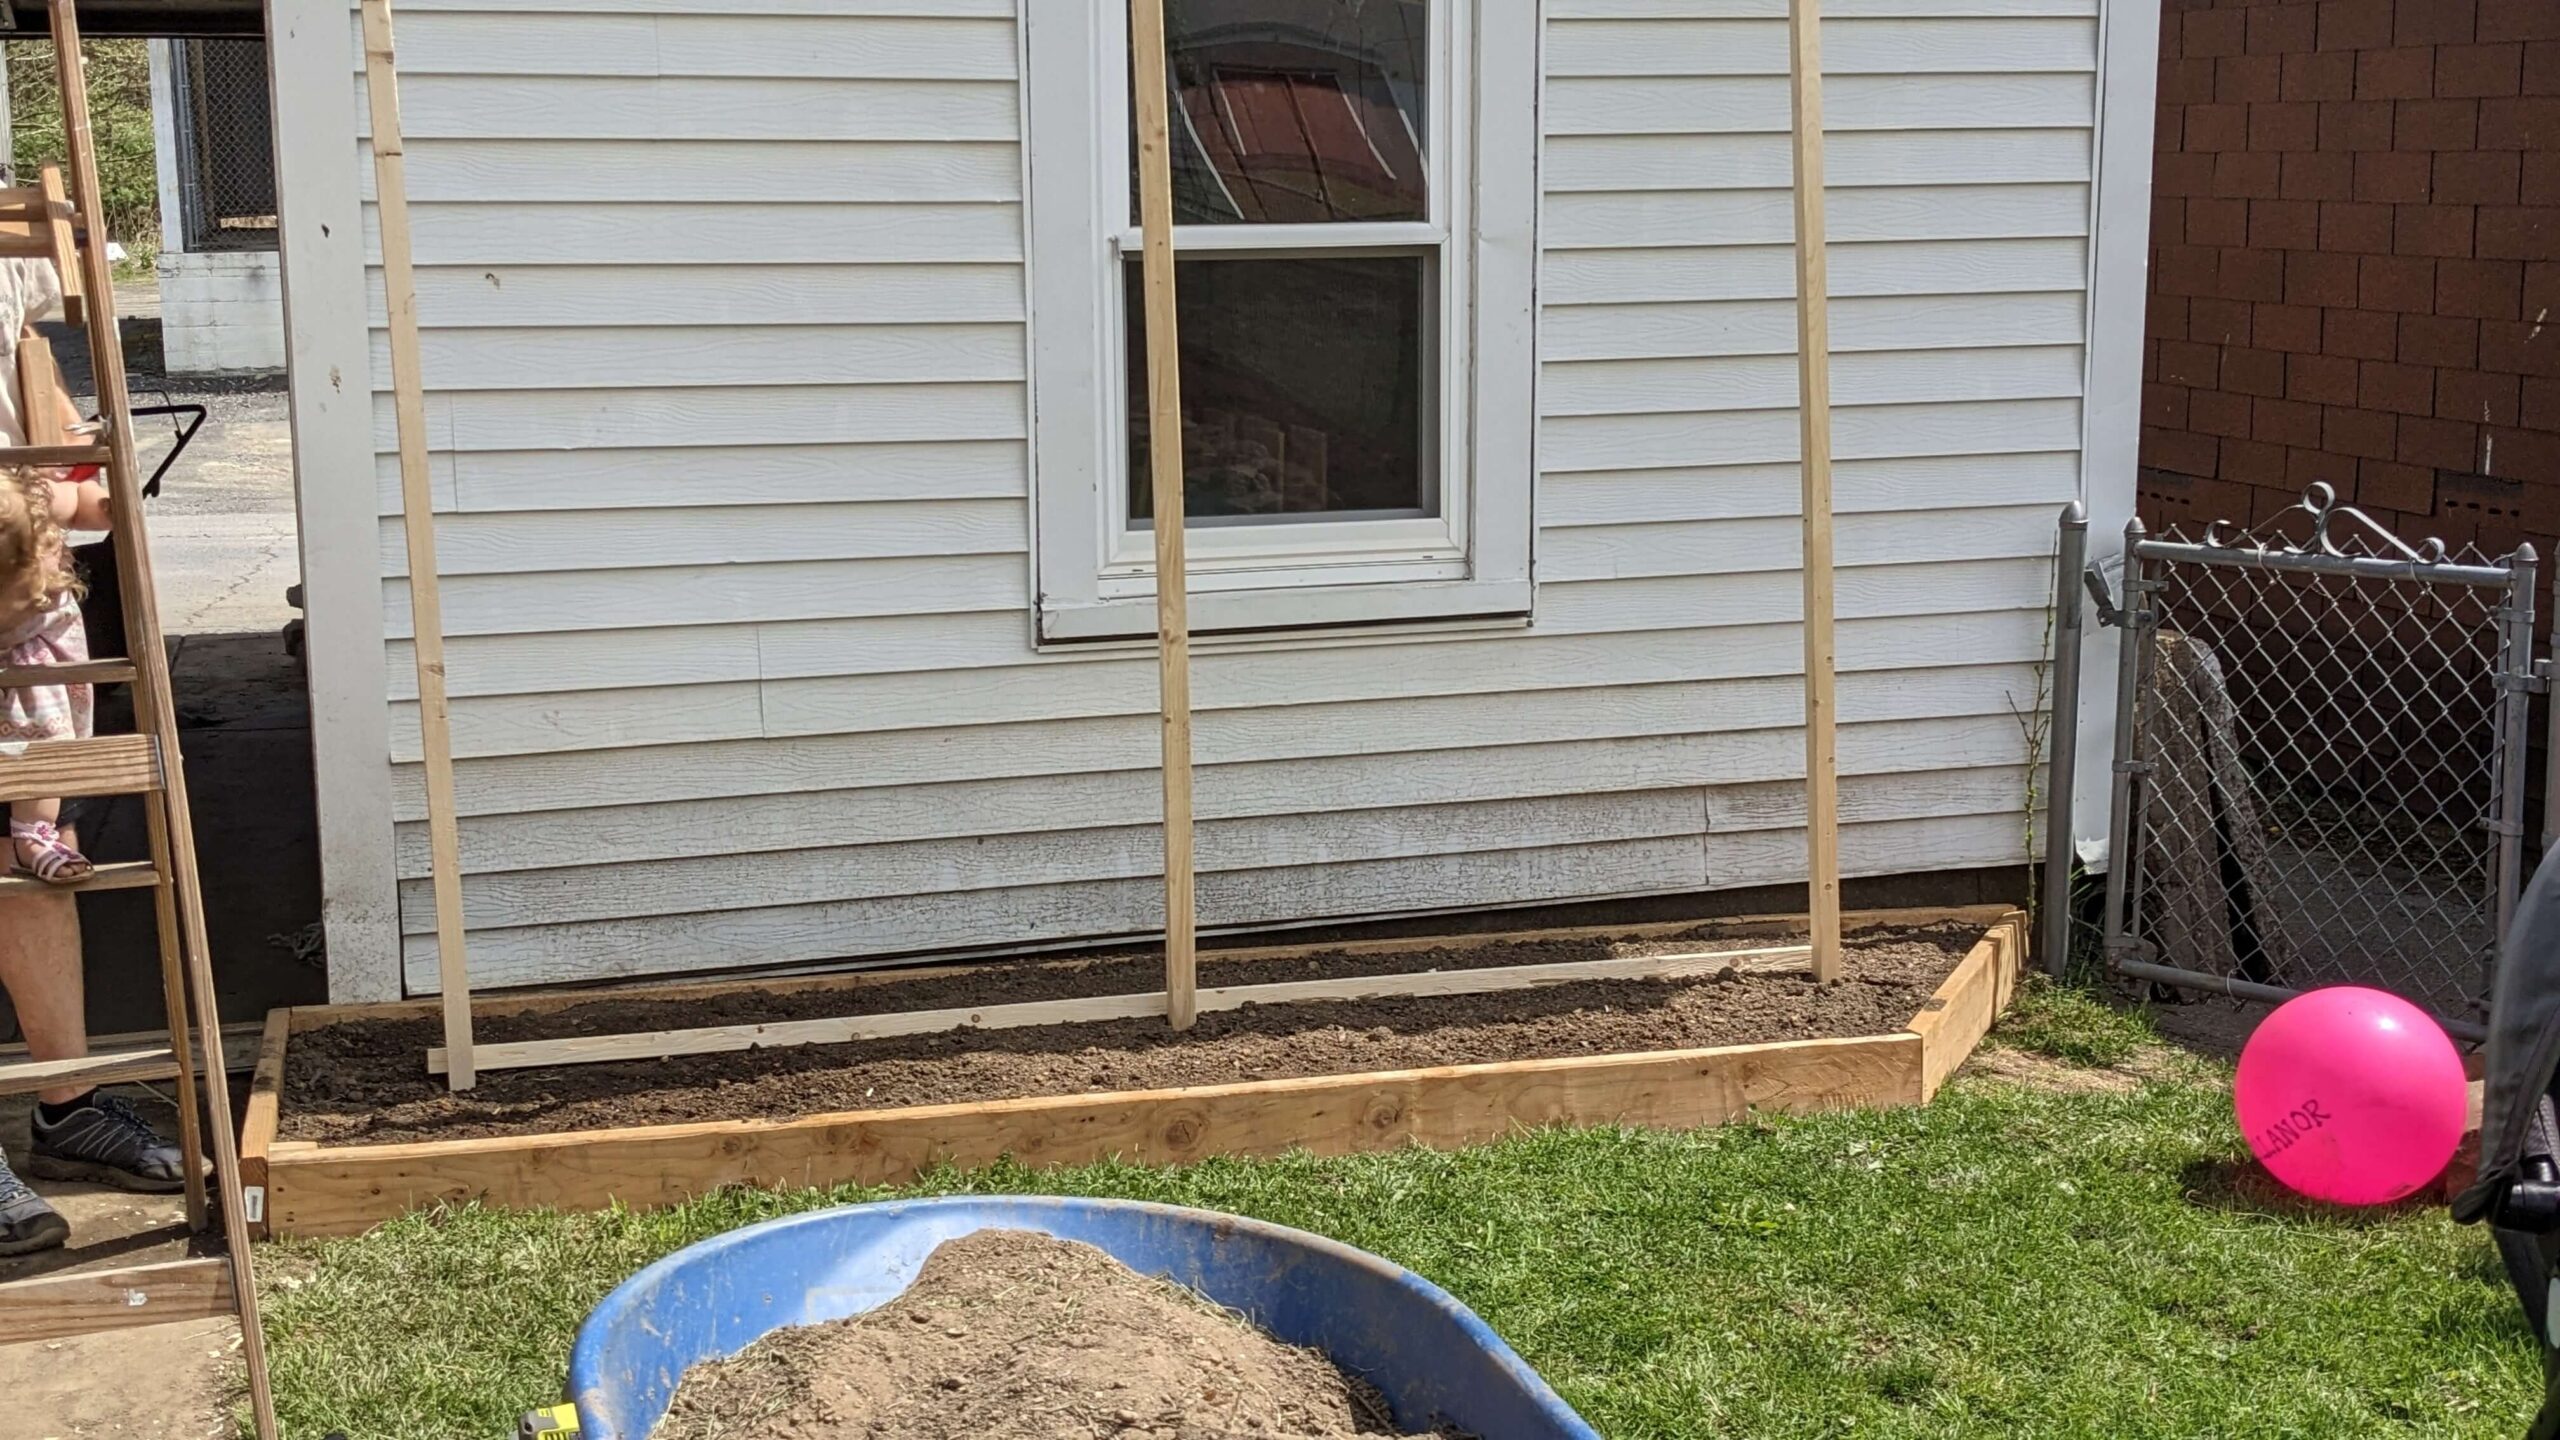
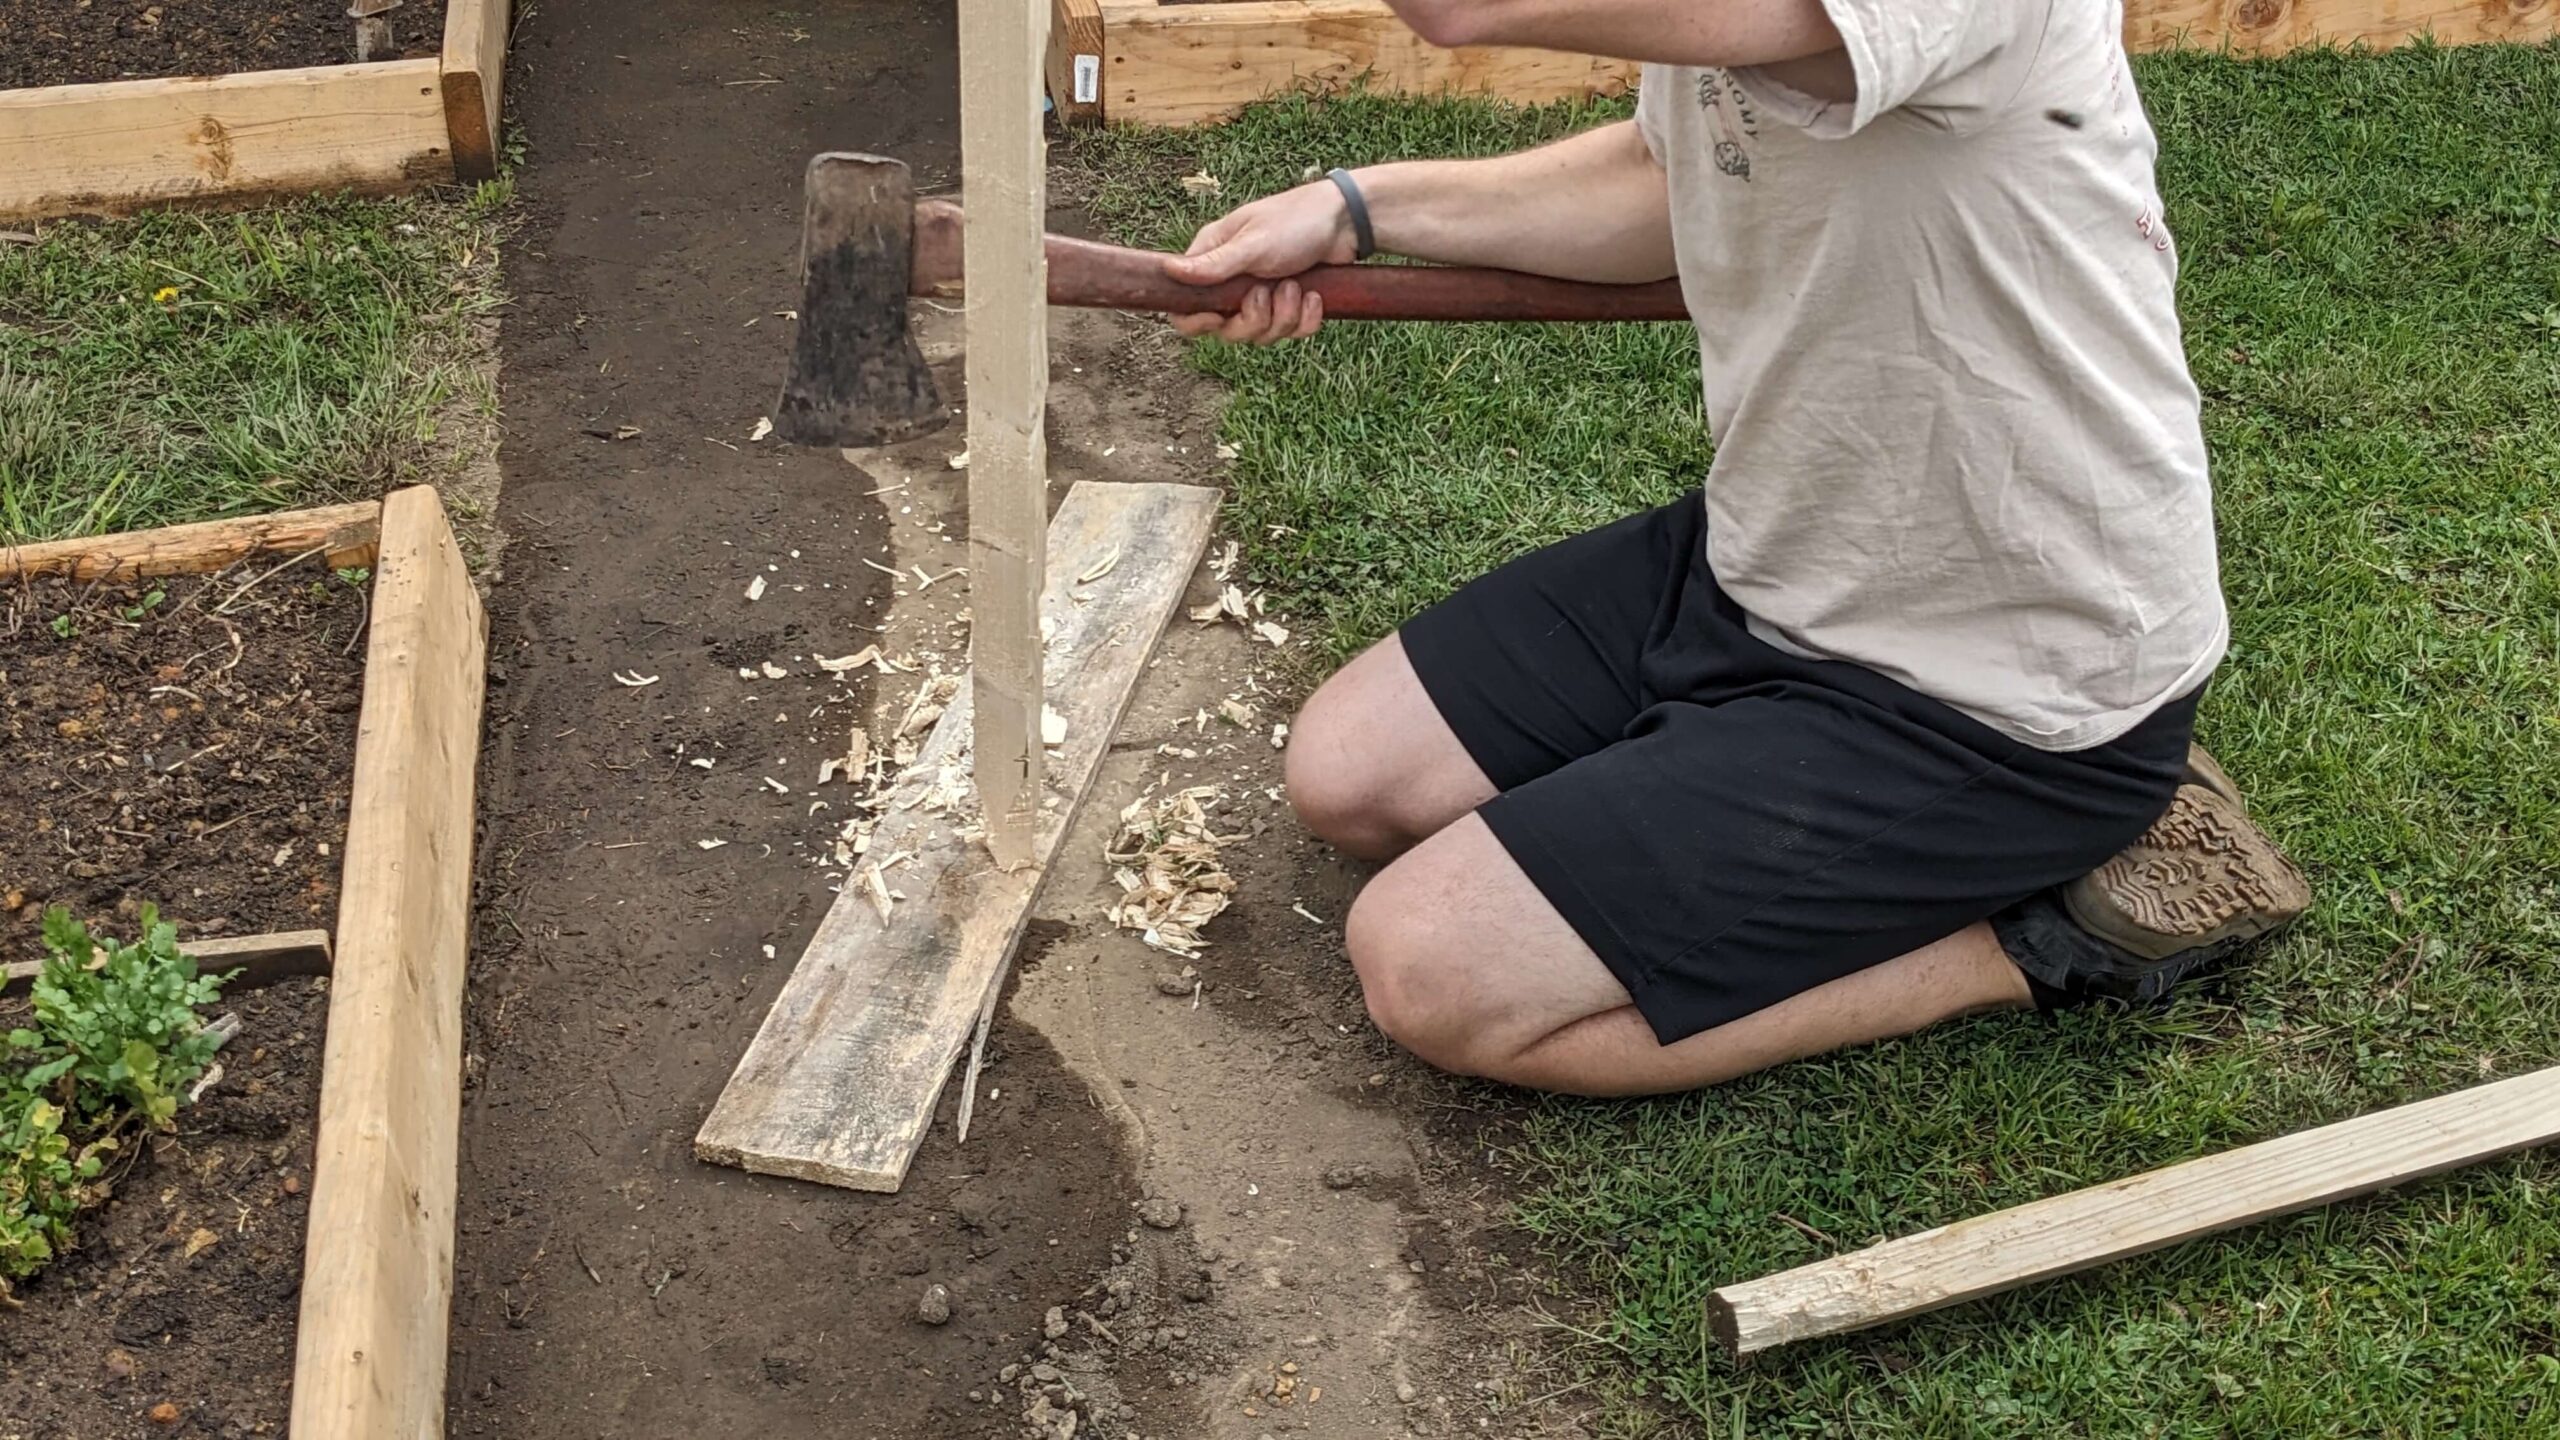
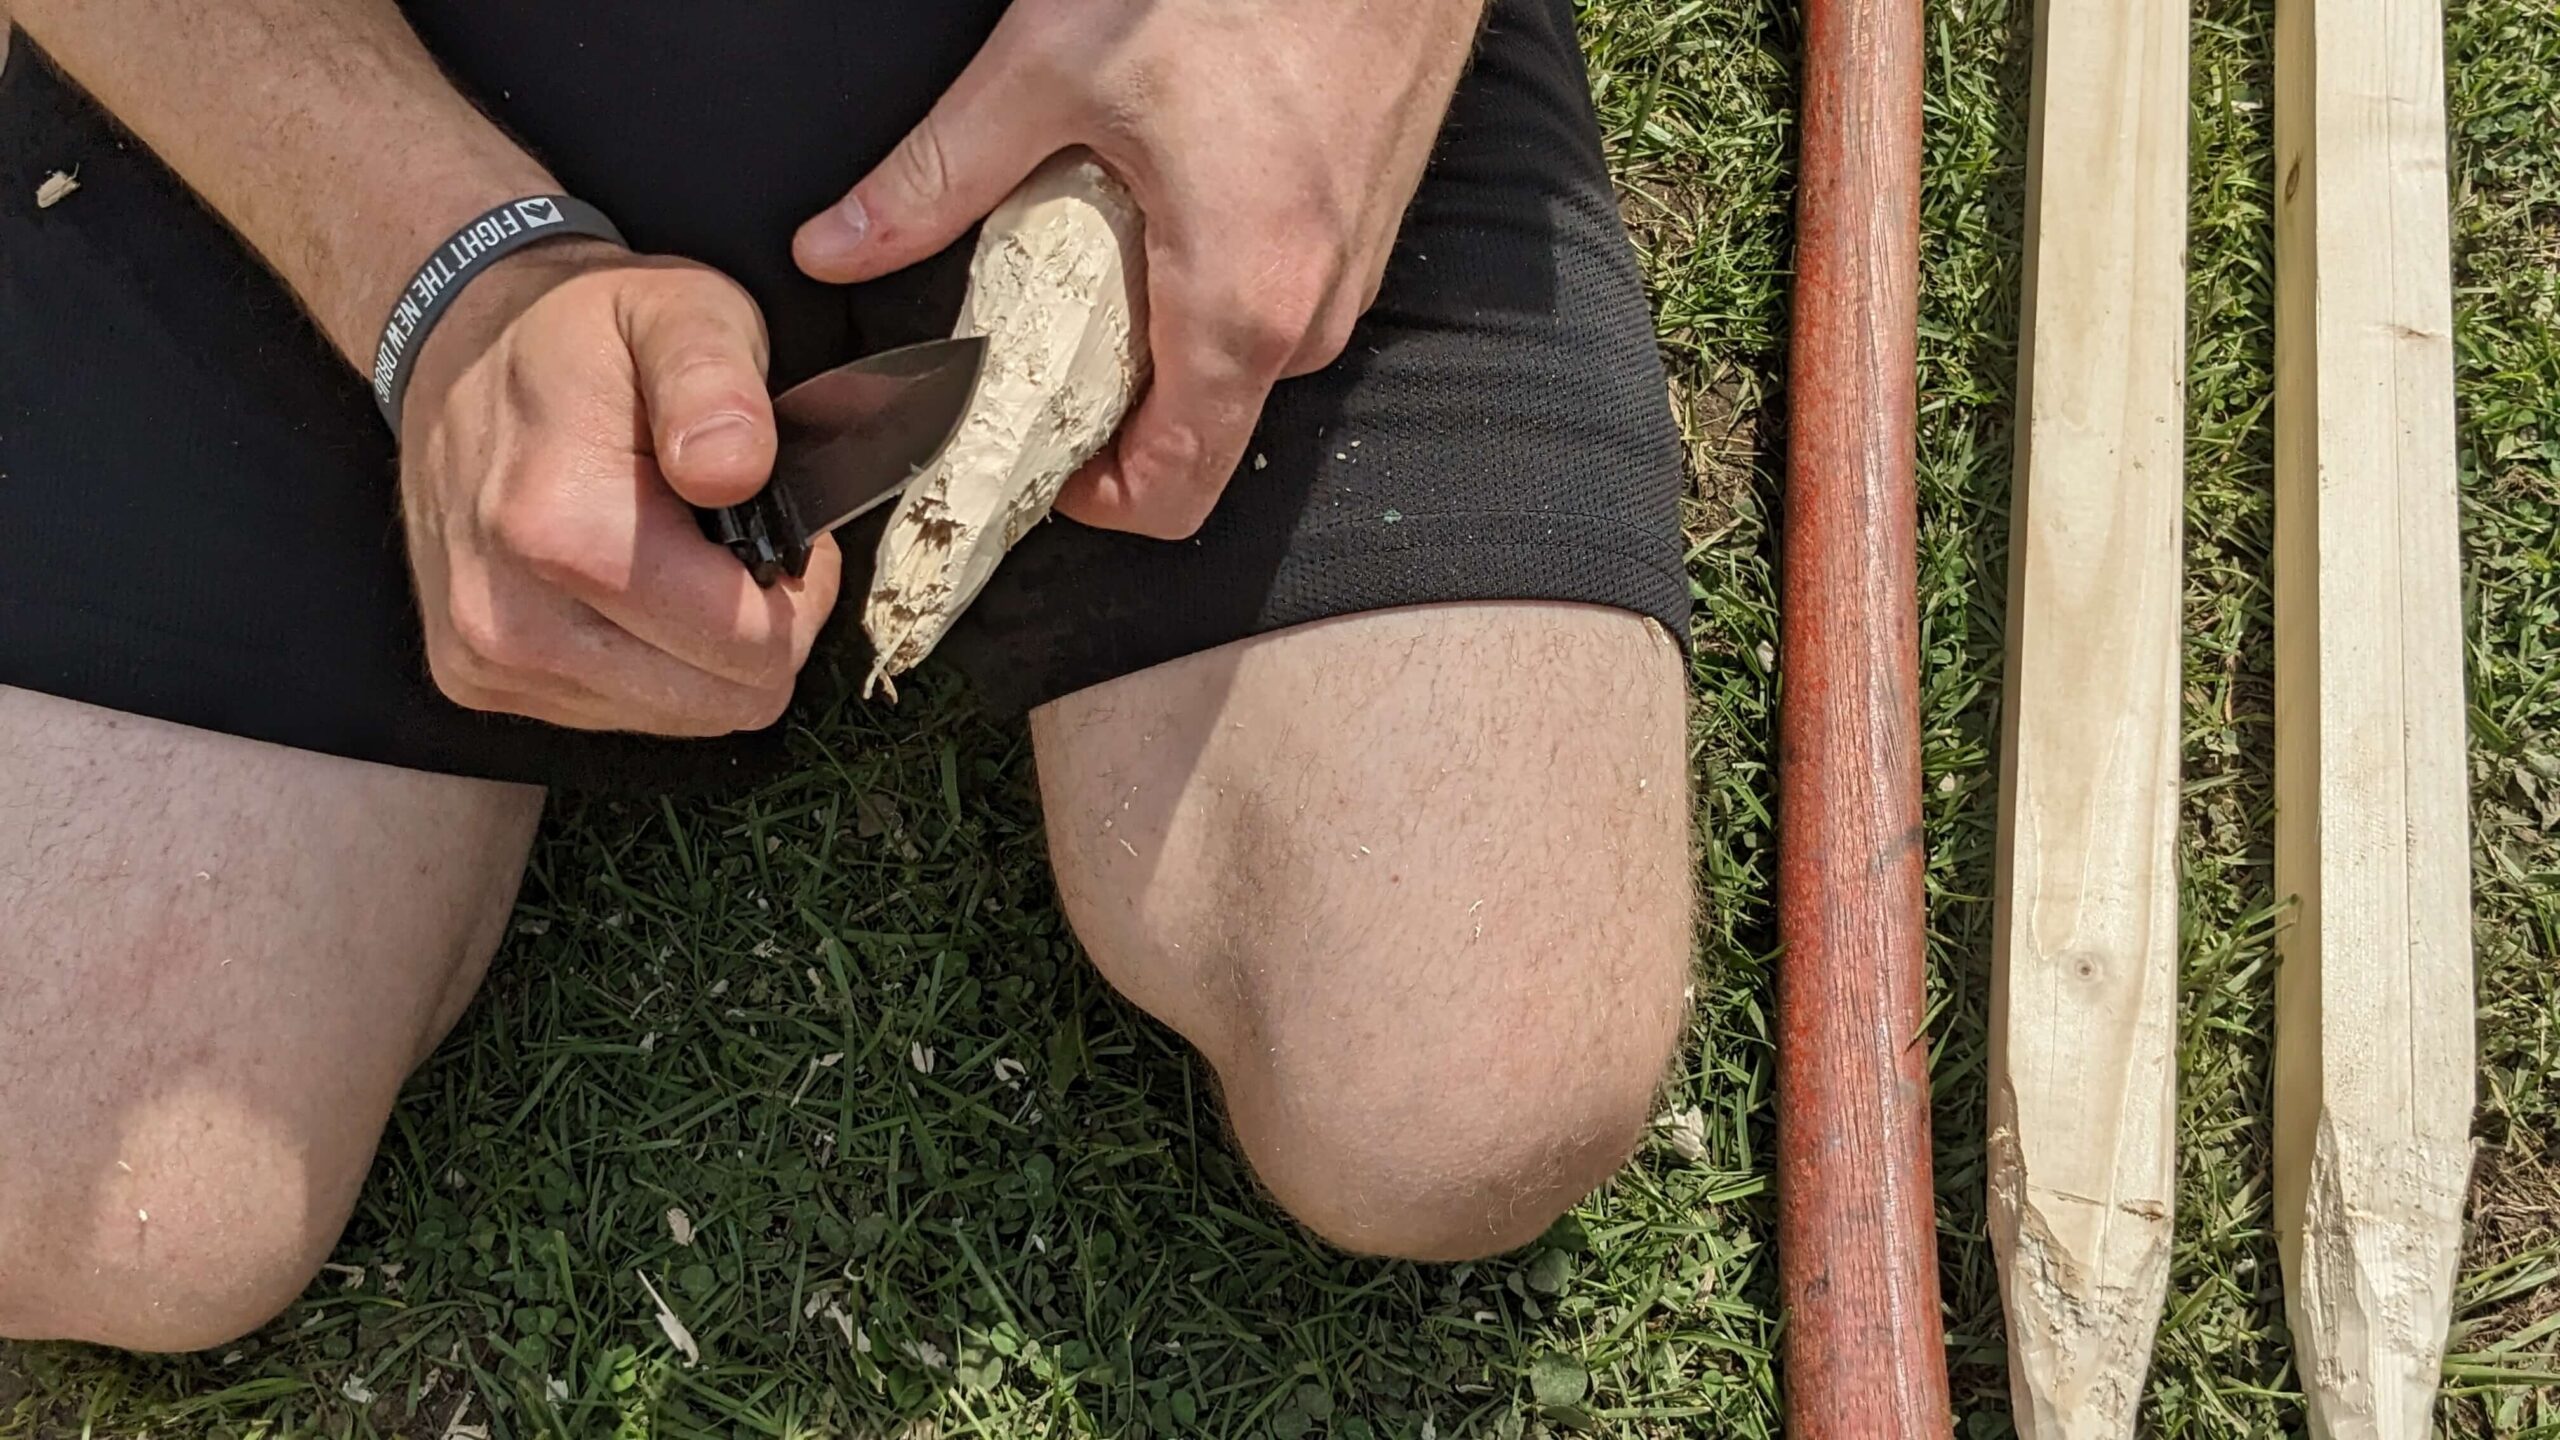
For the next part, I took an axe and cut down the bottoms of each post to a general point. I did not have the best axe for this and you could use power tools instead if it is easier for you. I cleaned up my cuts with my knife to ensure the point wouldn’t catch anything and crack.
Next, I laid the extra board in the garden bed to see where to hammer in the three vertical posts. Using a mallet and a piece of wood, I carefully set the posts into the ground to not split the top. I set them deep into the soil so they would not wobble.
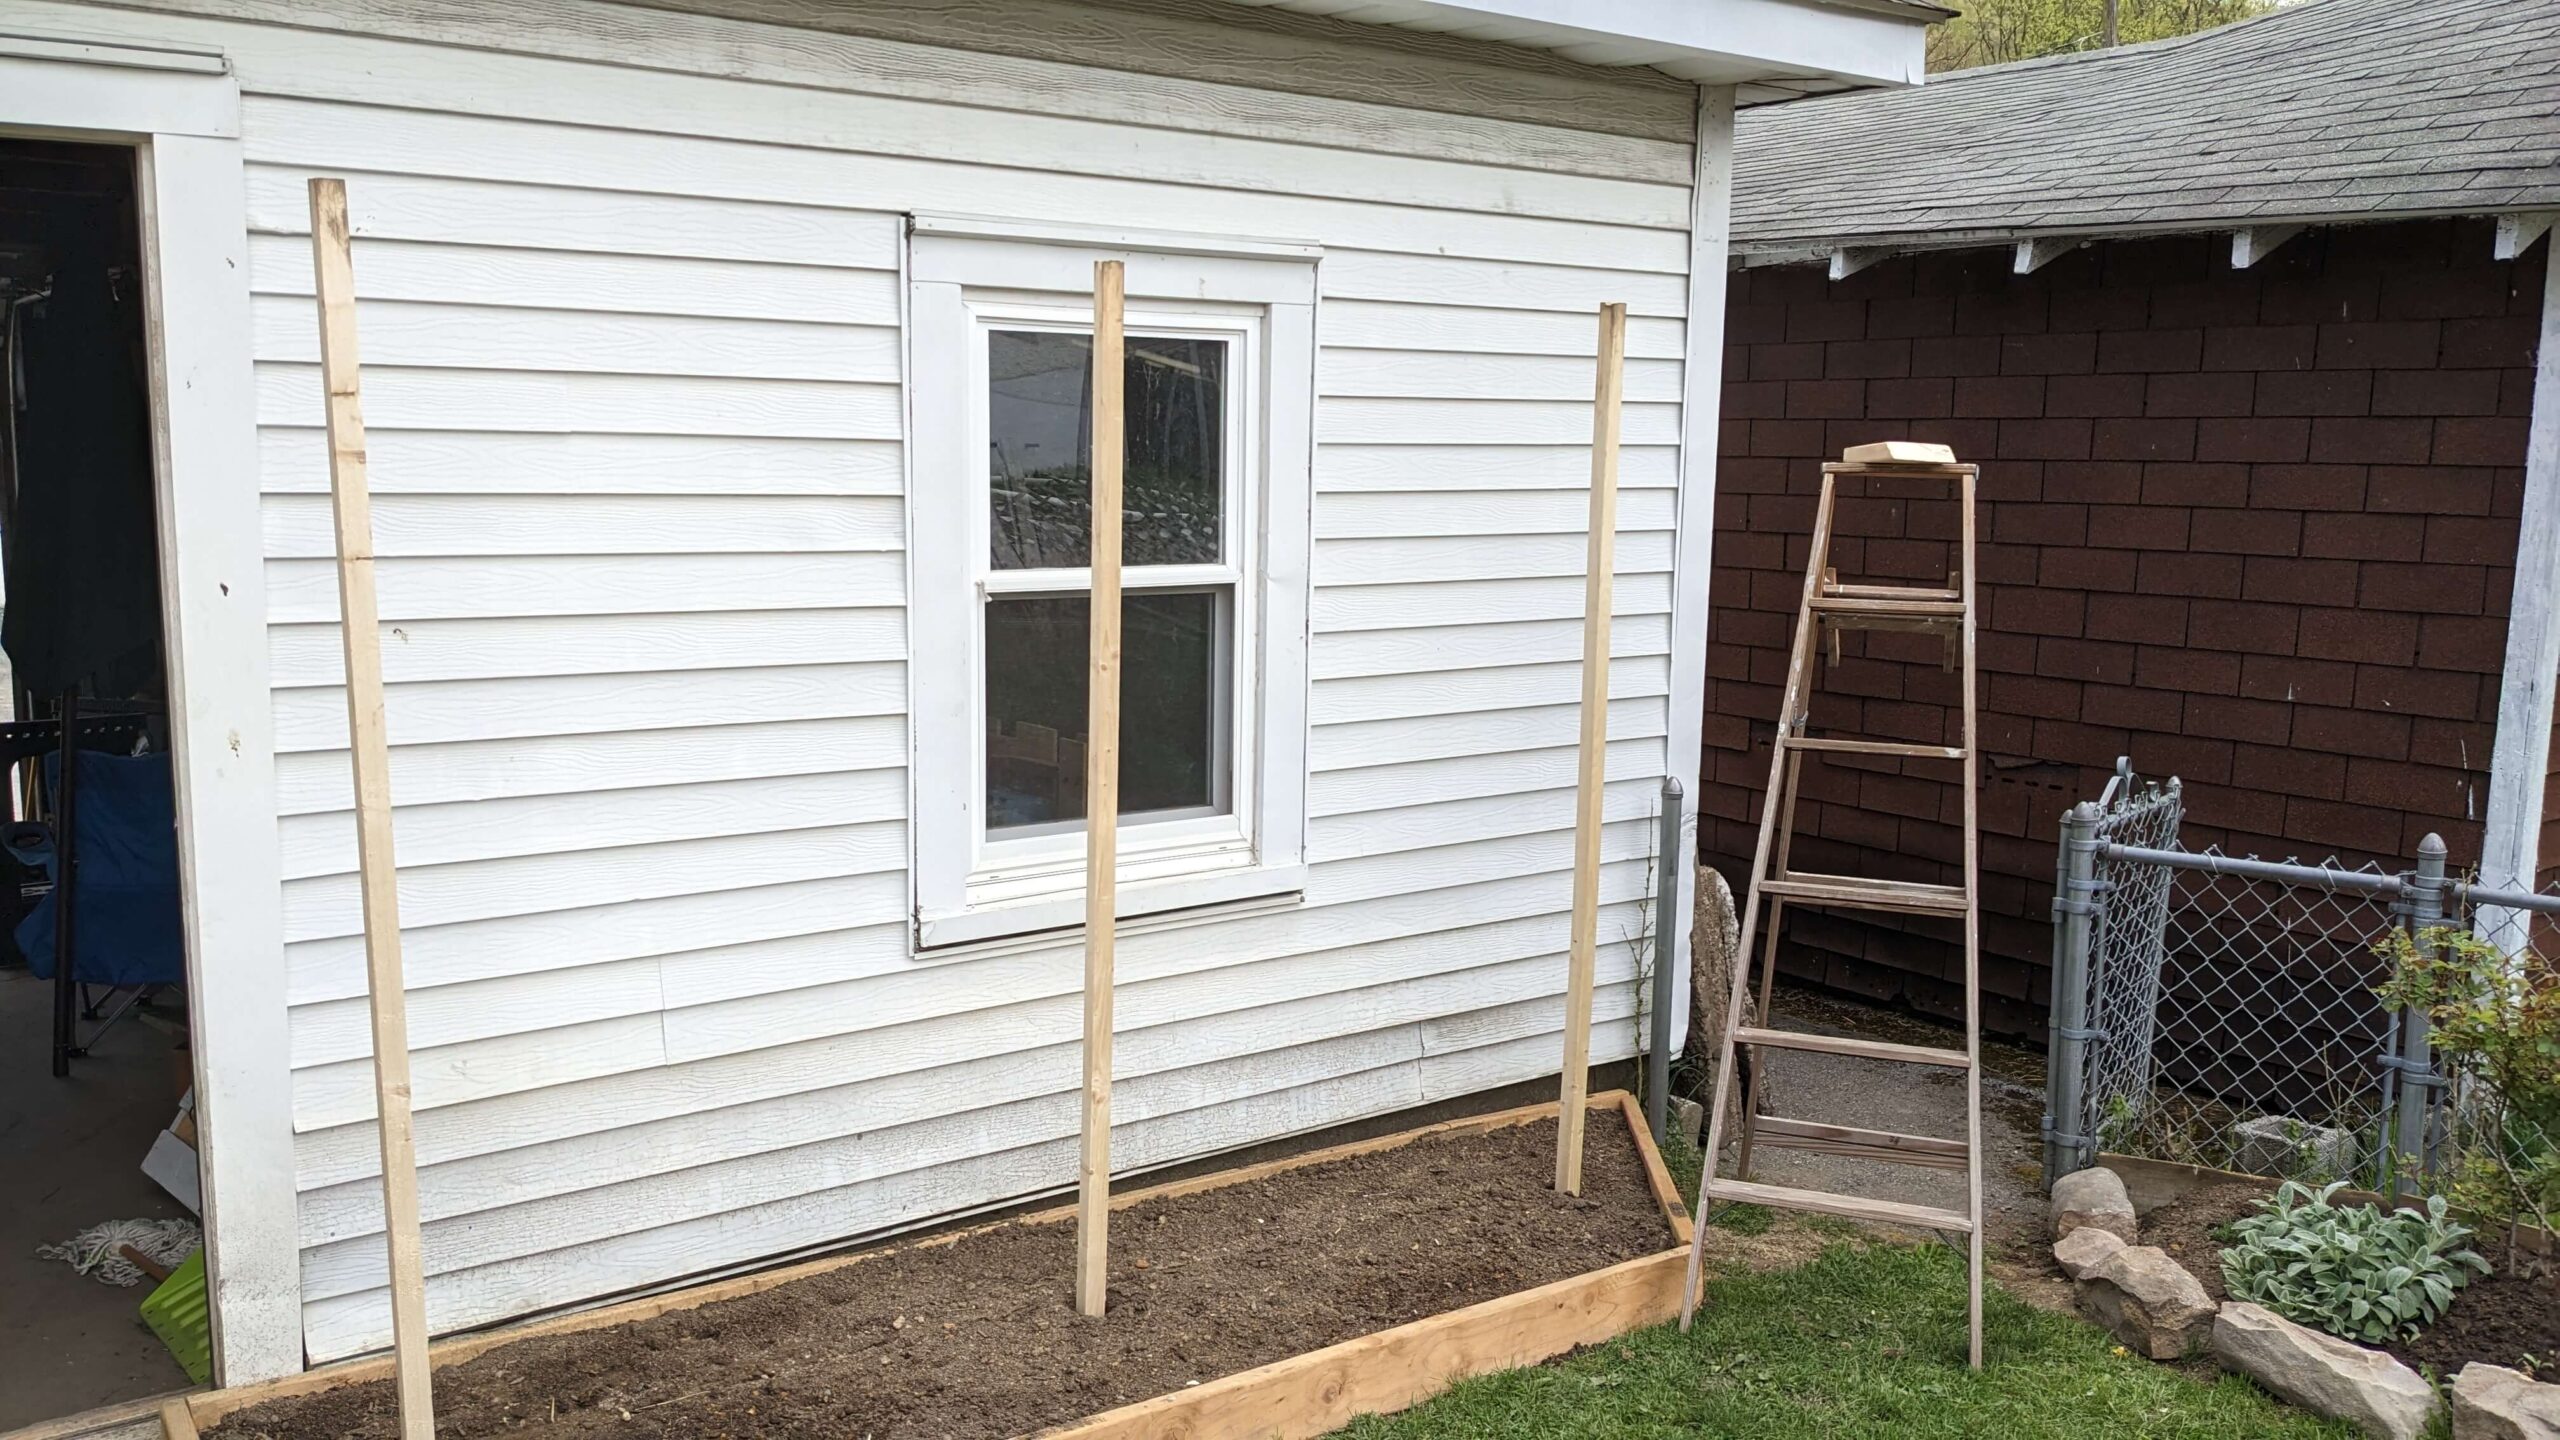
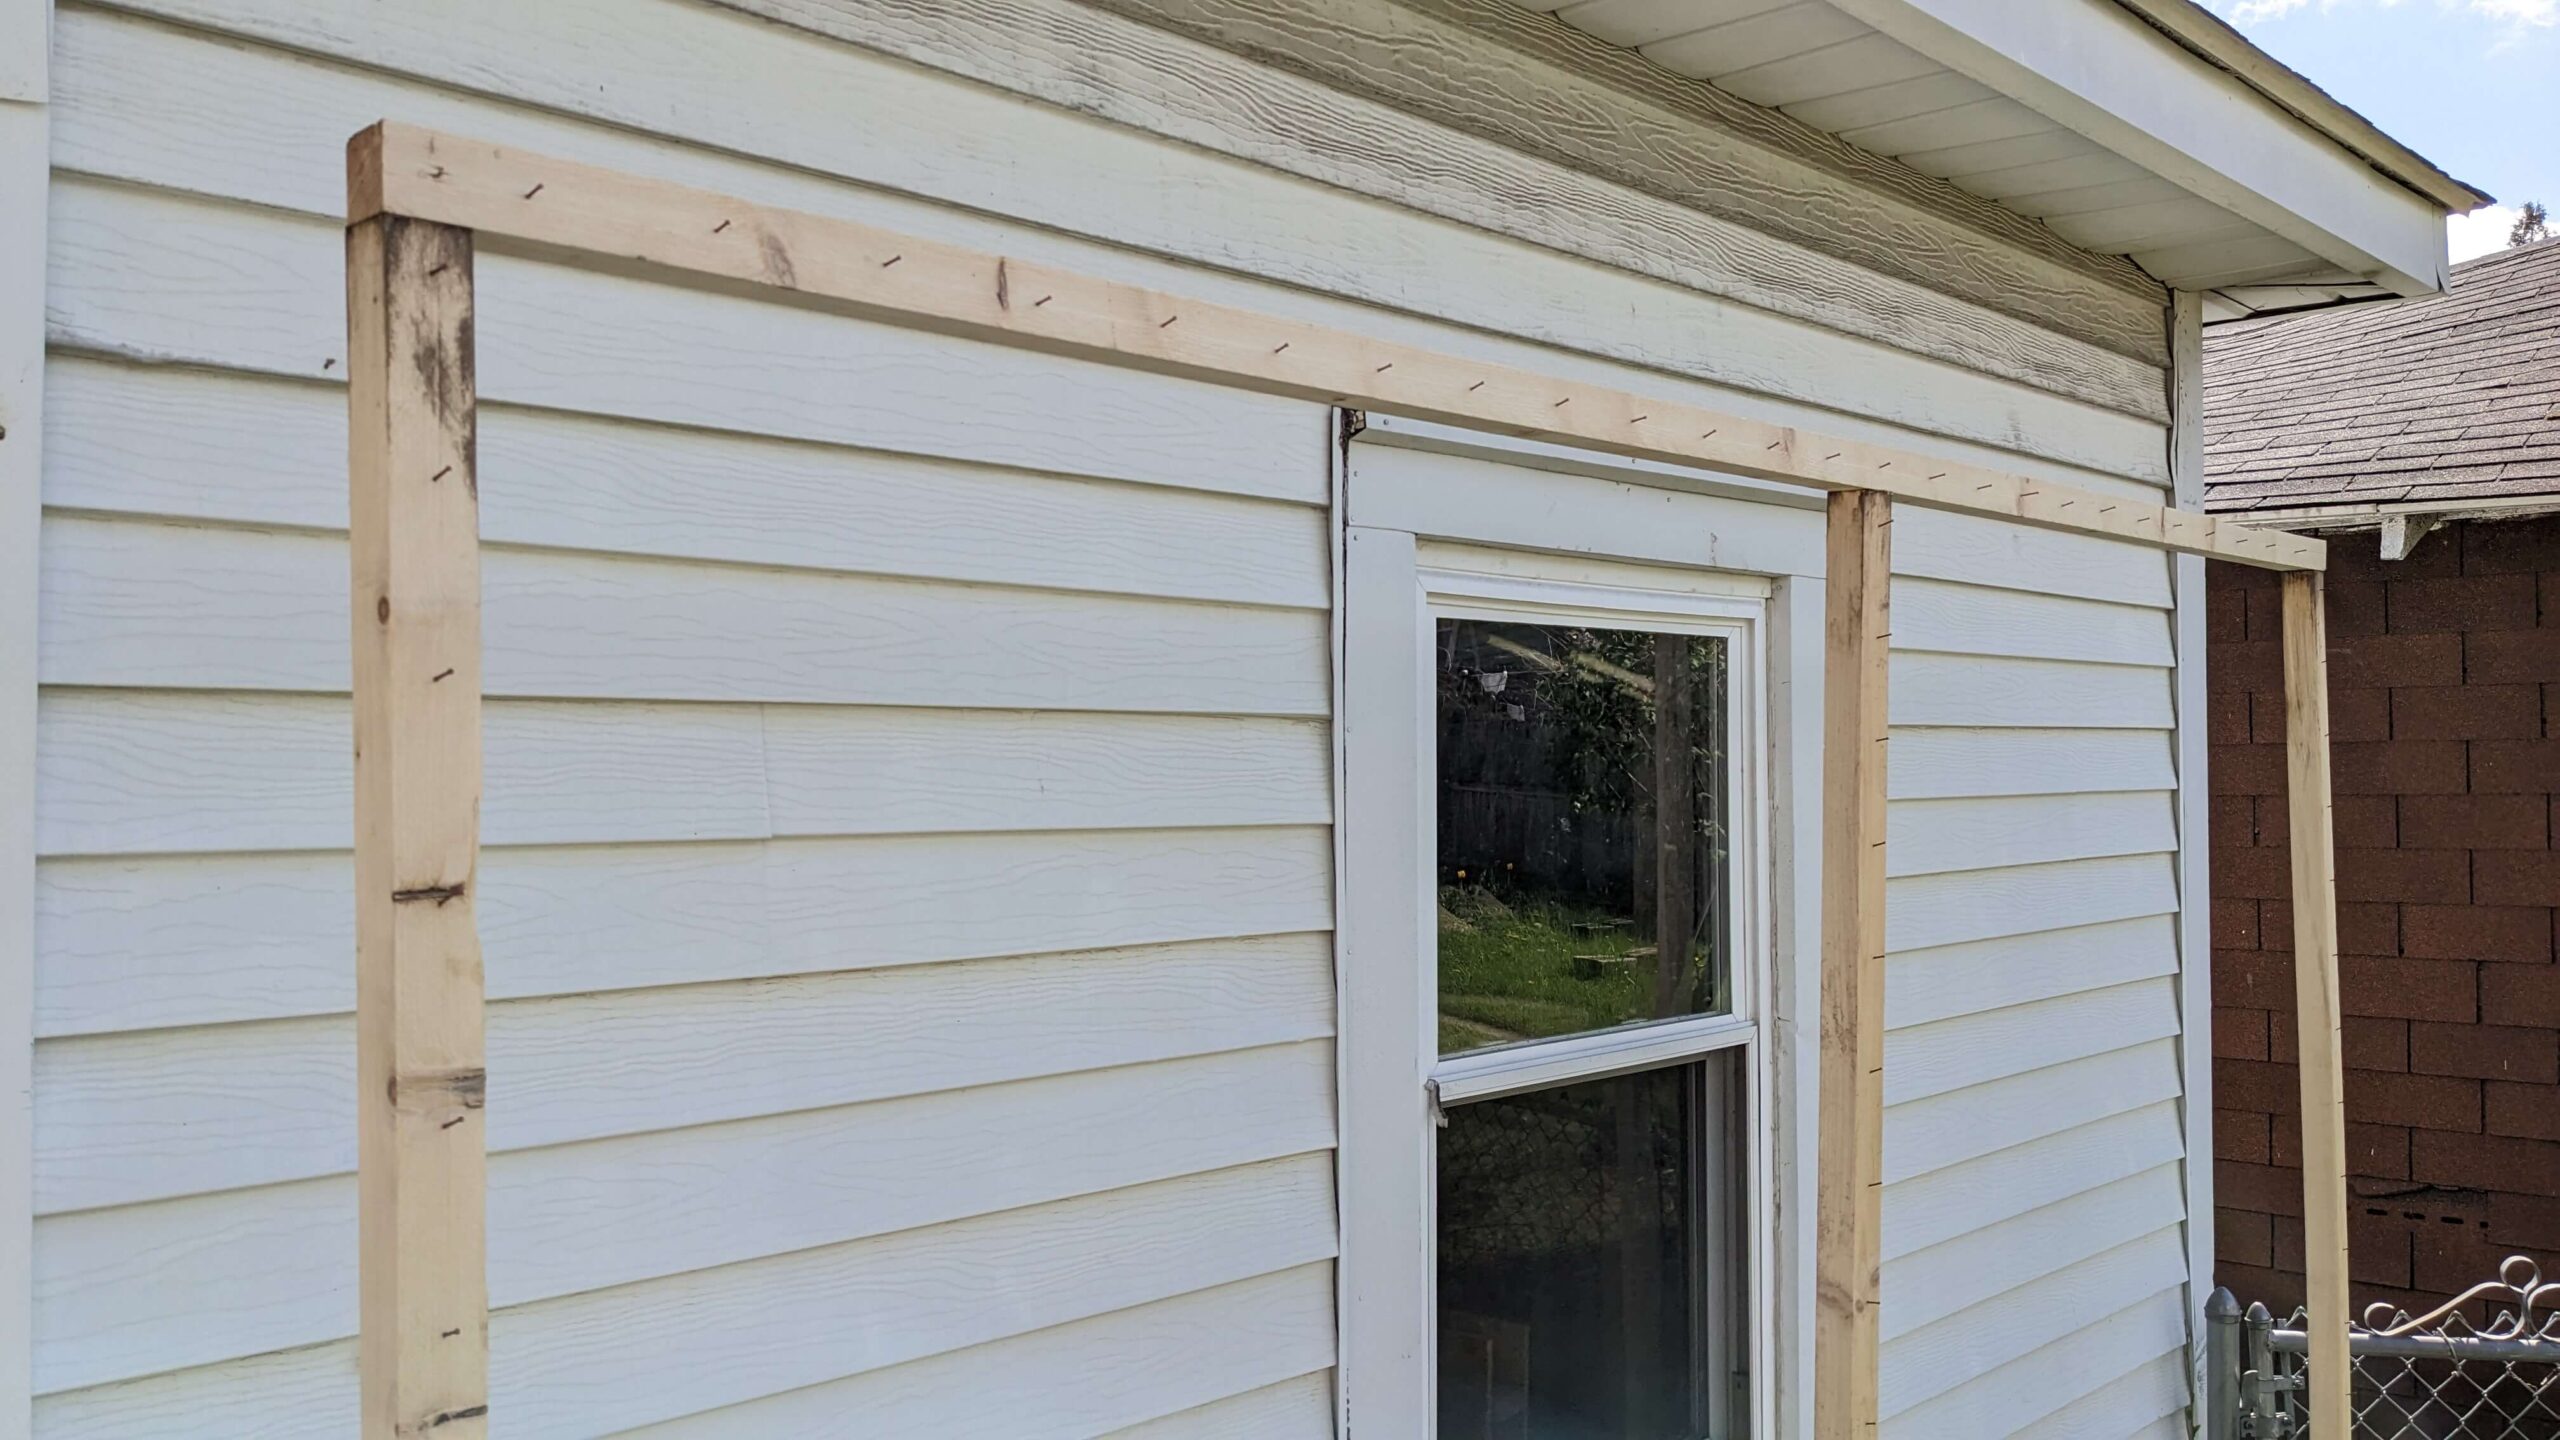
Then, I grabbed a ladder and screwed in the top bar. This was as simple as setting it on top of the three posts and securing it. I screwed them from the top into the end of each vertical post. I was not worried about whether the posts were completely straight as long as they were close. The following afternoon, I set the nails around every board on the garden trellis. This was tedious, so to have consistency in the distance between each nail I used a small piece of wood. I placed it against the frame each time I set a nail to see the general spot I would set the next one. It wasn’t essential for the nails to be exactly right, as this was designed to be quick and easy.
I then attached my string horizontally across the frame. They sell netting on Amazon that I could have used instead, but I wanted to use what I had. I didn’t cut the string to size, instead, I wrapped it around the nails and moved back and forth across the trellis. I was worried this would compromise the trellis if the string broke, but I soon realized it was not an issue.
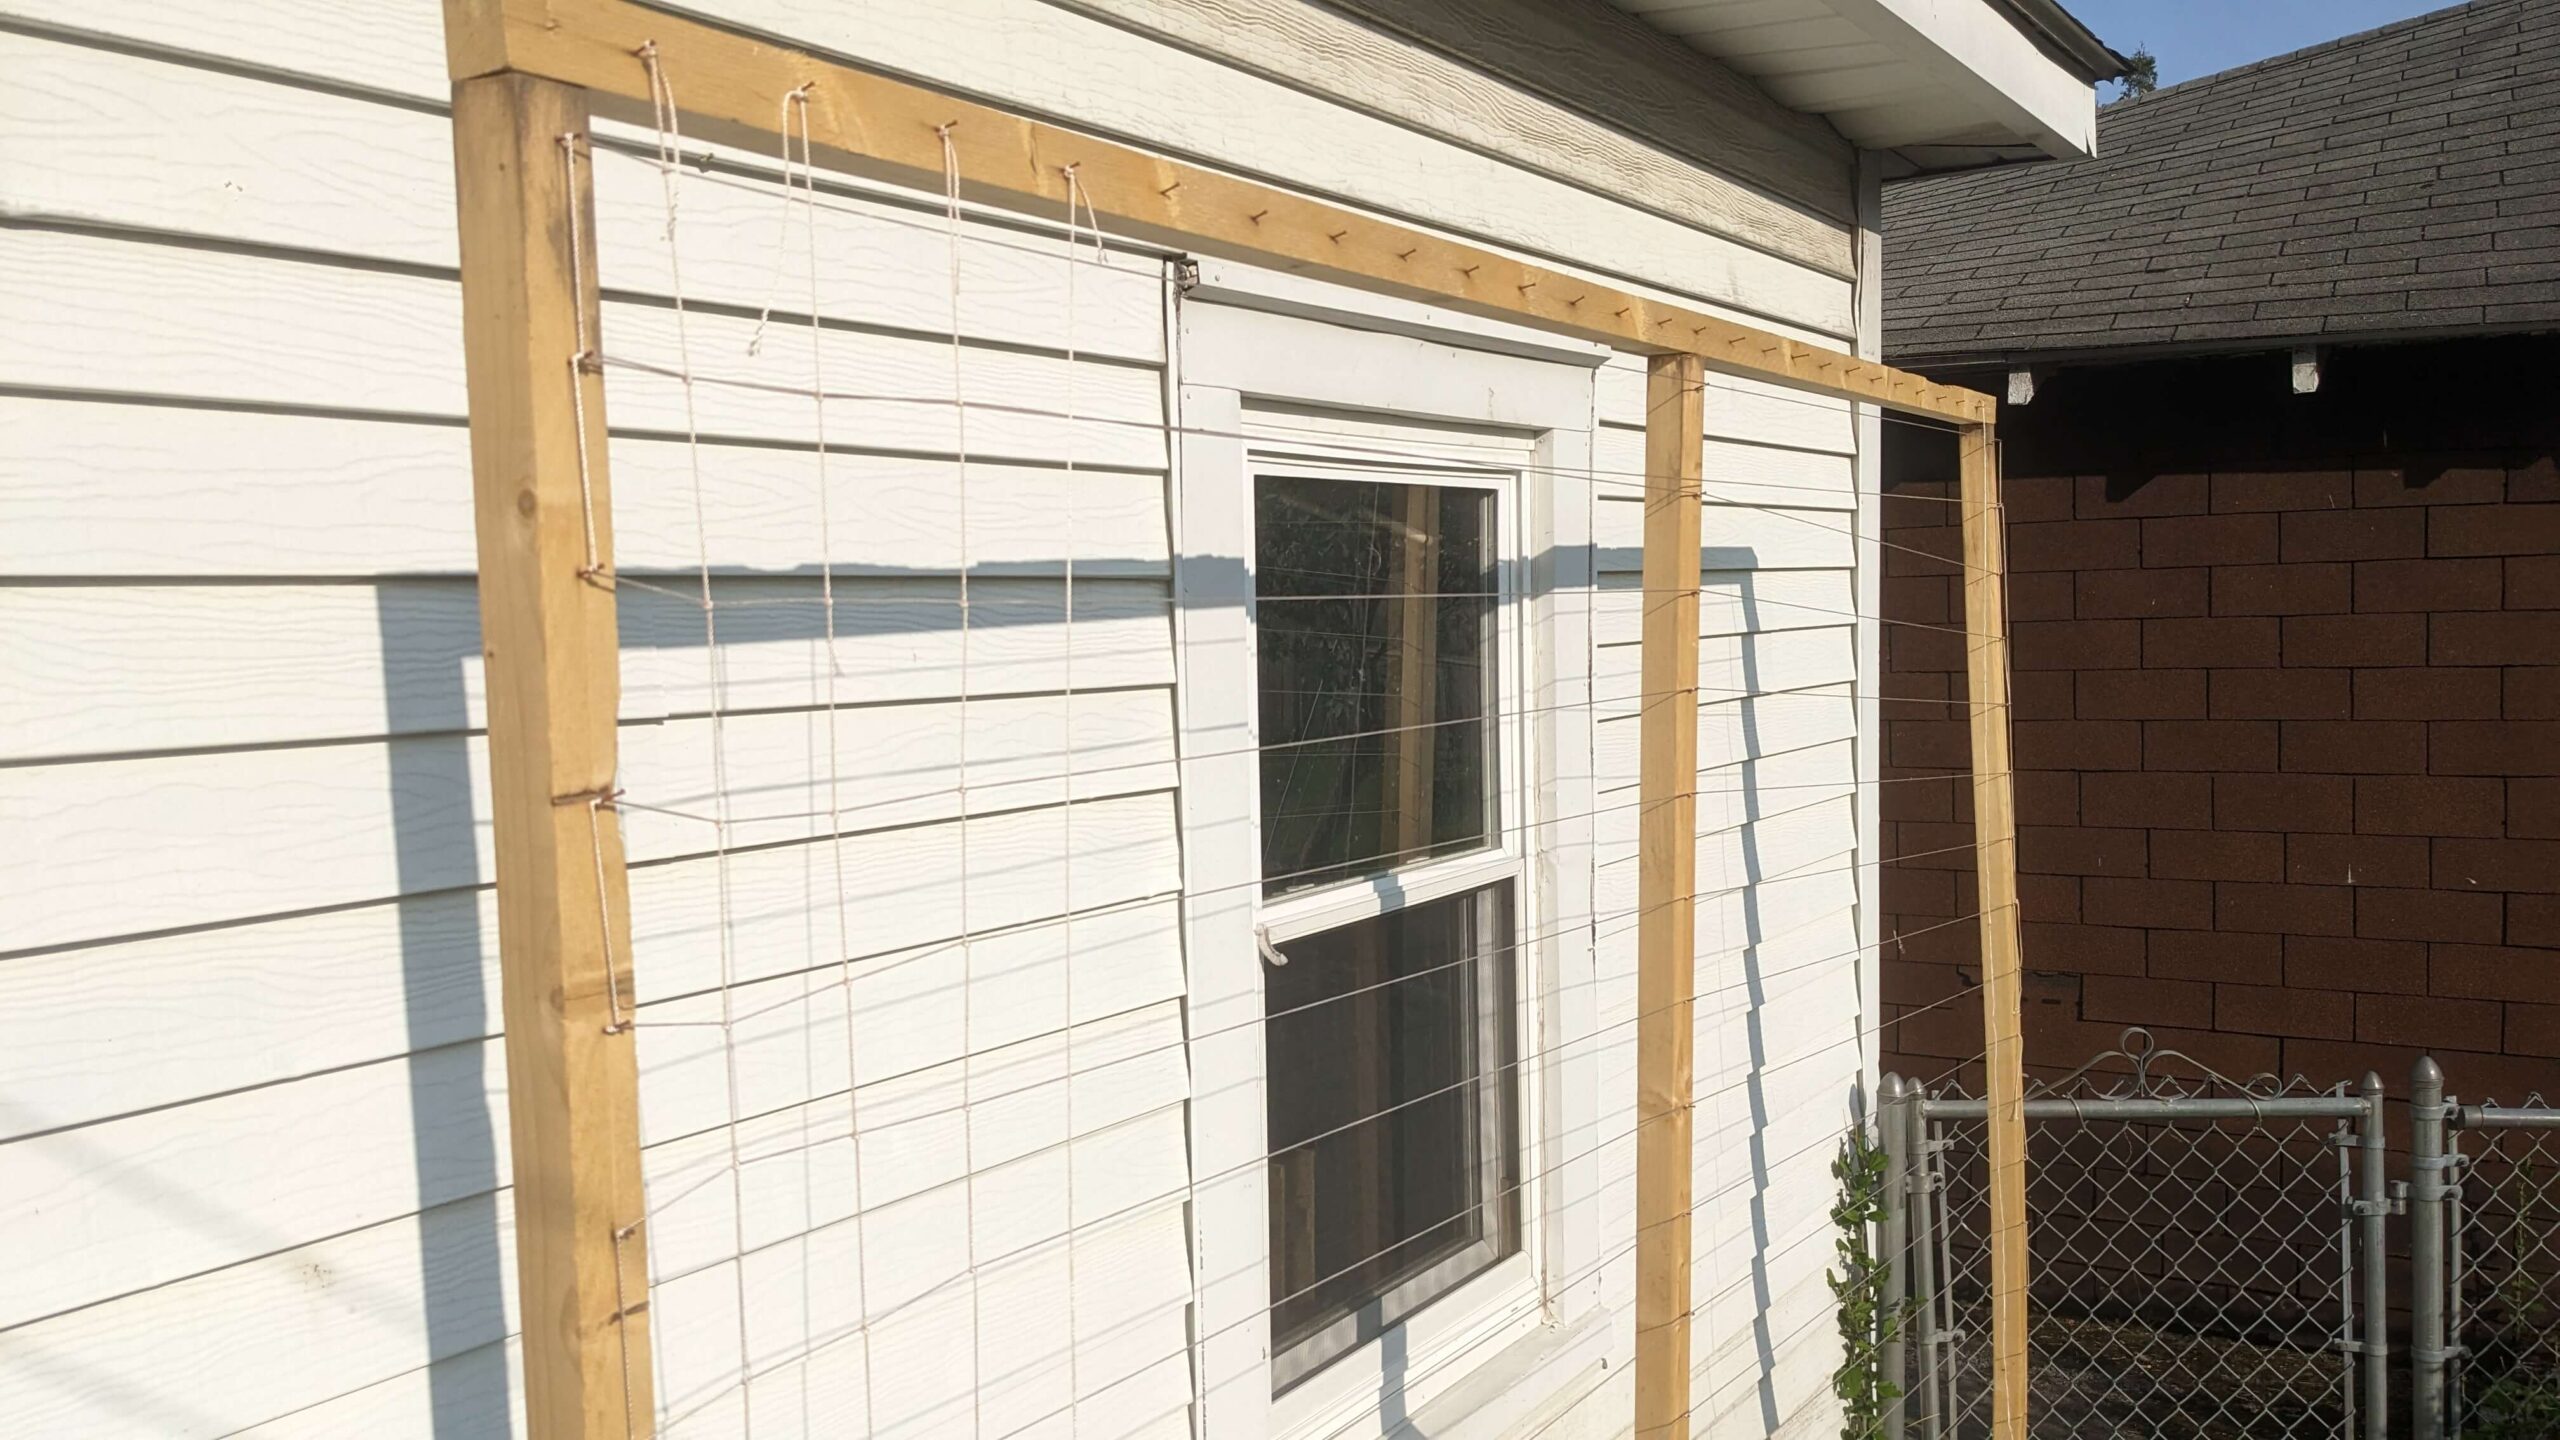
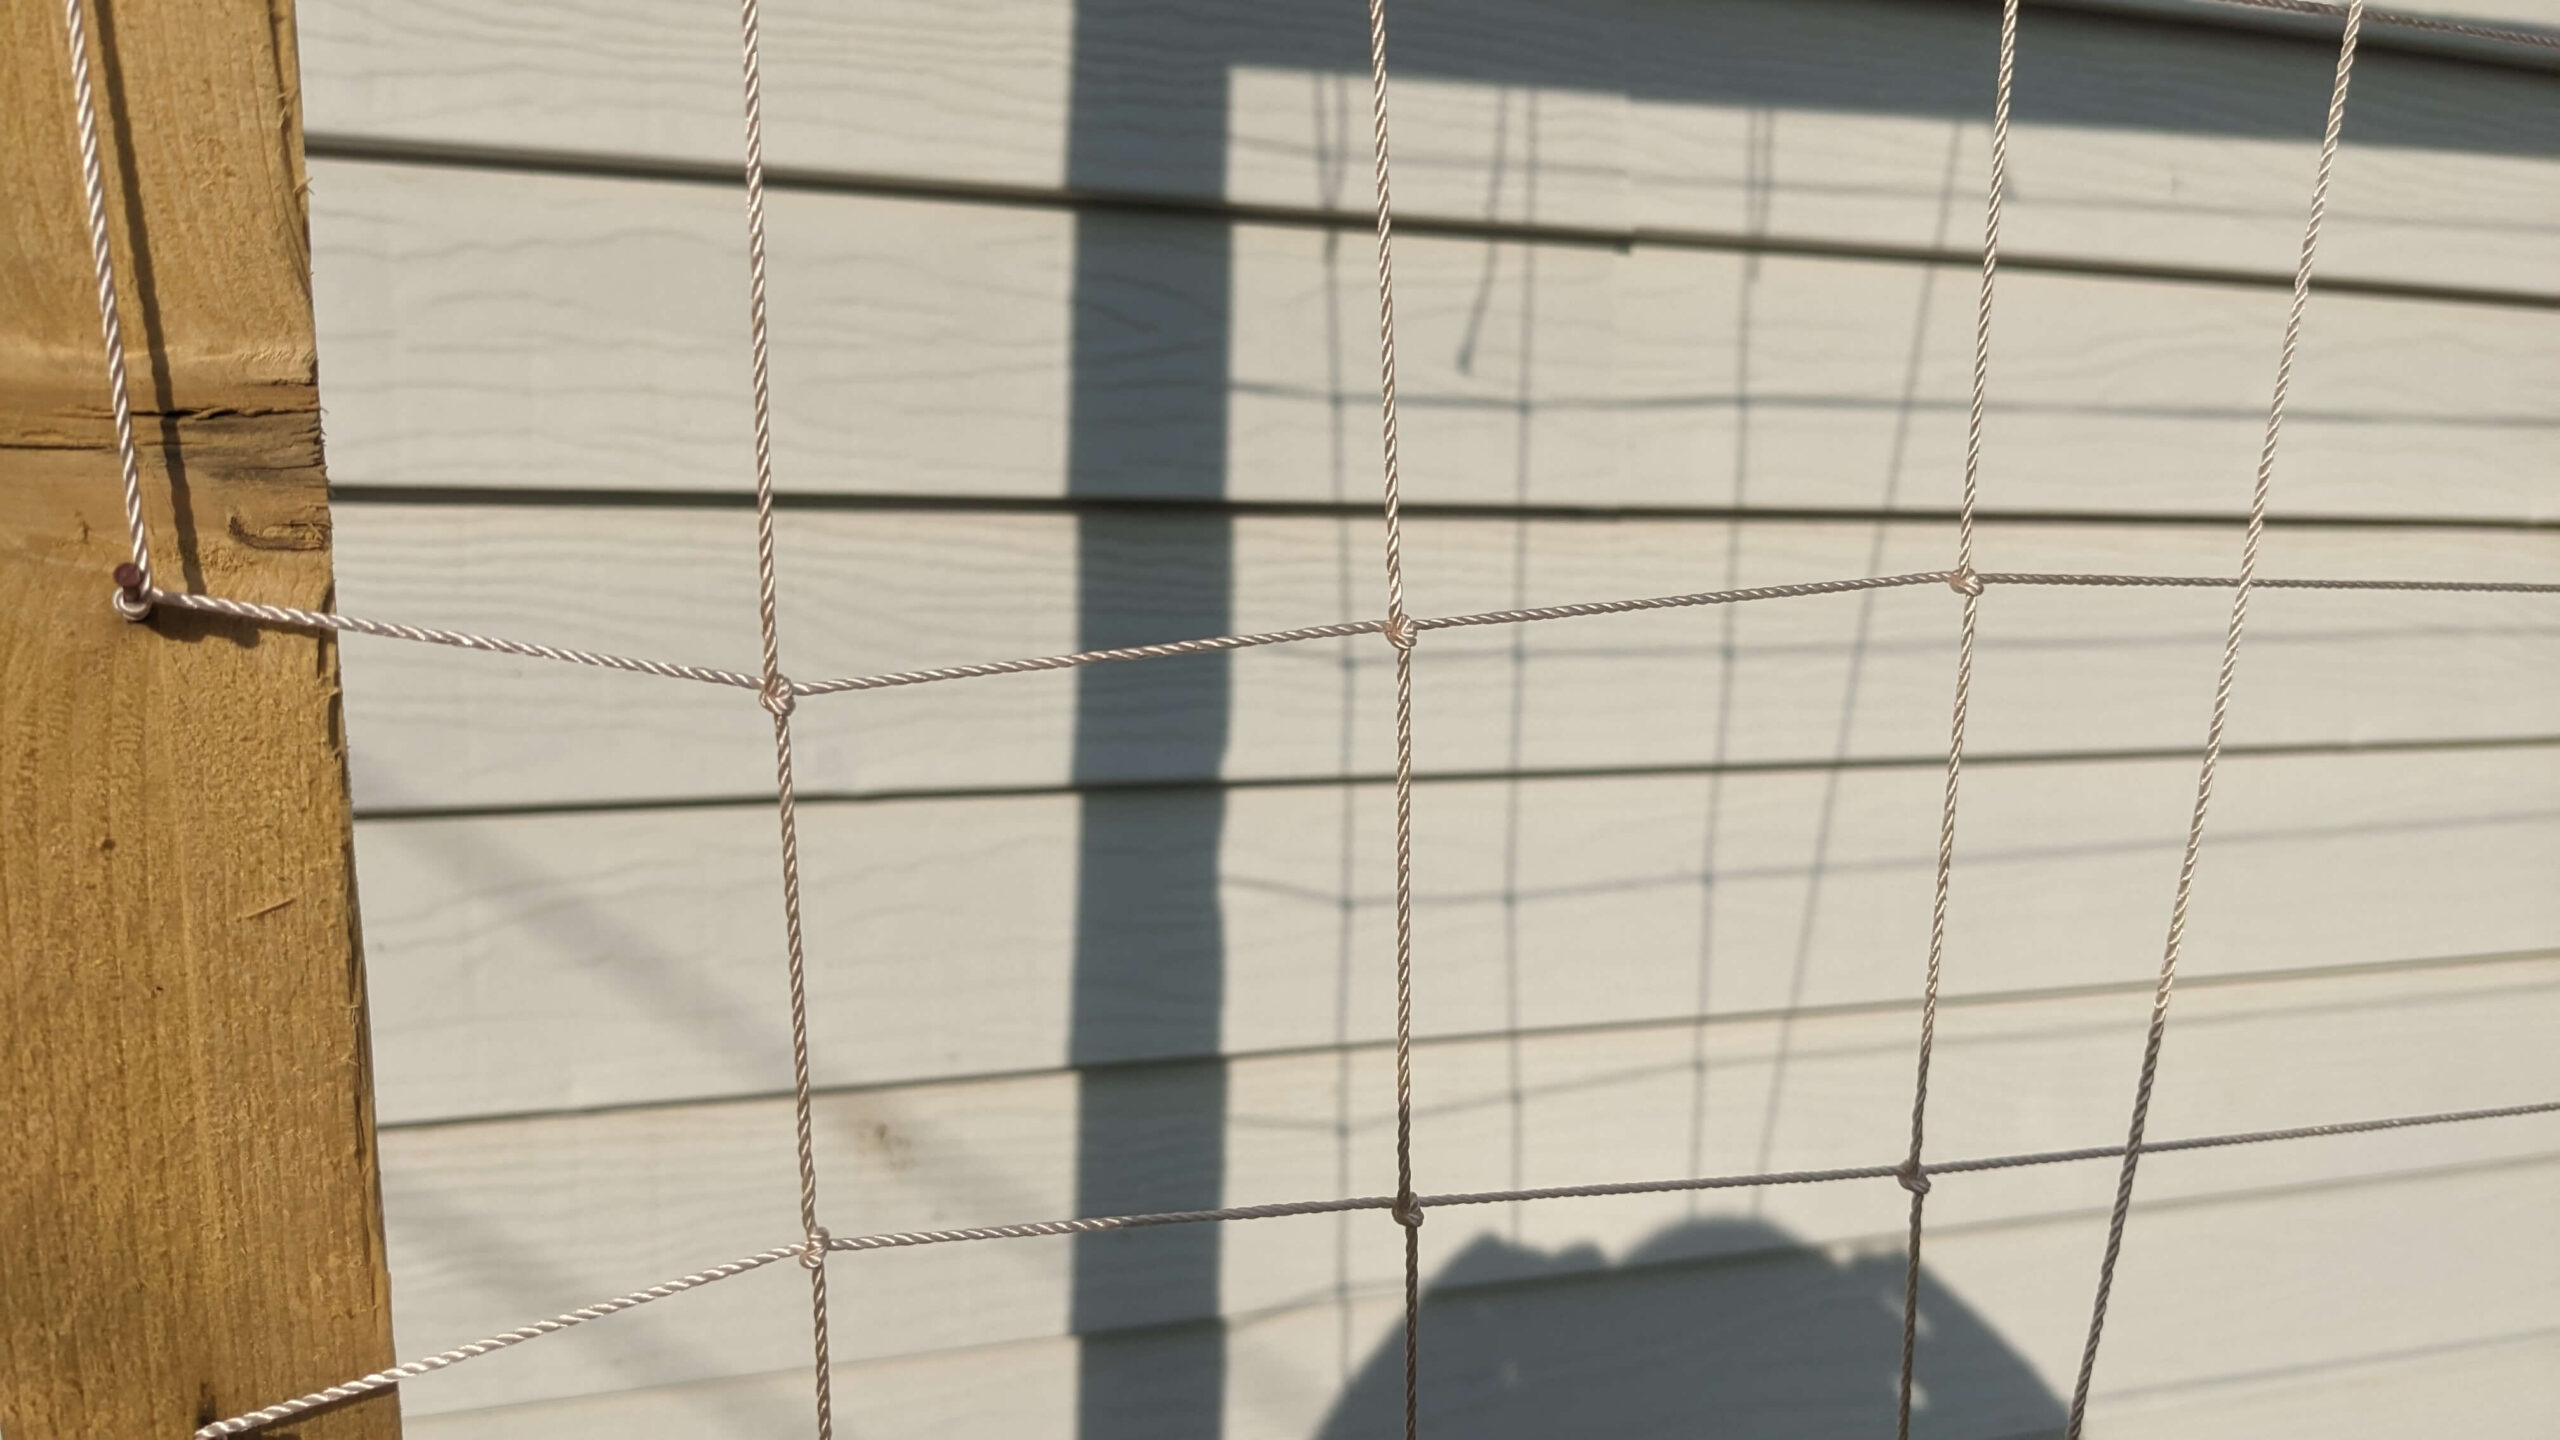
Later, when I attached the vertical strings to the trellis, I took the time to tie them to each horizontal string from the top to the bottom. It was a tedious task that Megan helped me with. After it was finished, I realized that the potential of the long horizontal string breaking was no longer an issue (all of the knots kept everything in place). I had created a strong garden trellis that would hold the weight of more than a dozen plants, all for less than $10!
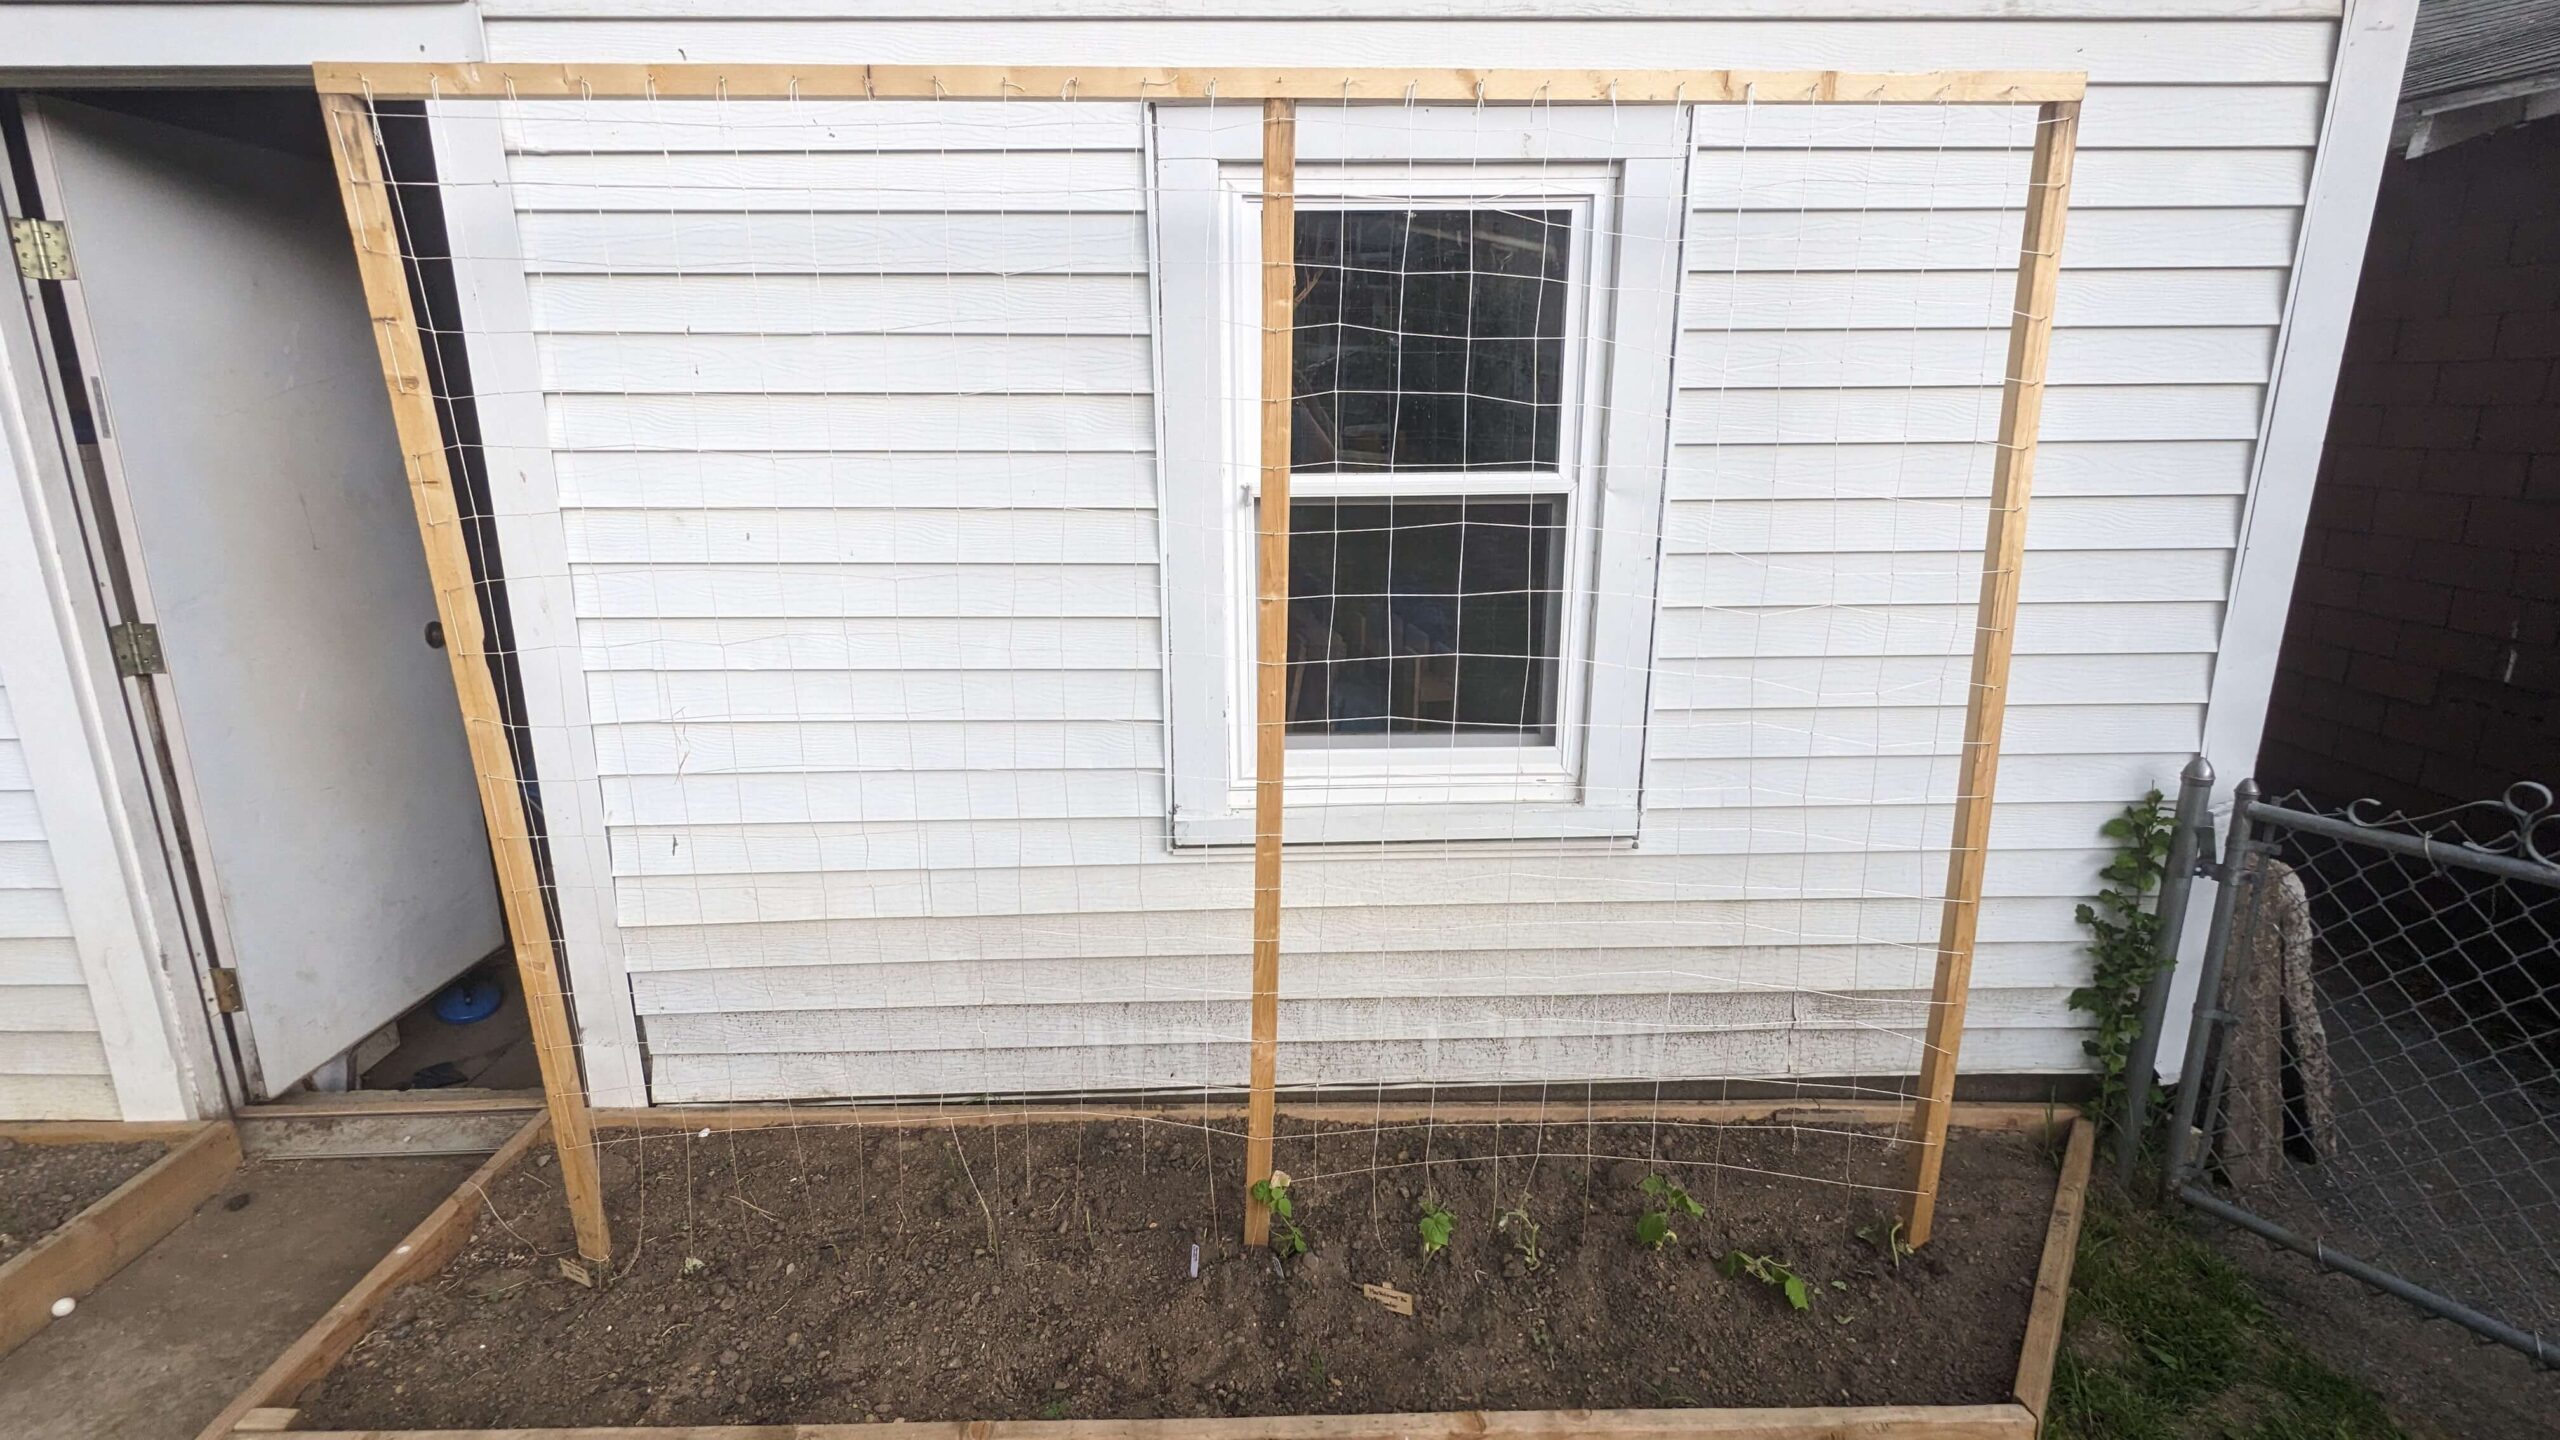
Did the garden trellis work?
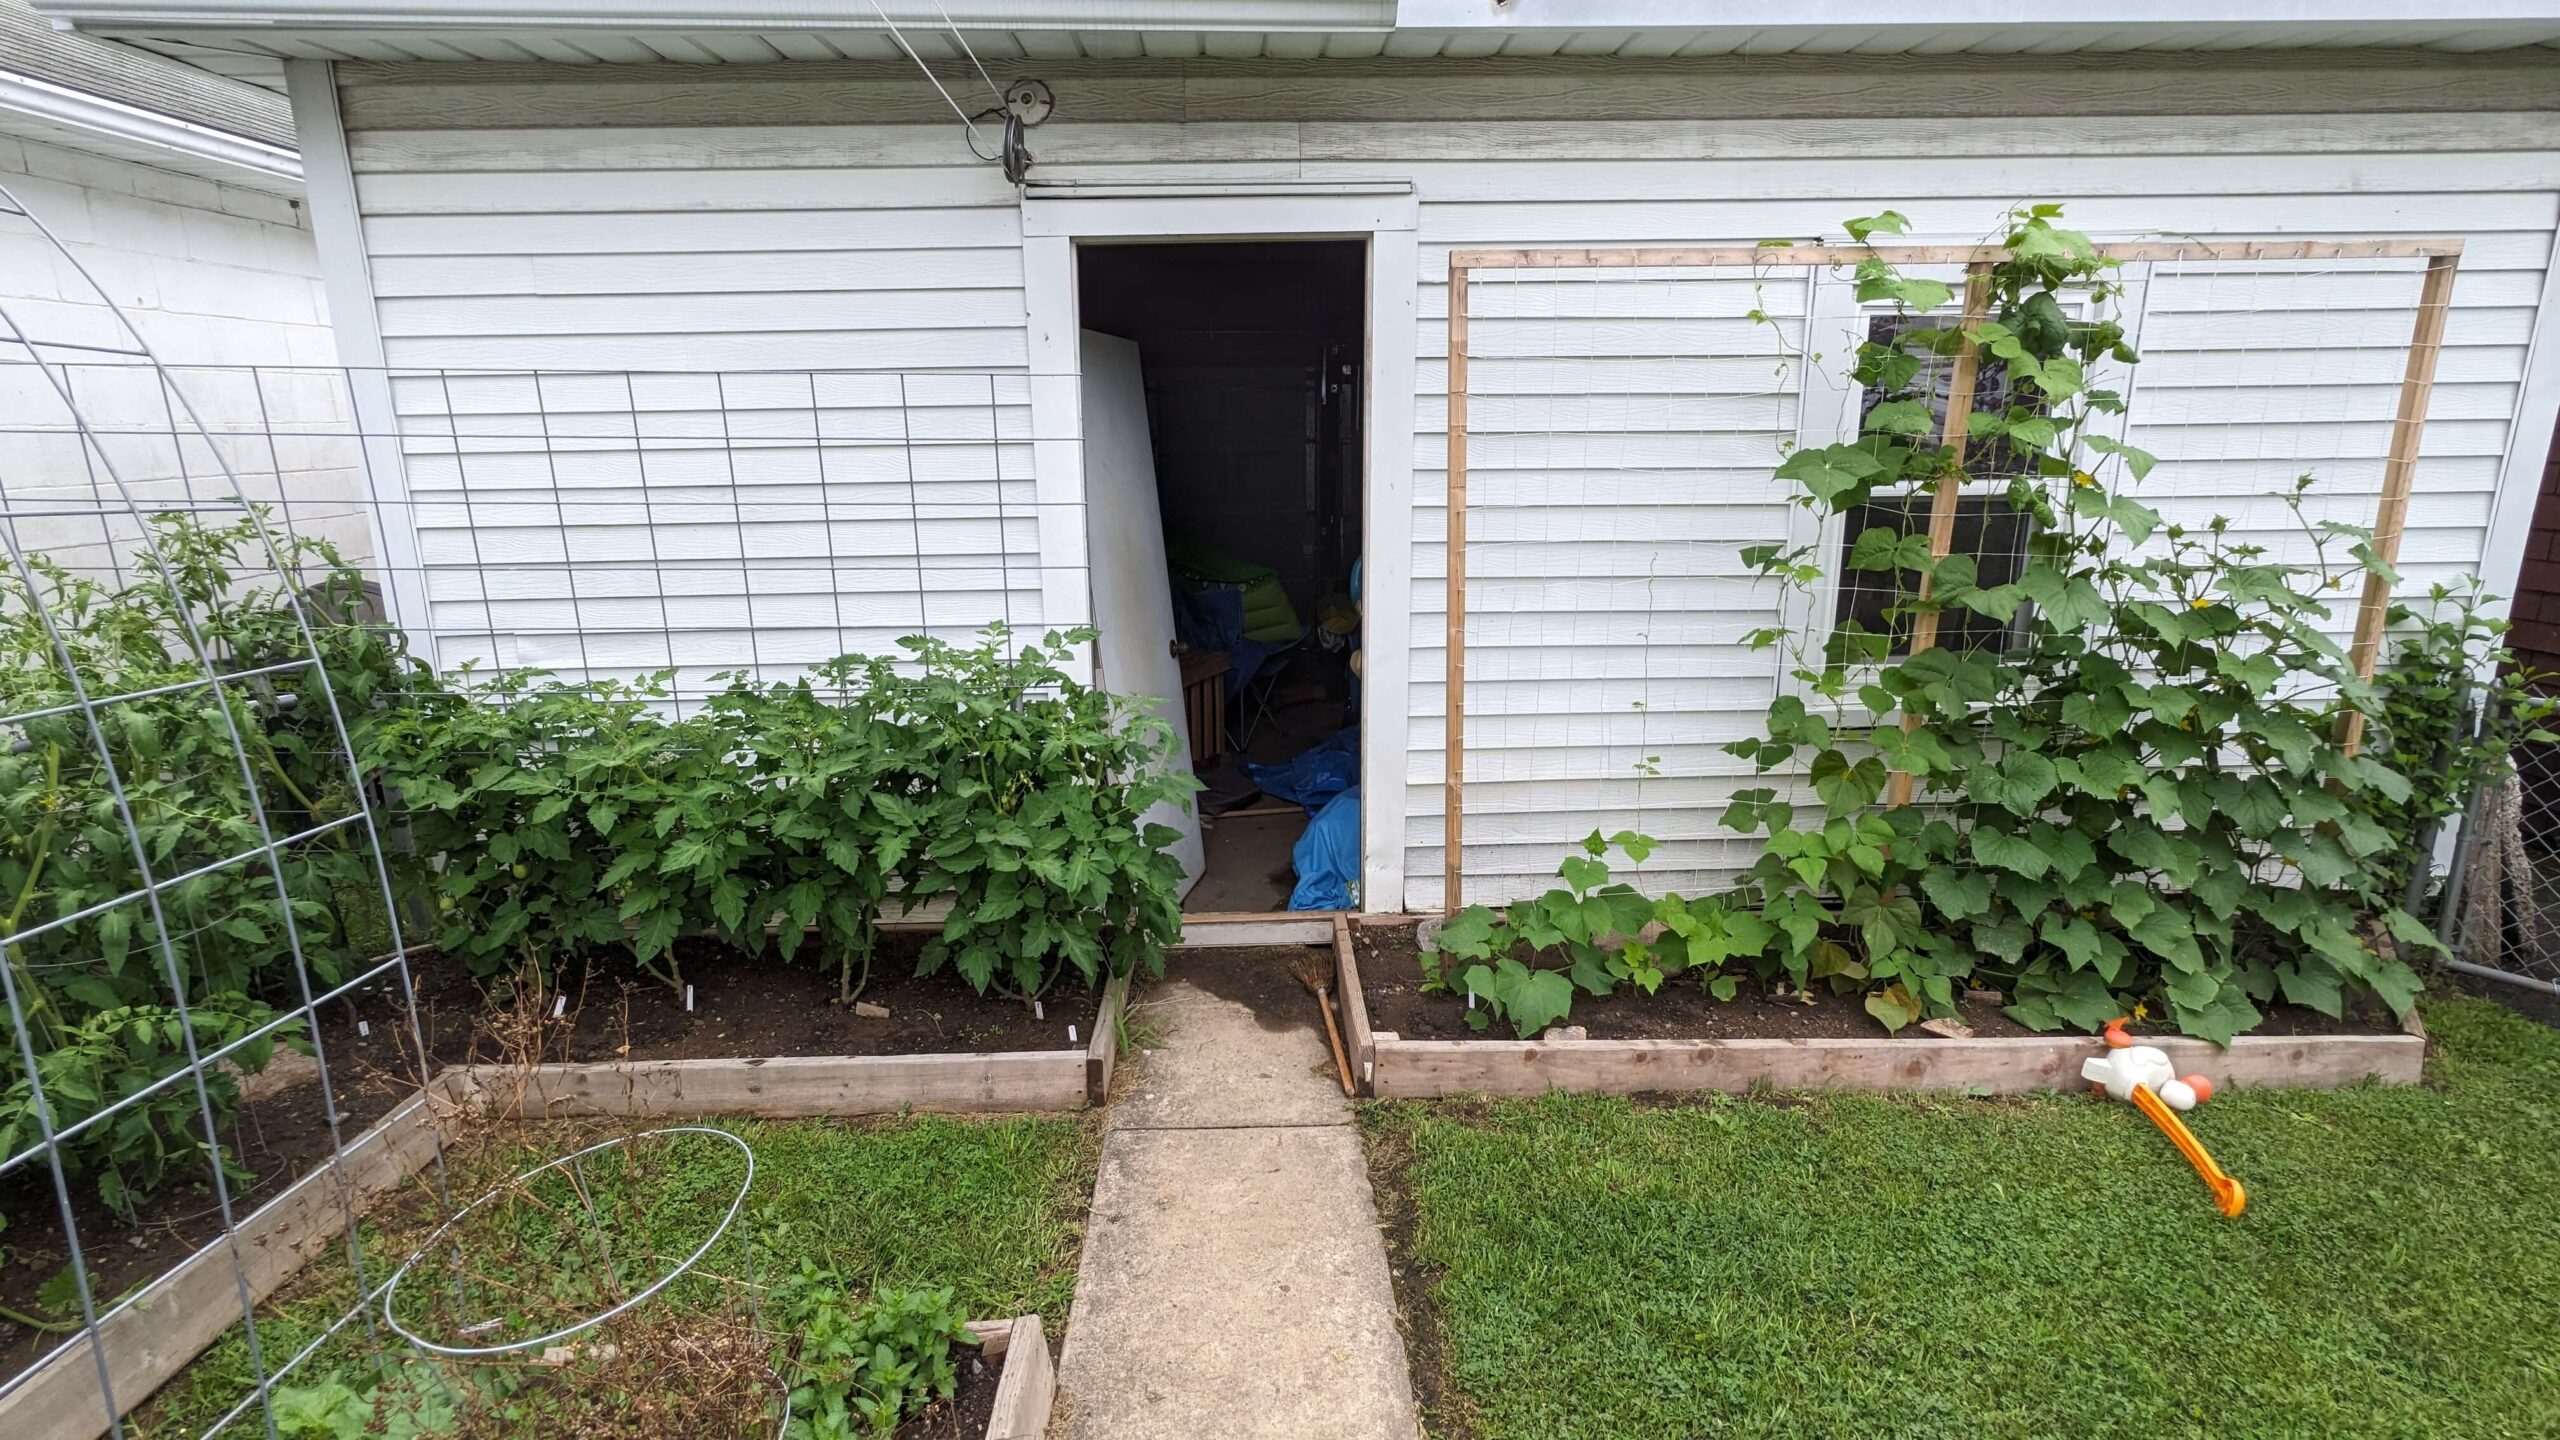
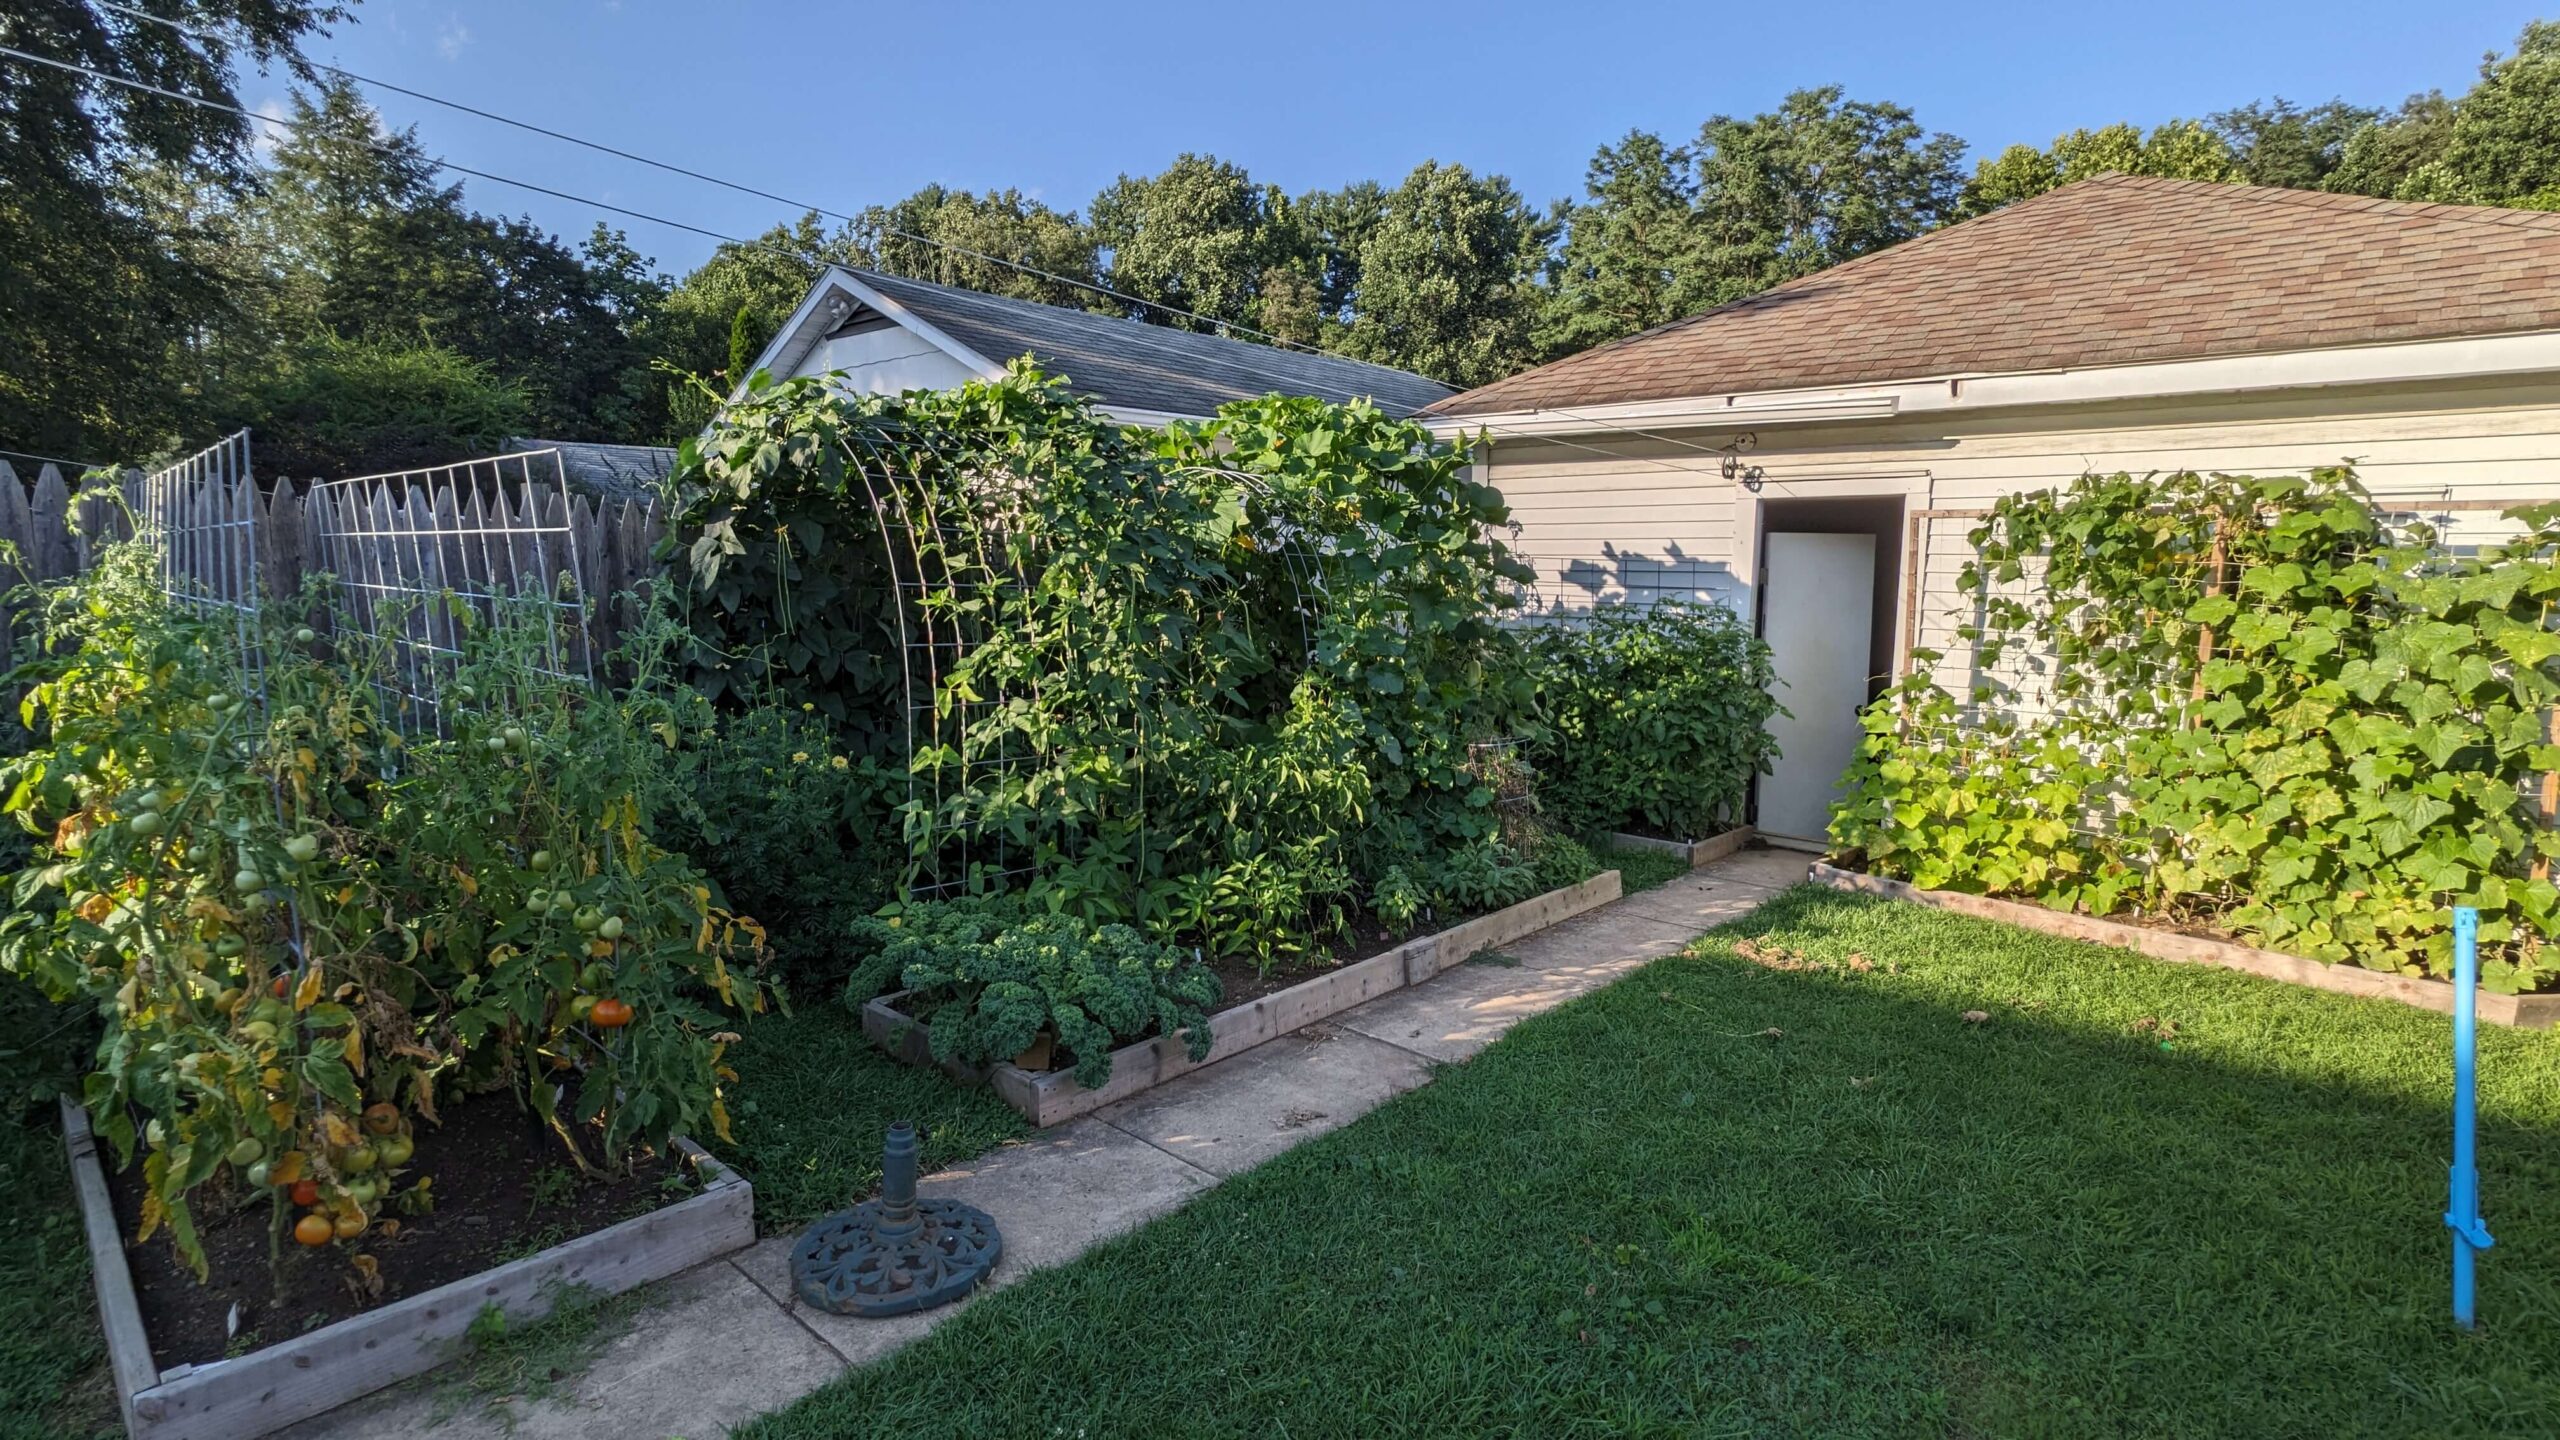
Yes, we had complete success with our trellis this year. It added a beautiful wall of green in front of our garage the whole summer and was structurally sound. I would build this again for any vining plants we want to grow. If you have any experience with trellises, let me know in the comments! I am eager to hear any ways this design could be made more simple, or other garden trellis ideas that you have!
Pin it for later!
