When I pulled out my fall decor bin this year, I was a little disappointed. I’ve been collecting decor for 11 years now so it feels like I should have a lot and I do. But I realized that what I have is a lot of small pieces that can go in vases or baskets or sit next to books, nothing bigger like a fall wreath. There are some random fall-colored flowers and cheap garlands that I found for free over the last year too. Also, I have a fall sign for my front door and my back door and that’s about it.
This time of year most people’s porches are decorated for a mix of fall and Halloween. I’ve always wanted to have a beautiful seasonally decorated front porch but it always seems expensive because Pinterest tells me that just one pumpkin or mum is not enough fall spirit. (I’m working on contentment with what I have). We have a hook in between our front windows for a Christmas wreath and I thought that I would love a fall wreath but I’m not going to spend twenty-five dollars or more on one from Amazon that doesn’t even fully match my style or the space.
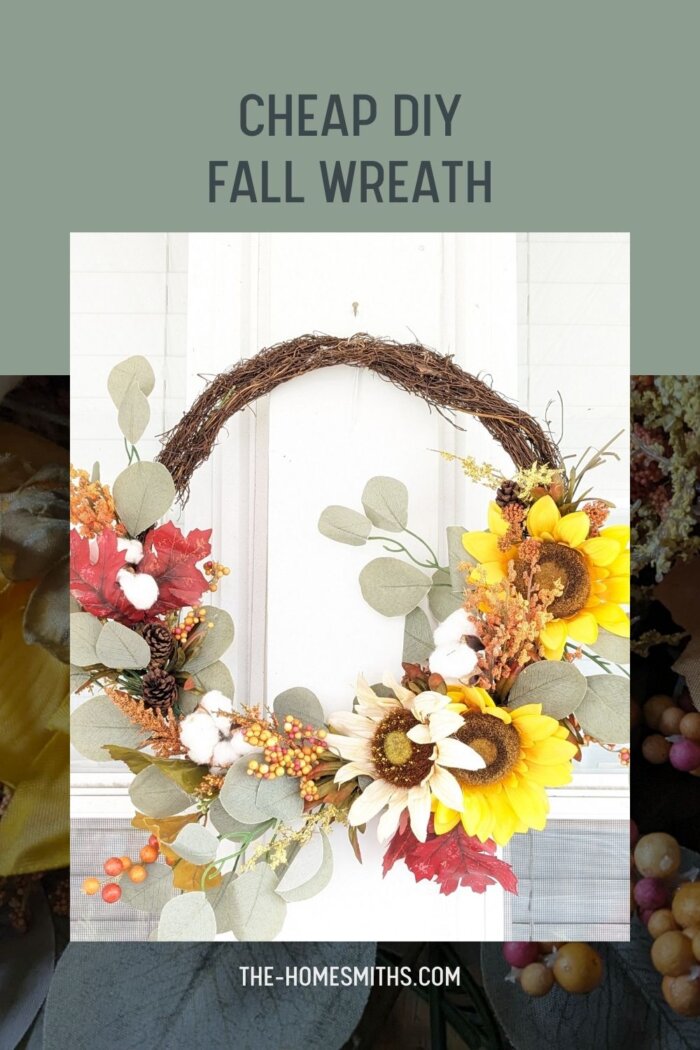
We also don’t have a large disposable income so I wanted to figure out how I could bring a little more fall to my porch using what I have in the attic. Below is a step-by-step explanation of how I took a cheap-looking, fake vine garland and turned it into a wreath using what I had on hand and a glue gun!
How much does it cost to make a fall wreath?
I made this one for free from stuff that I had gathered or had been given to me. This means that I made my fall wreath for free. I did not buy any new fall decor this year. You can find the equivalent to things I used for really cheap at yardsales and thrift shops if you don’t have it in your home.
![]() Frugal Living Tip: Learn your style when it comes to holiday decor. I have a Pinterest board for fall and Christmas decor that I browse every so often. Then when I go consignment or thrift shopping or do a swap with my friends, I have ideas of ways I can use items that I might find. Once you find stuff, keep it in a clearly labeled bag or box and take note of it somewhere so you don’t forget about it or accidentally duplicate it.
Frugal Living Tip: Learn your style when it comes to holiday decor. I have a Pinterest board for fall and Christmas decor that I browse every so often. Then when I go consignment or thrift shopping or do a swap with my friends, I have ideas of ways I can use items that I might find. Once you find stuff, keep it in a clearly labeled bag or box and take note of it somewhere so you don’t forget about it or accidentally duplicate it.
What supplies do you need to build a fall wreath?
- Glue gun and glue sticks (like these)
- Wreath form or cheap faux grapevine garland
- Fall foliage (you can use dried leaves and flowers from your garden or back yard)
- Pine cones (you can also get these from your backyard!)
- Foam pumpkins or beads/berries
How to make a fall wreath:
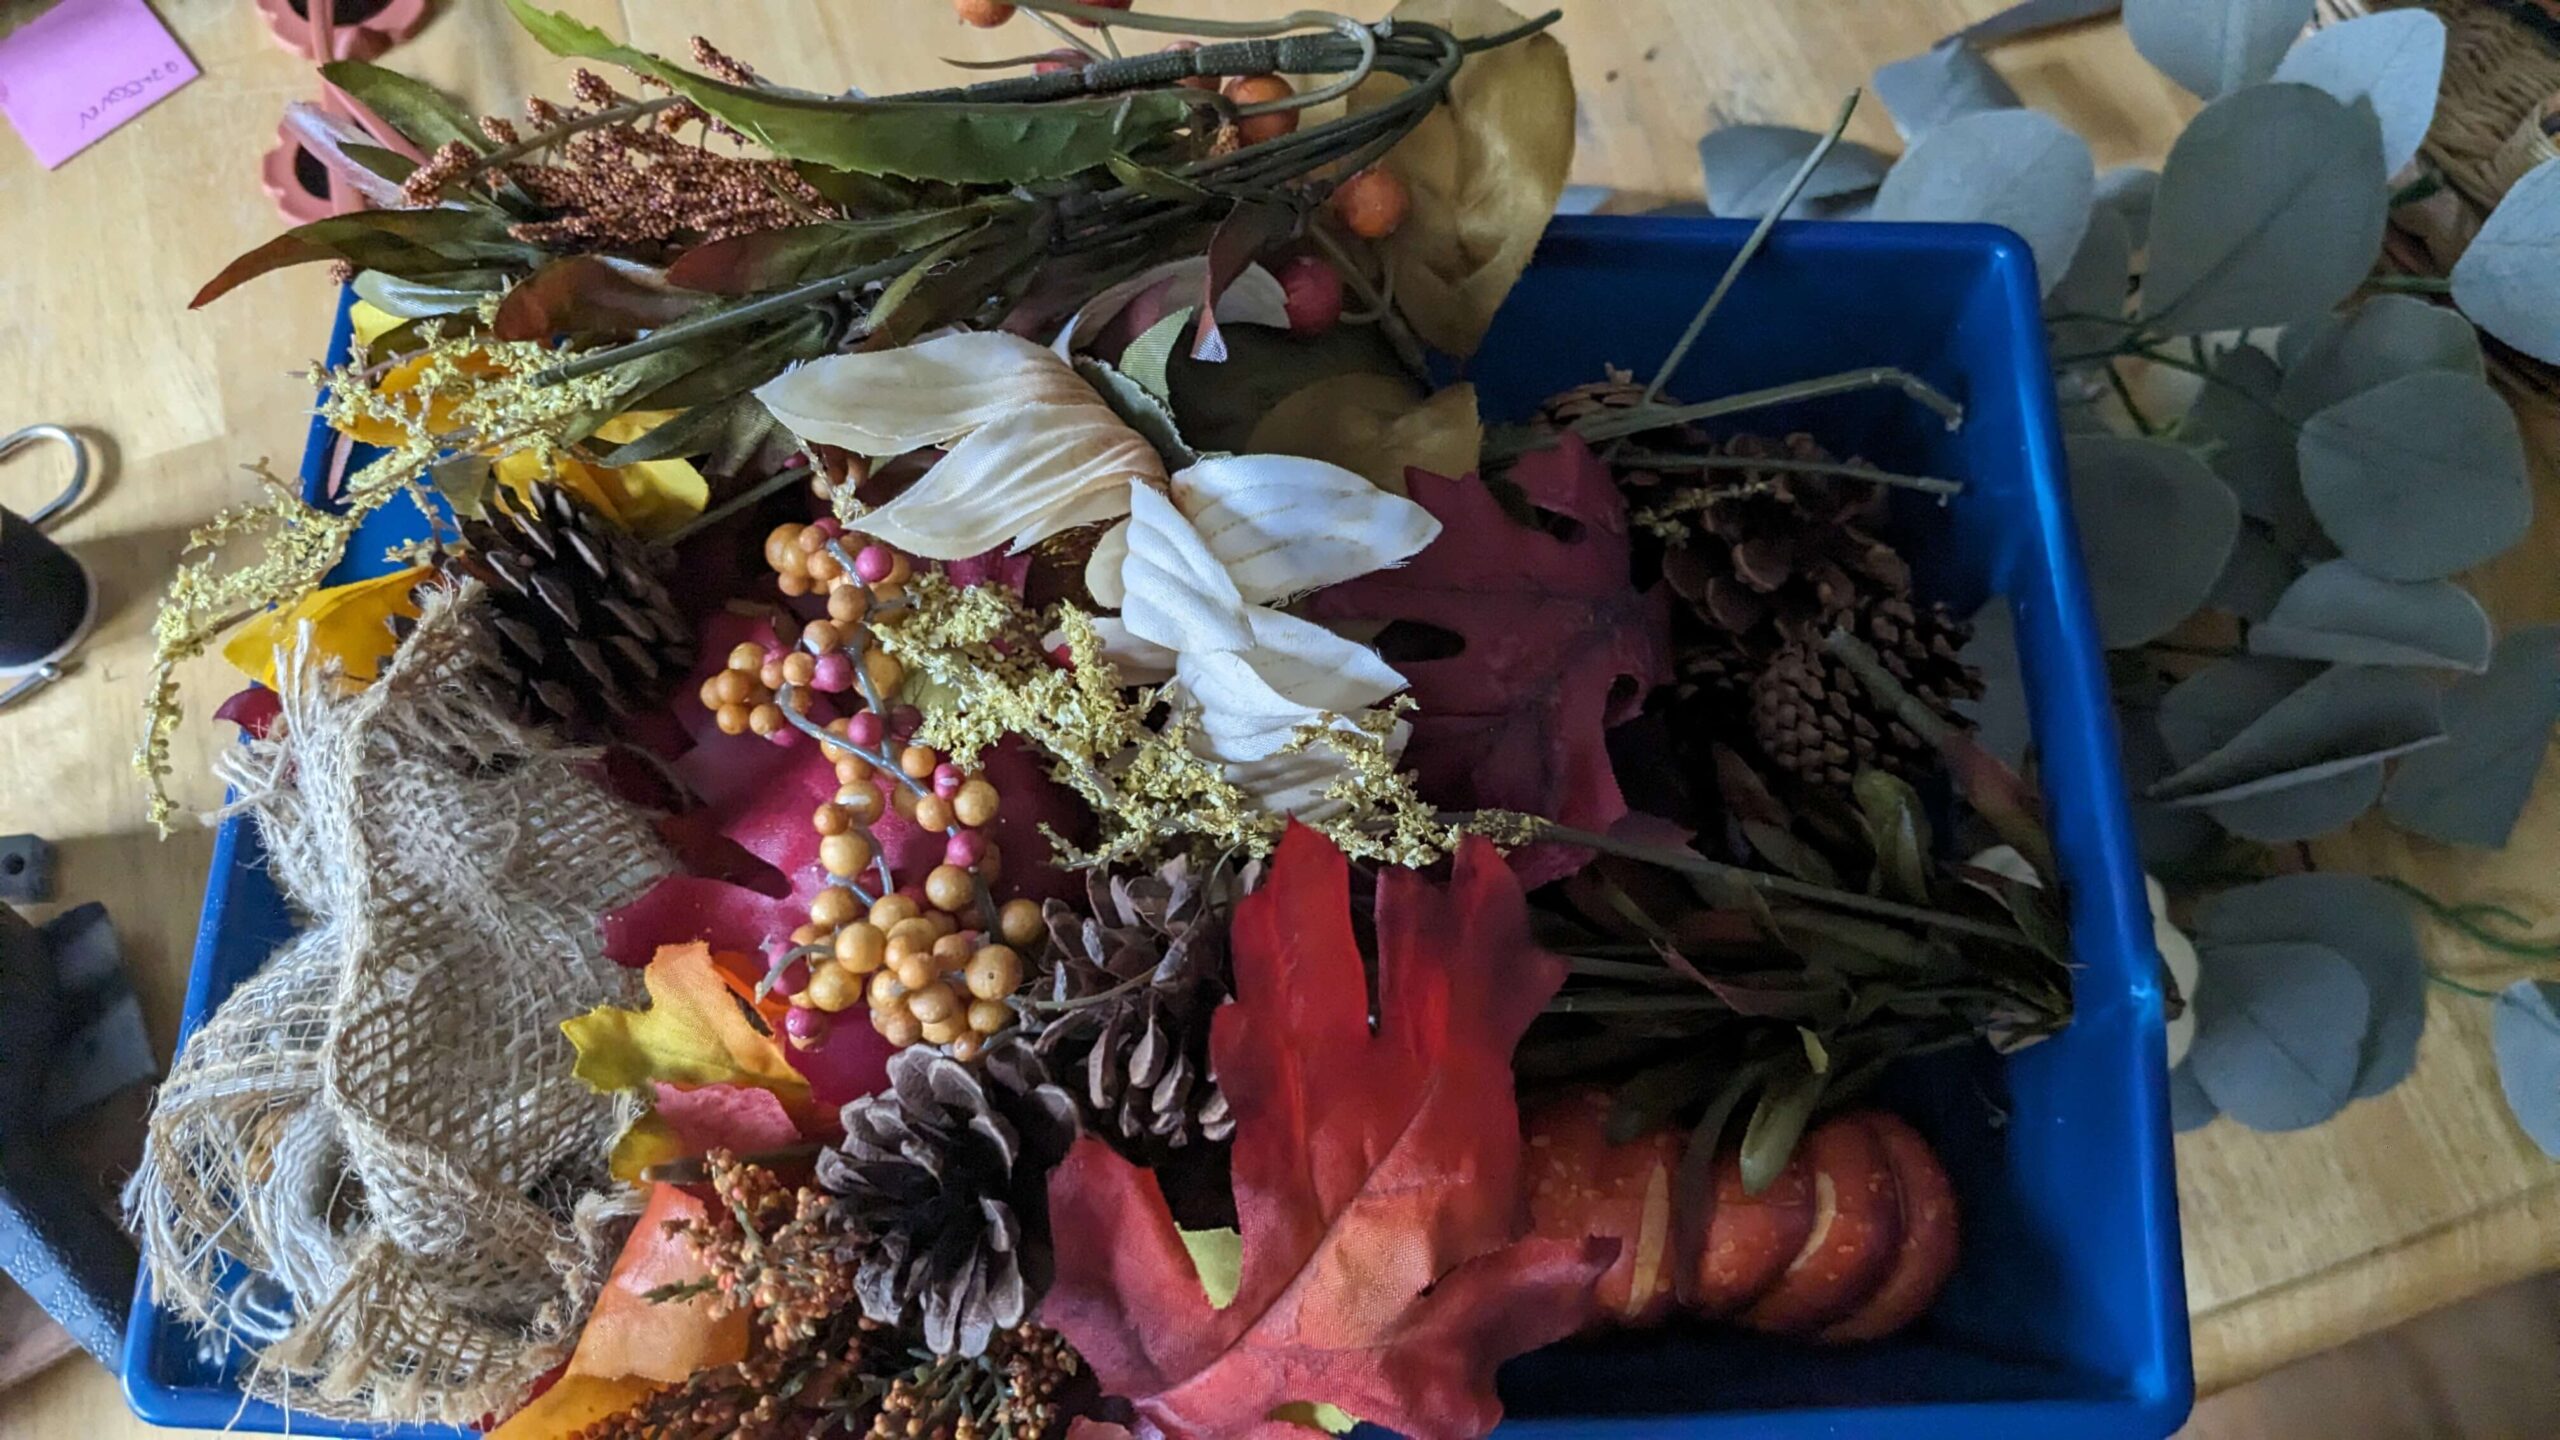
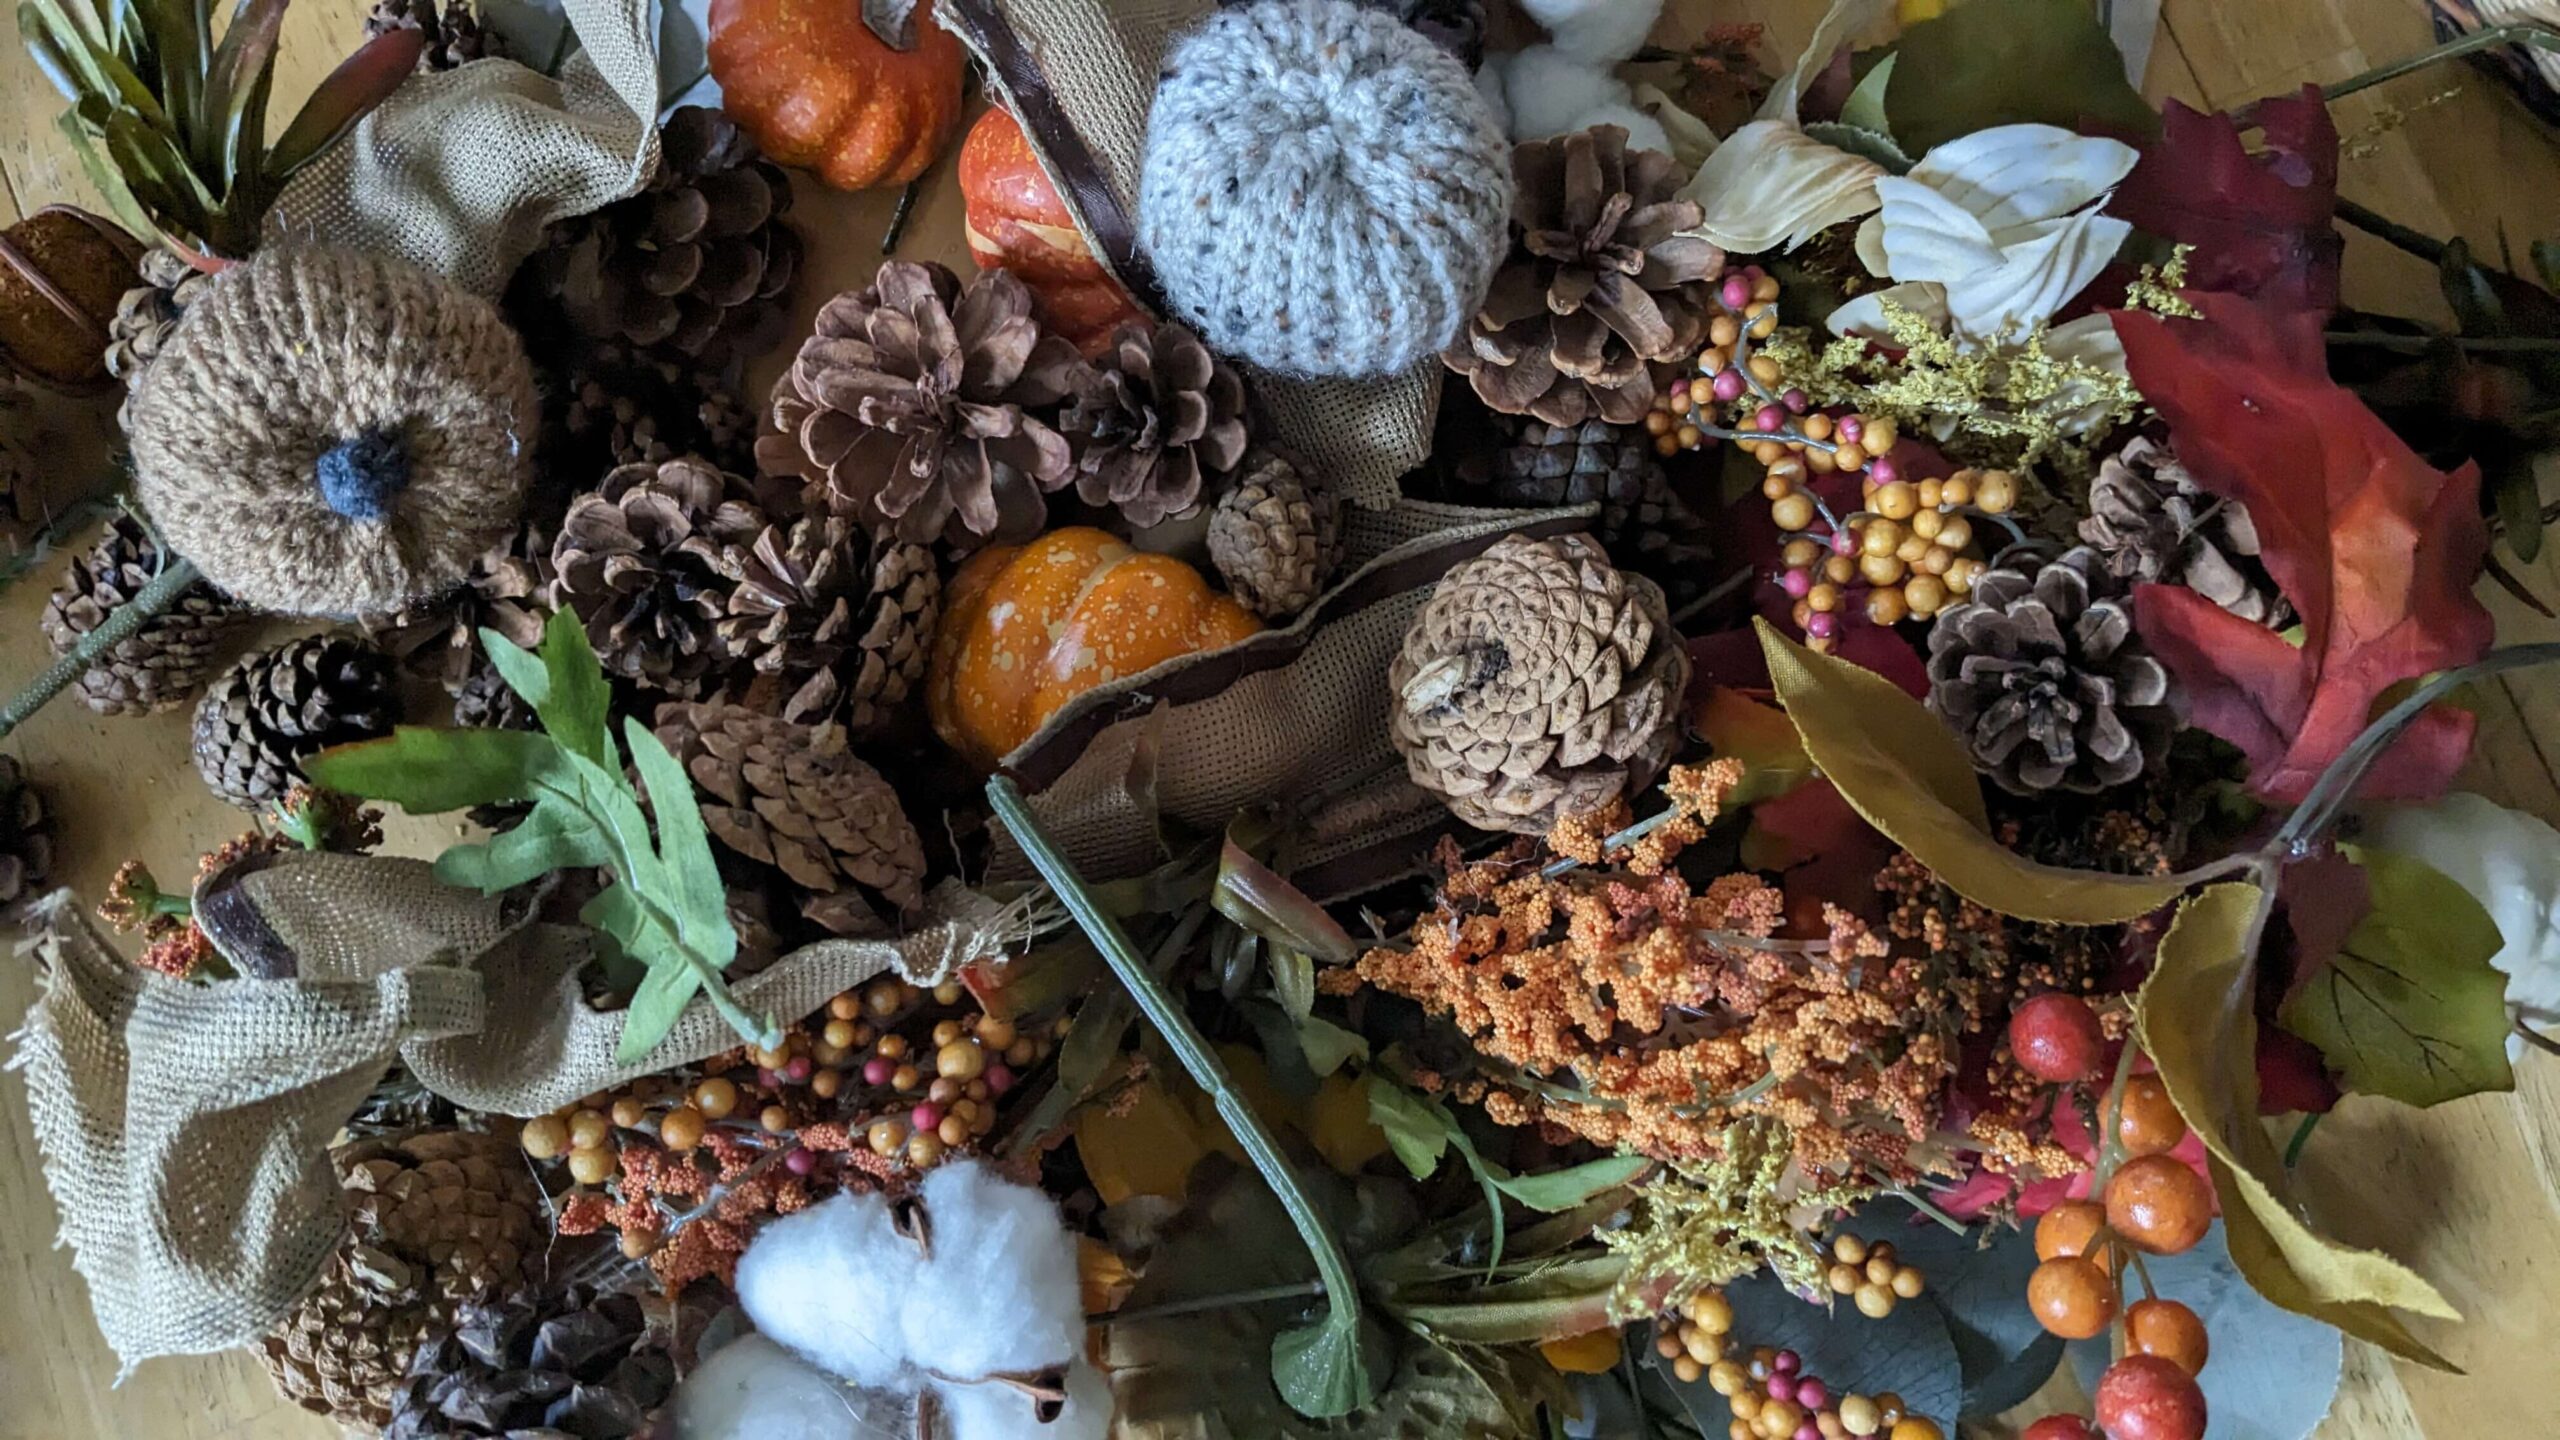
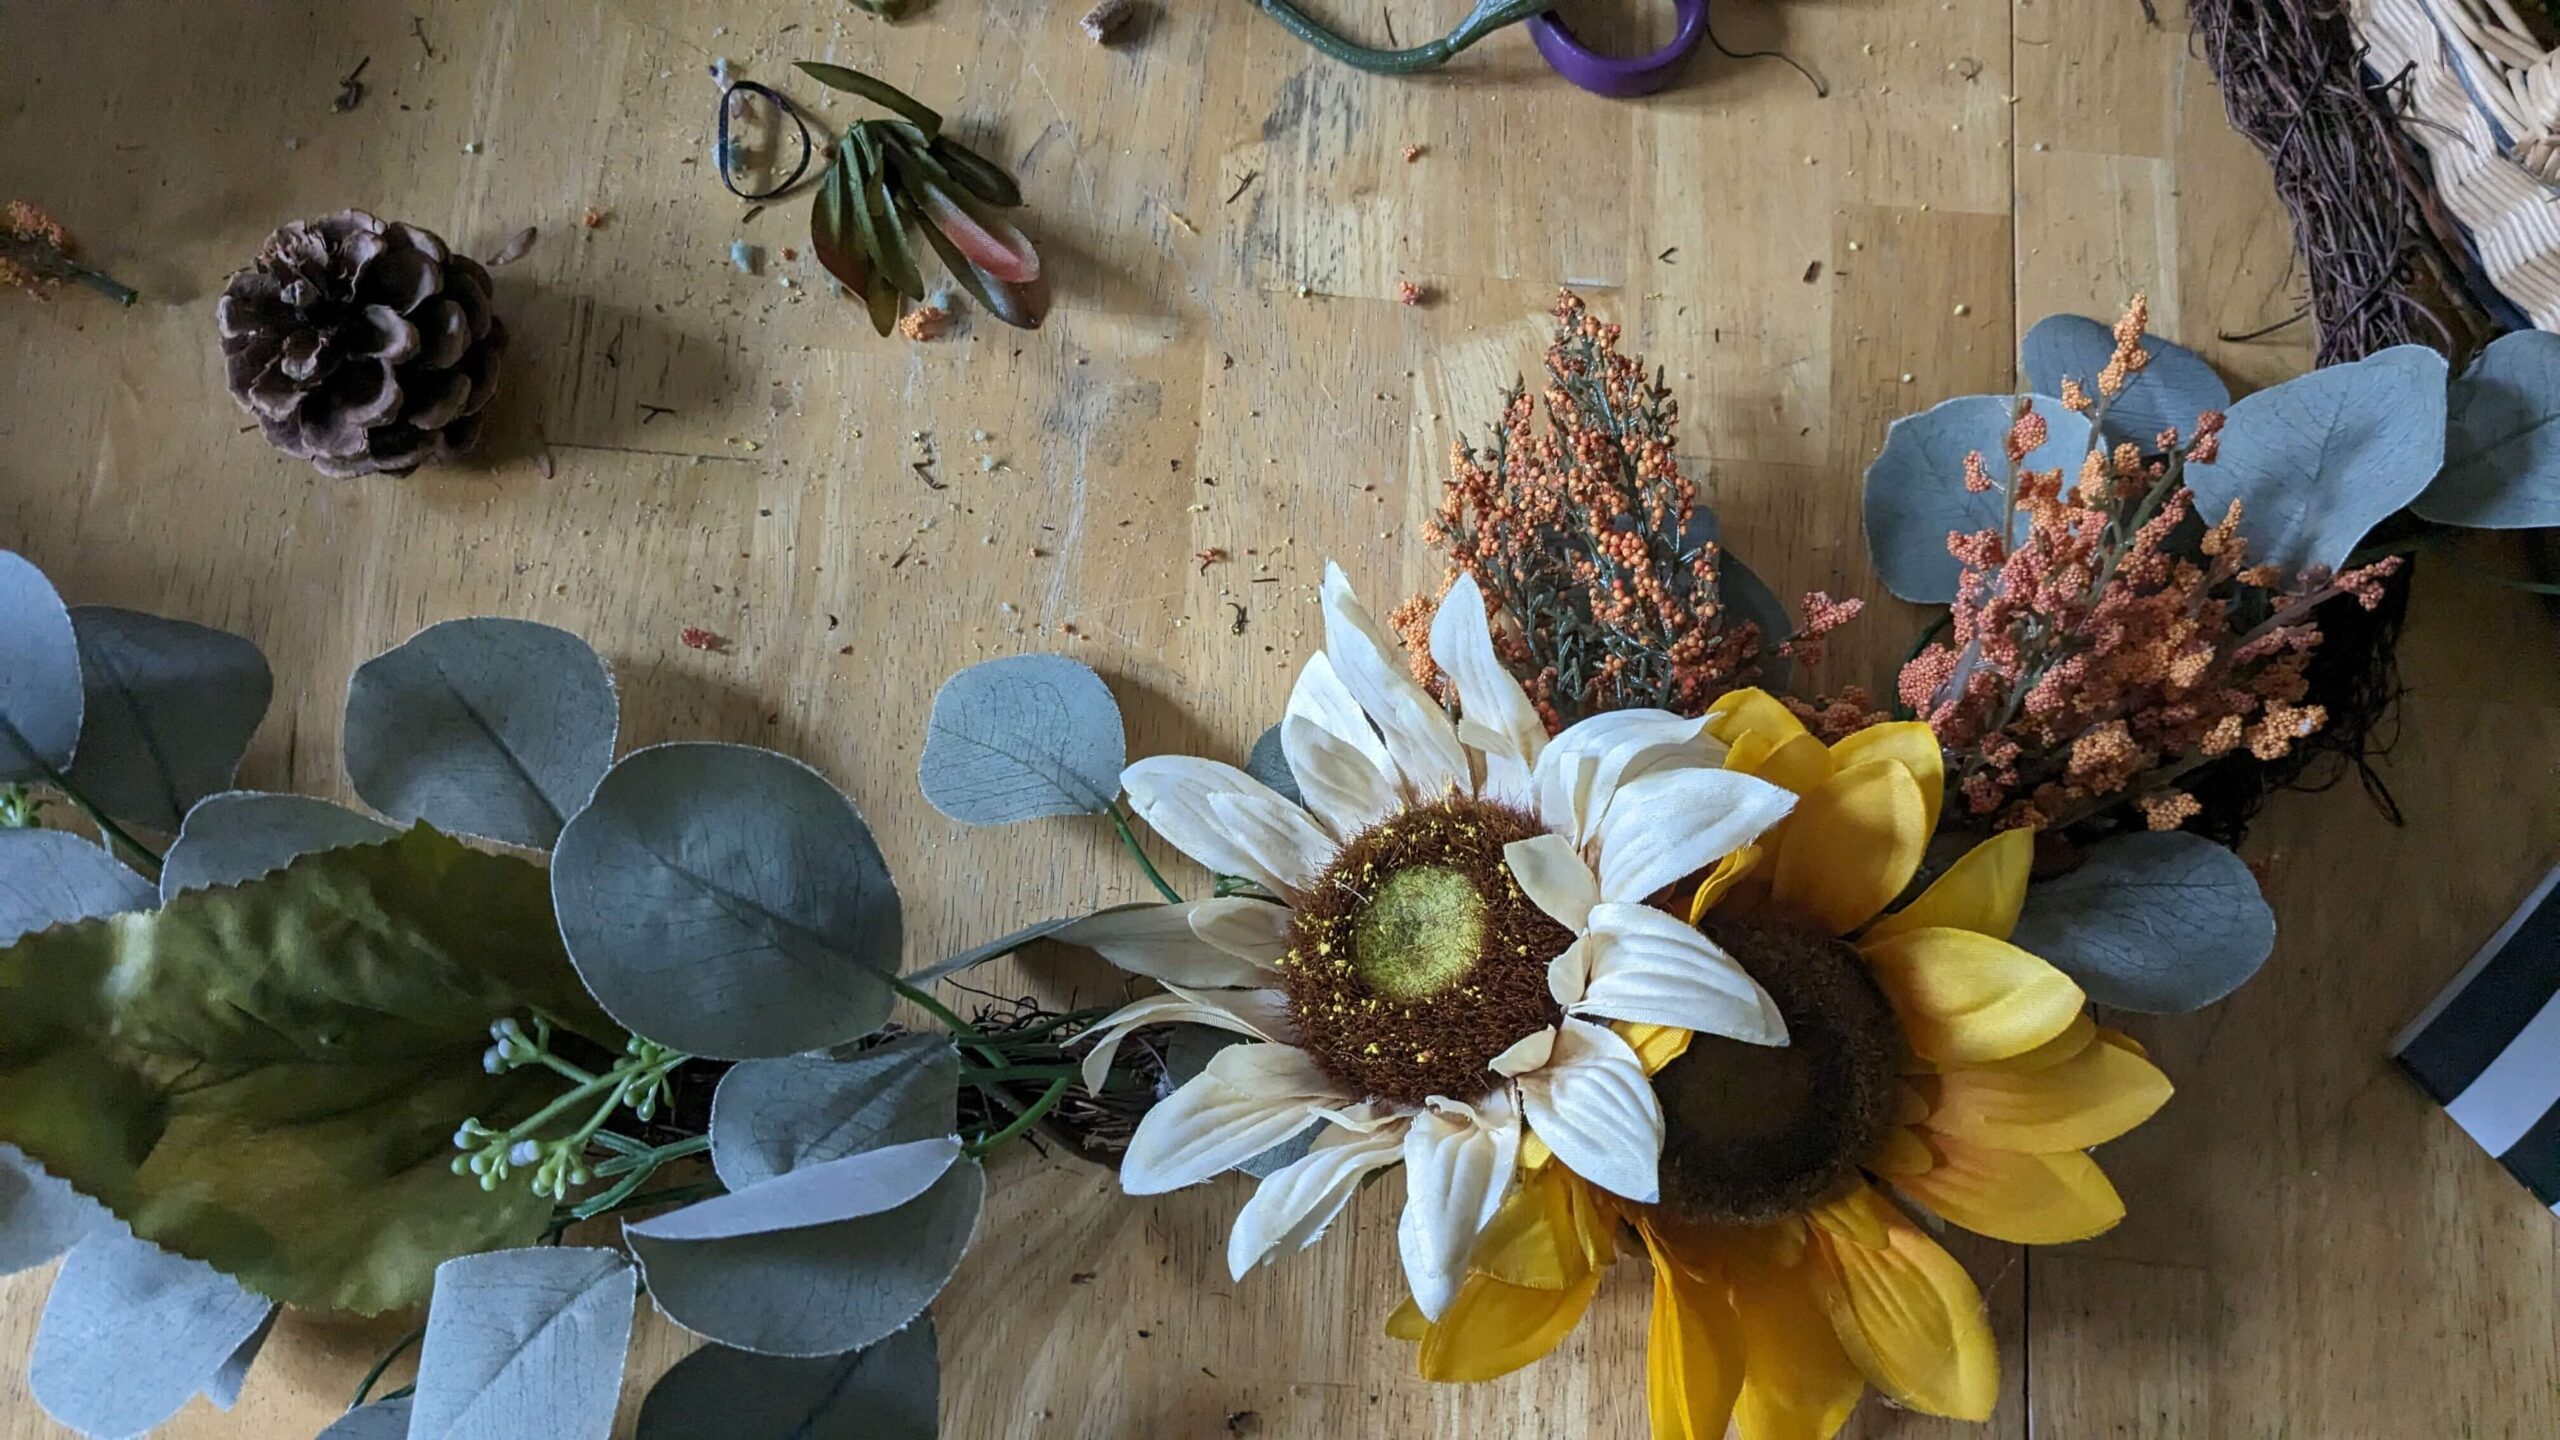
So the first thing that I did was gather all my supplies. I gathered and then sorted by leaves, flowers, and “berries”, and fillers like pine cones, pumpkins, and cotton.
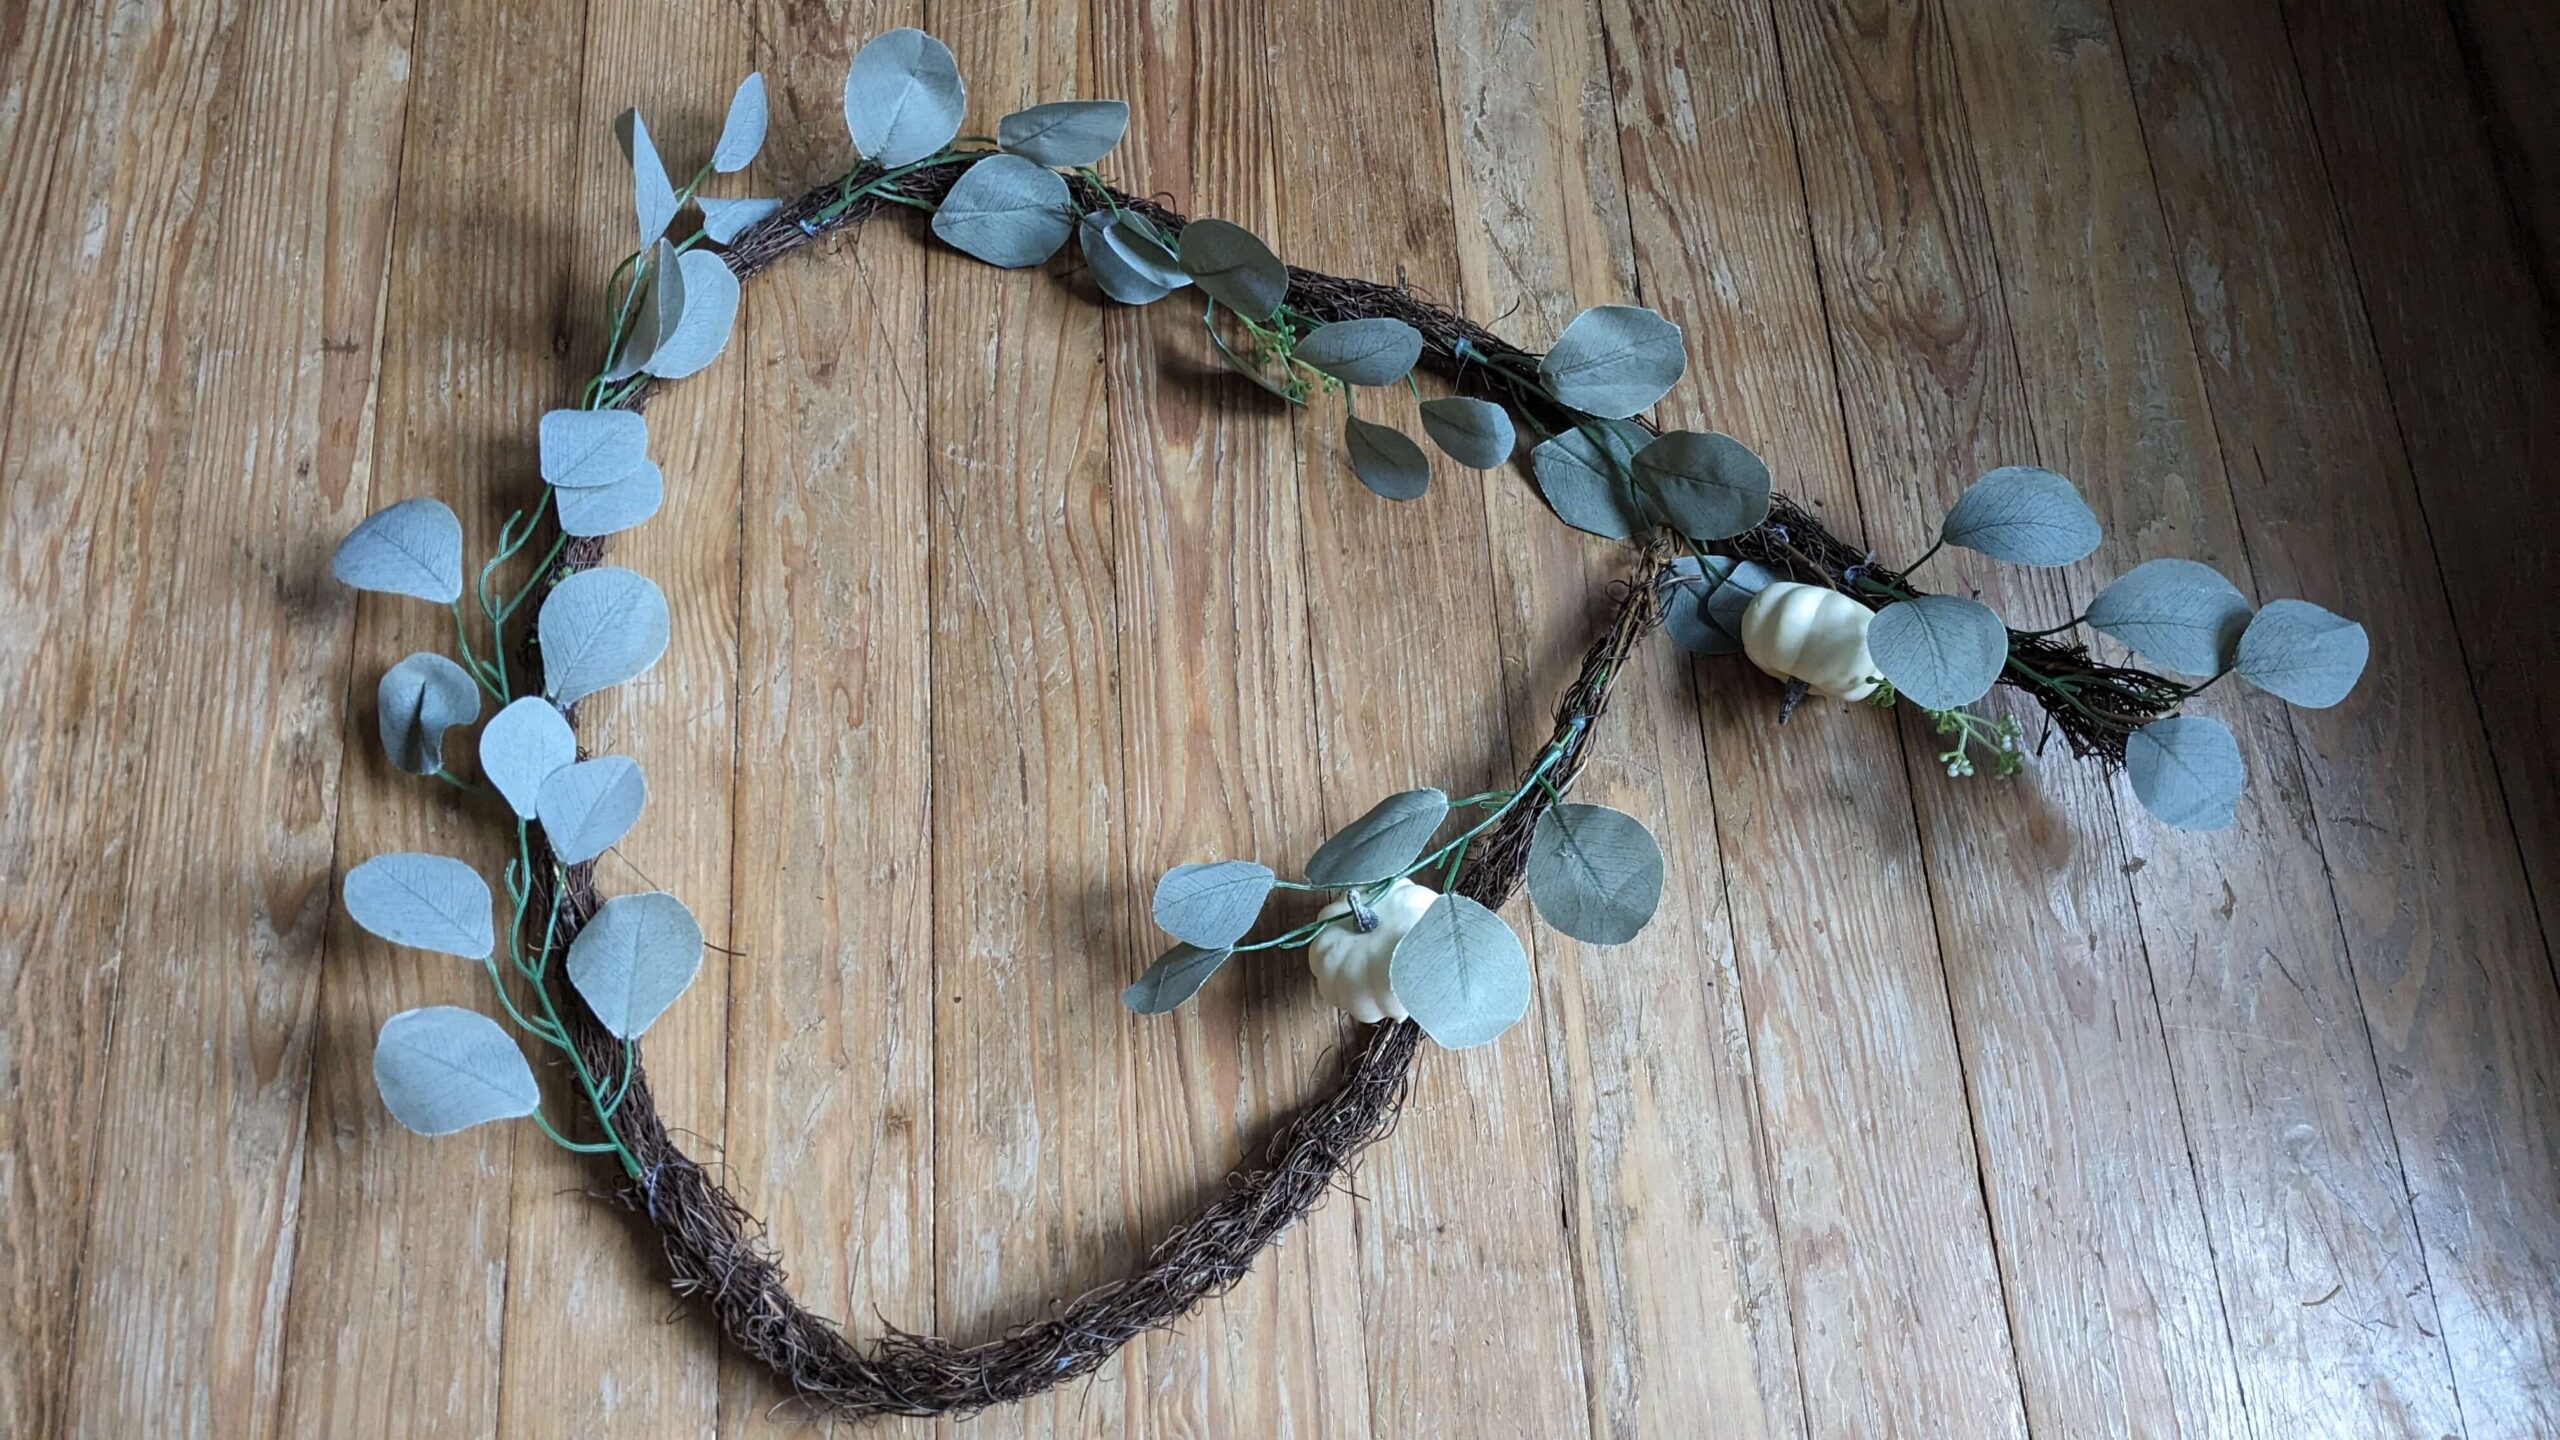
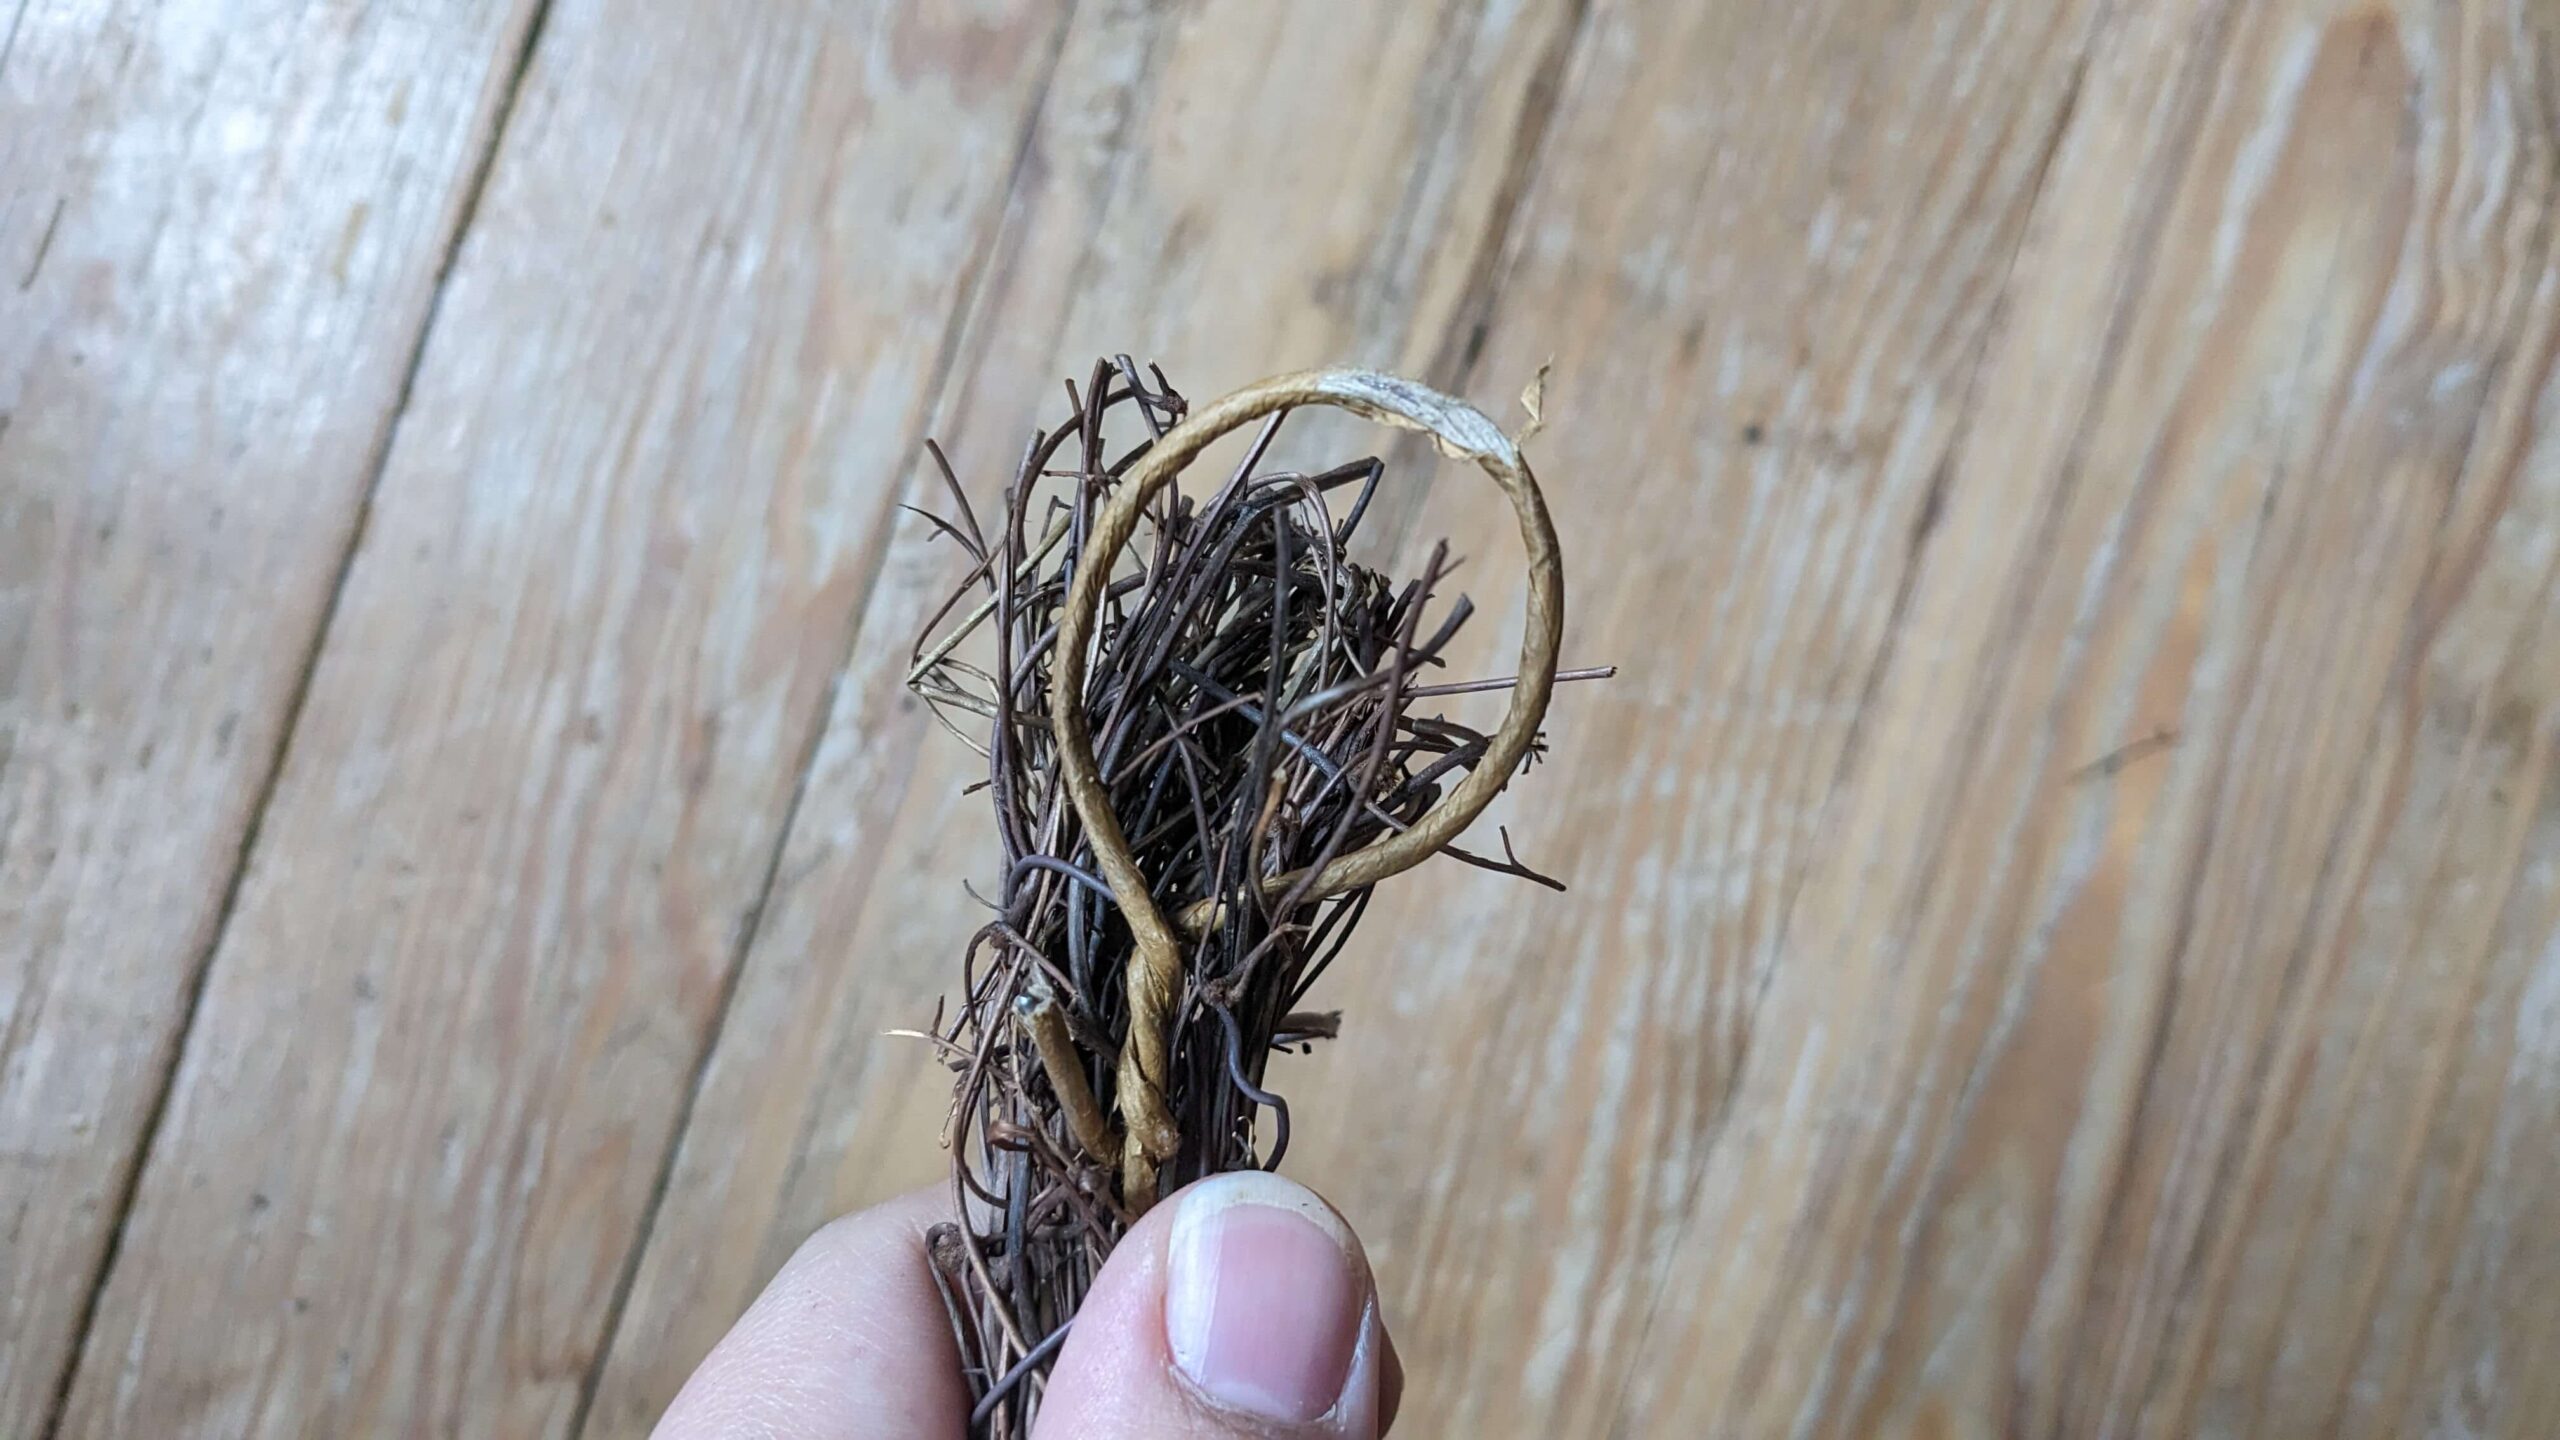
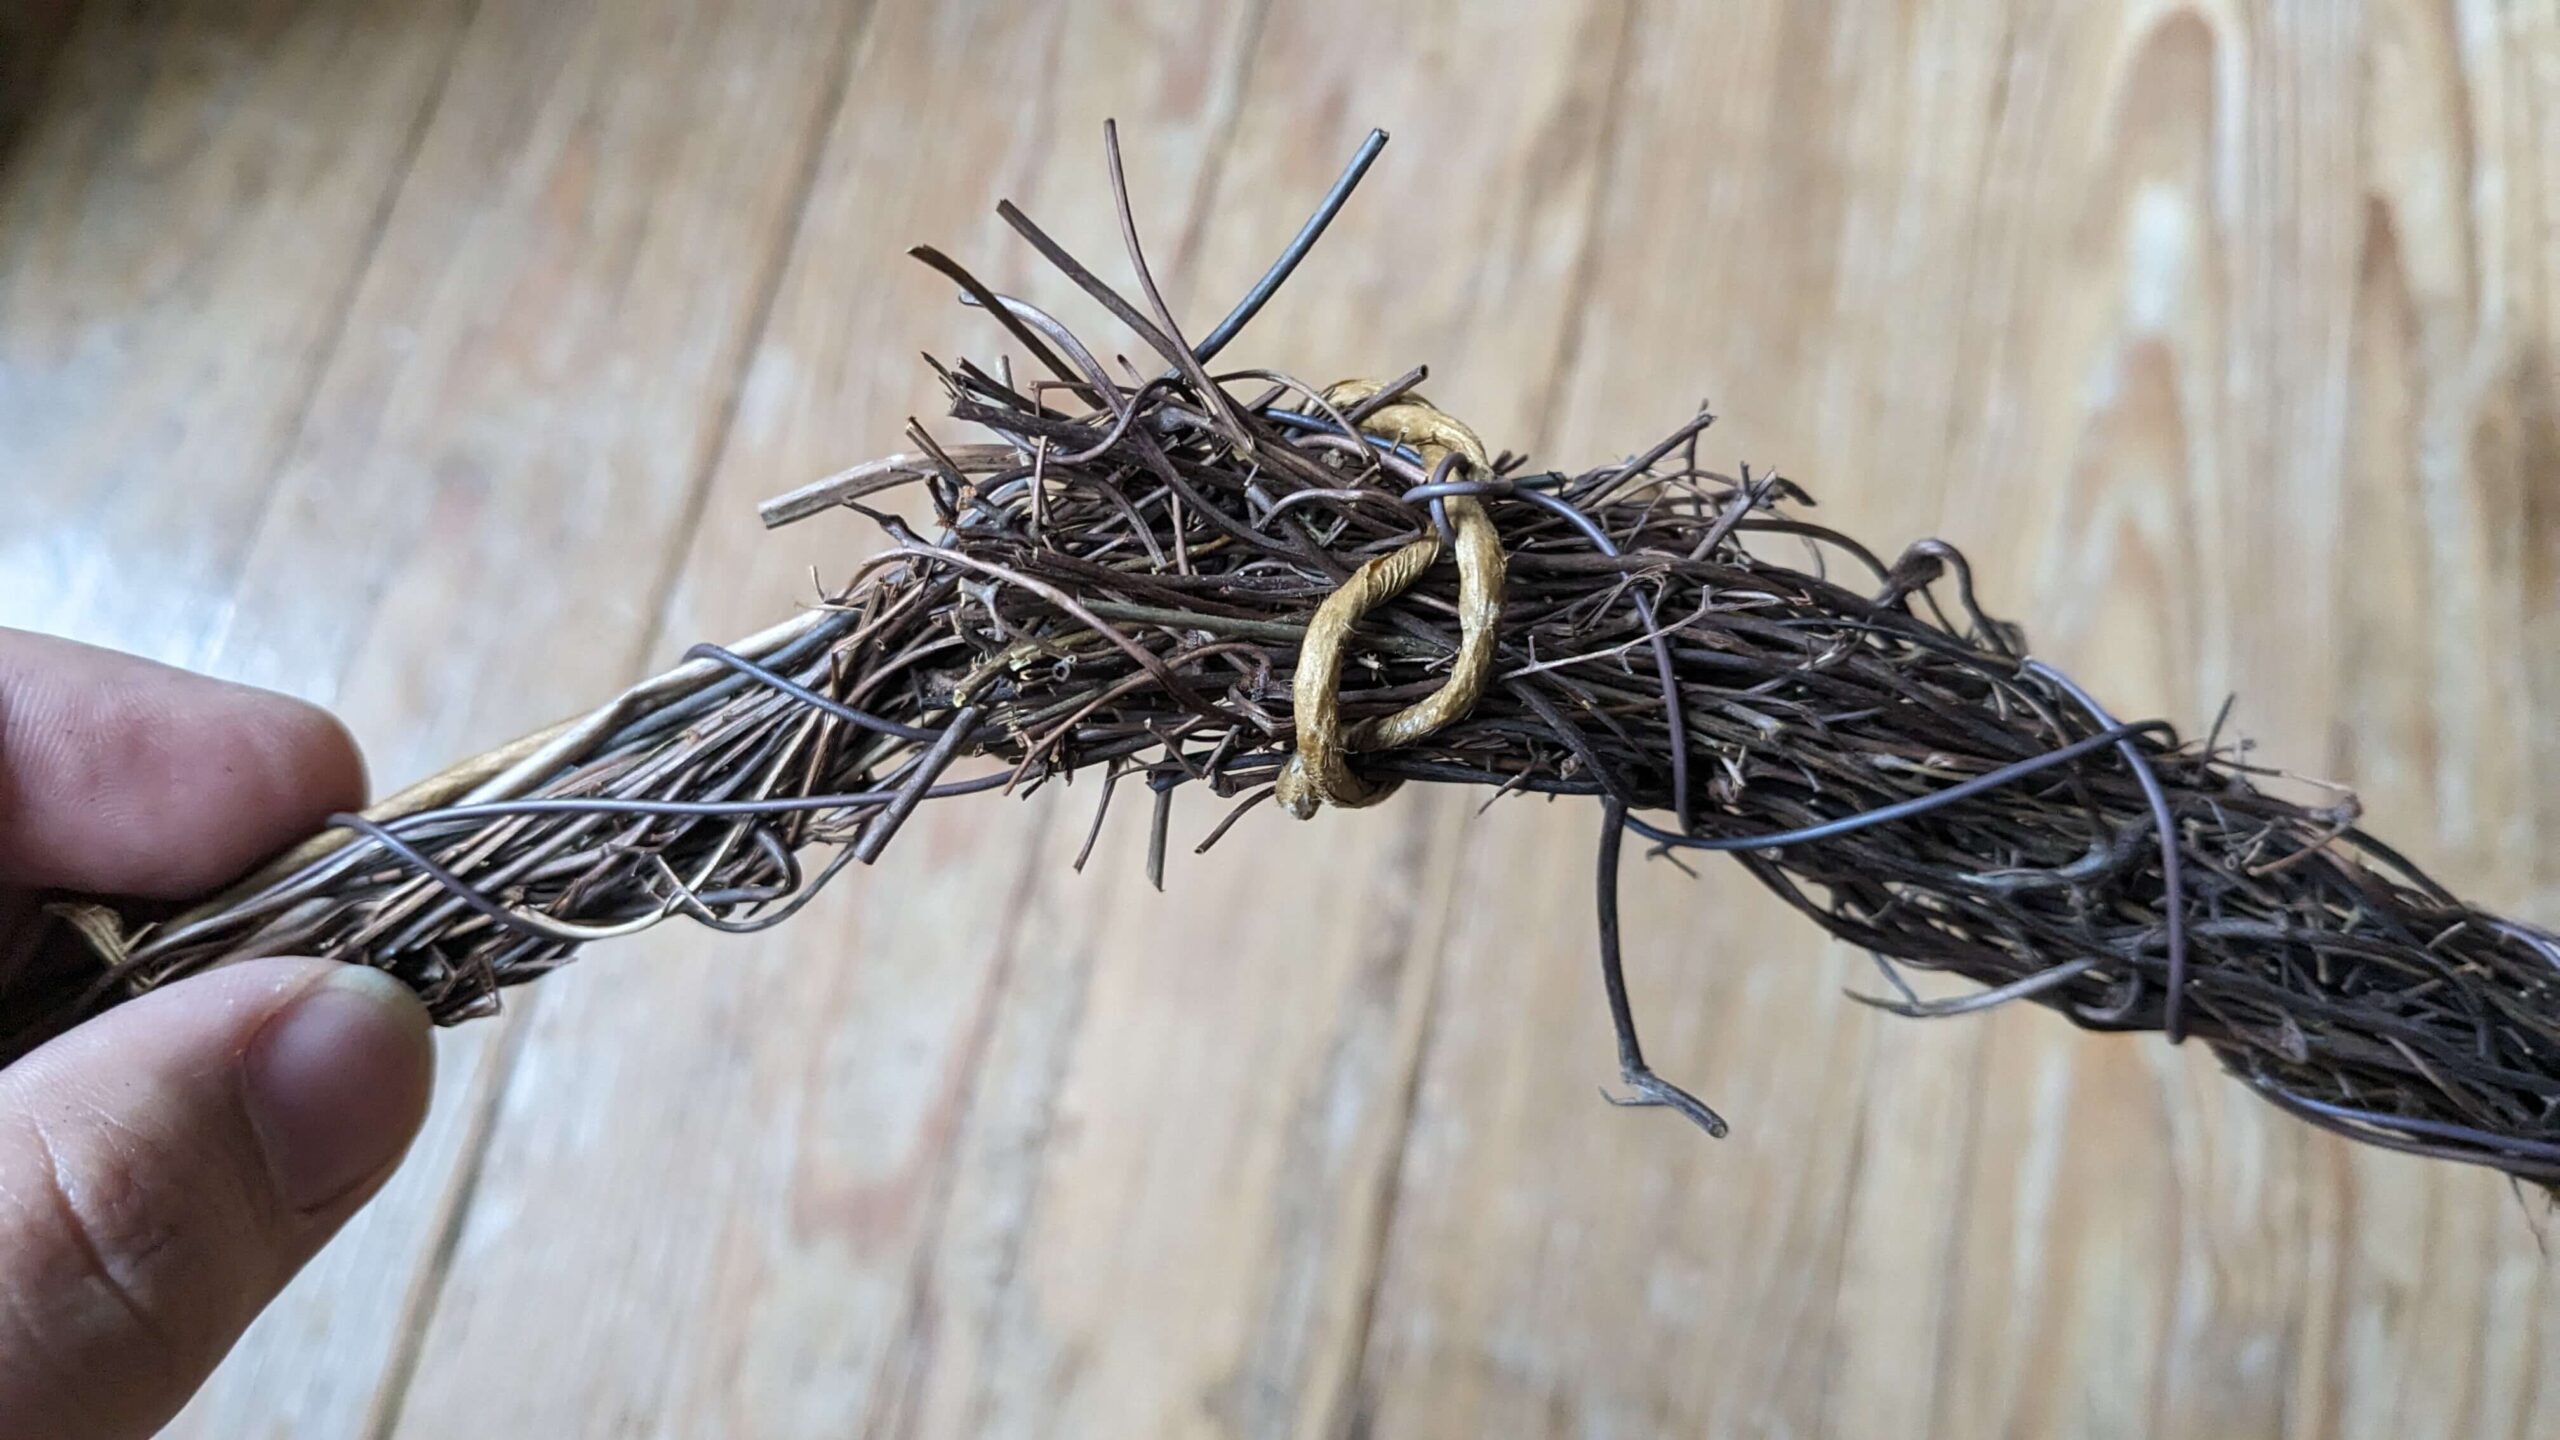
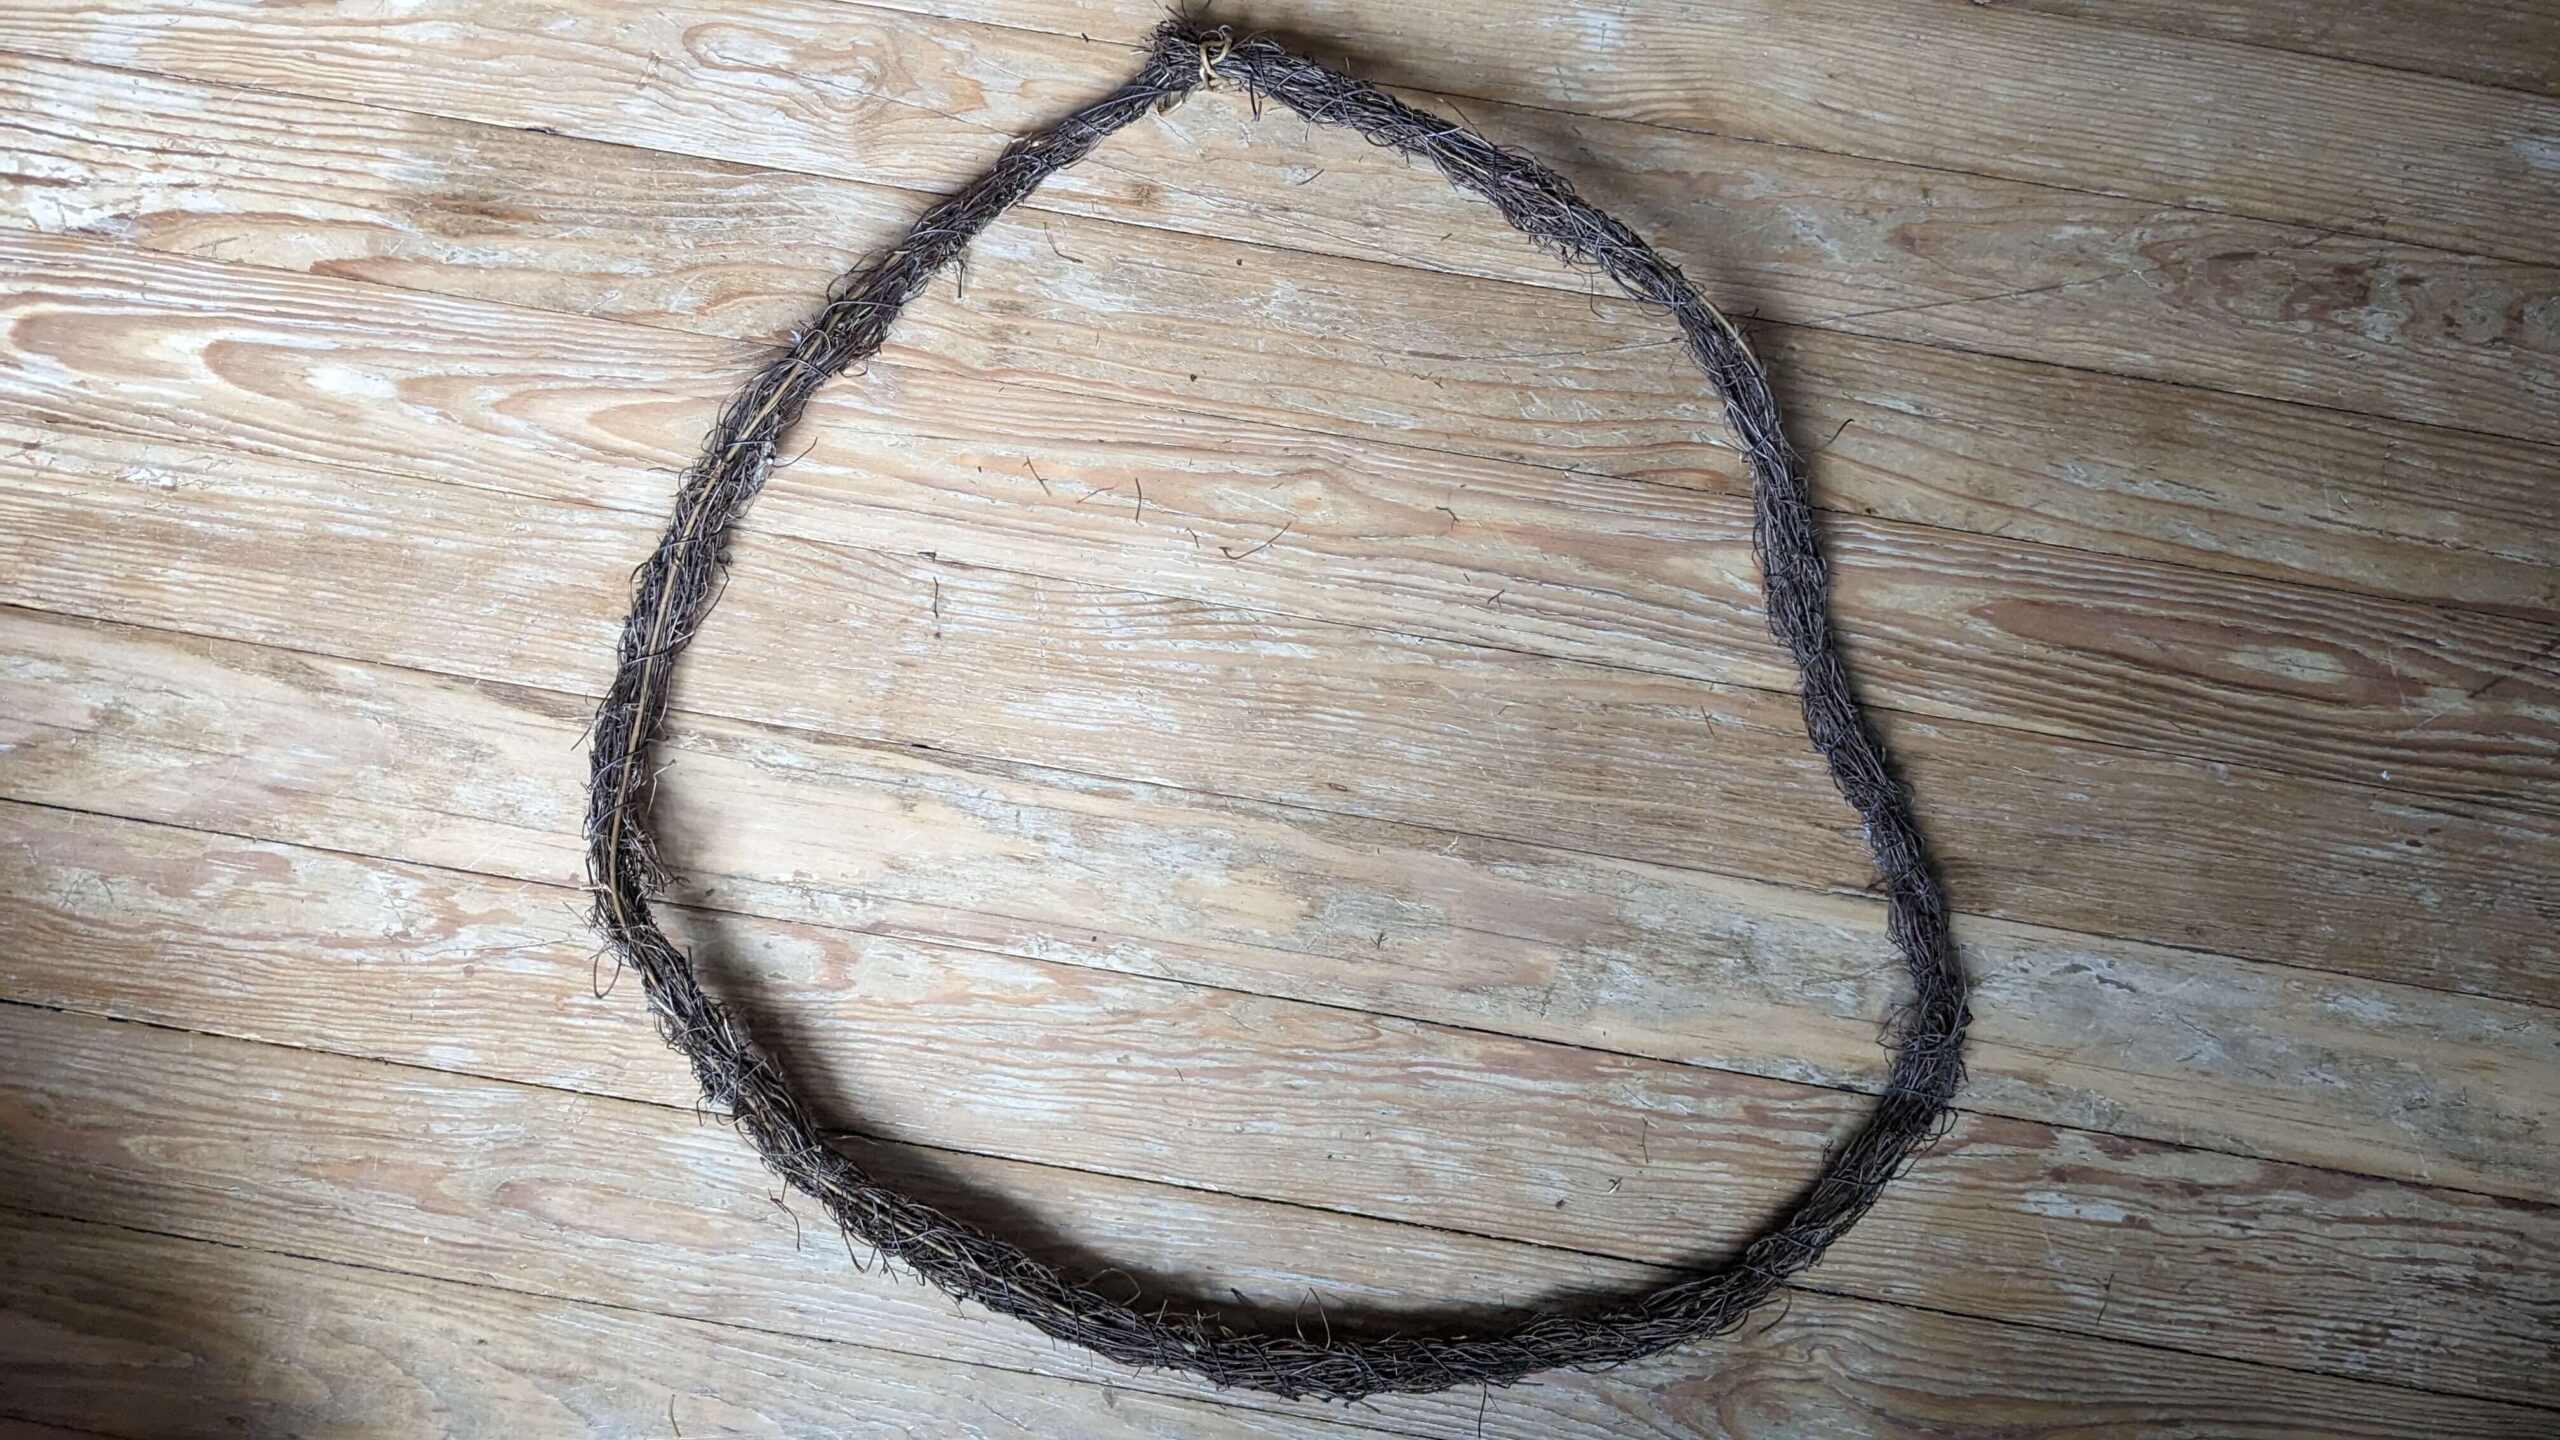
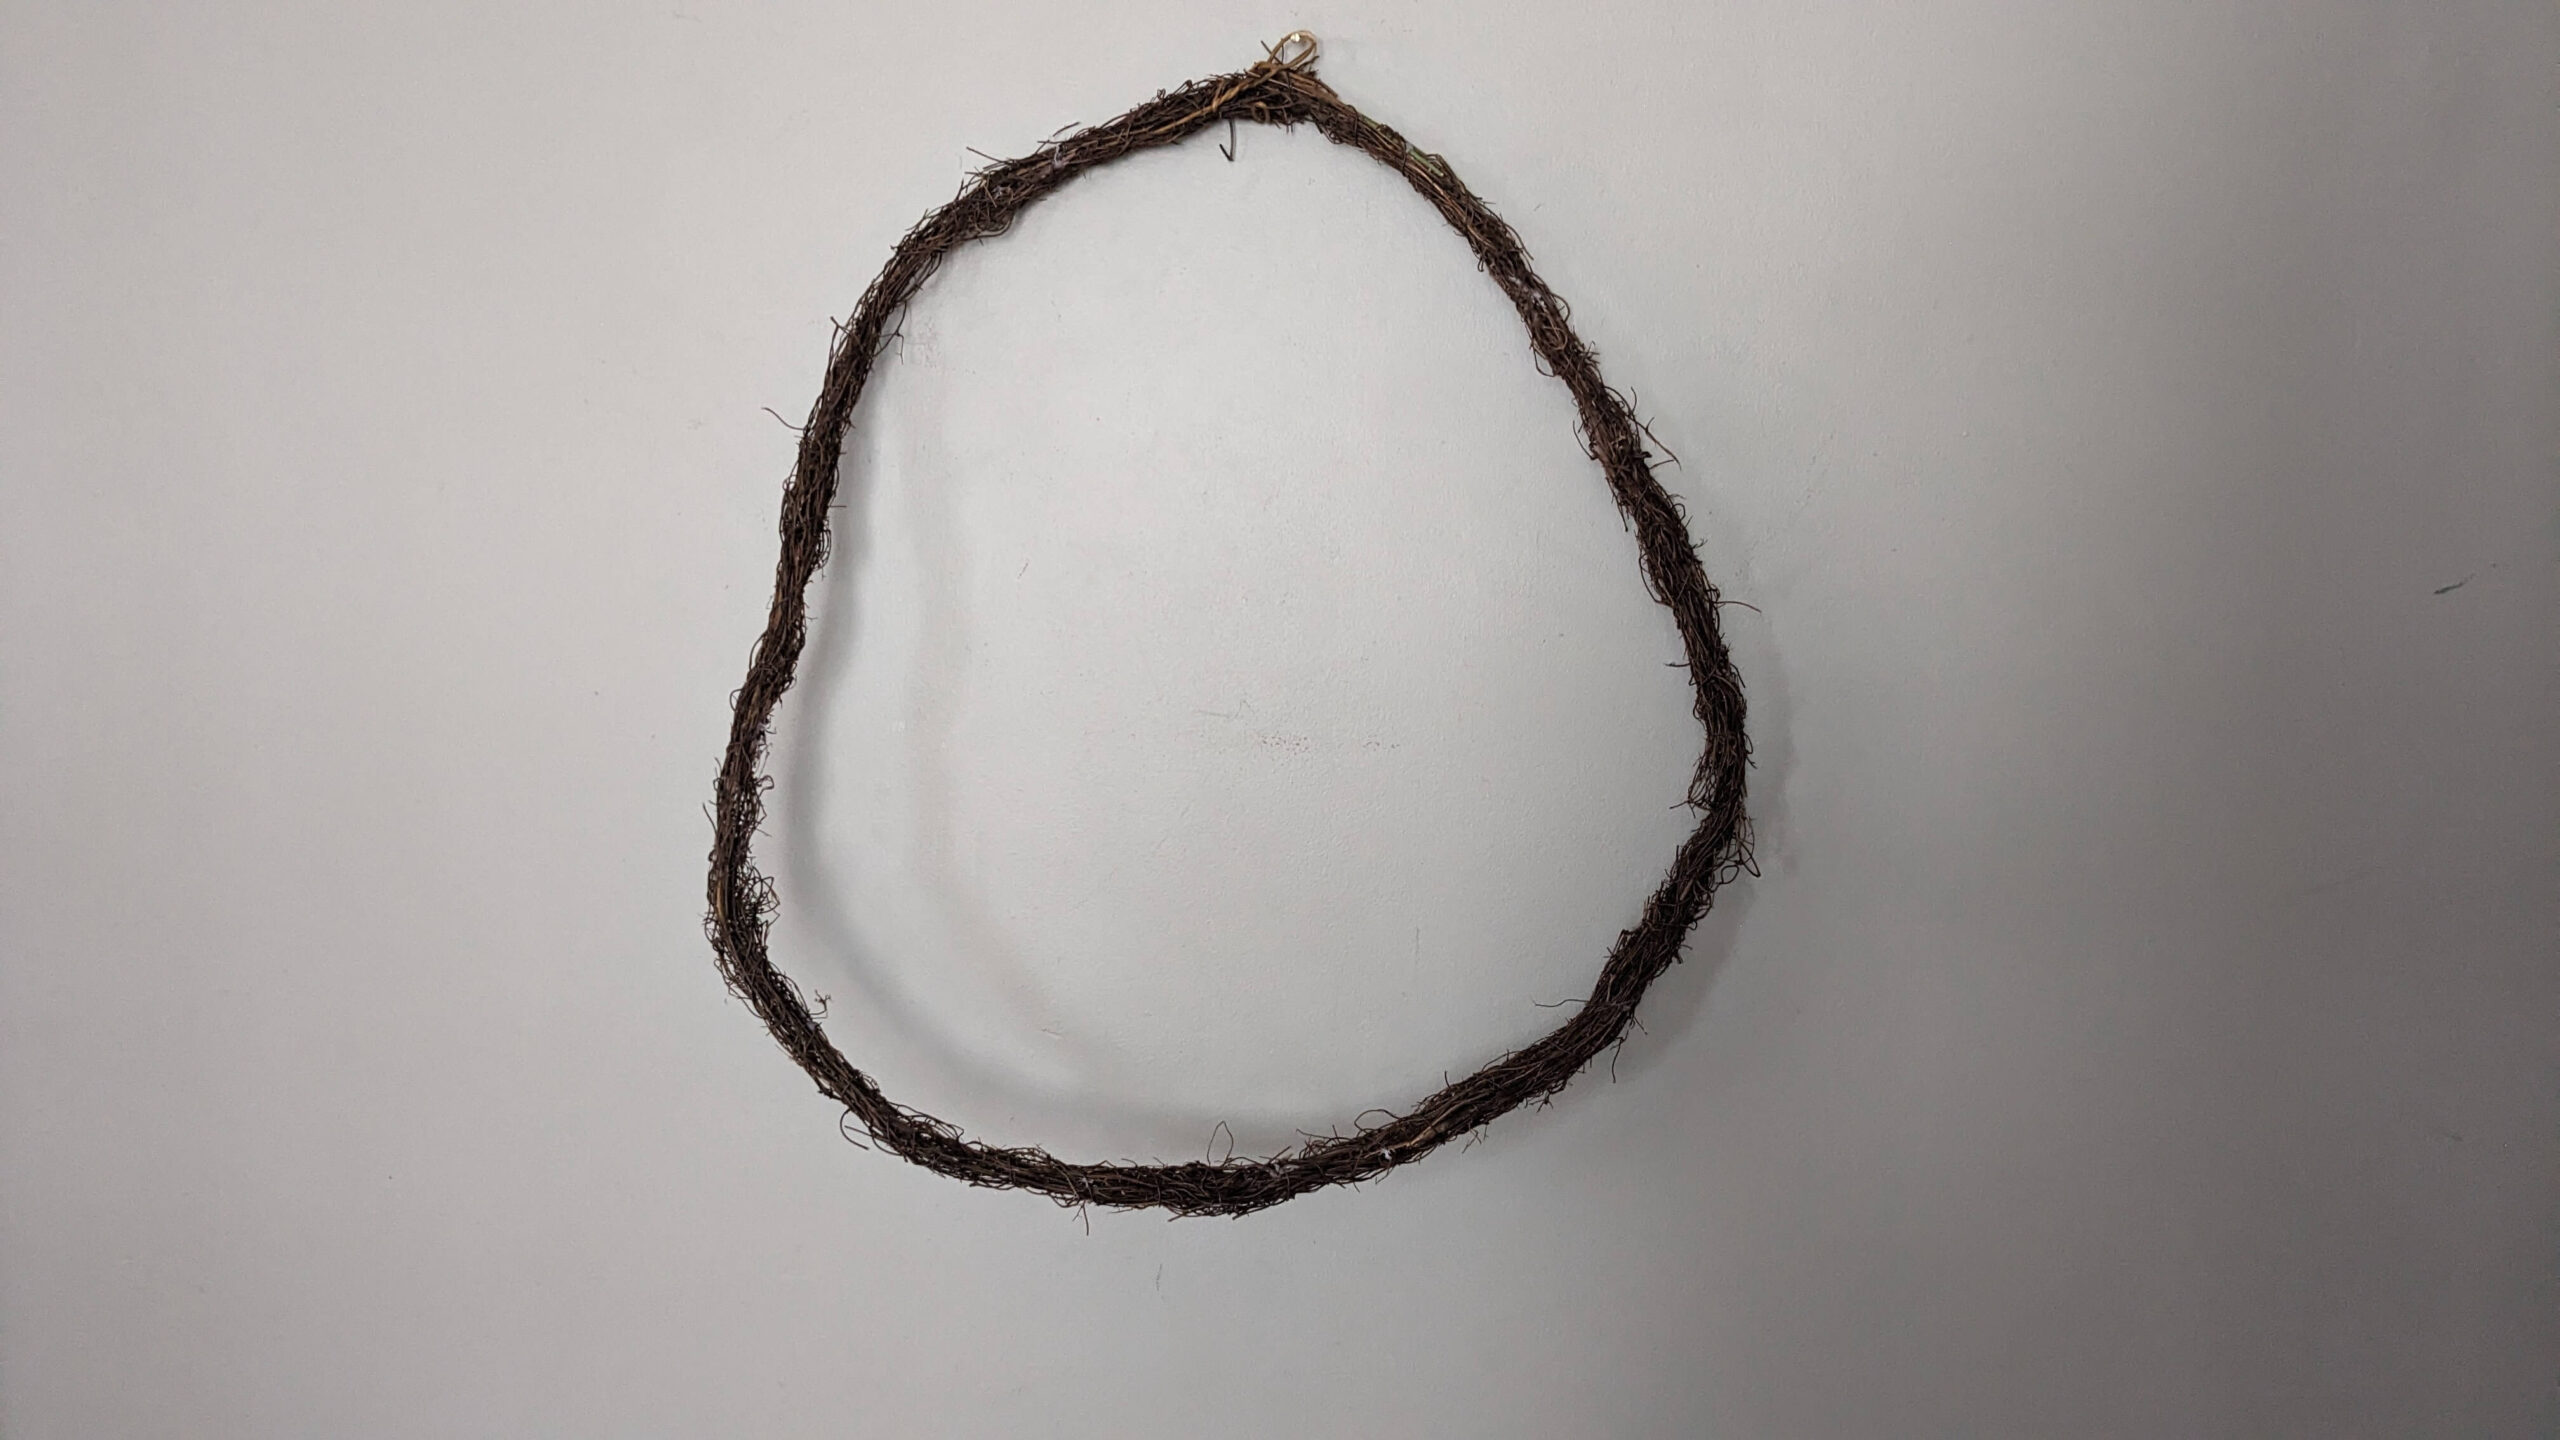
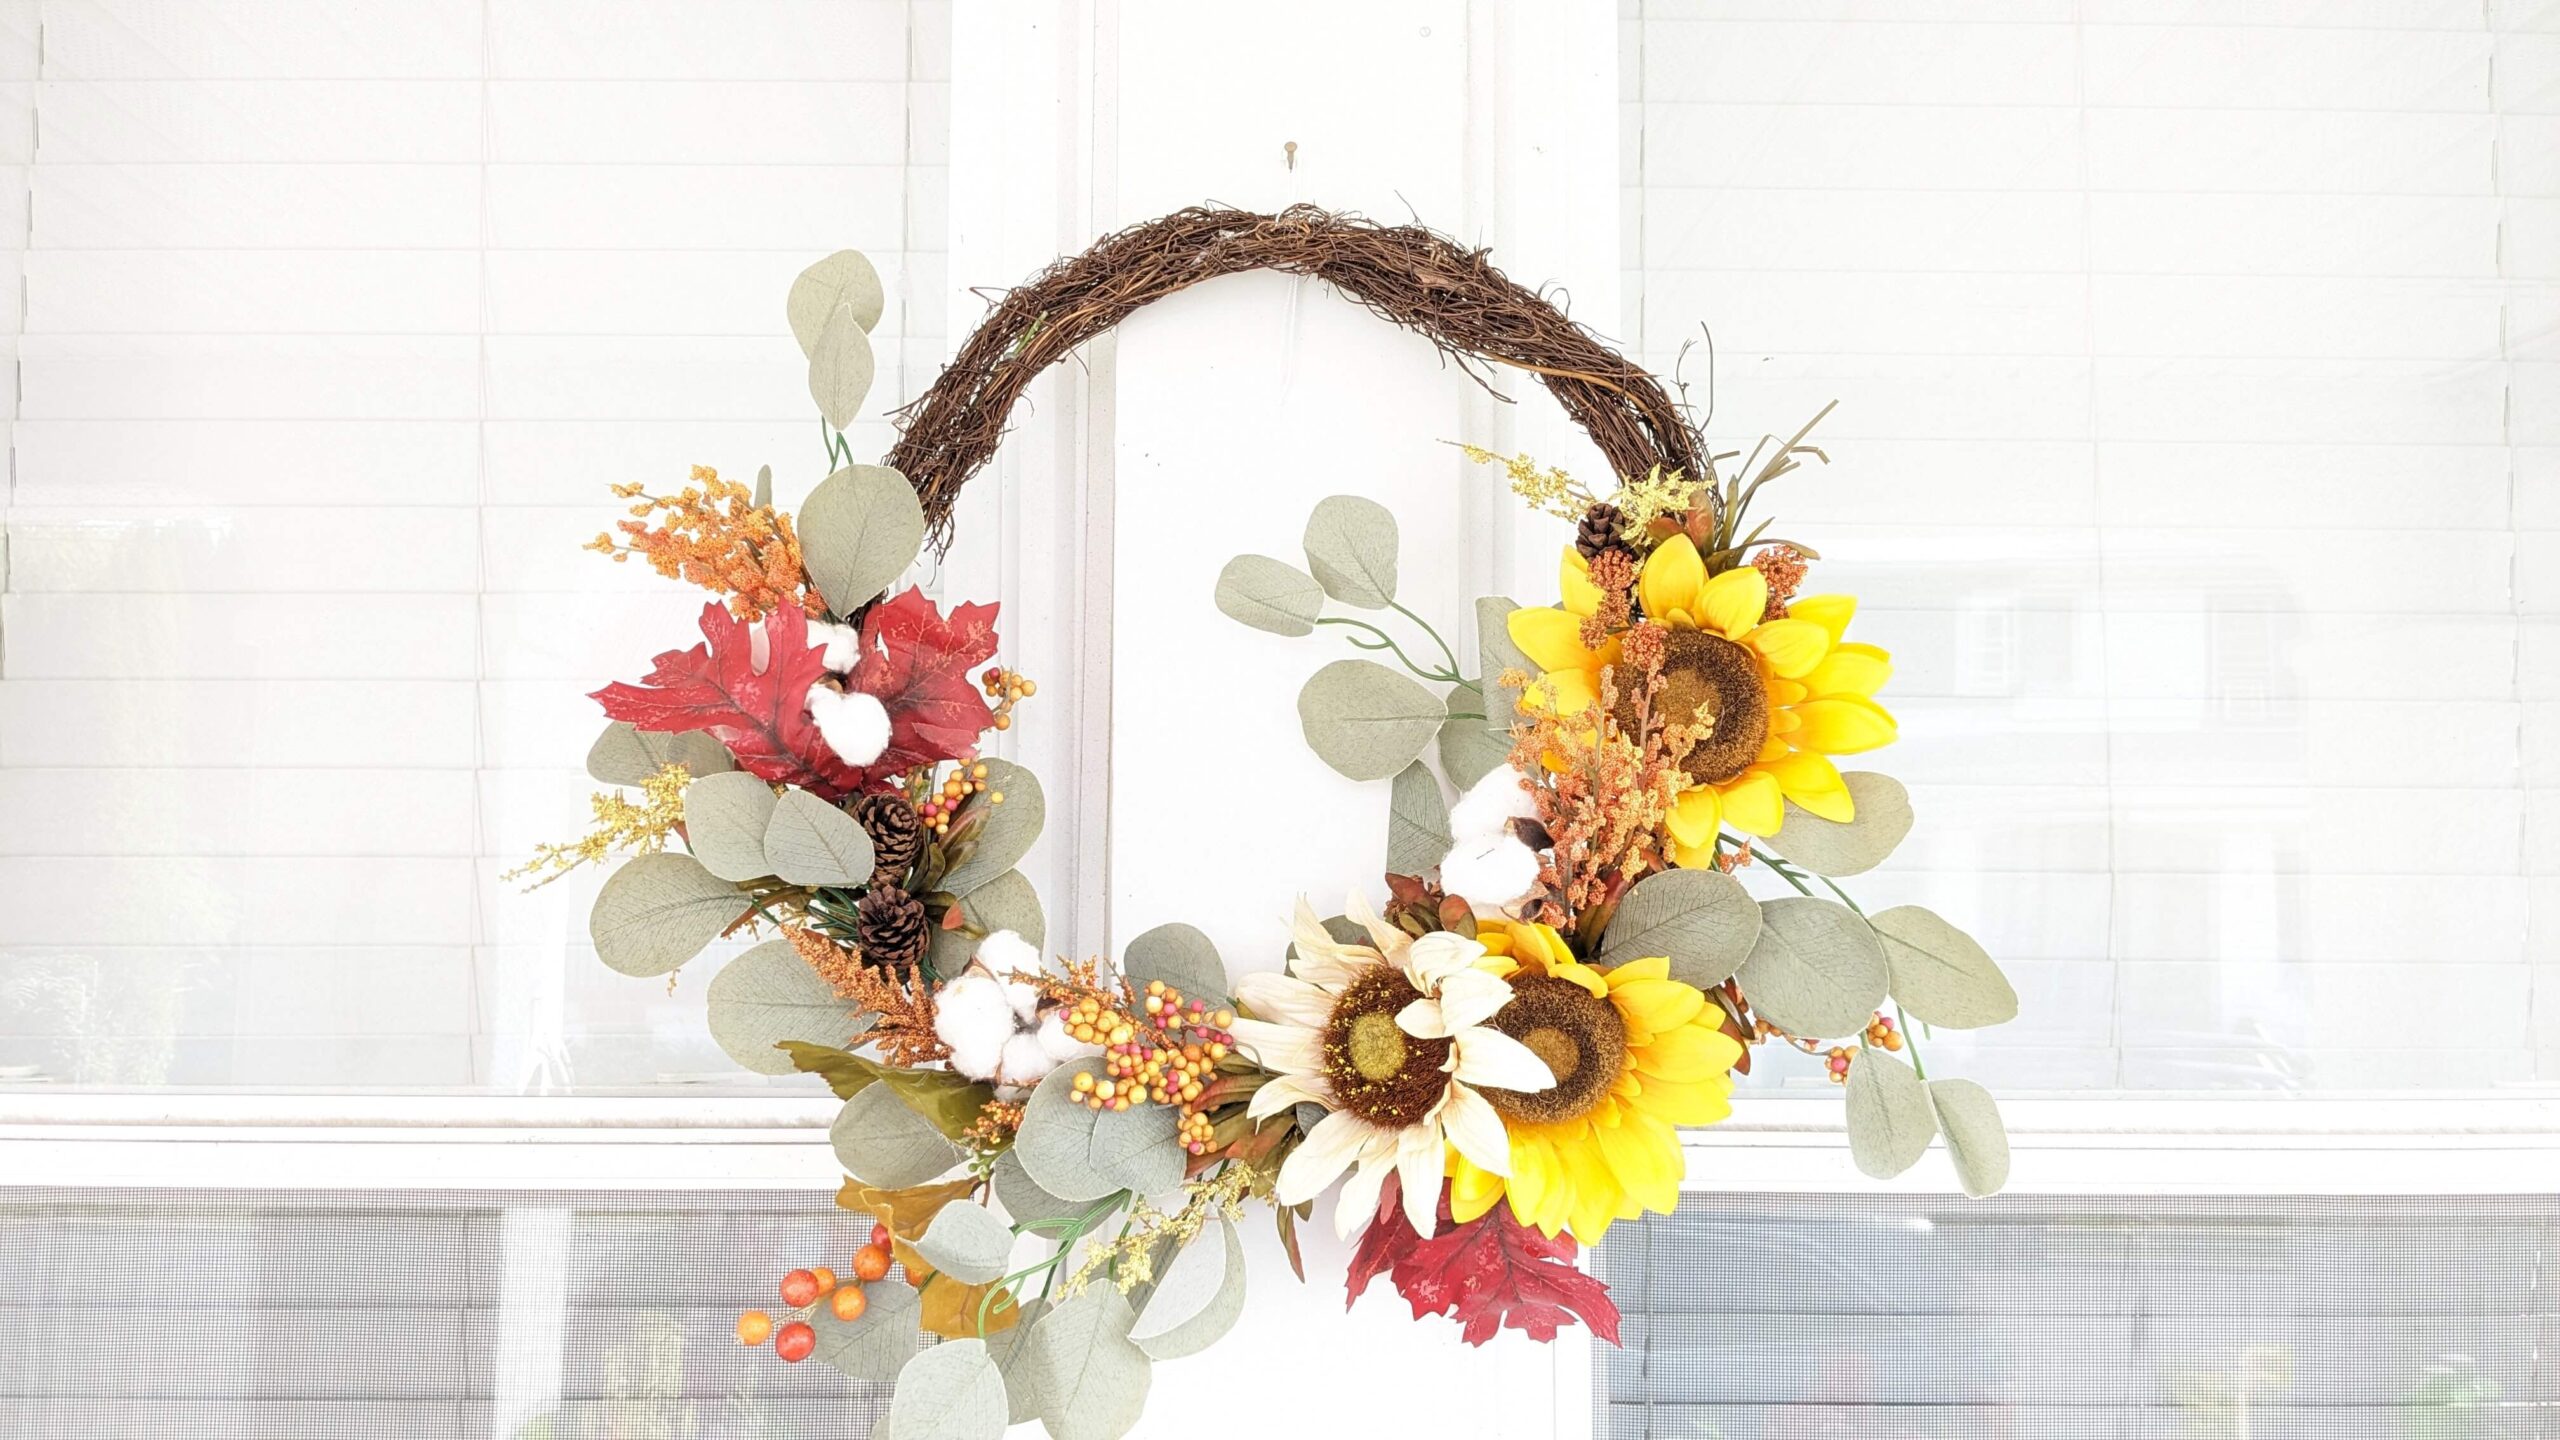
I played around with the grapevine garland and tried to twist it into a large wreath and started from there. For a while I couldn’t figure out why it didn’t look right and later on in the process I made the wreath smaller and that made a huge difference. I would highly recommend finalizing your wreath shape before hot gluing pieces together. I even ended up making the wreath a bit smaller once I hung it outside. If it had been the final size when I first started gluing, I think that would have made the process go a little smoother.
When evaluating how to layer the details, I knew that I wanted the sunflower pieces to be the focal point and I wanted to accessorize with the cotton pieces. I don’t know why, but I think cotton just adds to a beautiful fall aura.
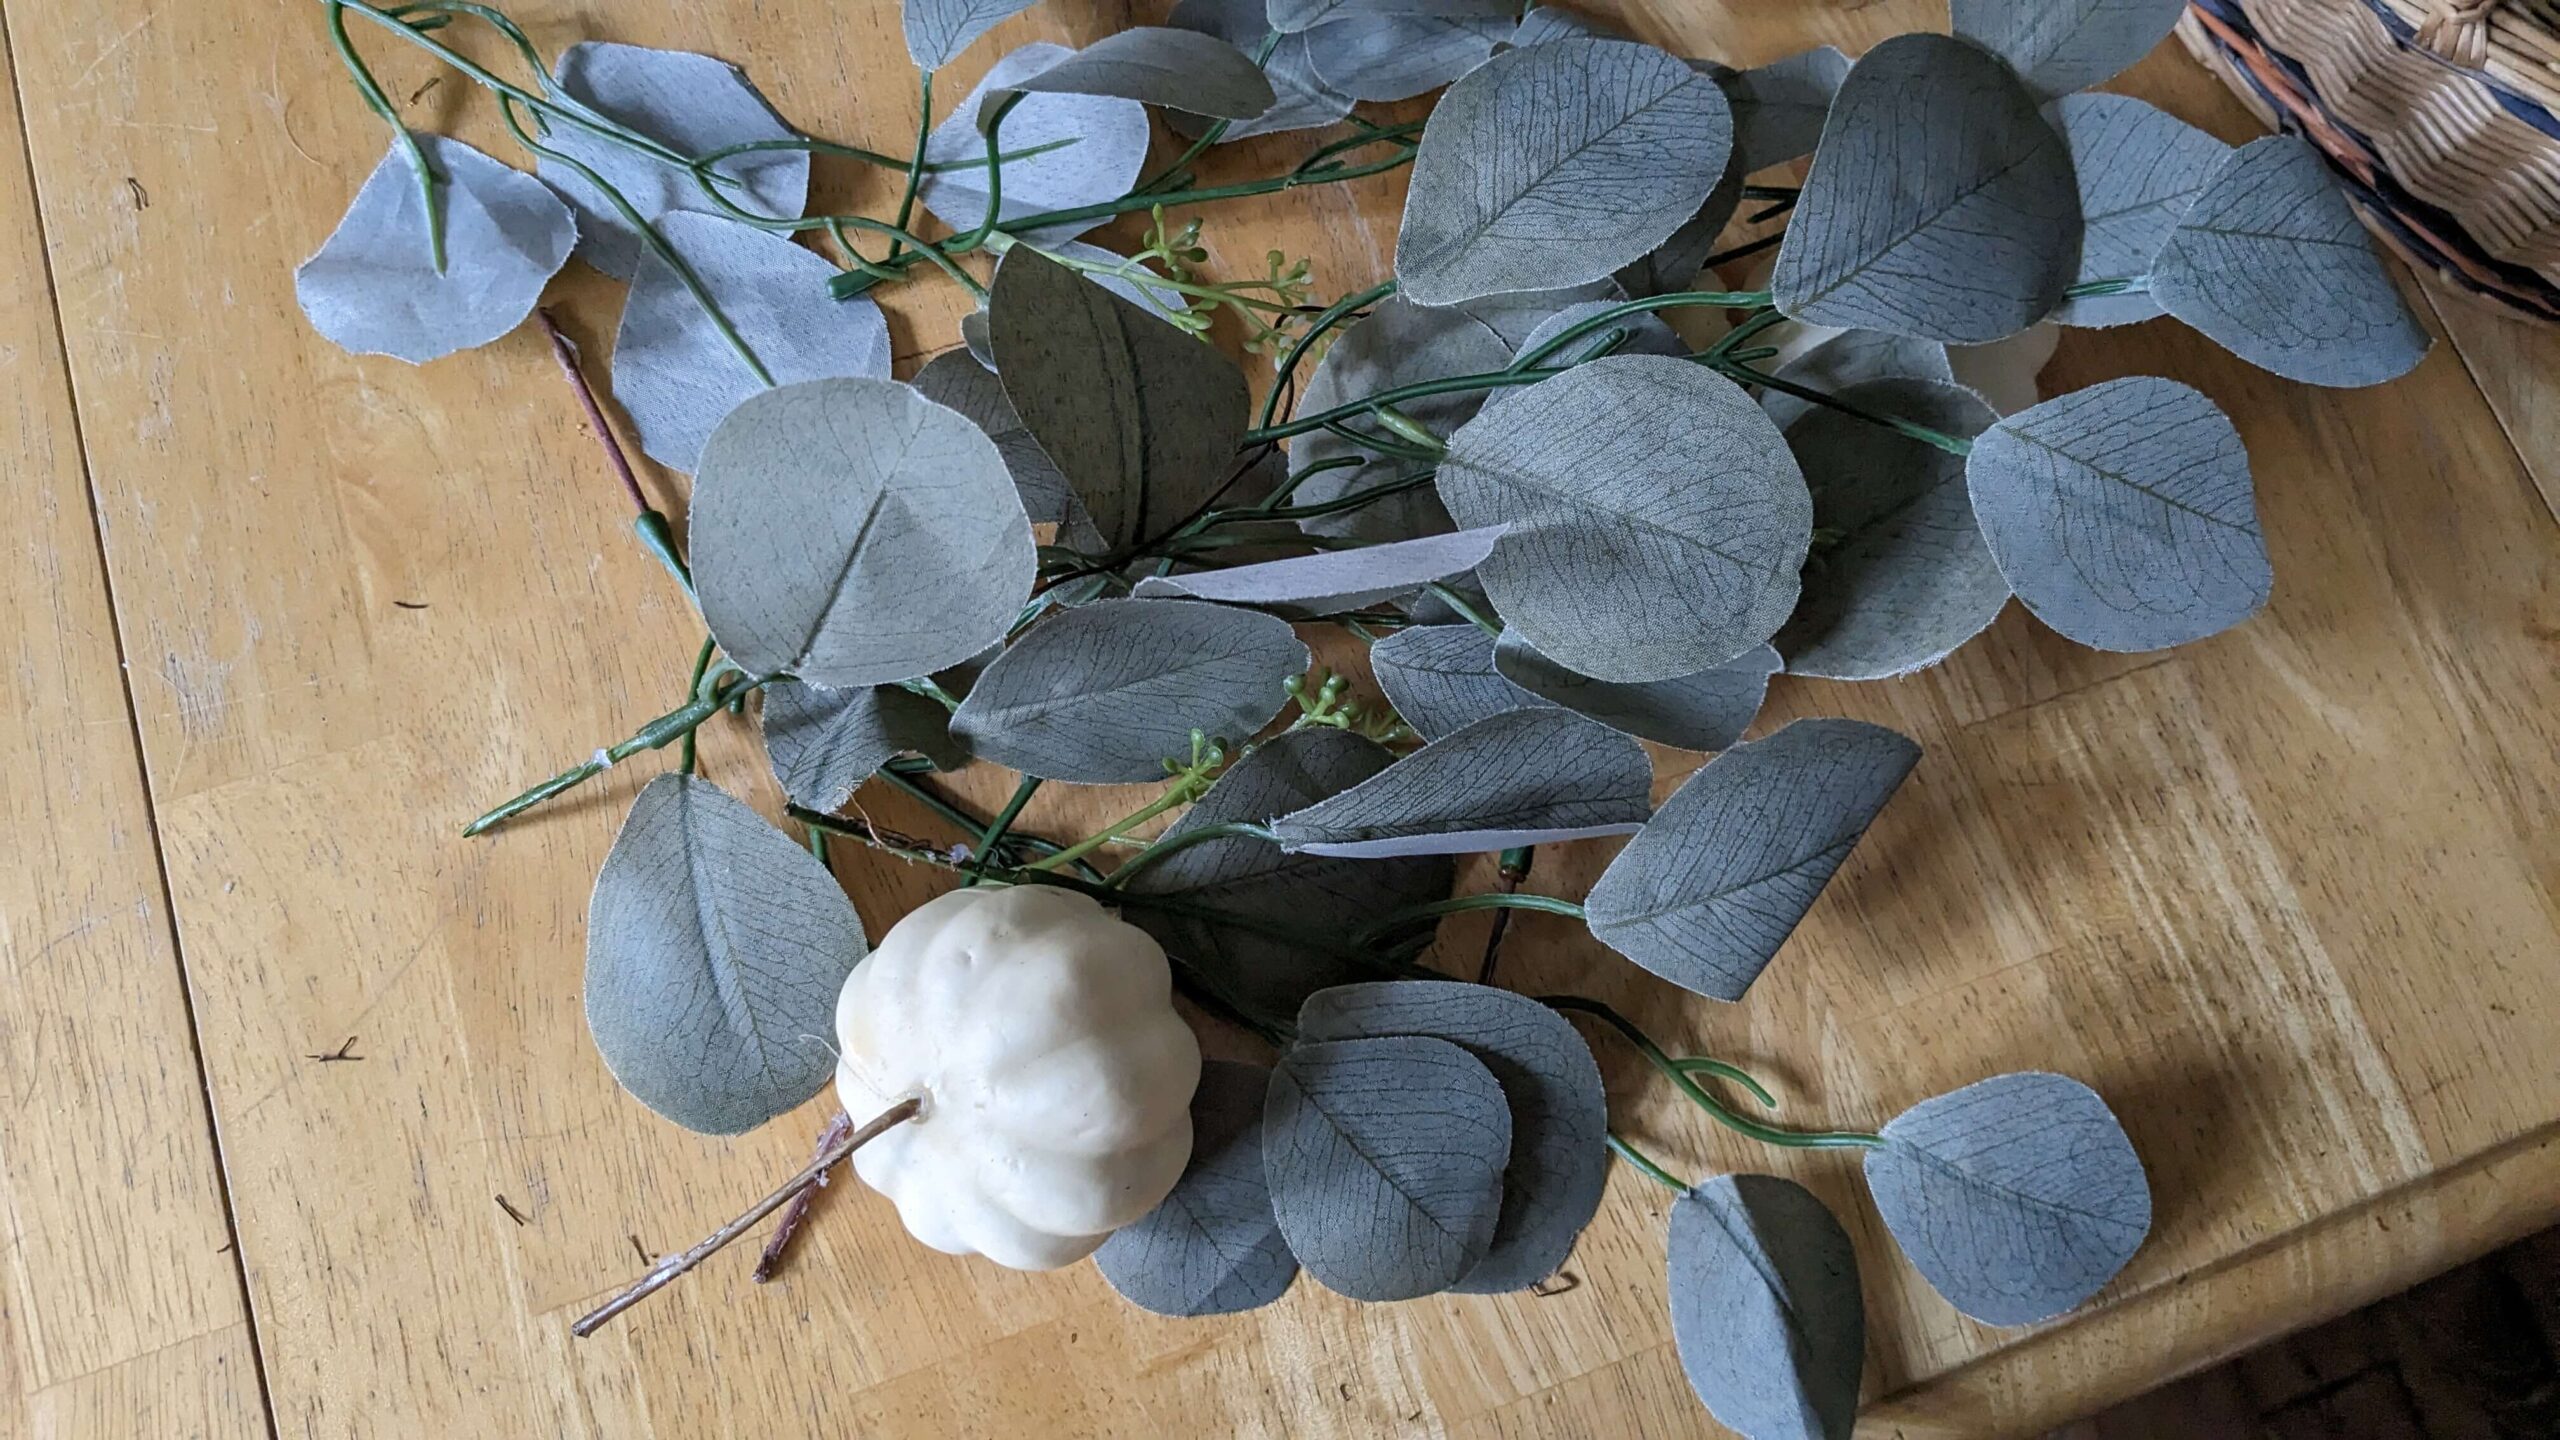
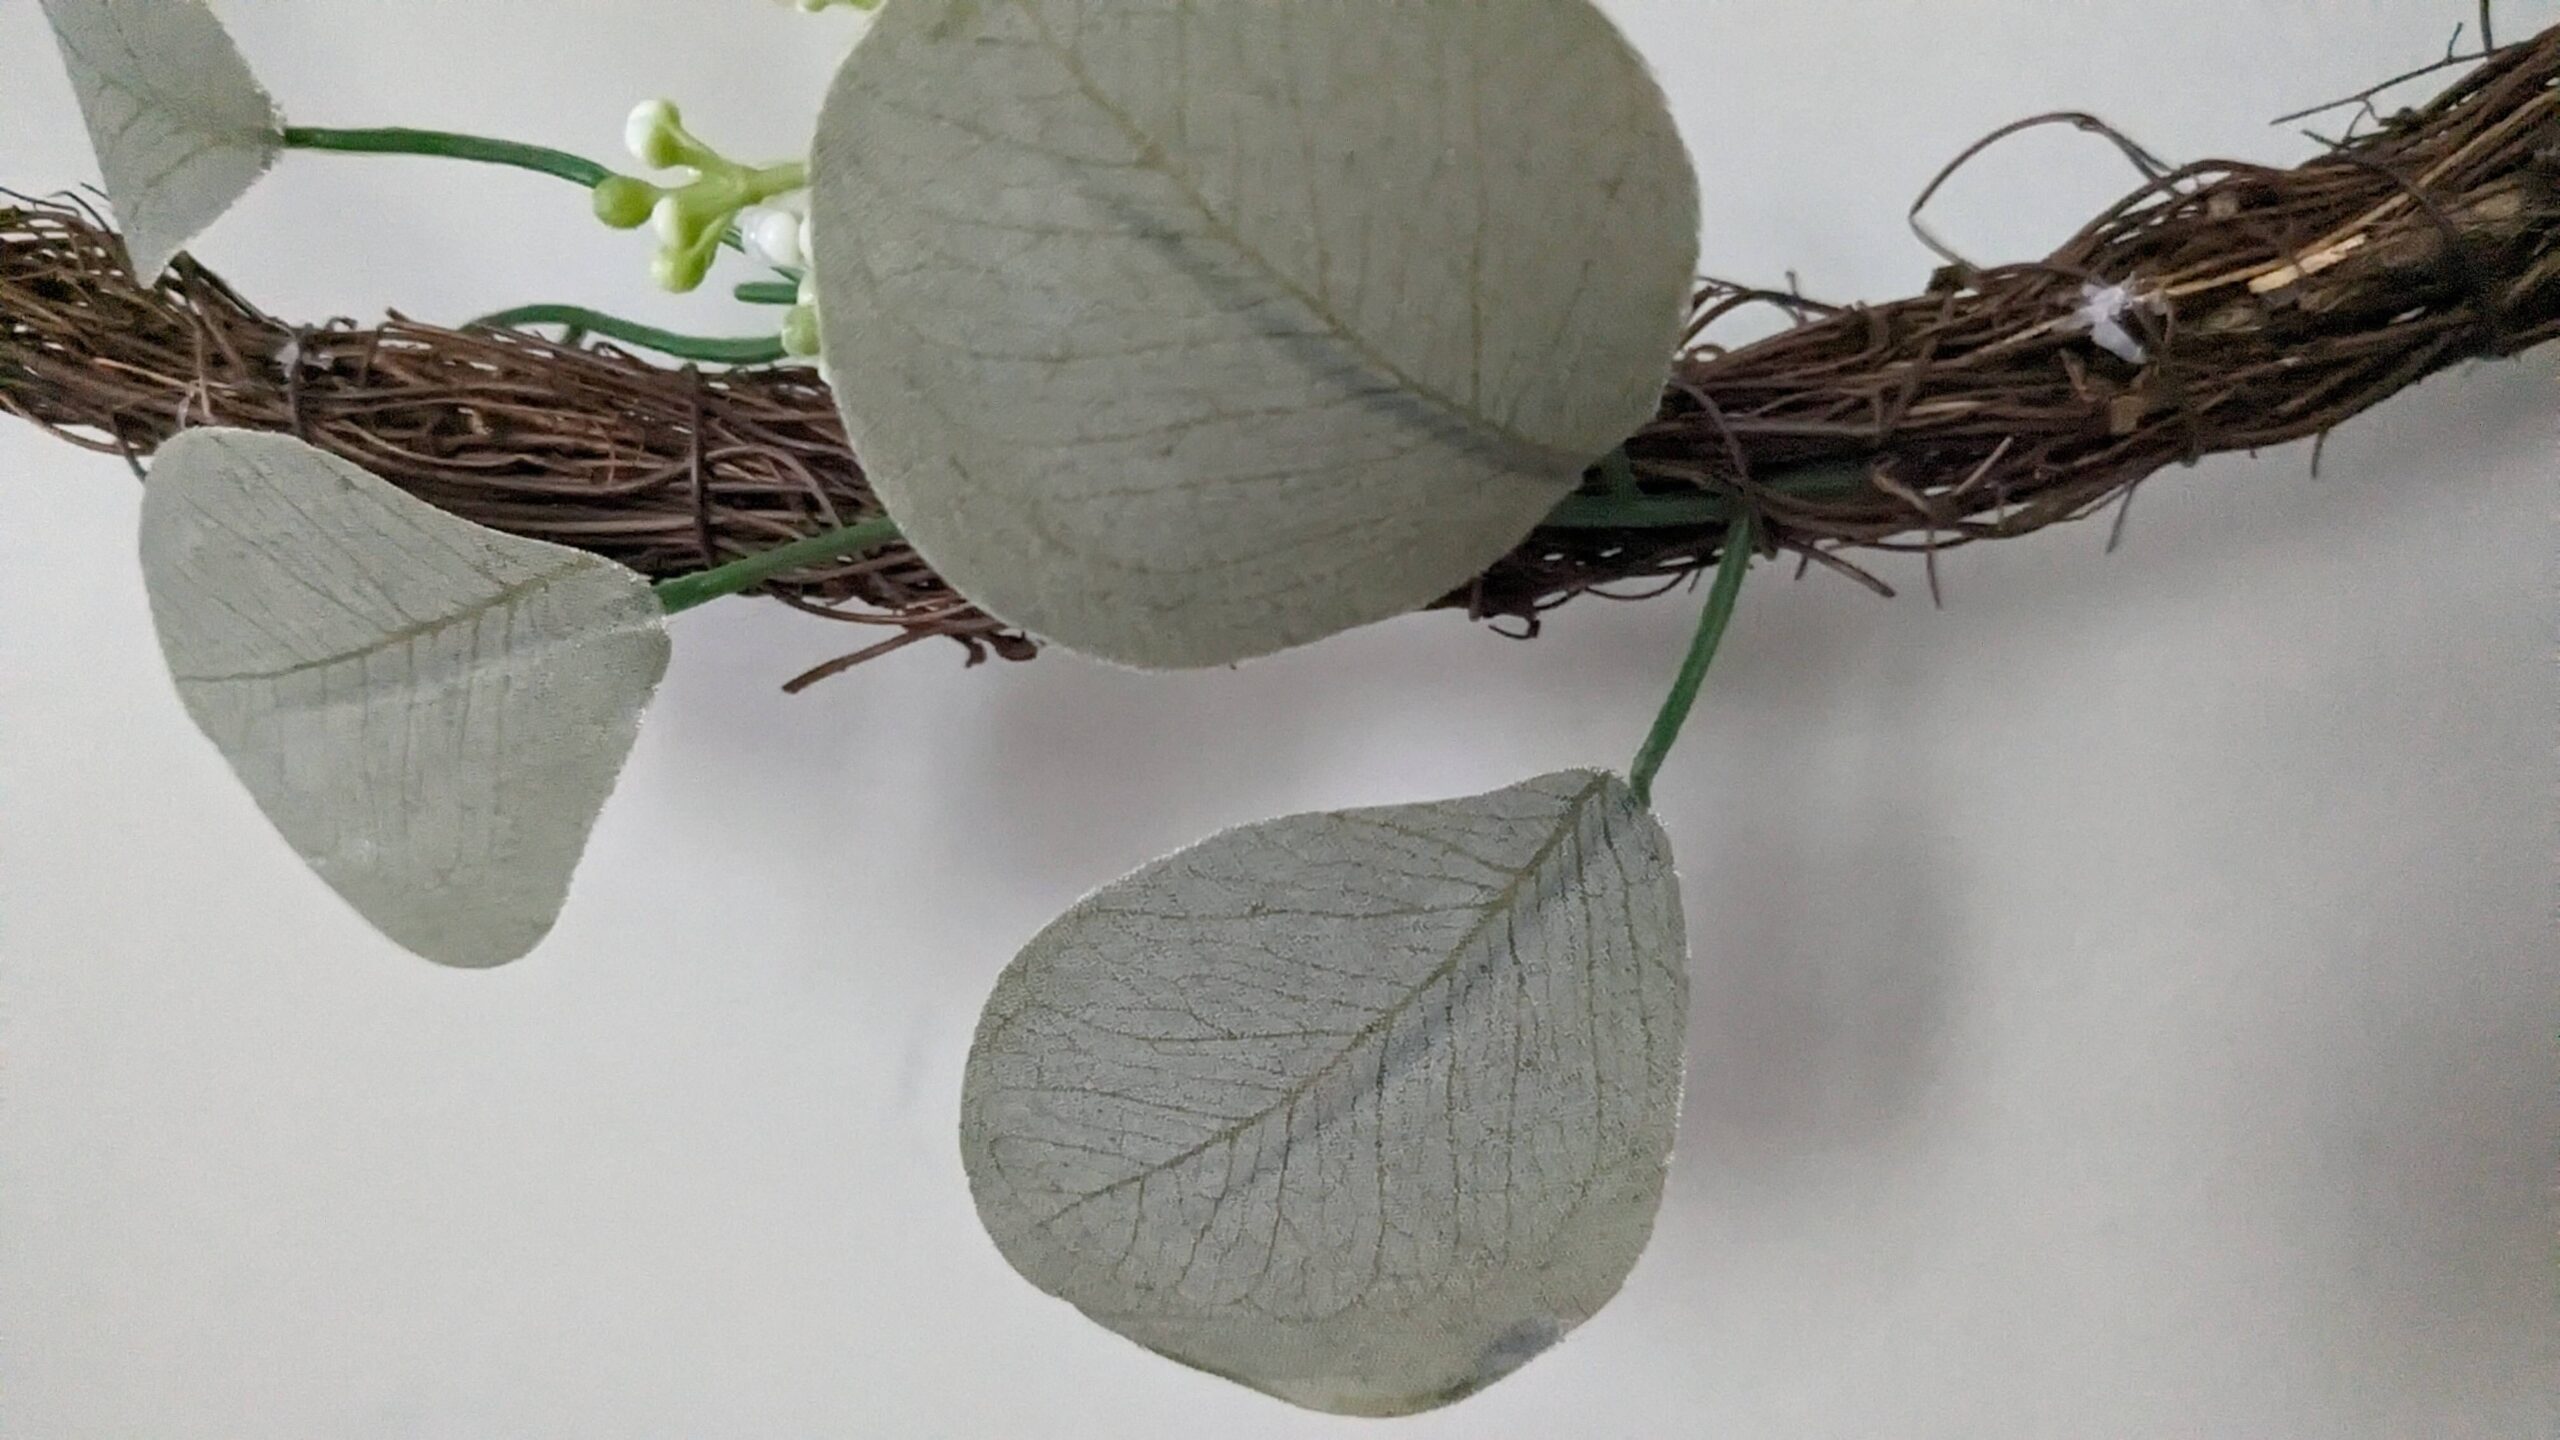
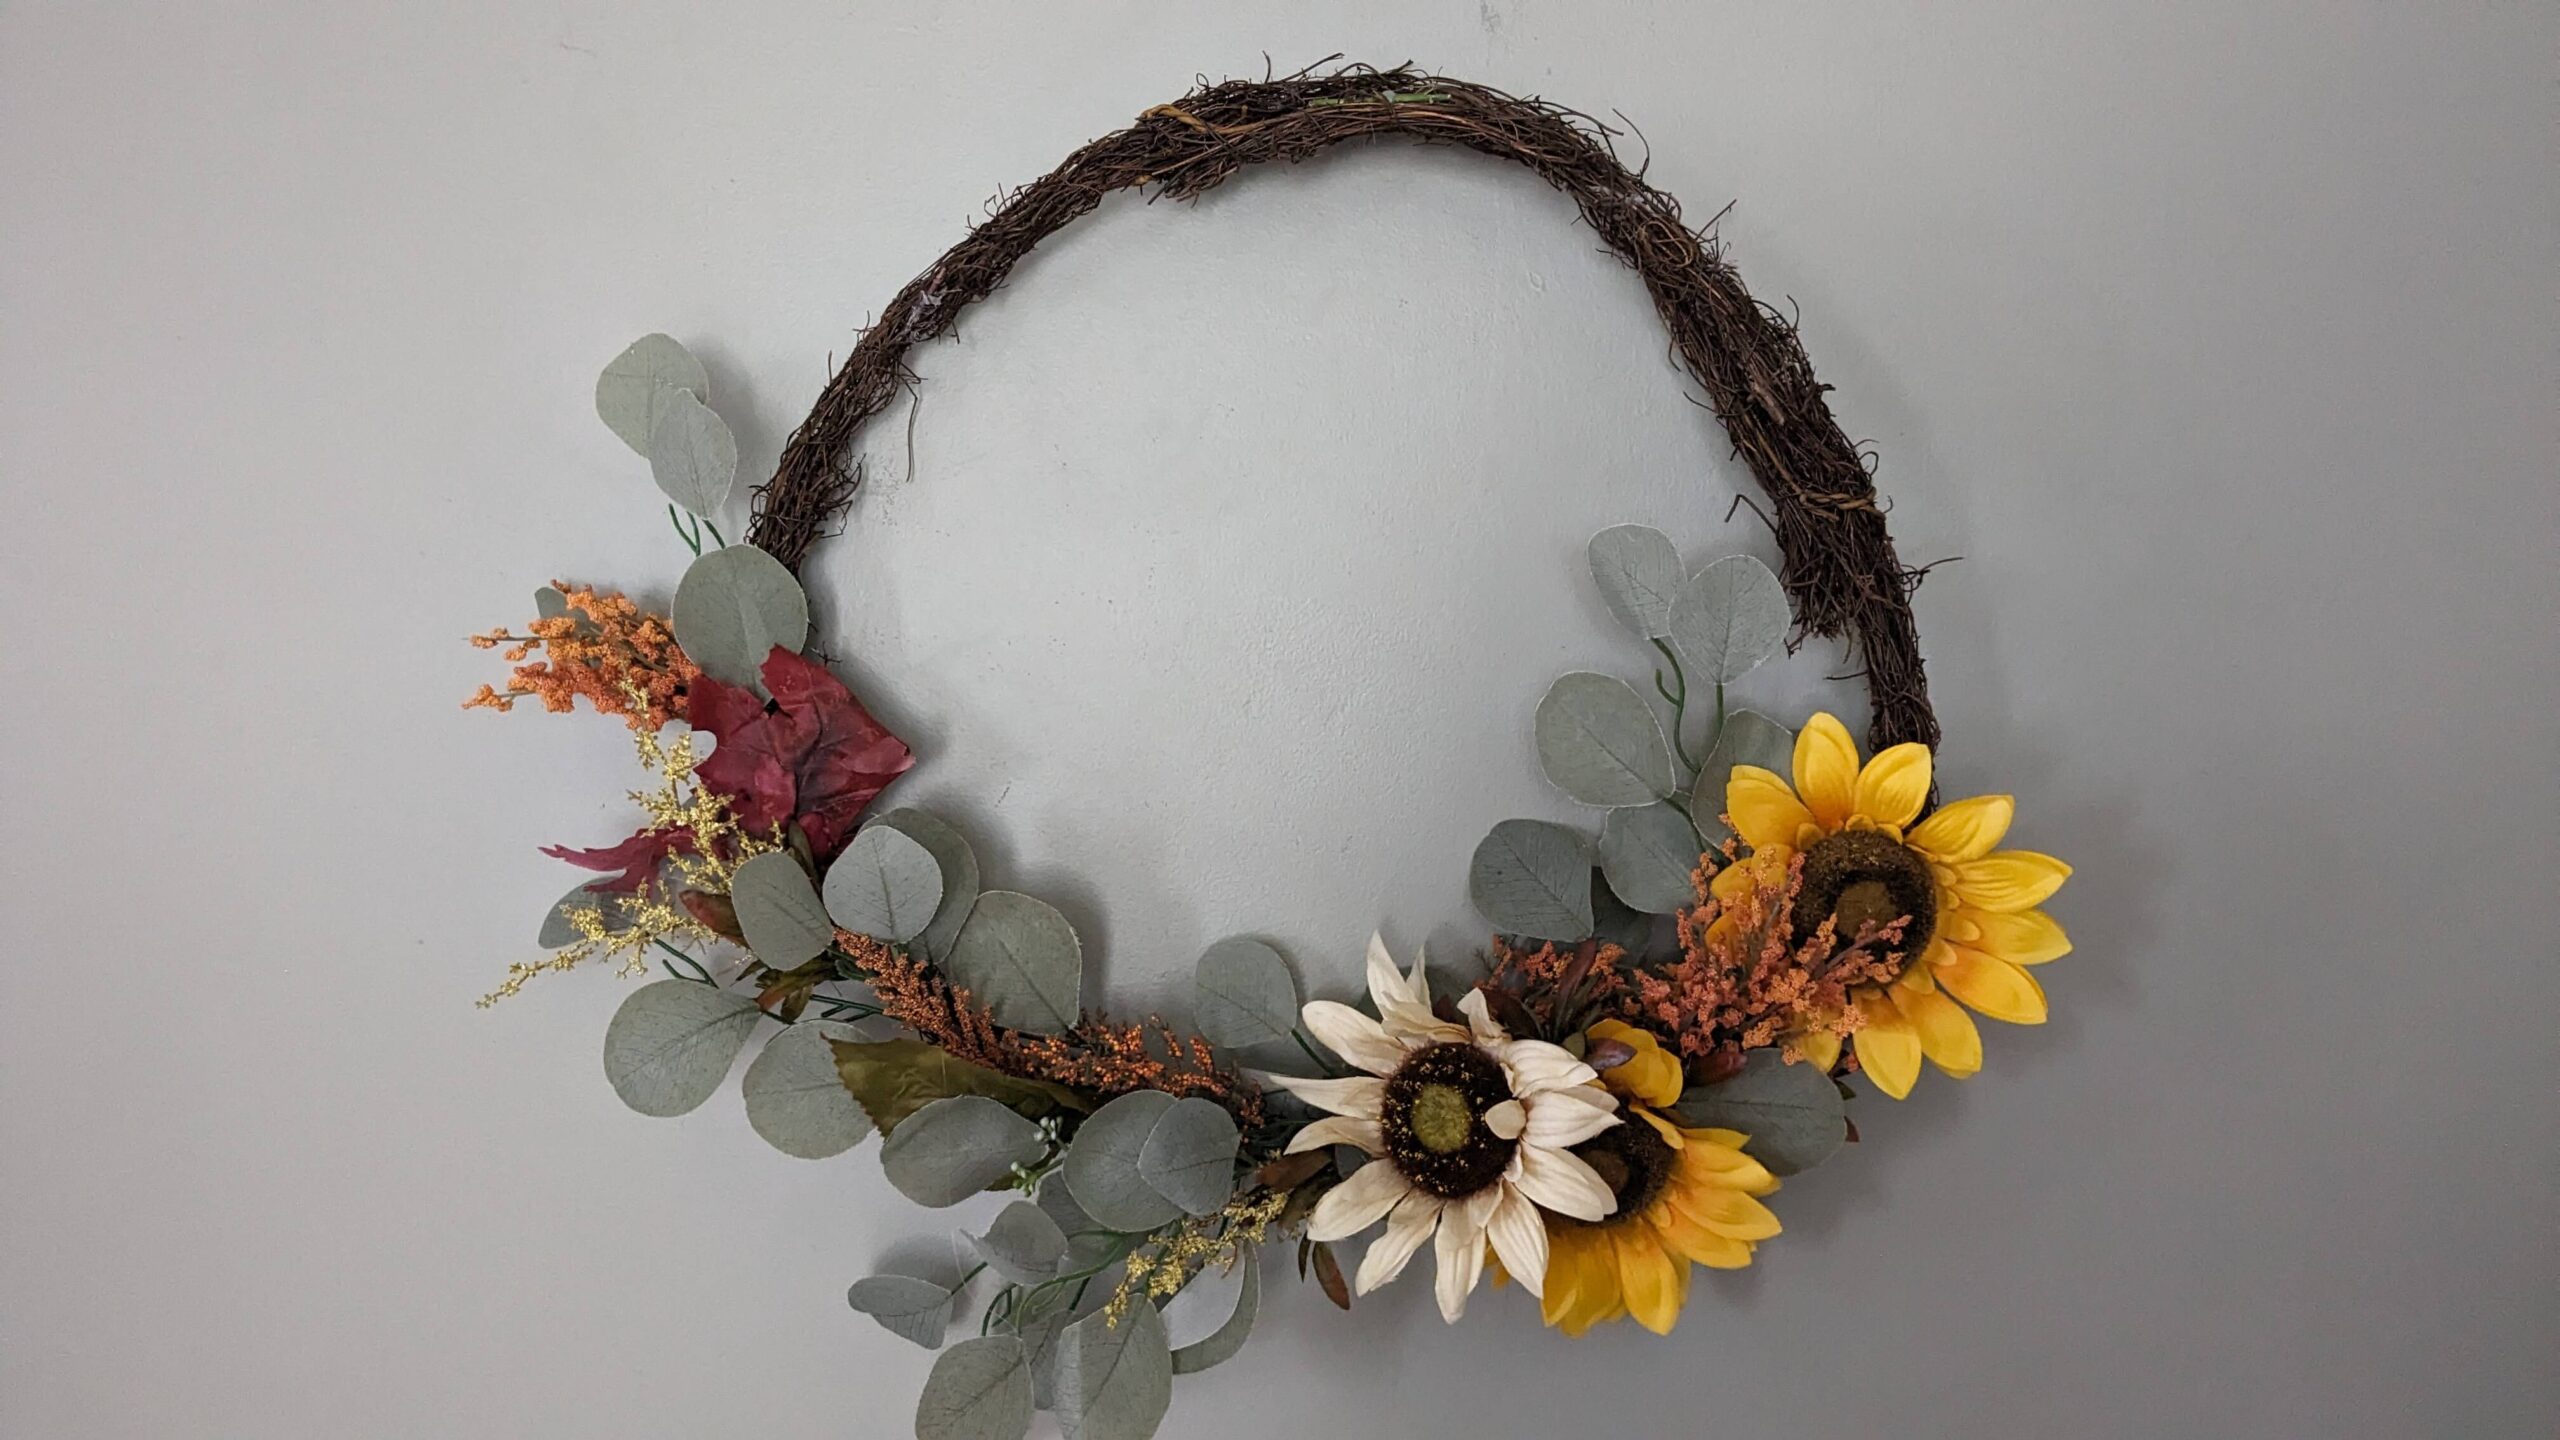
Knowing this, I layered the greenery that I had the most of throughout the wreath. I stopped and started a bunch of times, rearranging and removing. Make sure to step back and evaluate your work from a distance because there are plenty of times that we focus on the detail of one thing and then step back and realize it’s either inconsequential or actually ruins what we’re going for. (Isn’t that a great life reminder too.) I think that the greenery that I liked the most would be considered a silver-dollar eucalyptus. If you know what it is for sure, let me know down in the comments!
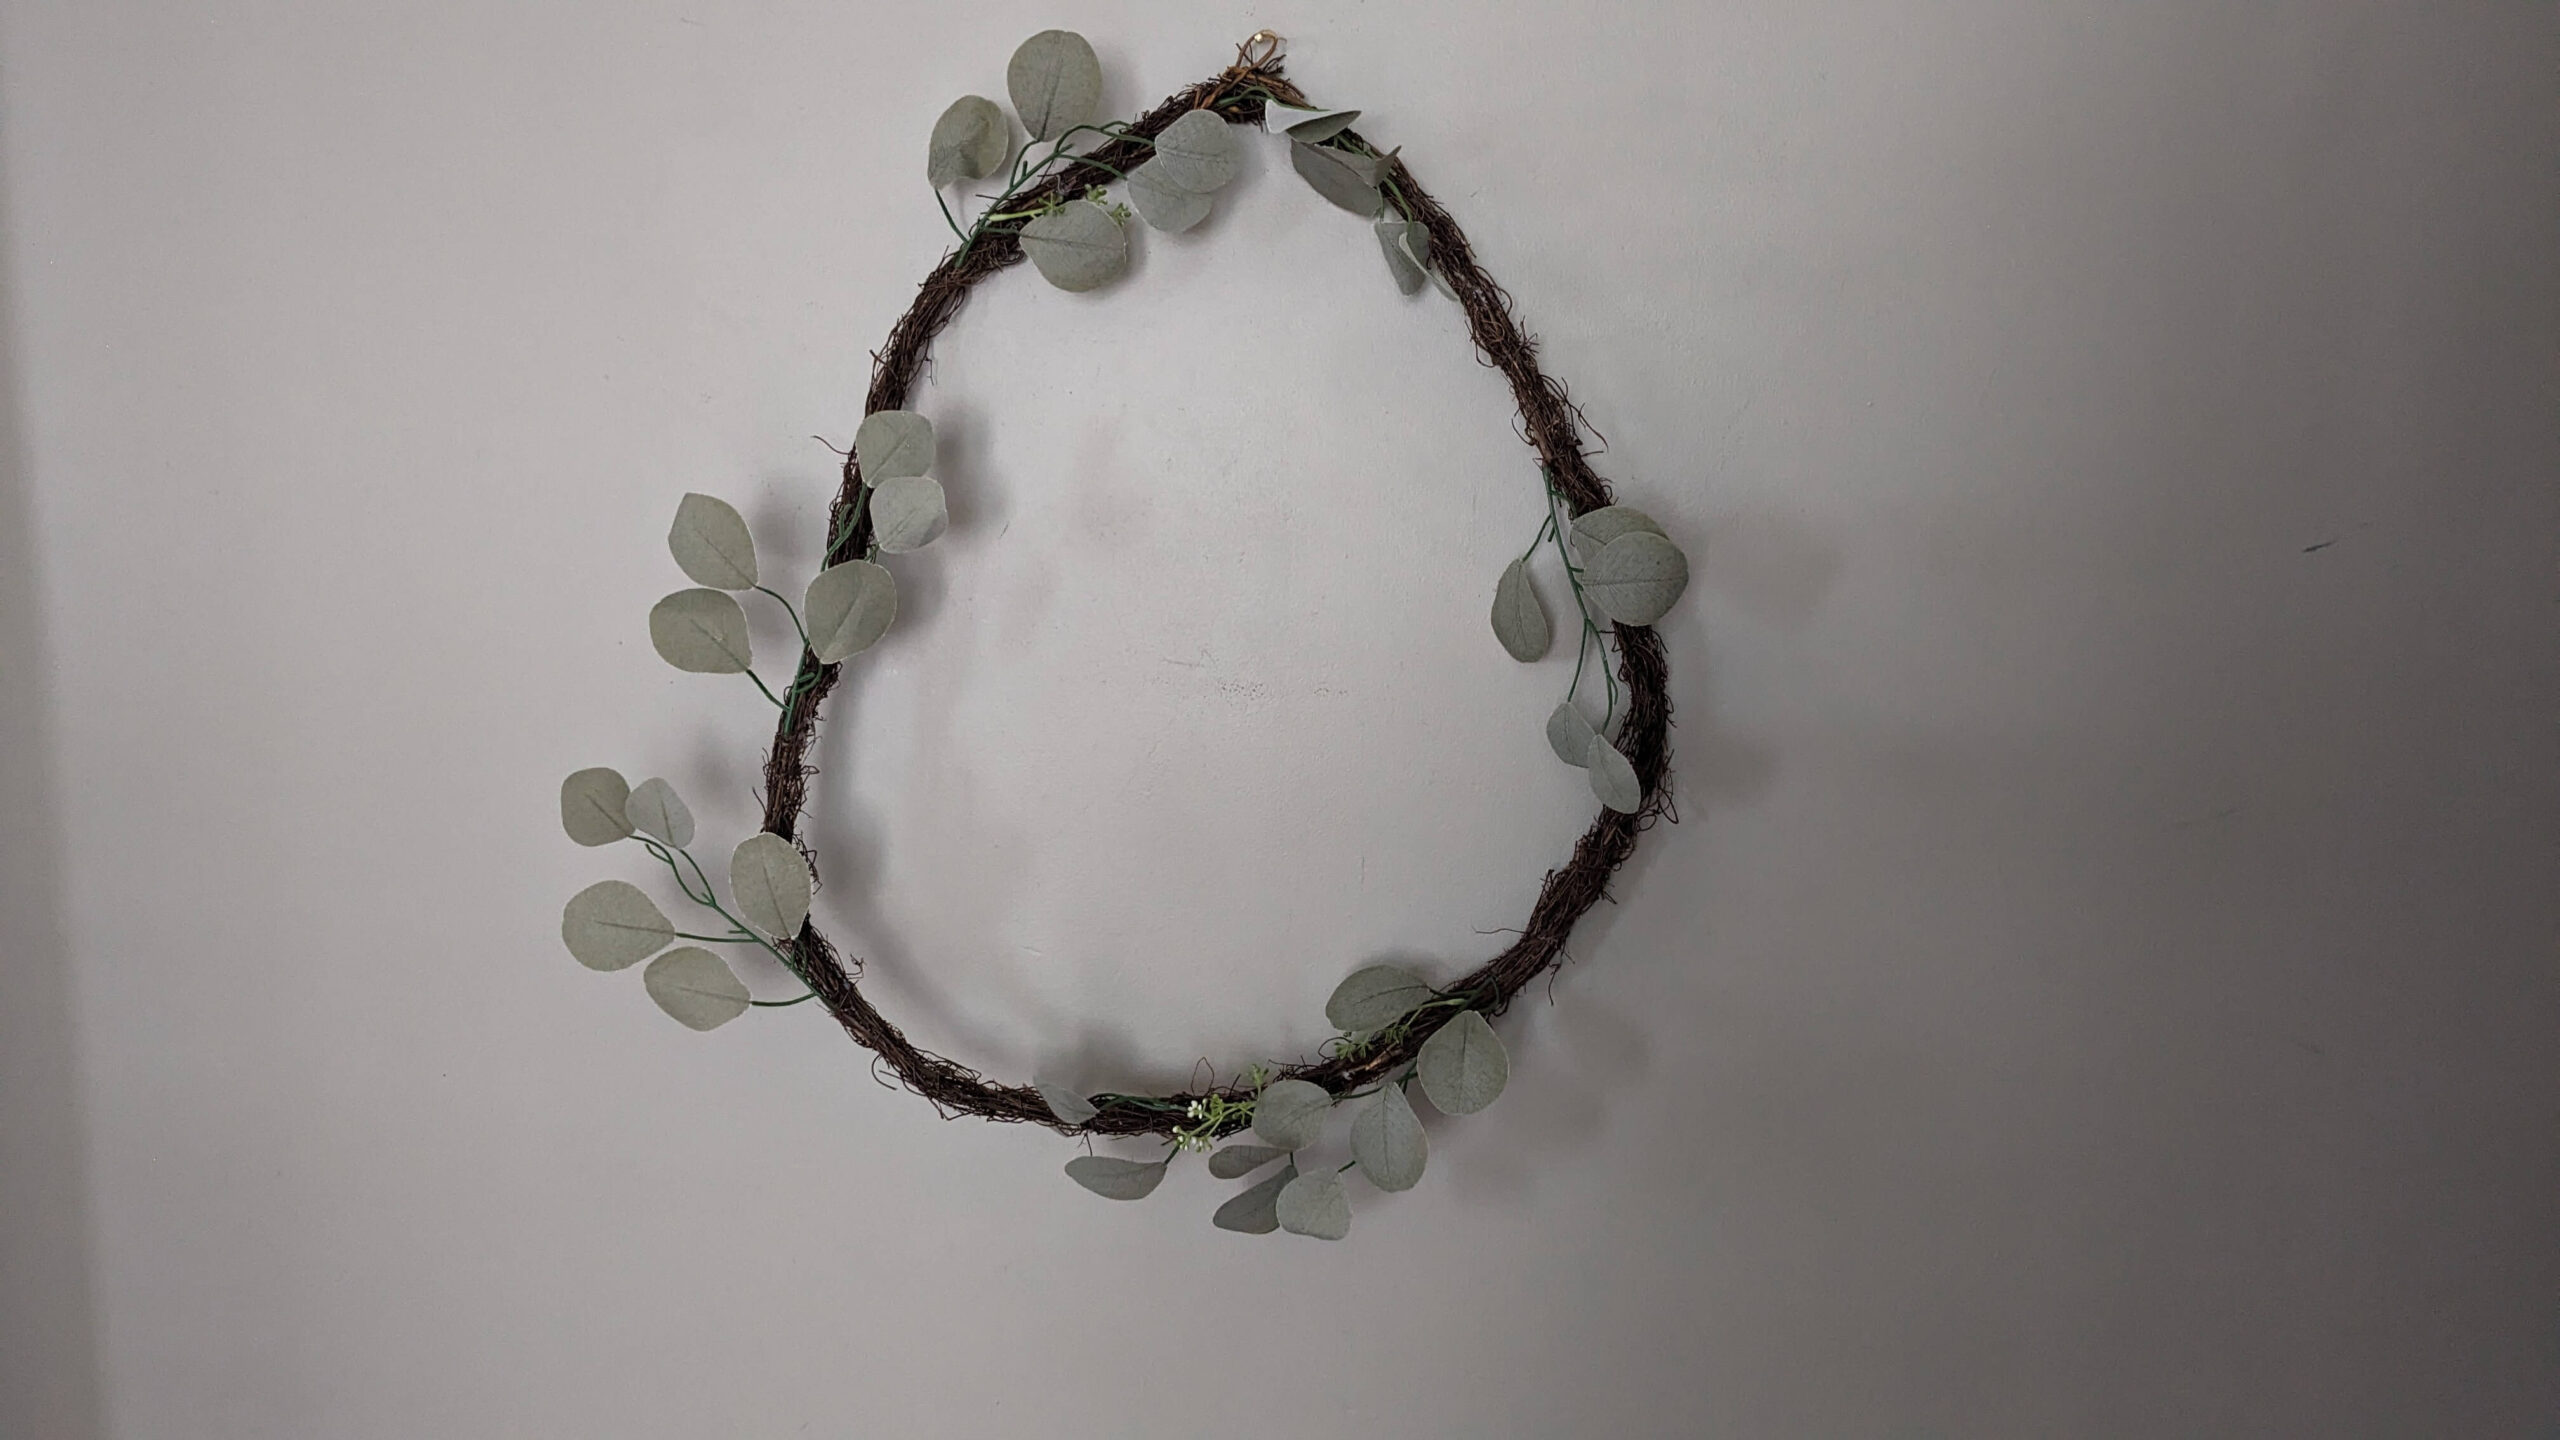
Once the eucalyptus was in place and I was confident I liked it, I hot glued each piece into place. Then I placed the sunflowers on the right side. I follow the rule of threes for decor and I knew I wanted the wreath to be “heavier” (visually) on one side instead of even the whole way around or just on the bottom half.
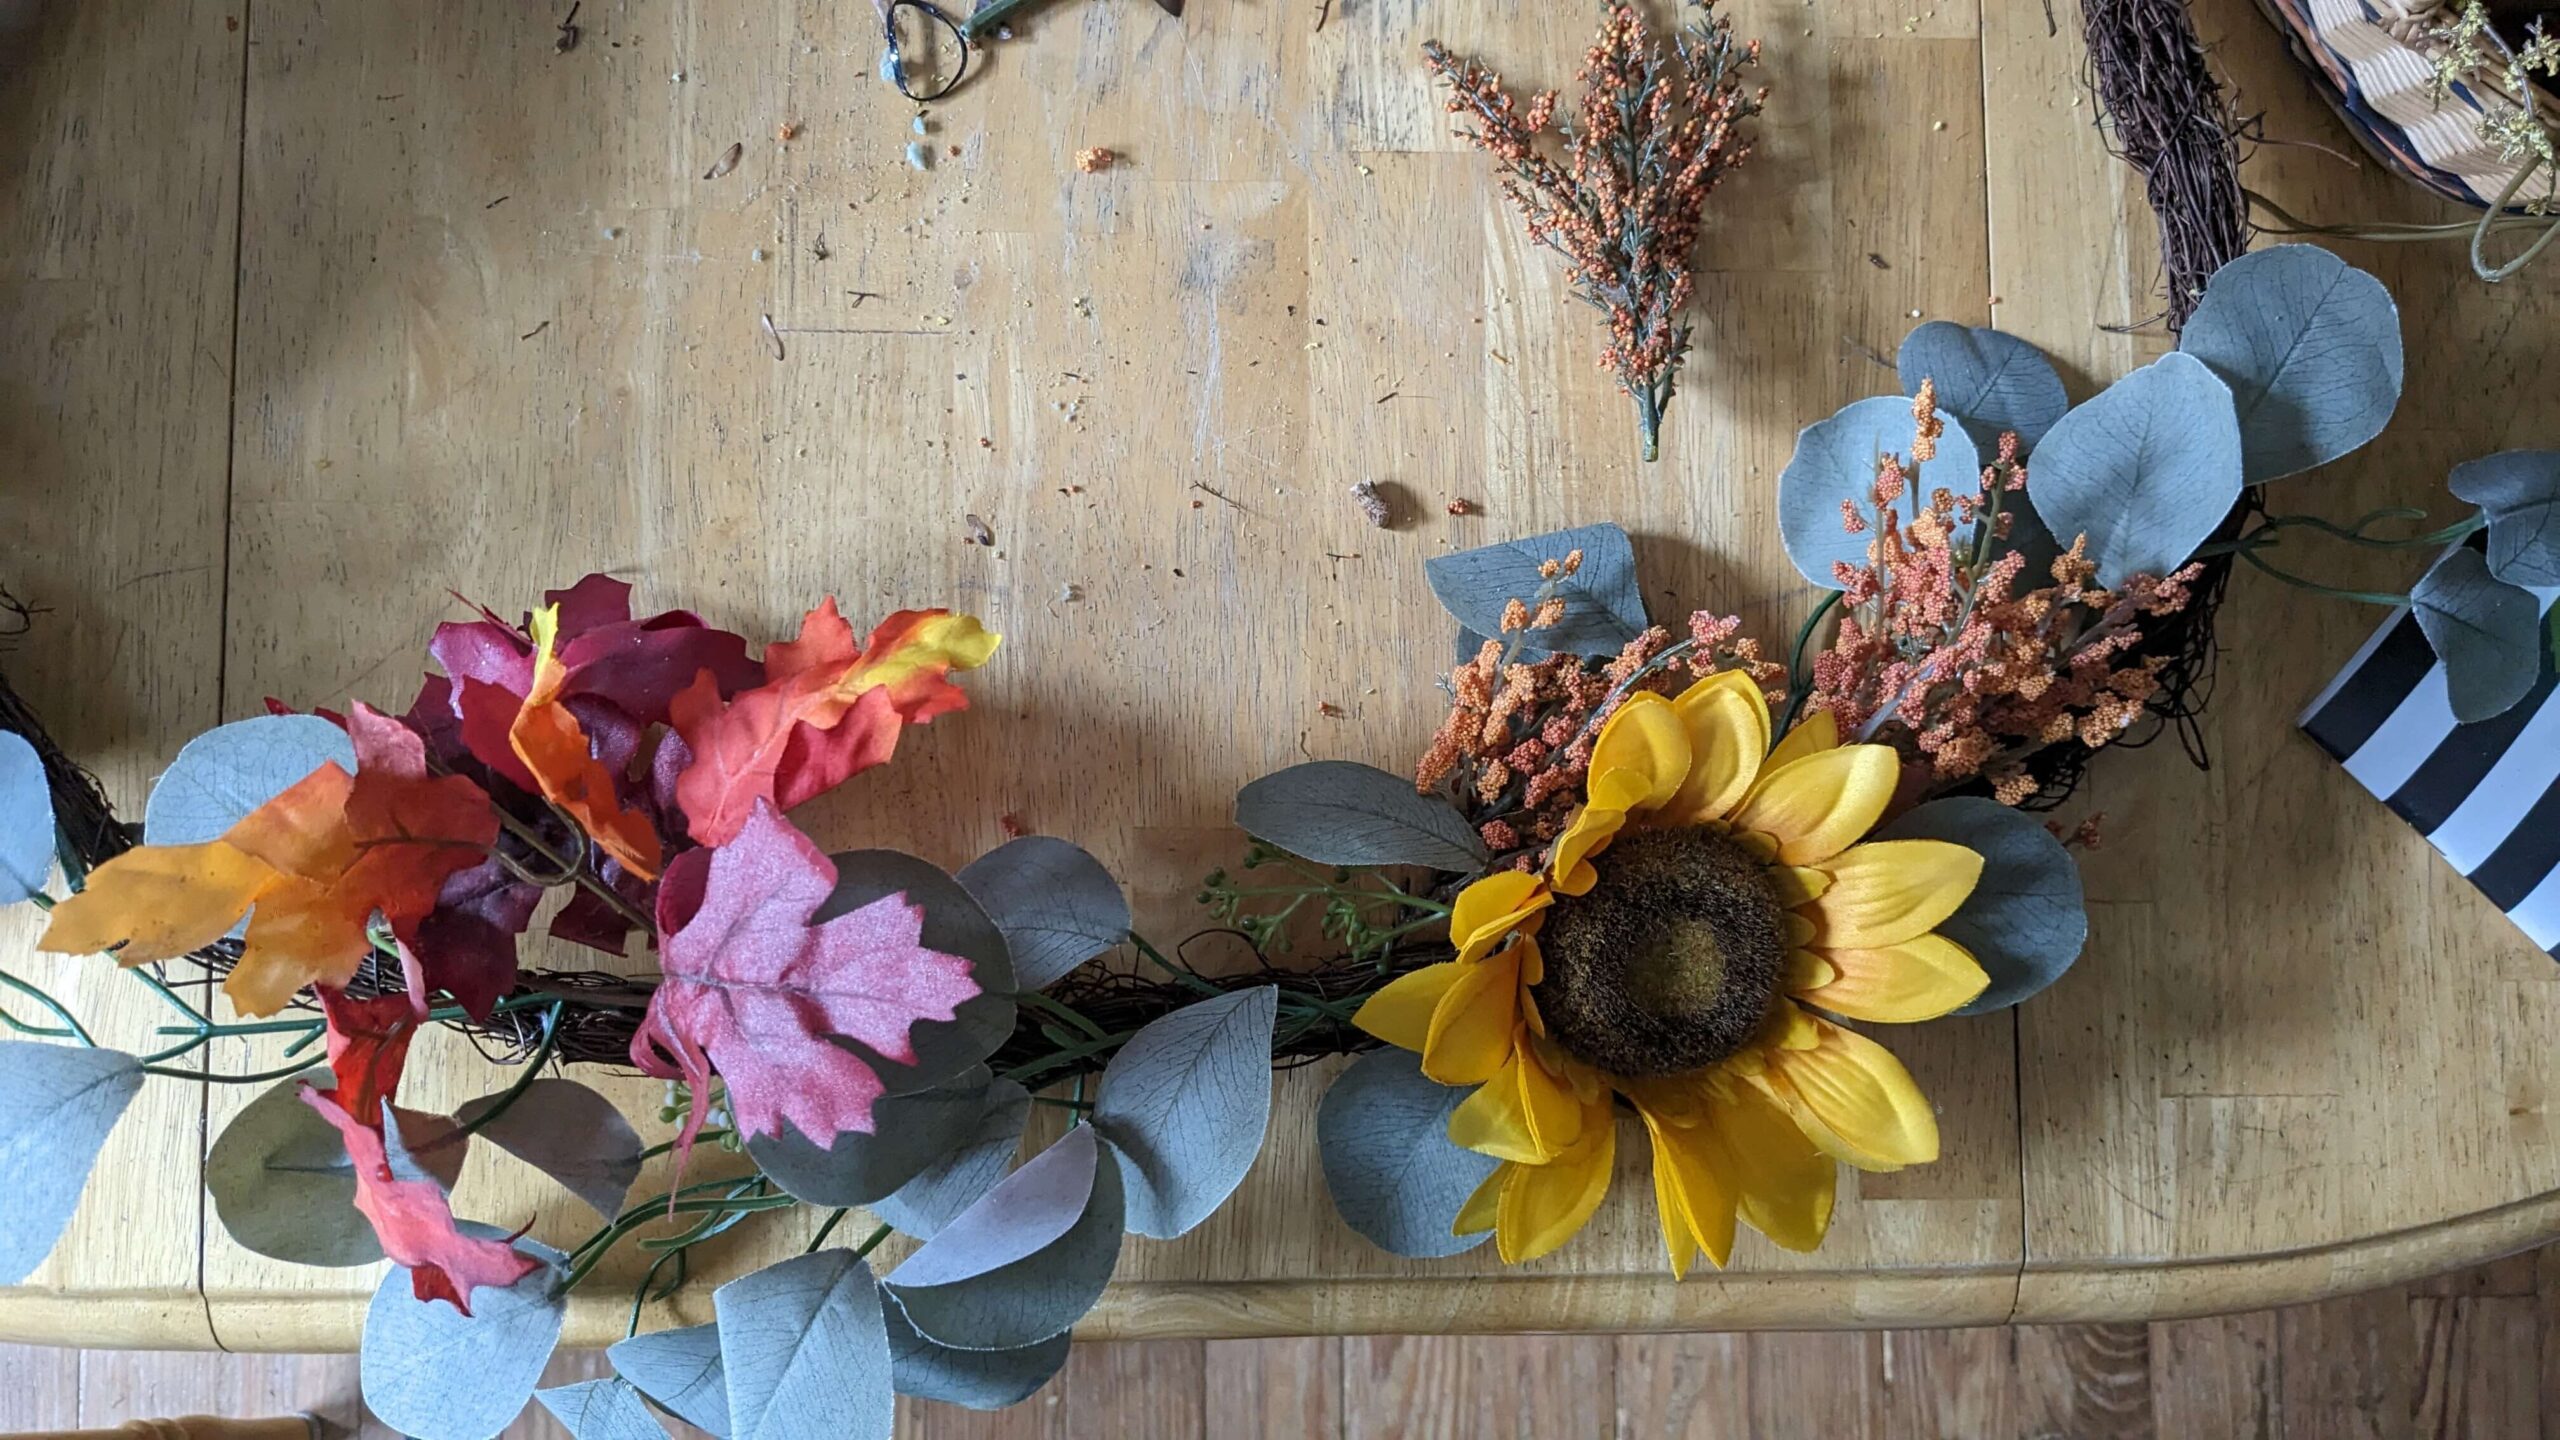
The eucalyptus and sunflowers felt like the foundation so once I had those securely in place I had so much more fun. I was able to play around with the floral pieces and cotton. It was easier to play around with it and step back to evaluate at this point. I was able to rest pieces on other pieces and step back to get a better idea of what it looked like. The photos below just show the process of how I created and edited the wreath. These are to show you how things progressed and to hopefully encourage you to play around with what you have. It probably won’t be perfect on the first try.
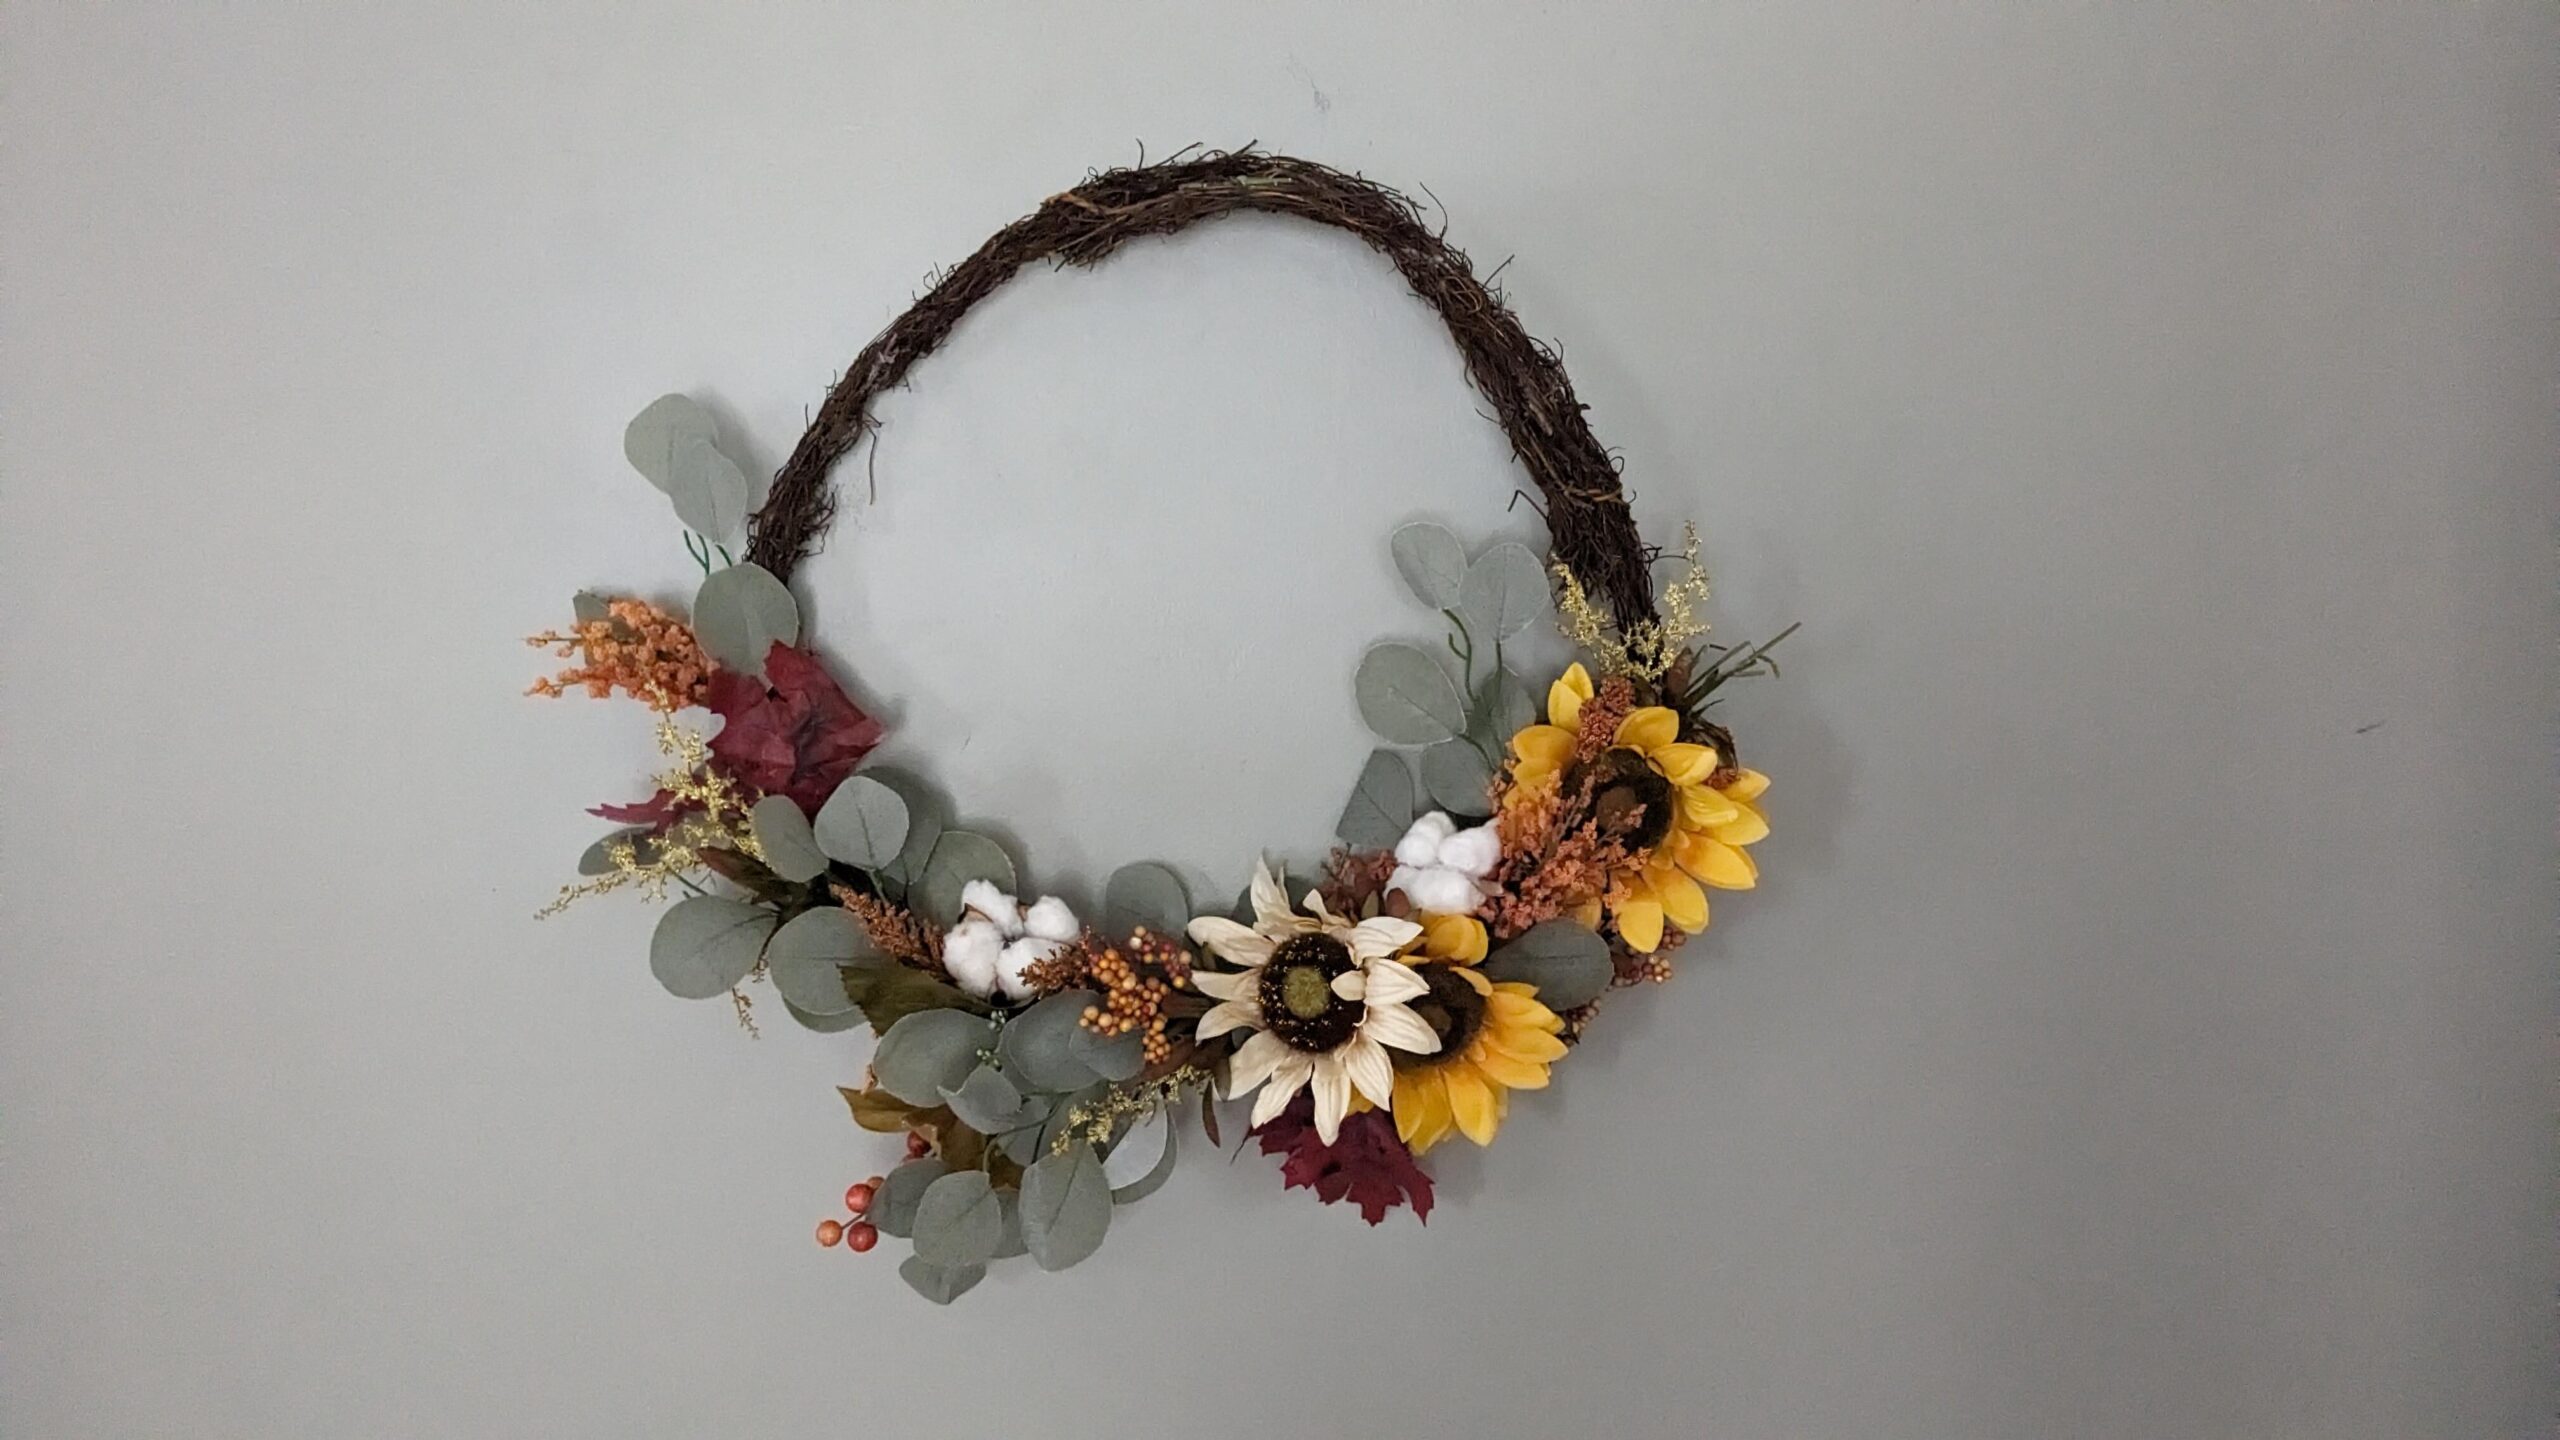
I’m so pleased with how this turned out. I know it’s not the fanciest and I could get a really nice one online for a decent price but this reflects my design style. What this wreath is made of and the fact that I made it for free with what I had on makes it more “me”.
Do you think you’ll try to make a fall wreath or will you stick to buying?
Save this idea for later!