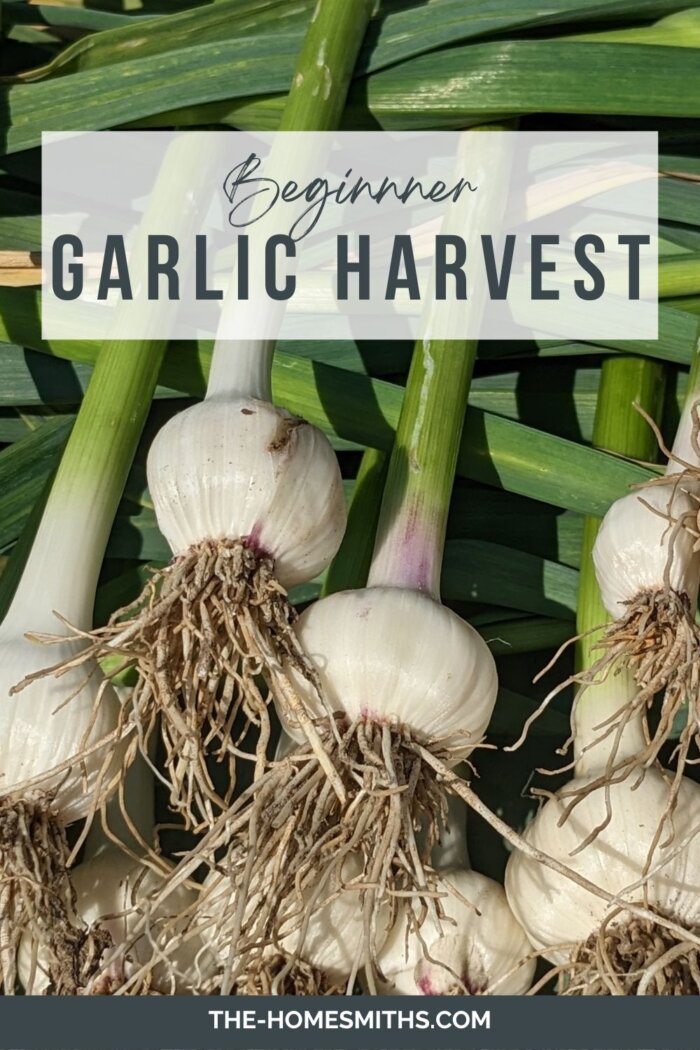
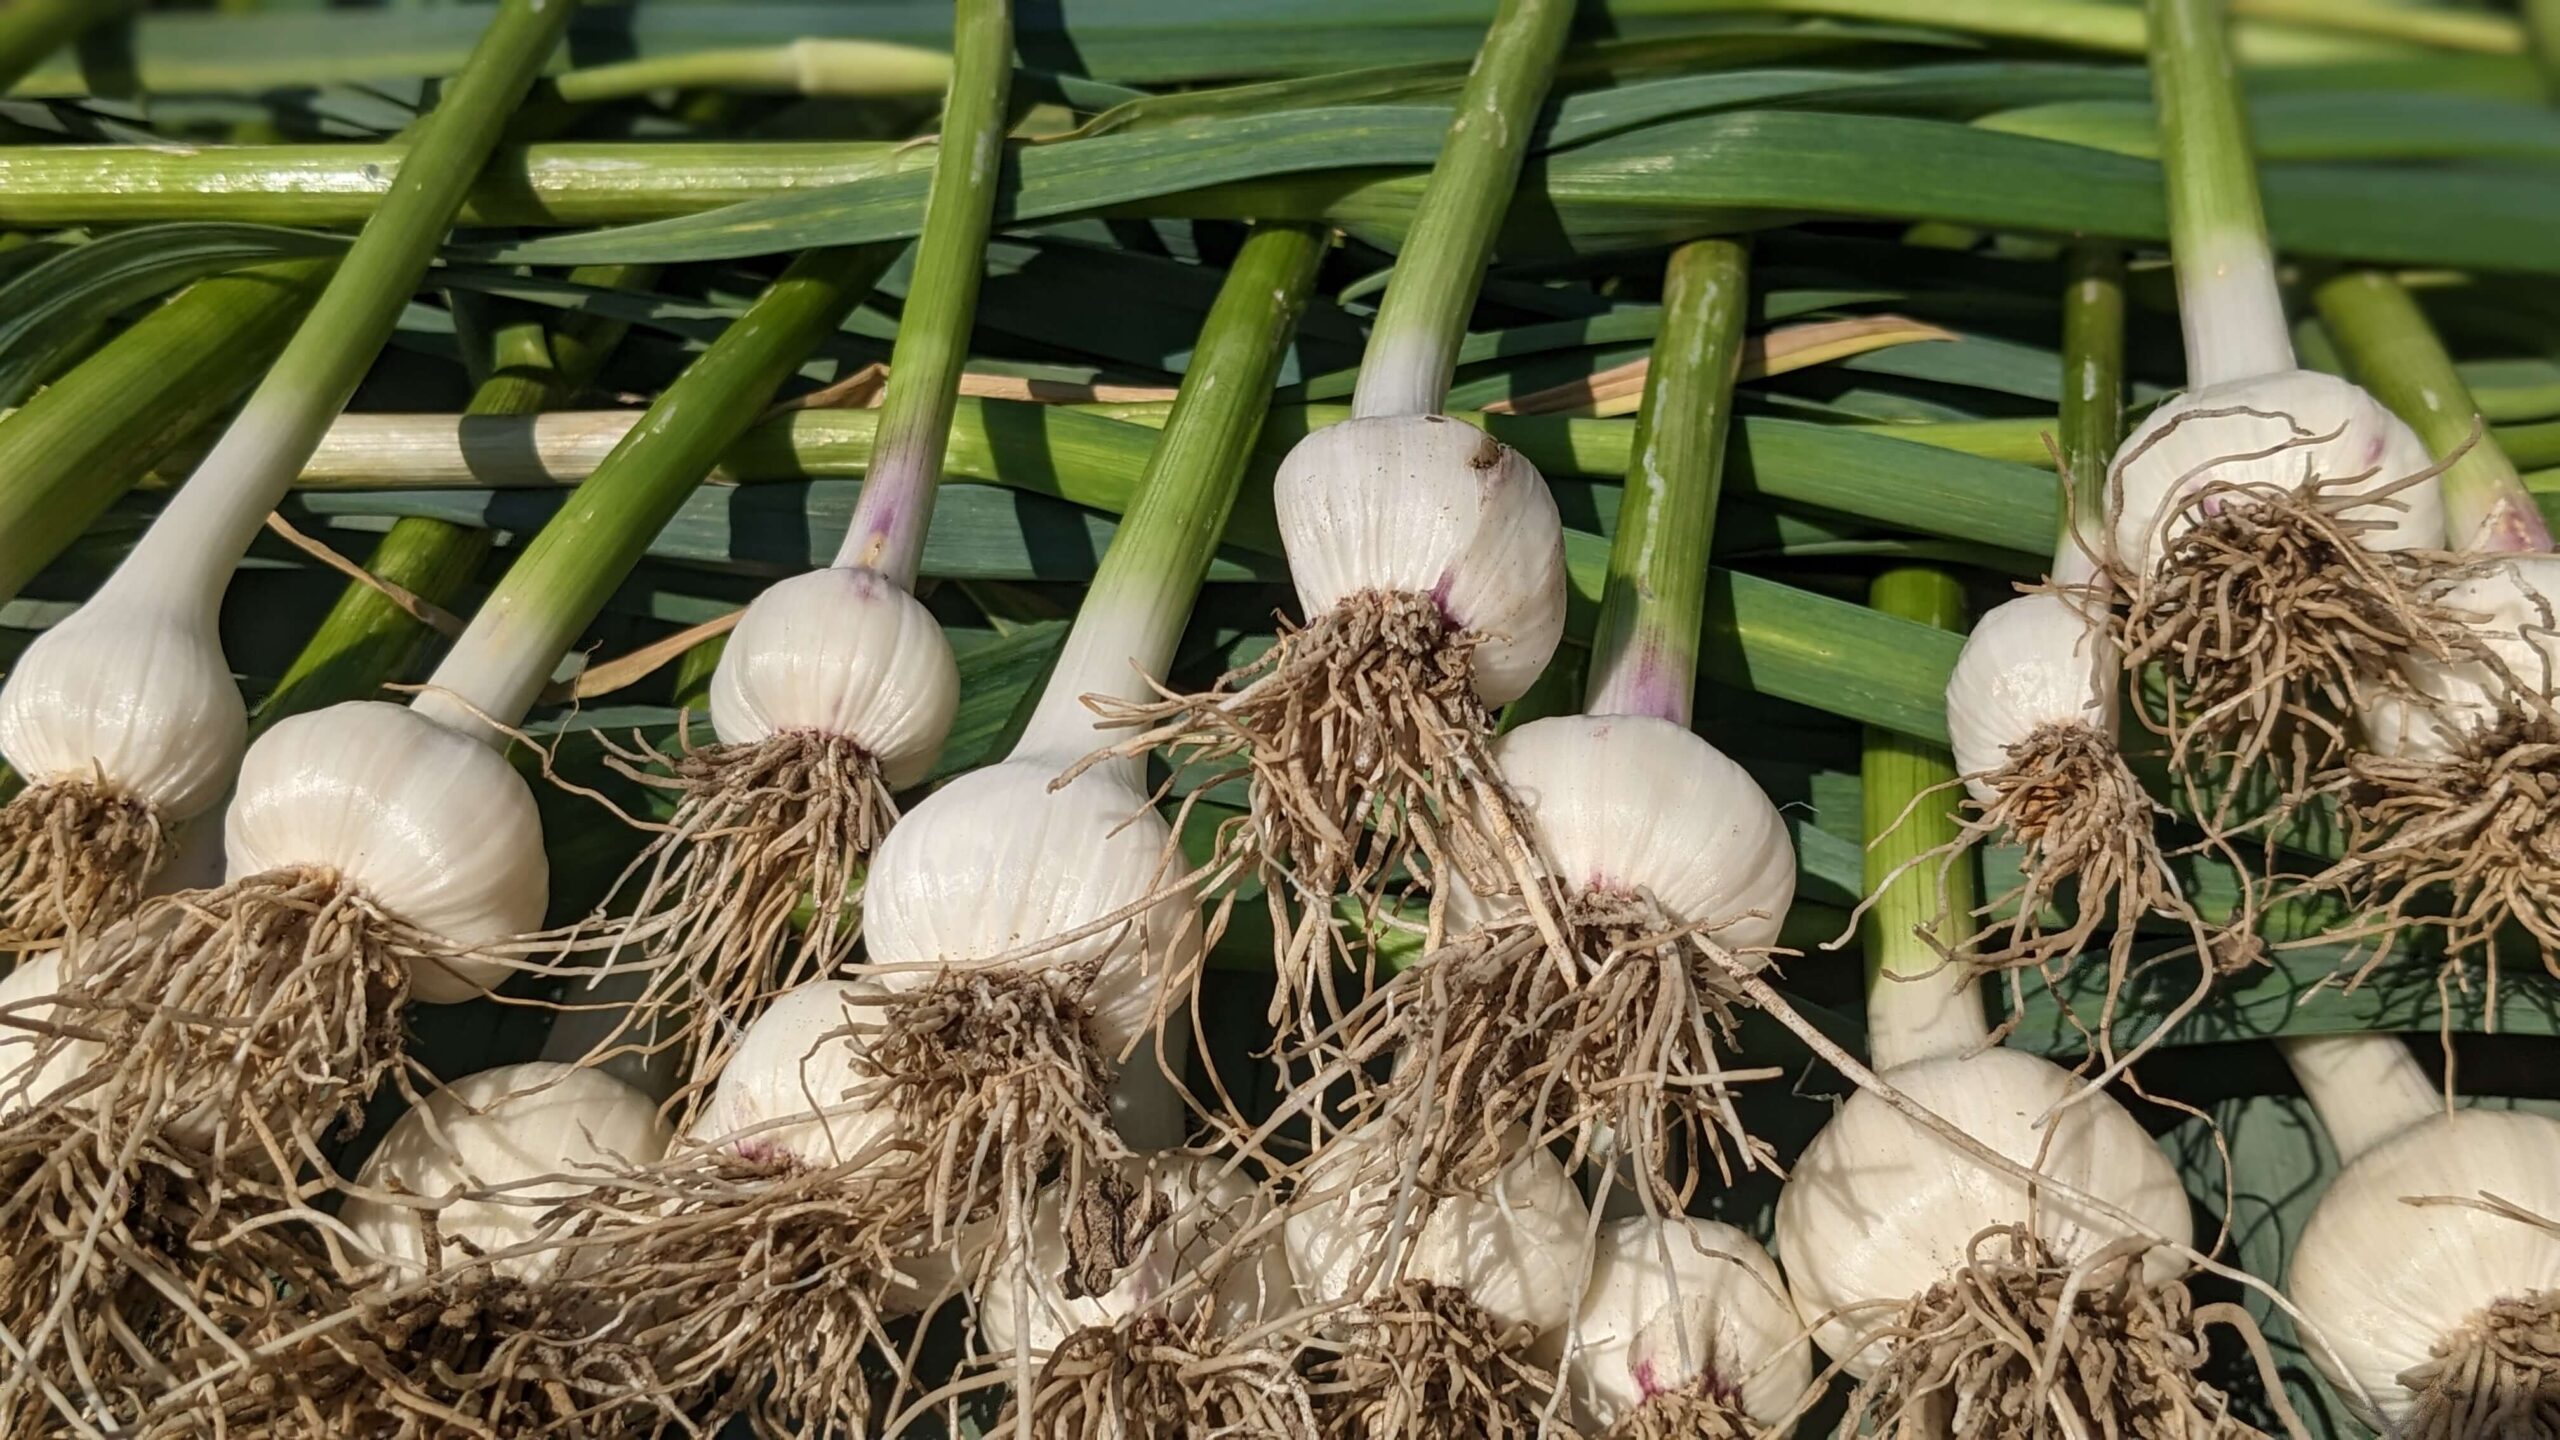
A beginner’s garlic harvest is not exactly a huge feat when you look at the scheme of gardeners everywhere, but this was our first time intentionally planting and harvesting garlic. I think that seeing what a beginner’s garlic harvest looks like can be encouraging and motivating to prepare yourself for next summer. This post is a little late, we harvested our garlic in late June and it’s currently the beginning of November (almost the middle by the time this post goes up), but it’s just in time if you want garlic for next year.
We go through garlic very quickly in our house. I use it in most of our savory dishes, especially at dinner time. This was not a very large harvest, I think we got about 50 bulbs this year. I would happily triple or quadruple that next year if I can find the space!
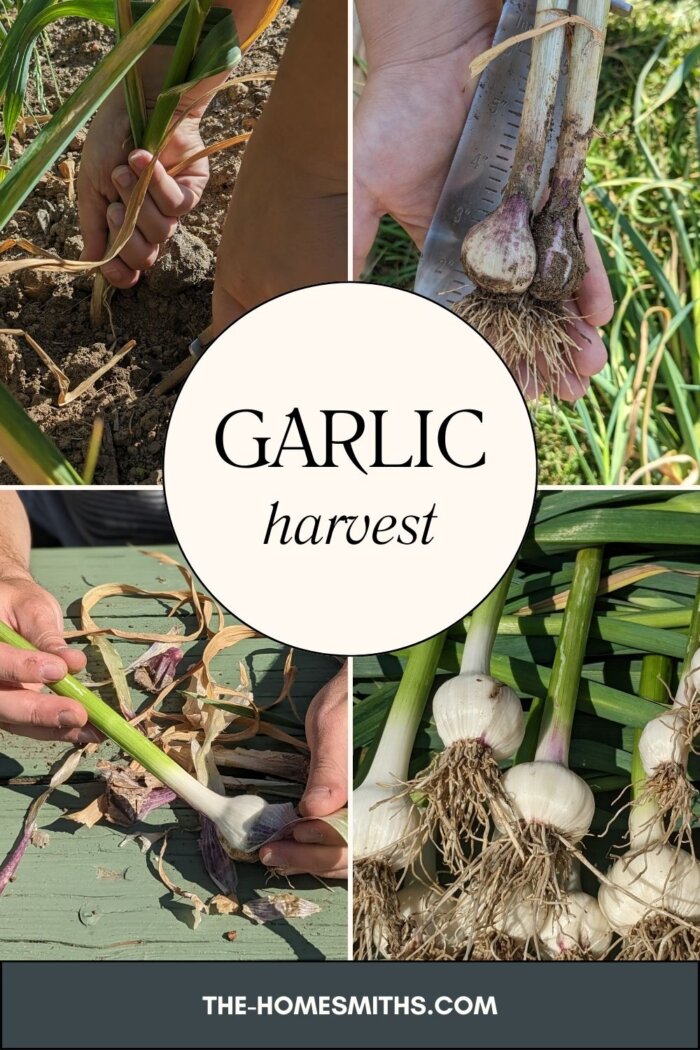
When should you plant garlic?
Garlic should be planted in the fall before the soil freezes. So in our zone (6B), I’ll plant garlic from late October to mid-November. I’m behind on ordering supplies so keep an eye out for a post about planting garlic once I get around to it.
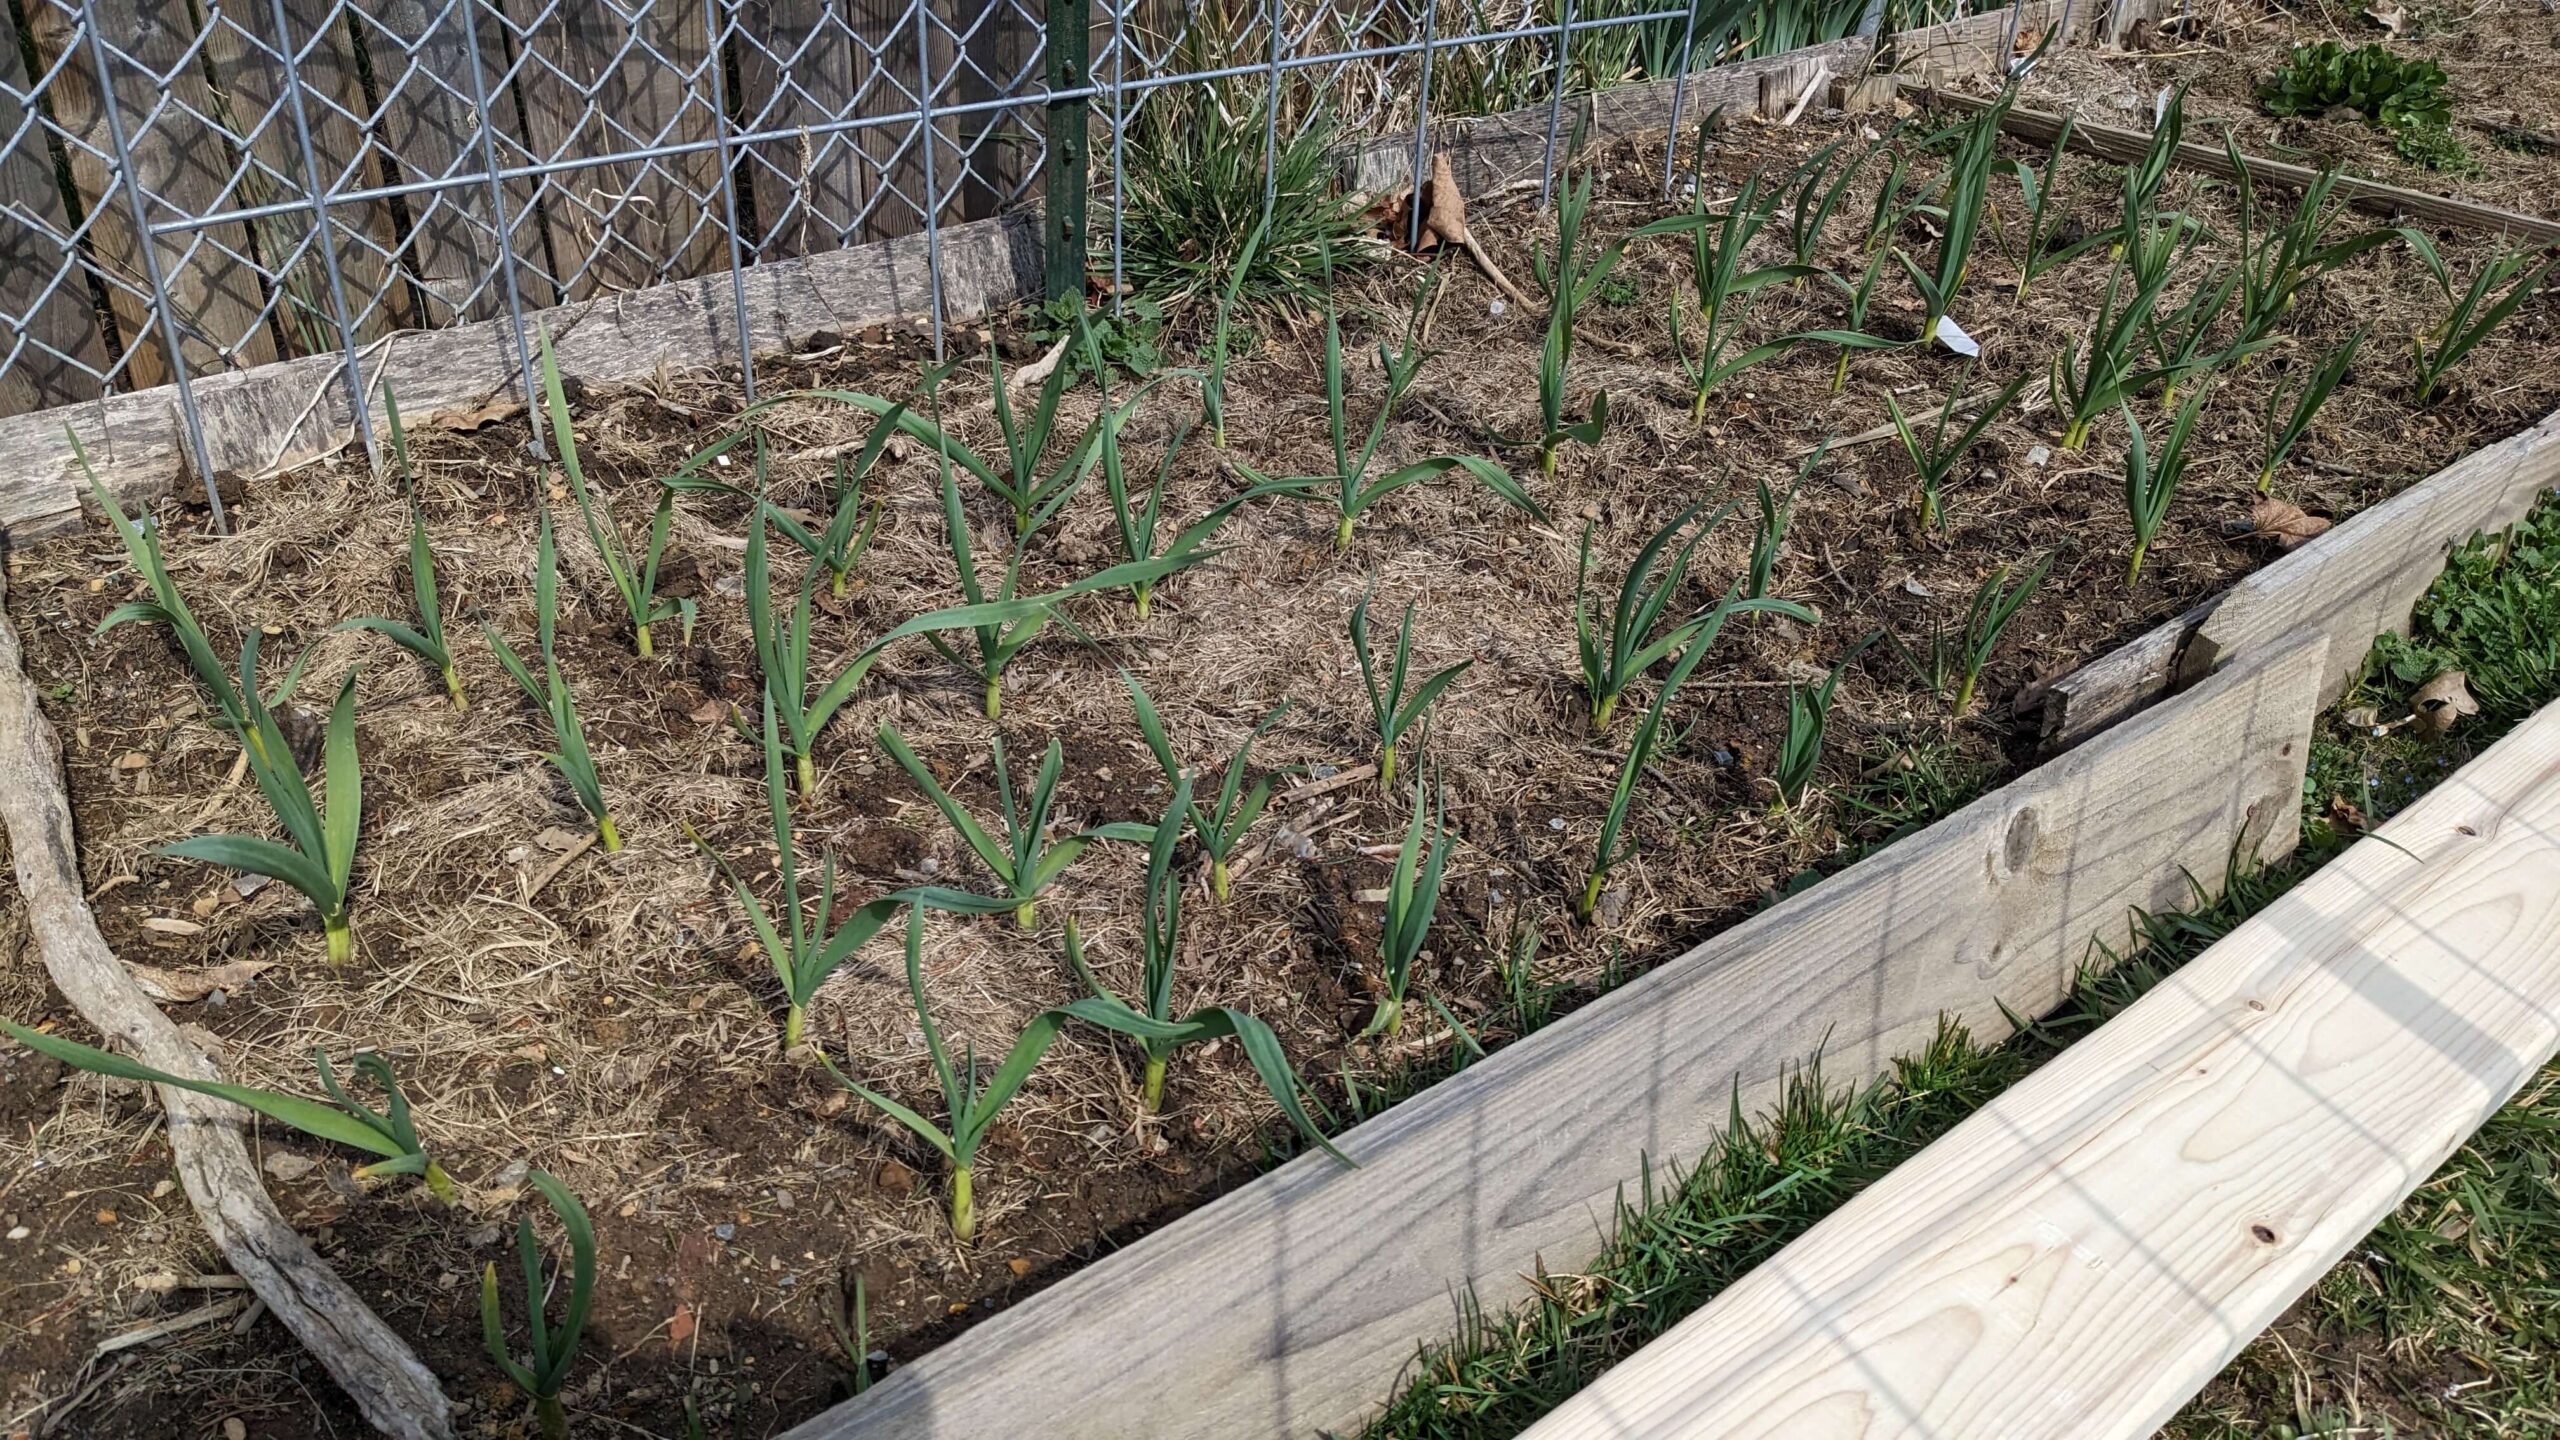
When should you harvest garlic?
Harvesting garlic is dependent on the variety. Different varieties will tell you how long they should stay in the ground. A good rule of thumb though is that if you have a hardneck variety, you should harvest it once the bottom two or three leaves turn yellow. And if you have a soft neck or elephant ear variety, you wait for the tops to fall over.
What are the different types of garlic?
There are lots of varieties of garlic but they fall into one of three categories. Hard-neck, soft-neck, and elephant. Hard-neck garlic has one ring of cloves around a stiff, center stem. Soft-neck garlic is less hardy than hard-neck varieties and it has a neck that allows multiple bulbs to be braided together. You will usually find soft-neck garlic in stores. Elephant garlic is a large variety that has a mild taste and is more closely related to leeks than garlic.
All three types of garlic are planted and cared for the same way, but they are stored and harvested in different ways.
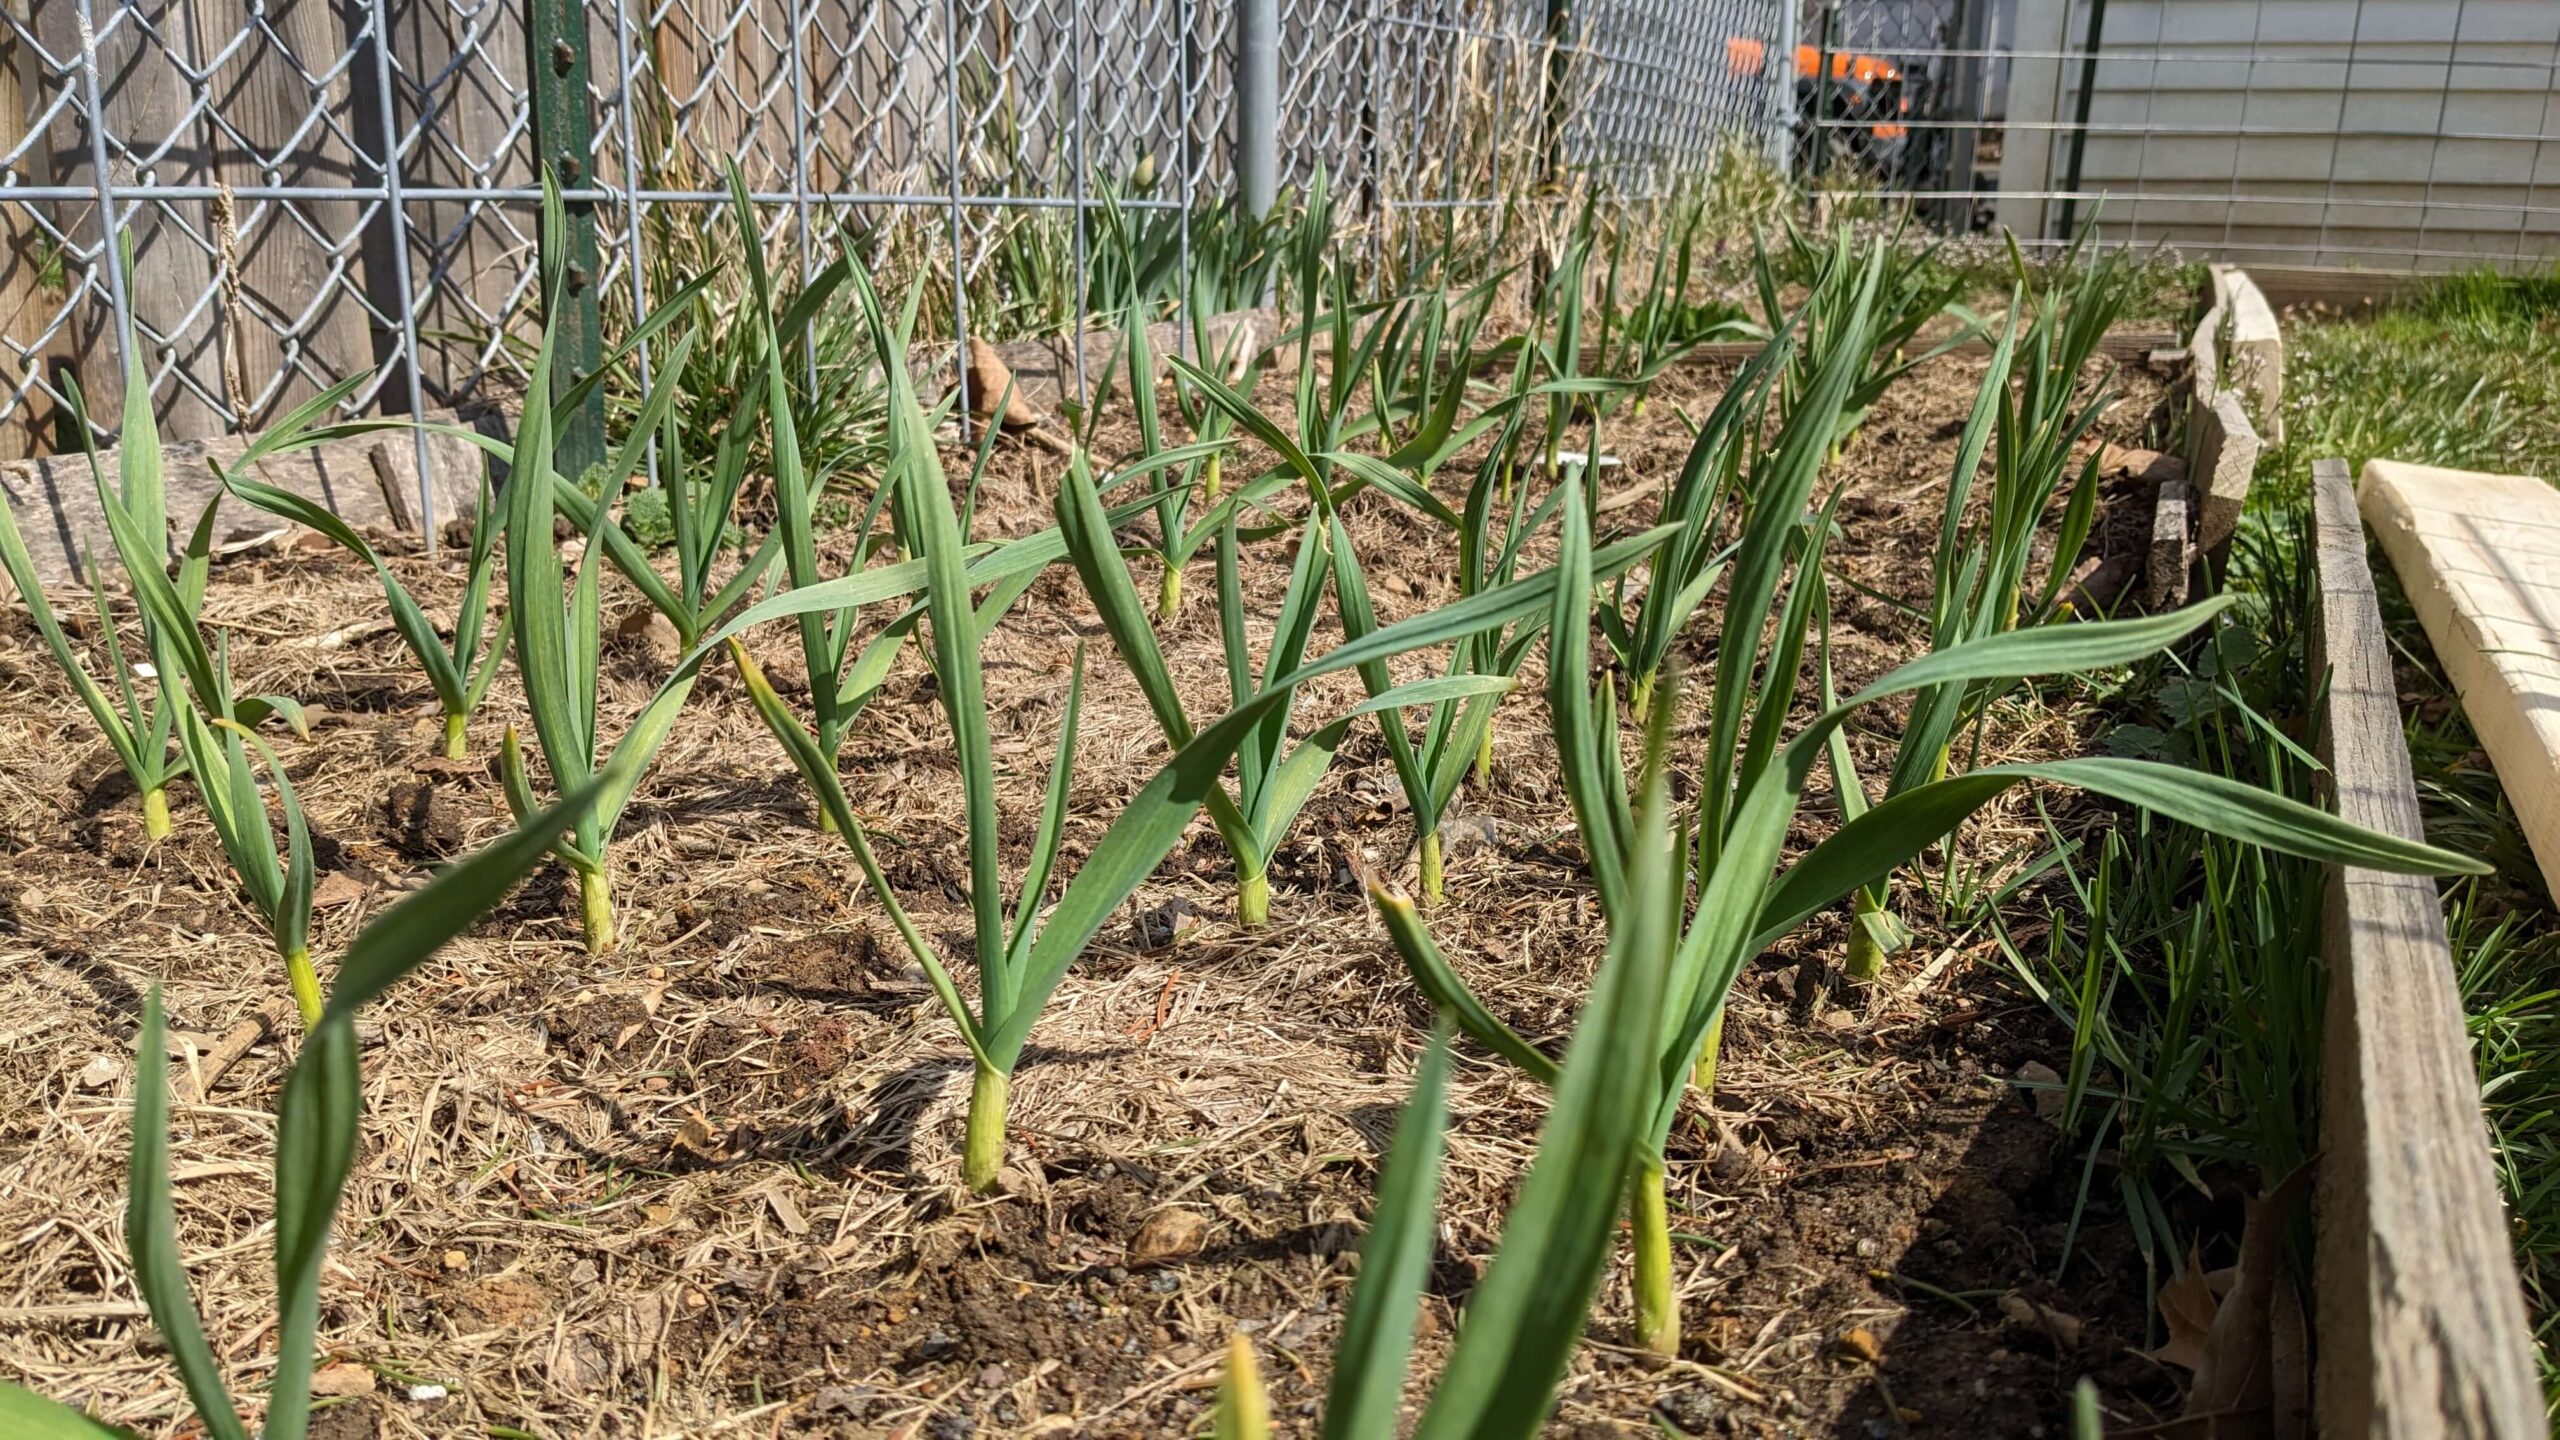
Below is a step-by-step explanation of how Bennett and I harvested and cured our garlic this year. We took all of the advice from the book The Vegetable Gardener’s Bible by Edward C. Smith. I highly recommend it.
Our Beginner Garlic Harvest:
We were gifted this garlic last year and had no idea what kind it was. We also had very little understanding of how many varieties there are. I’m excited to take more control this year and plant a few different varieties. I look forward to having the knowledge and experience of having grown different varieties.
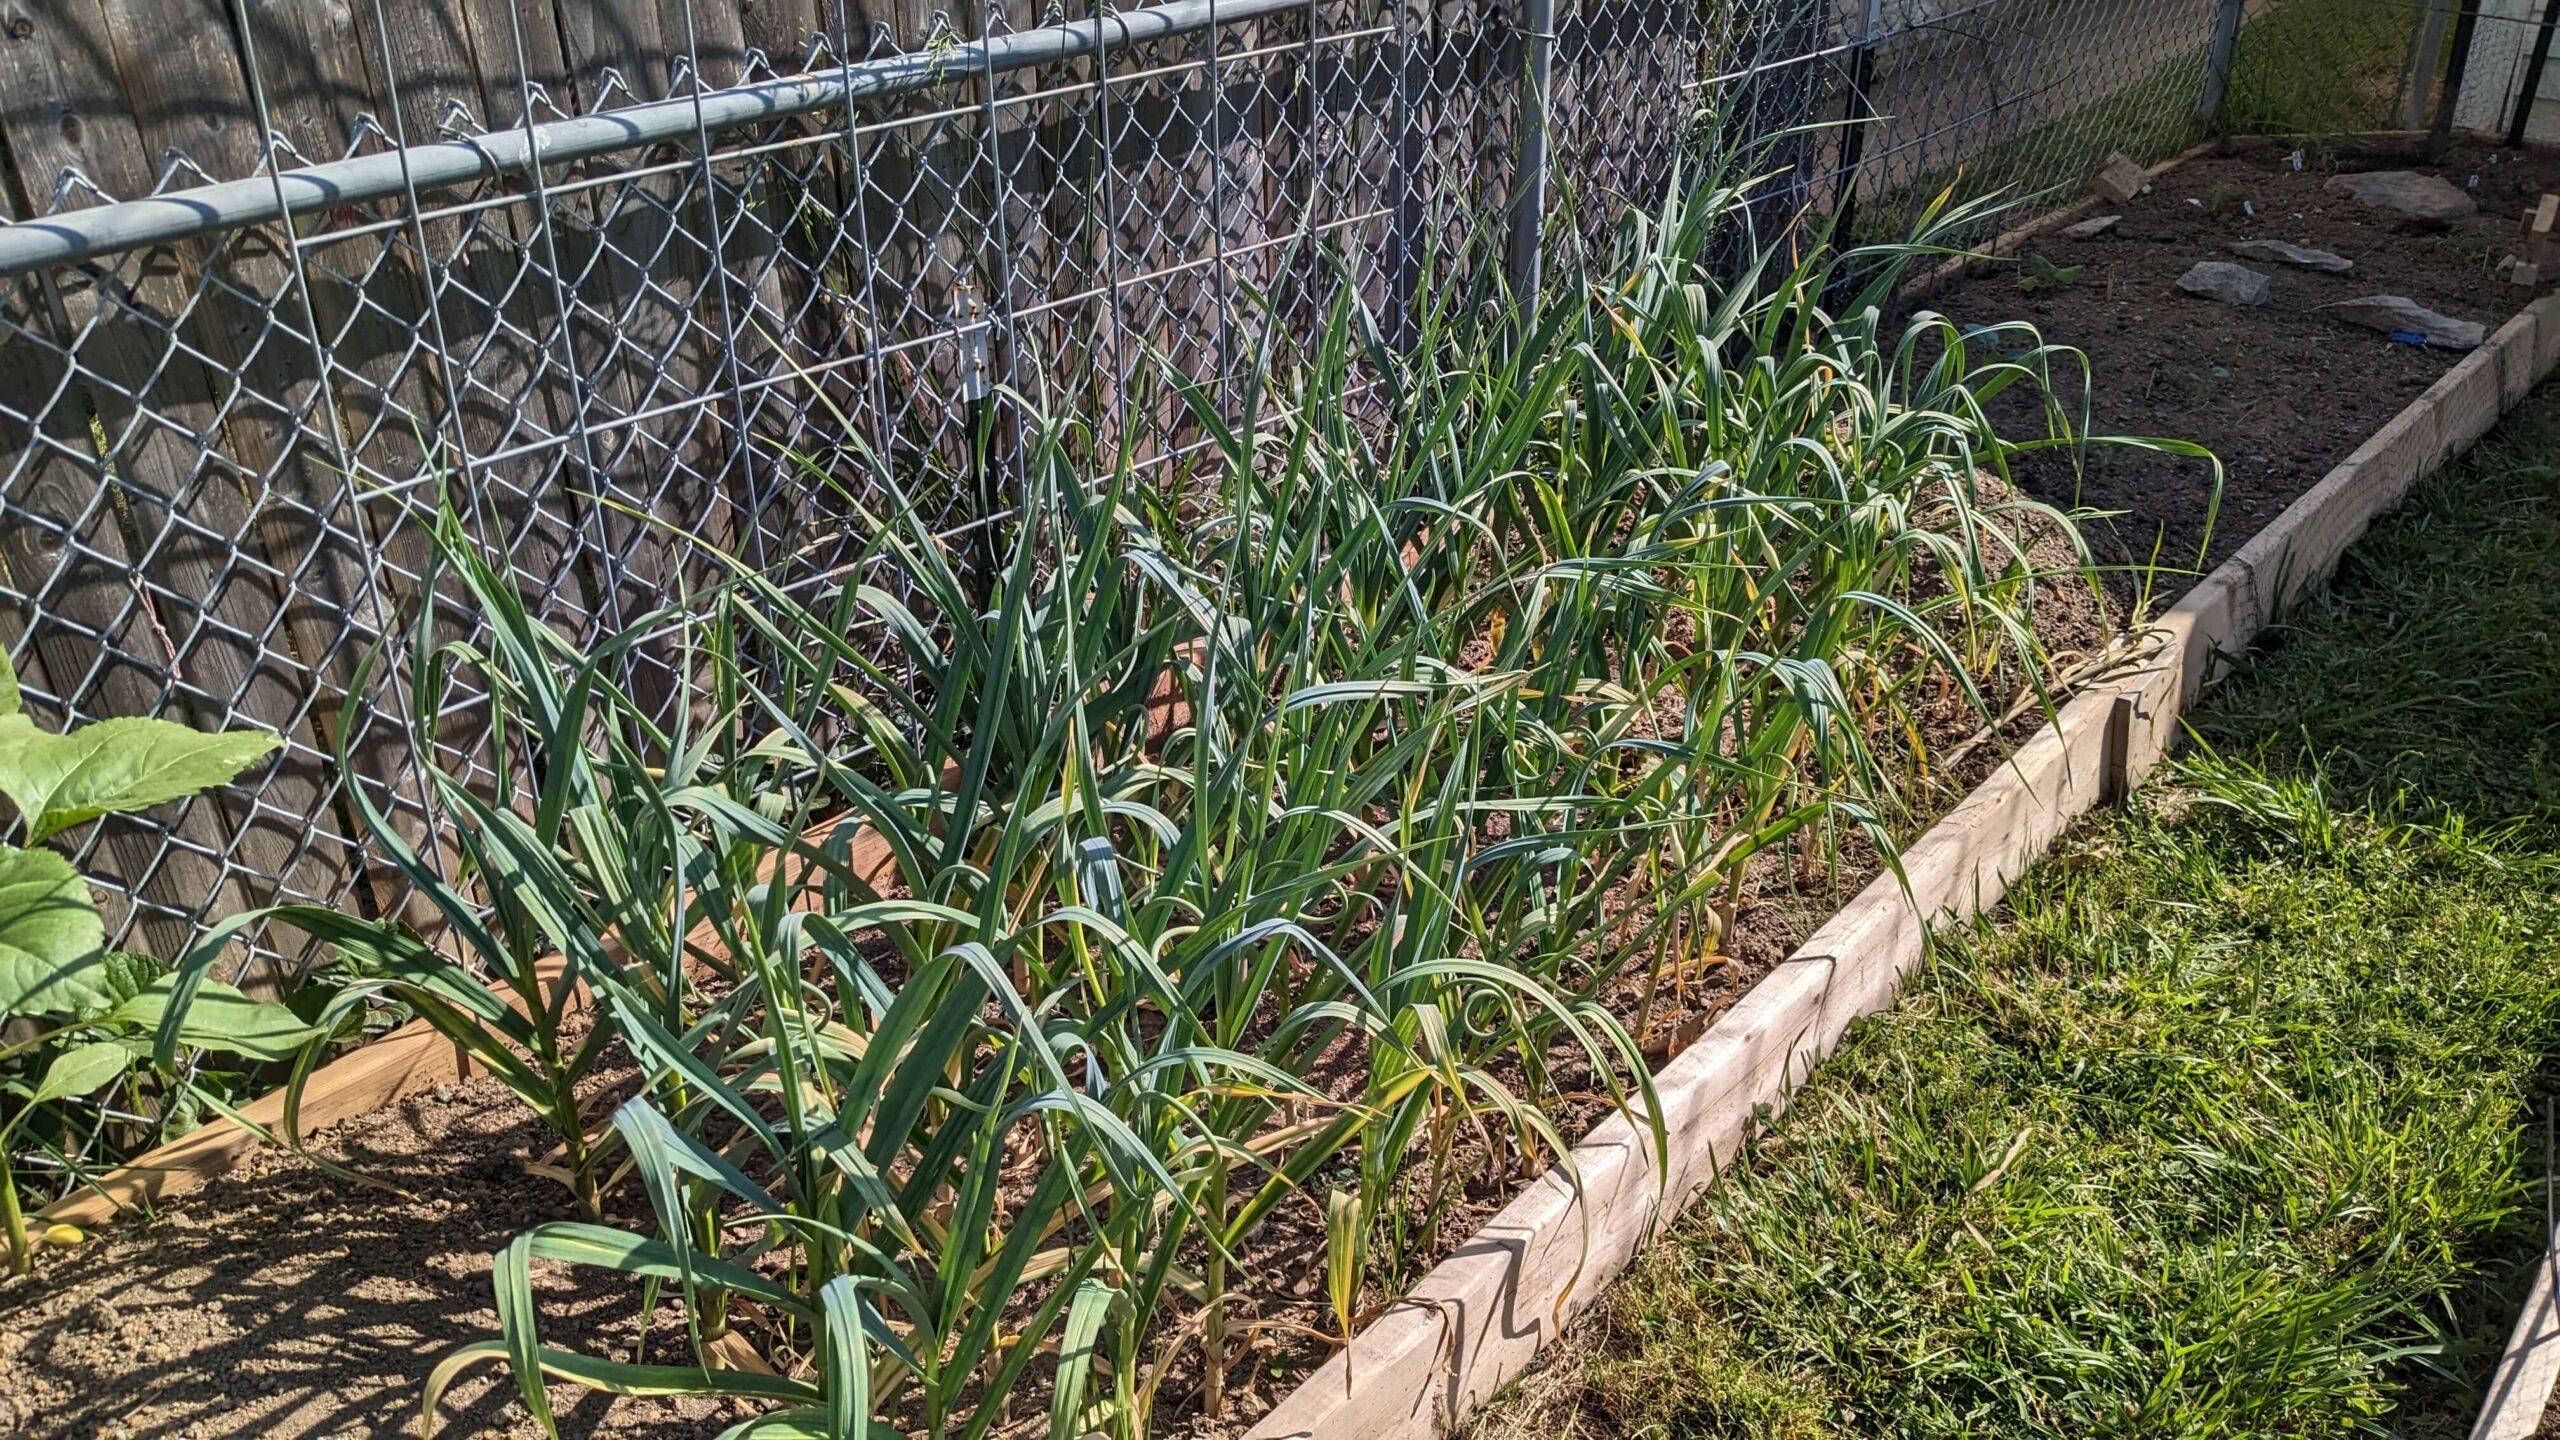
It turns out that we had a hard-neck variety of garlic so we were waiting for the bottom two or three leaves to turn yellow.
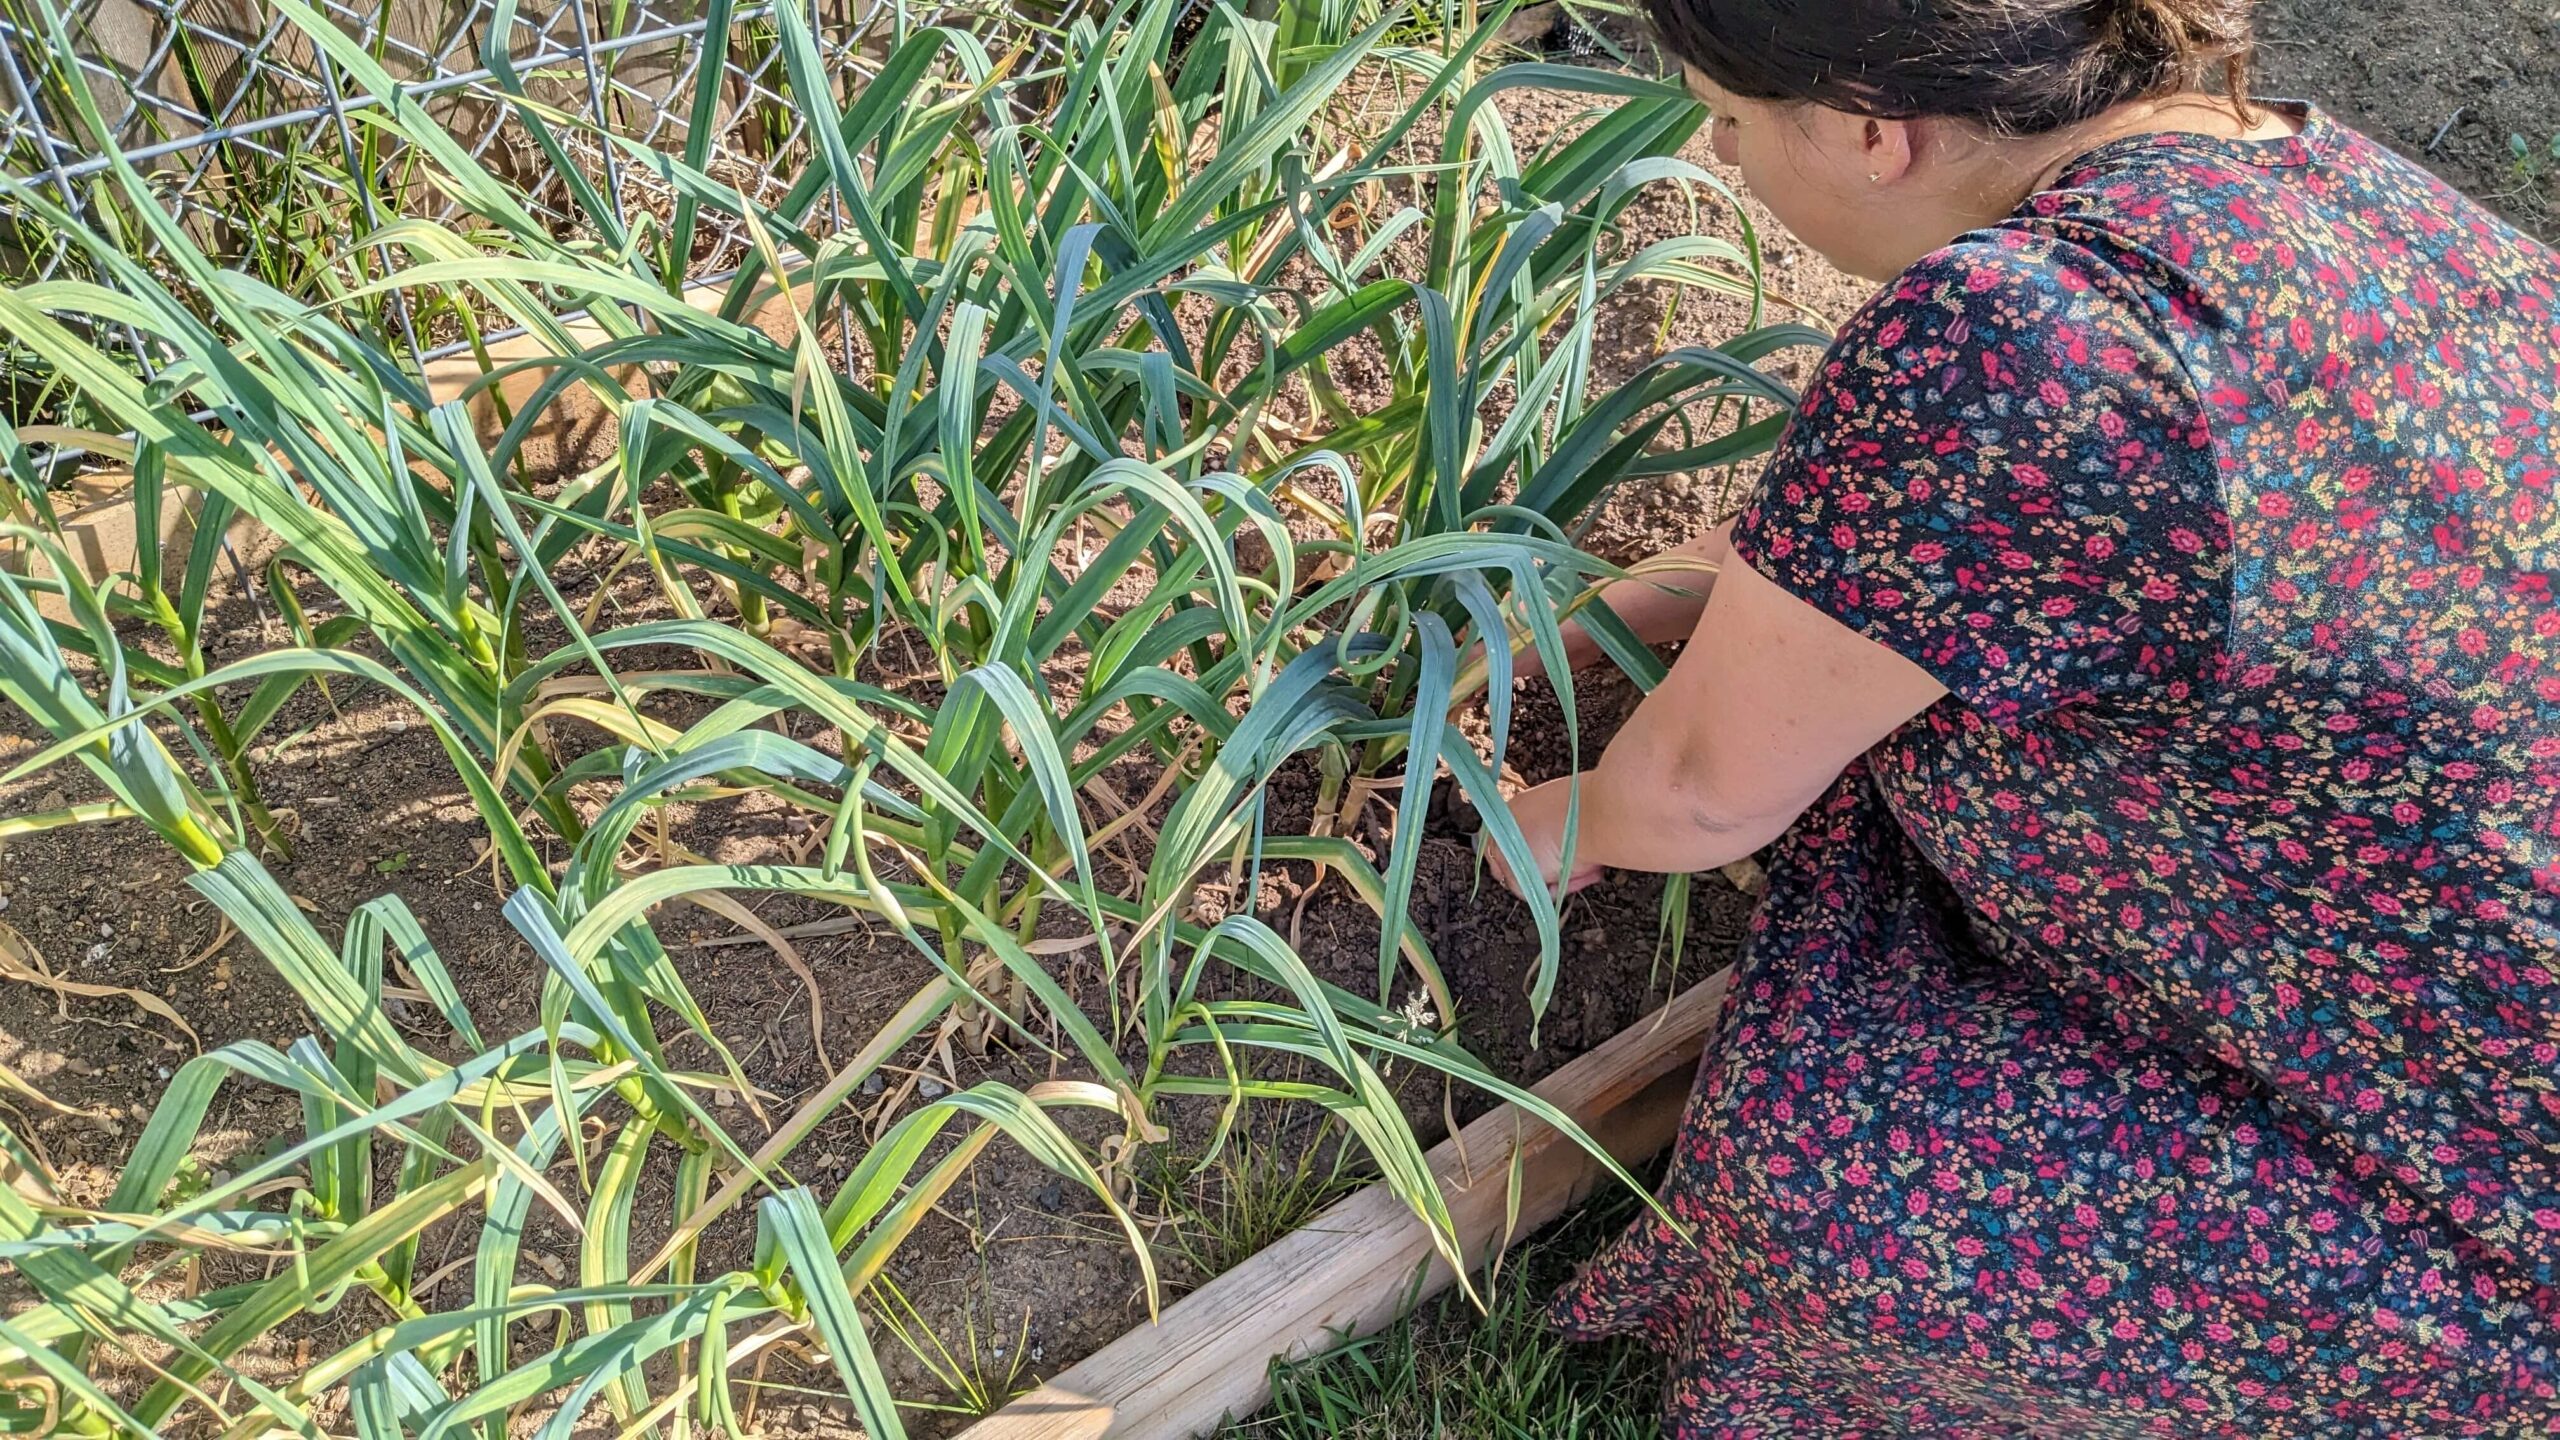
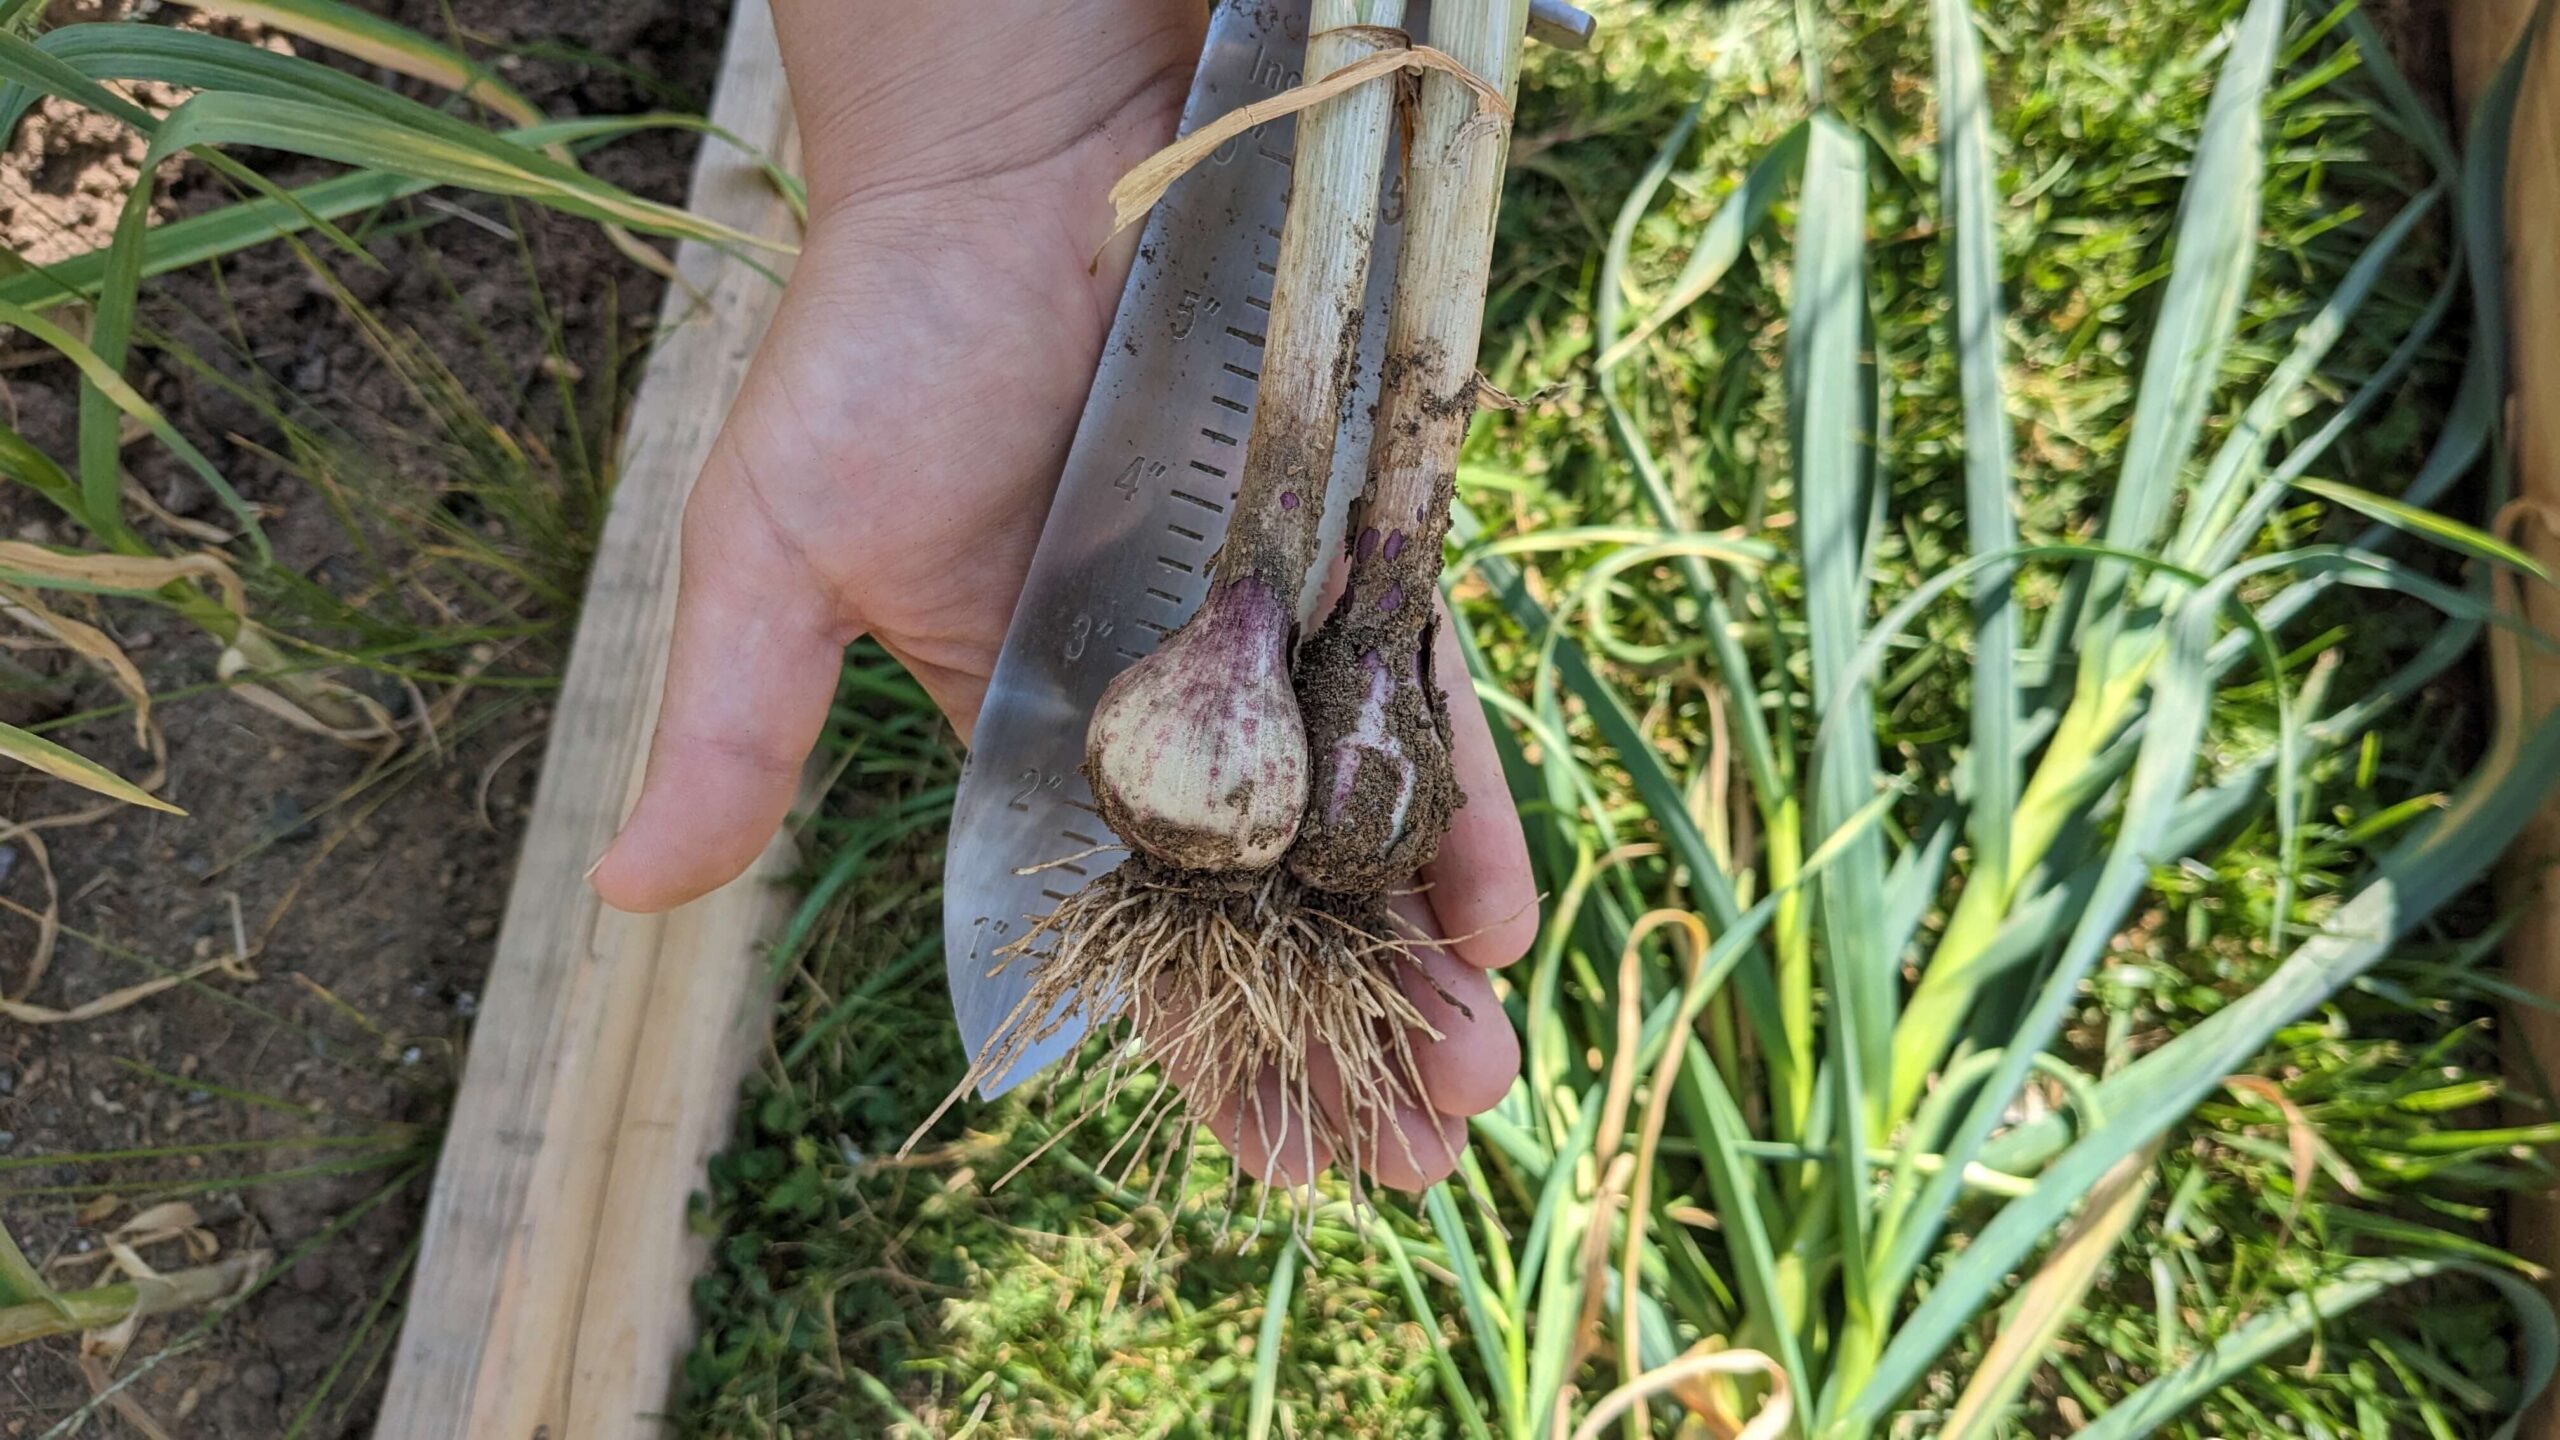
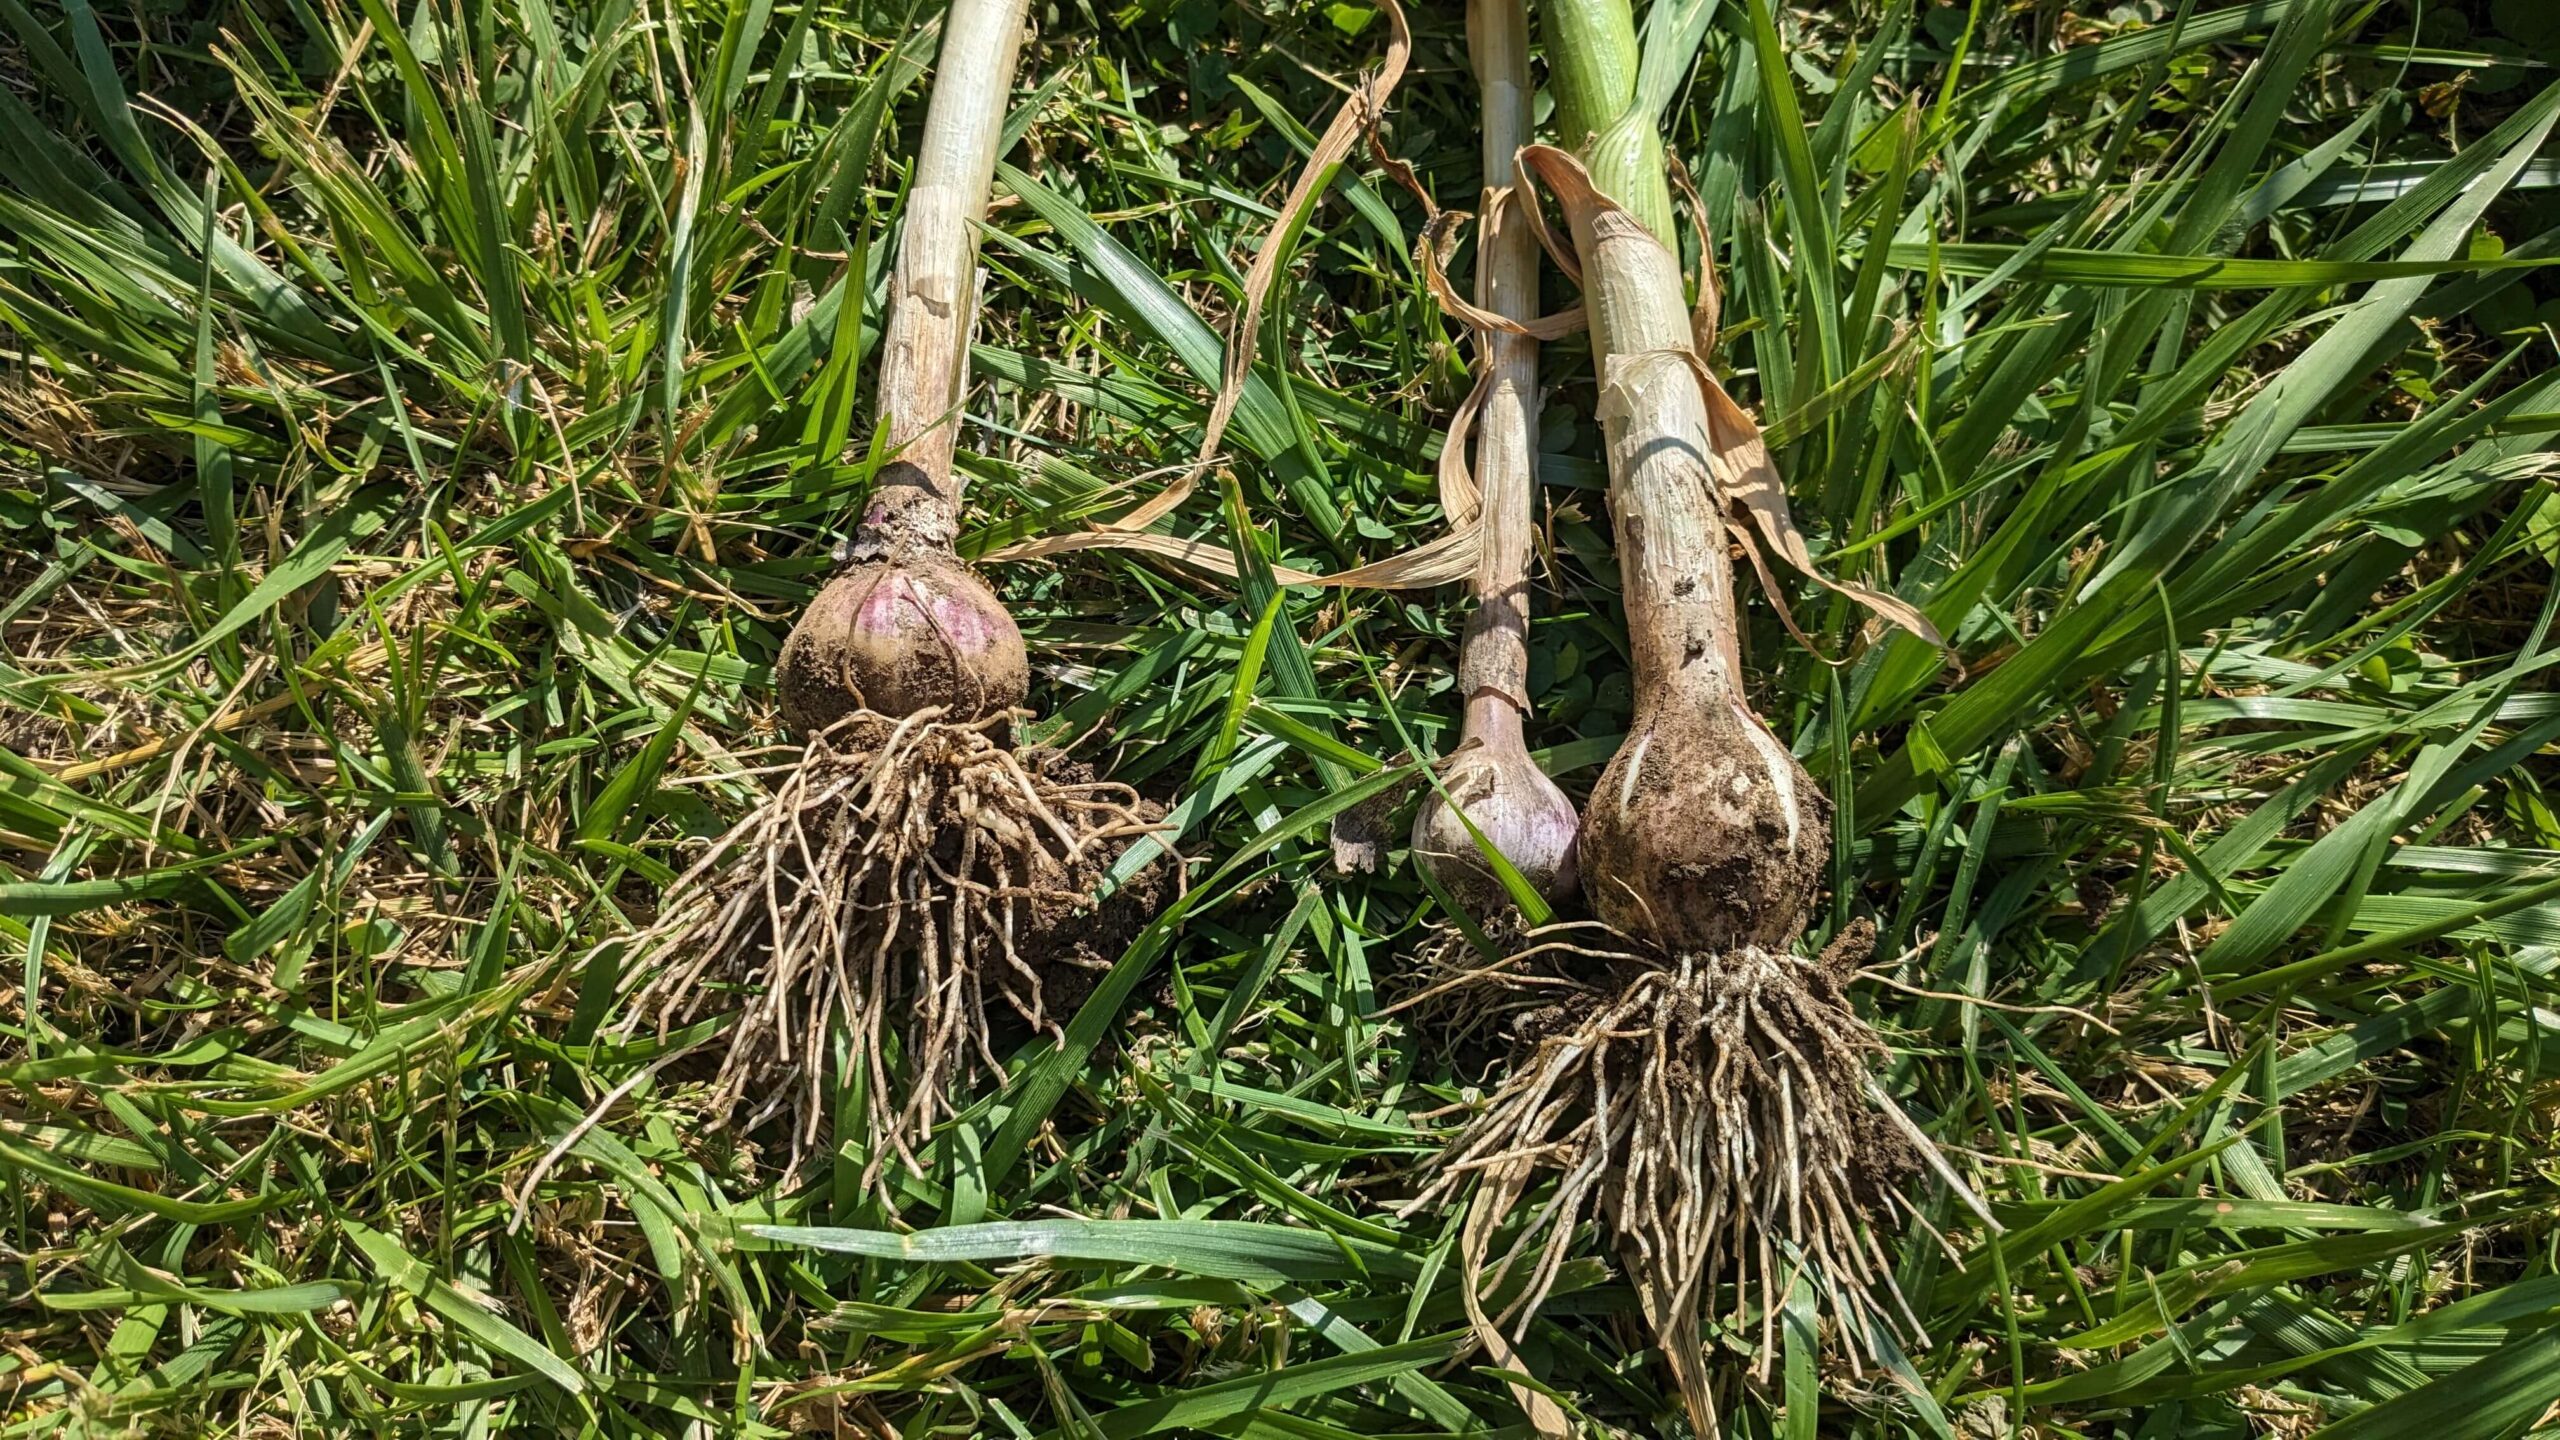
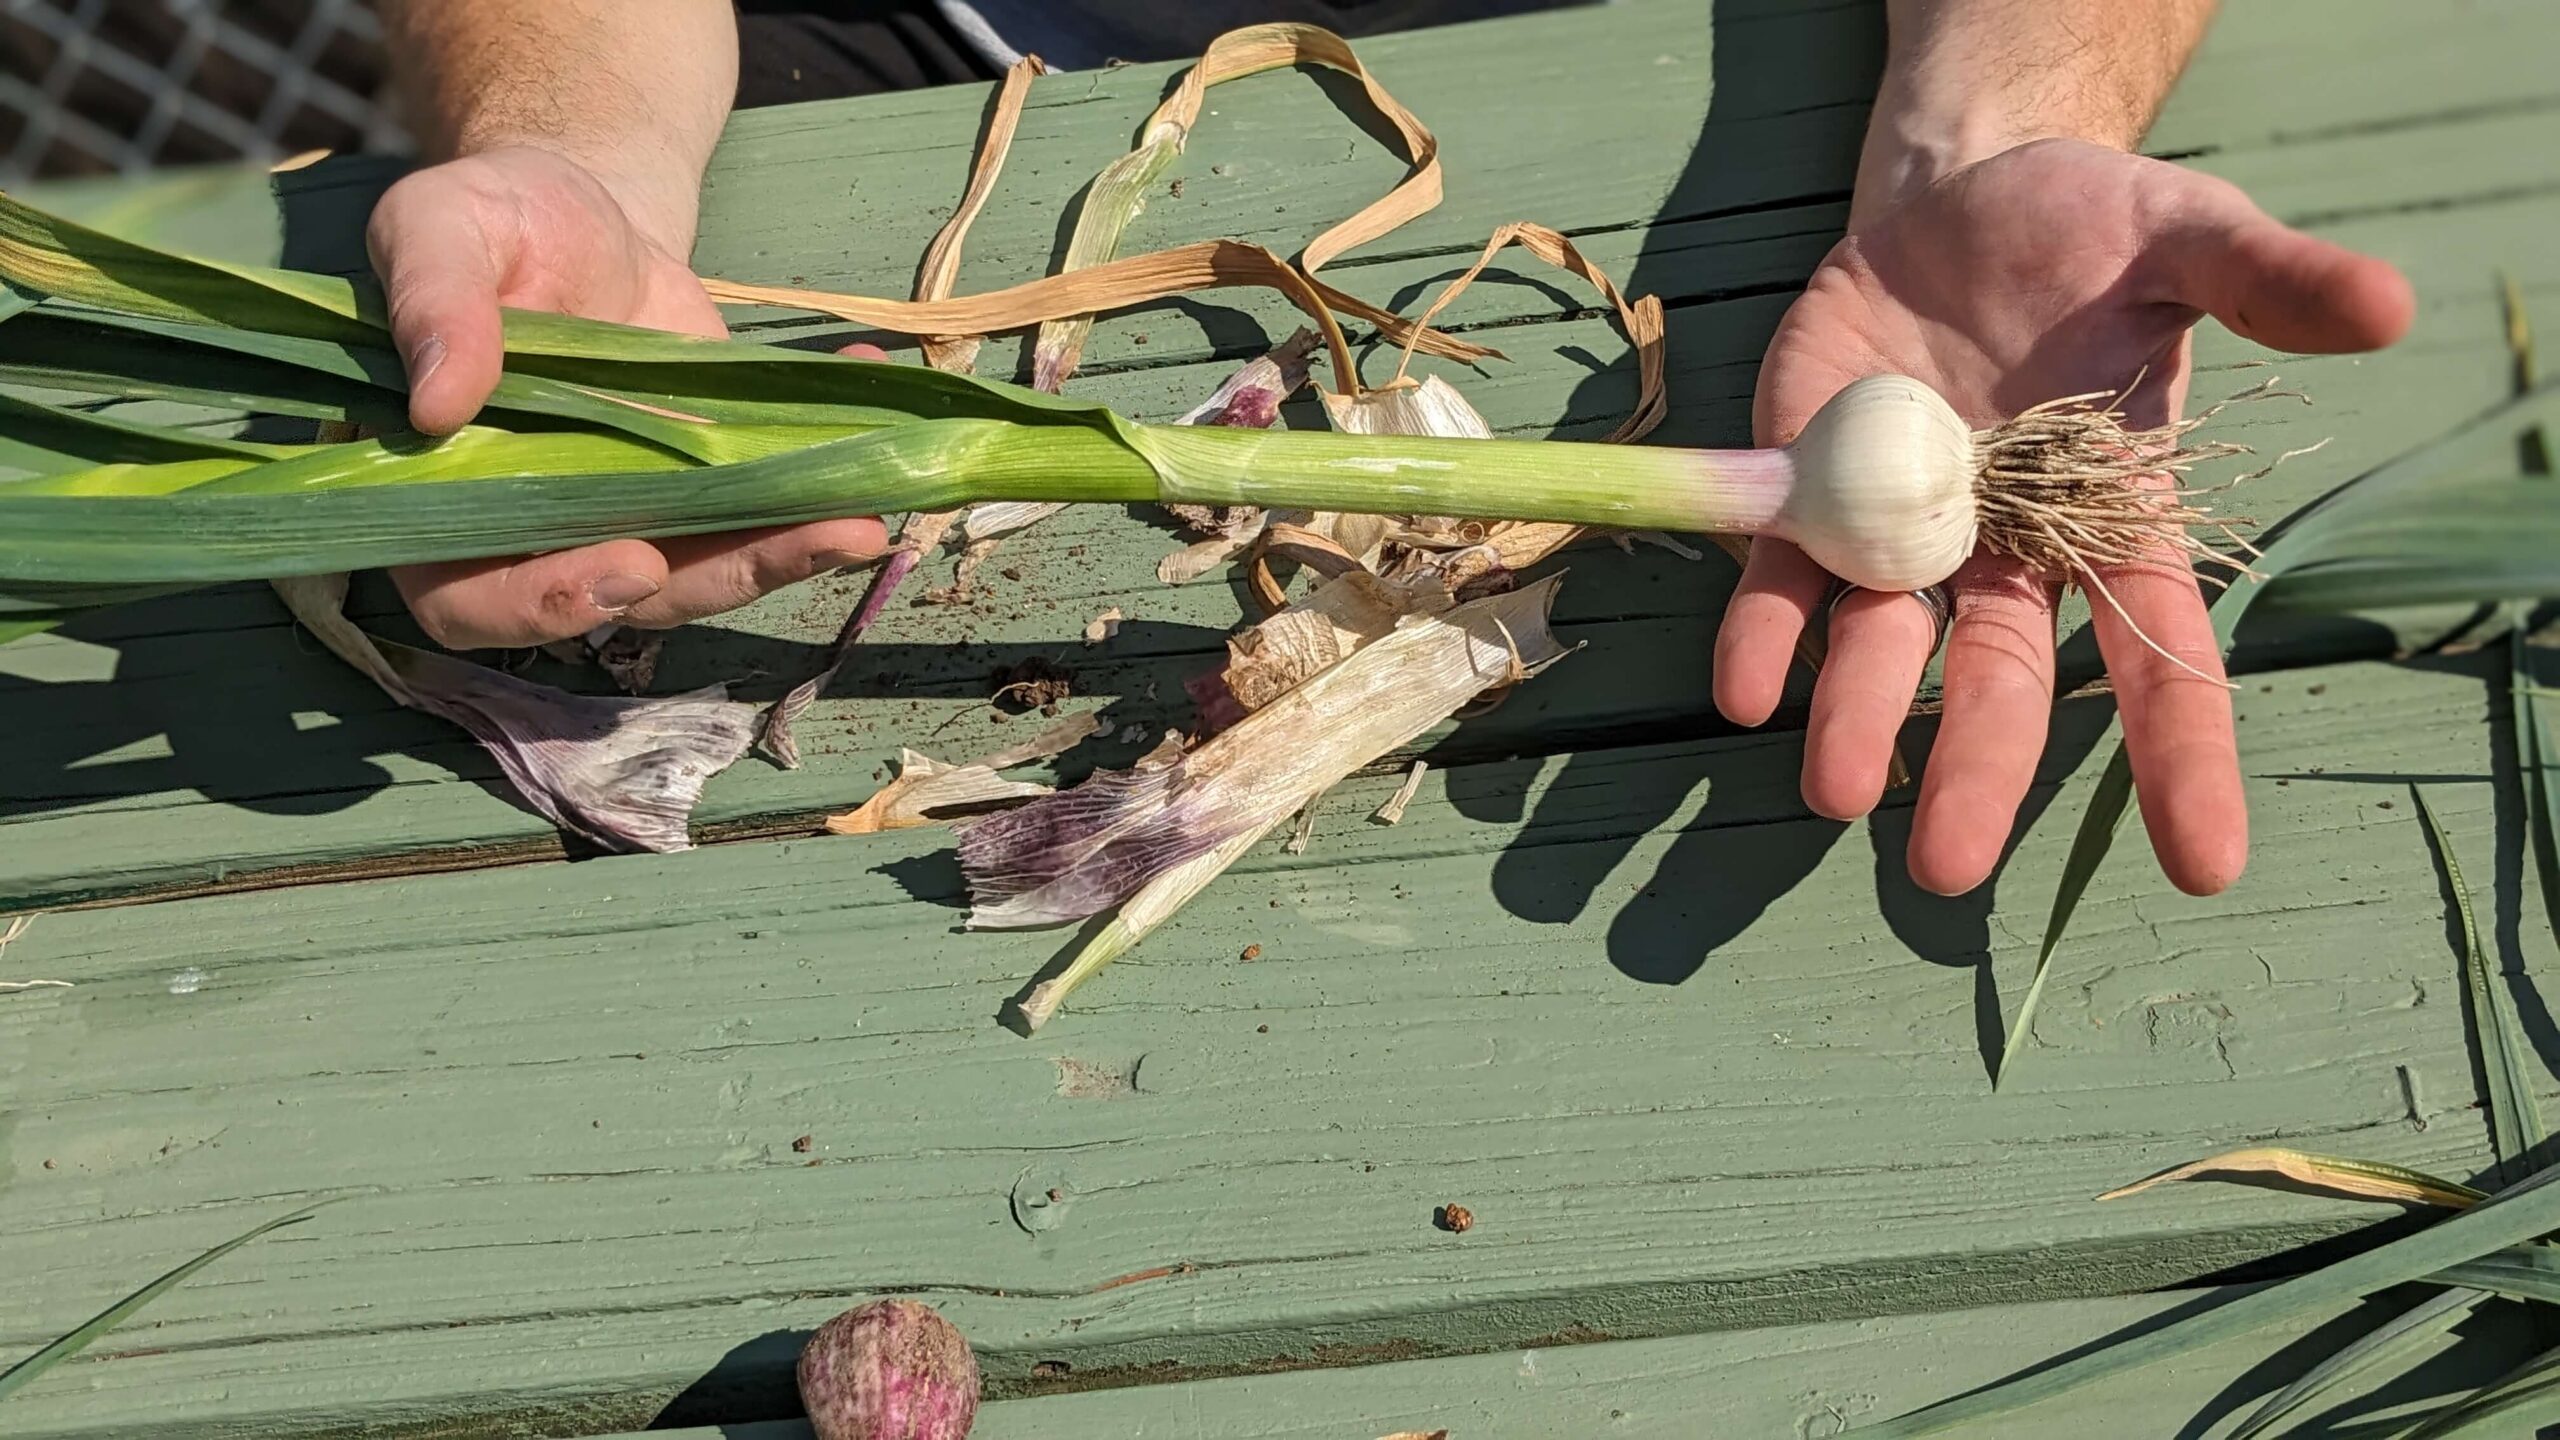
We harvested by gently pulling each bulb out of the soil with a shovel. We carefully brushed as much of the soil away from the bulb as possible.
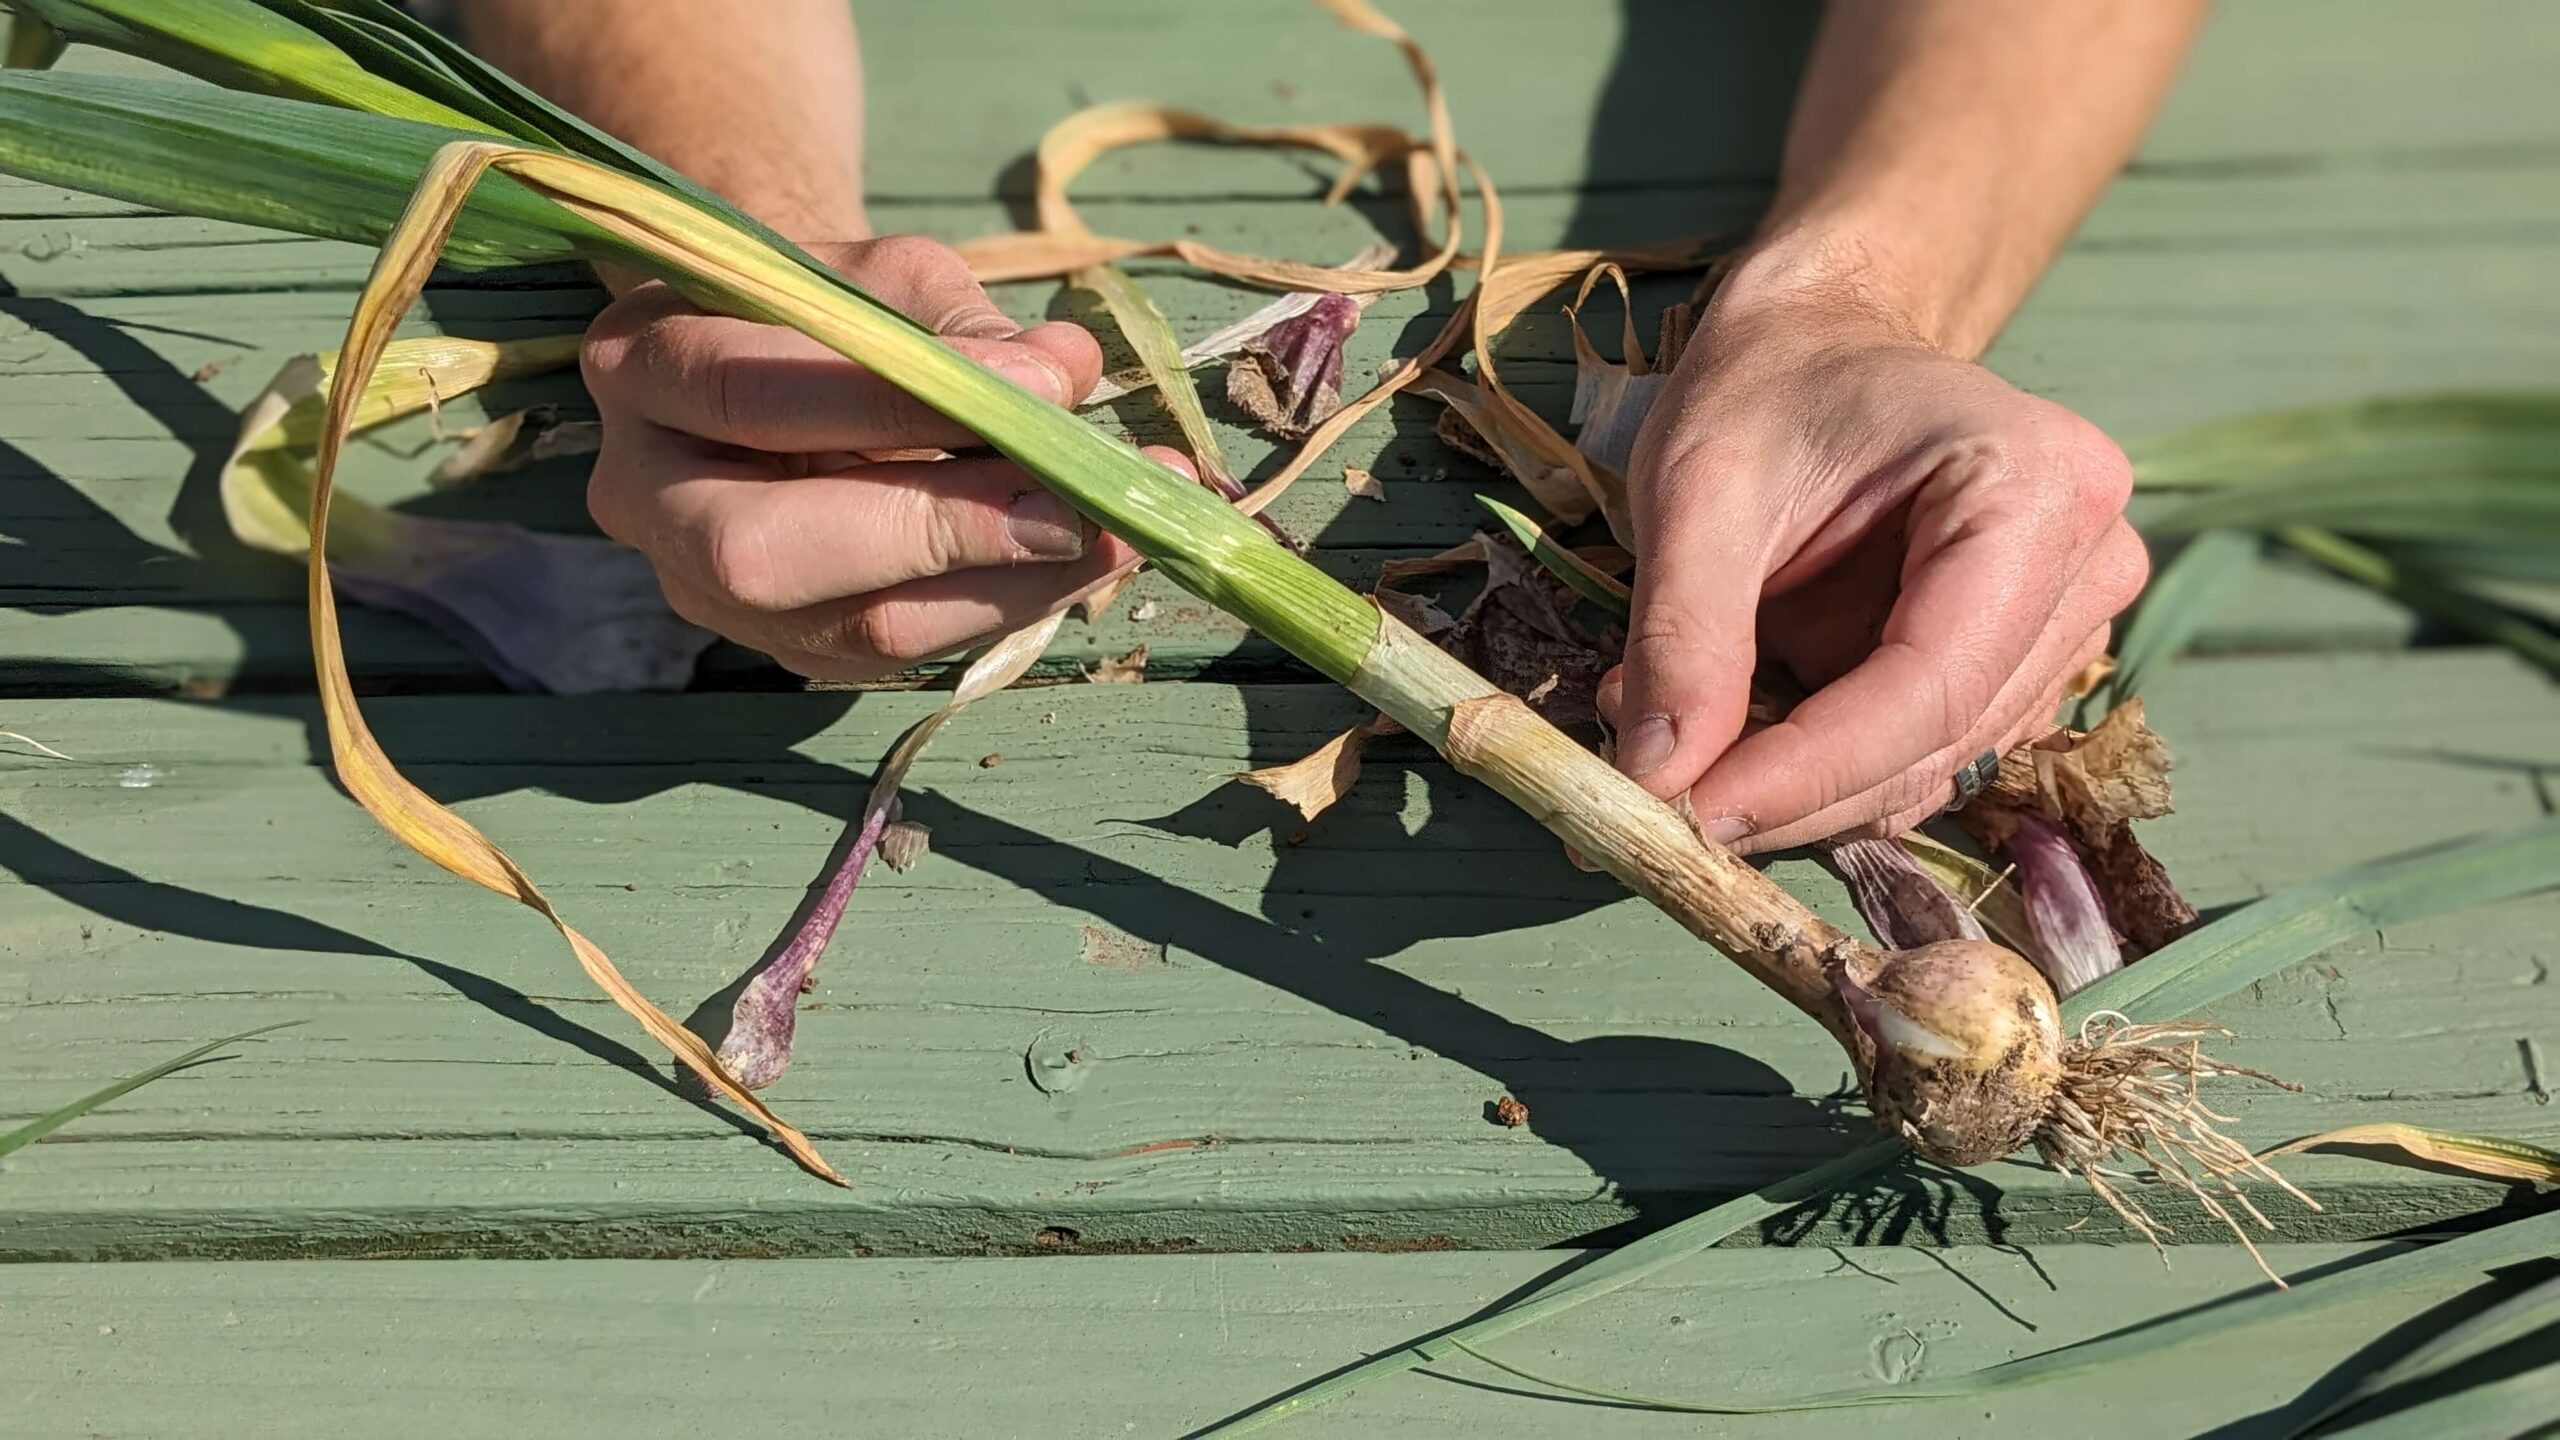
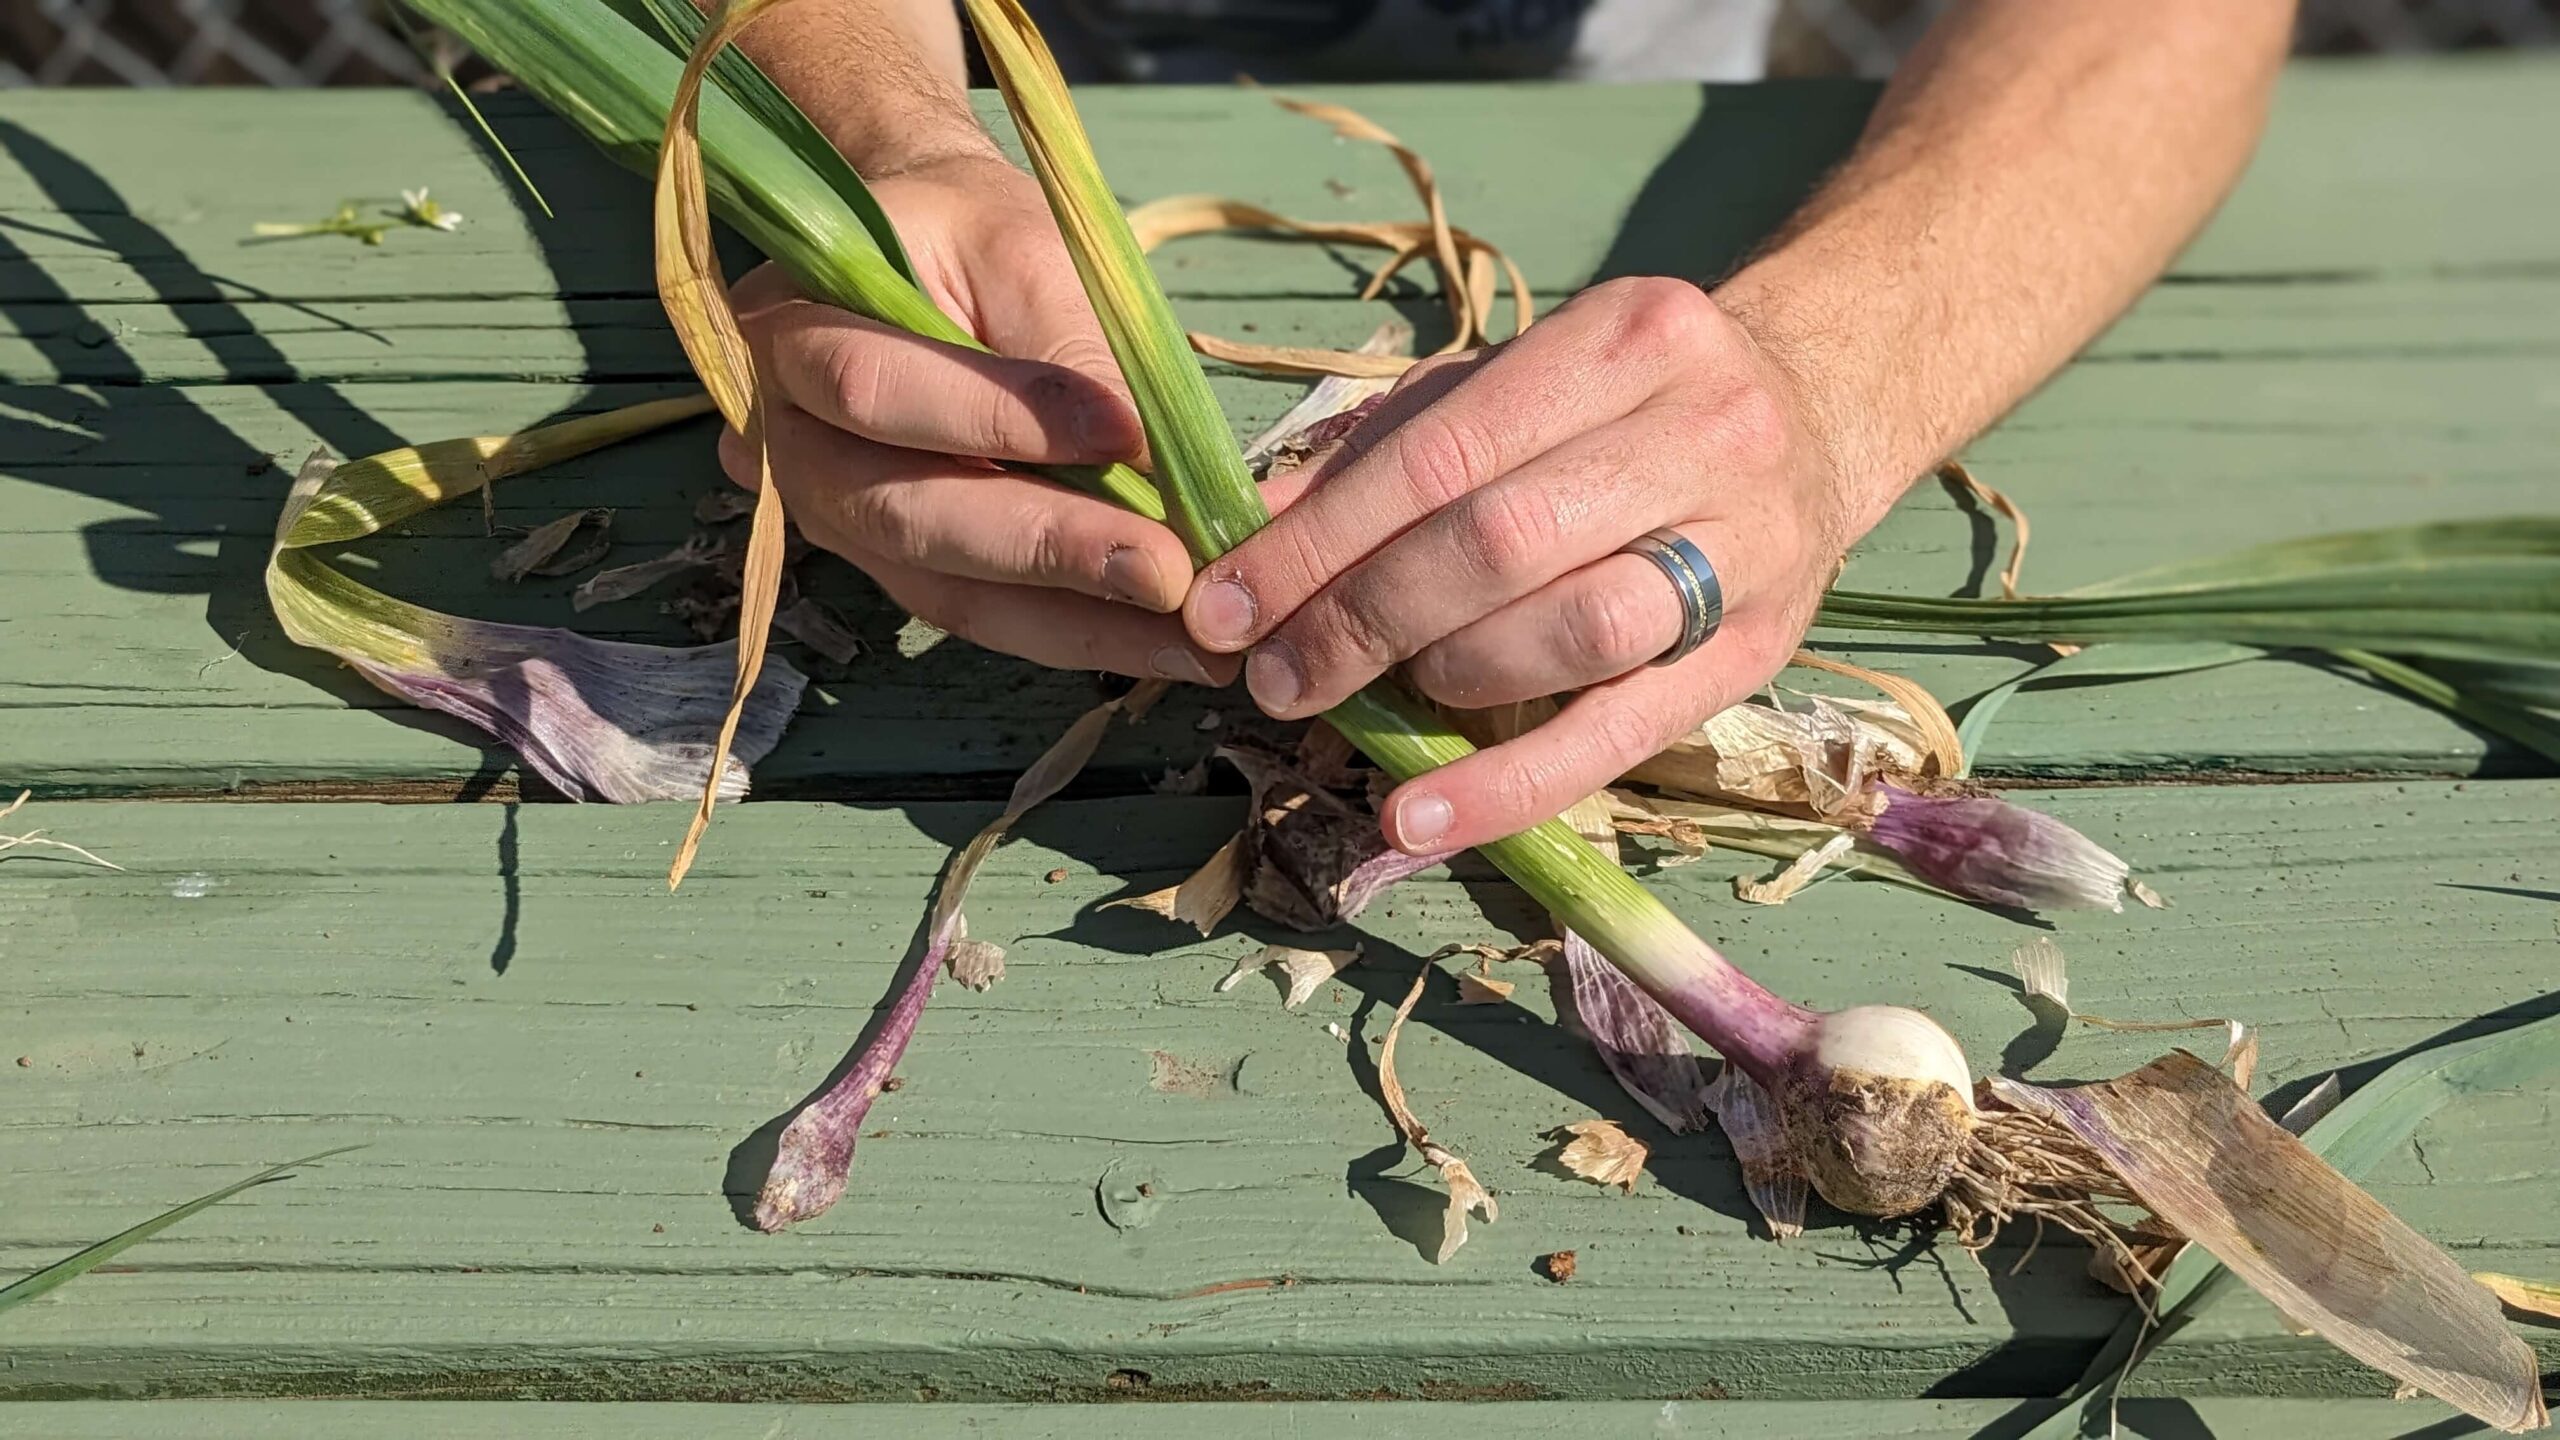
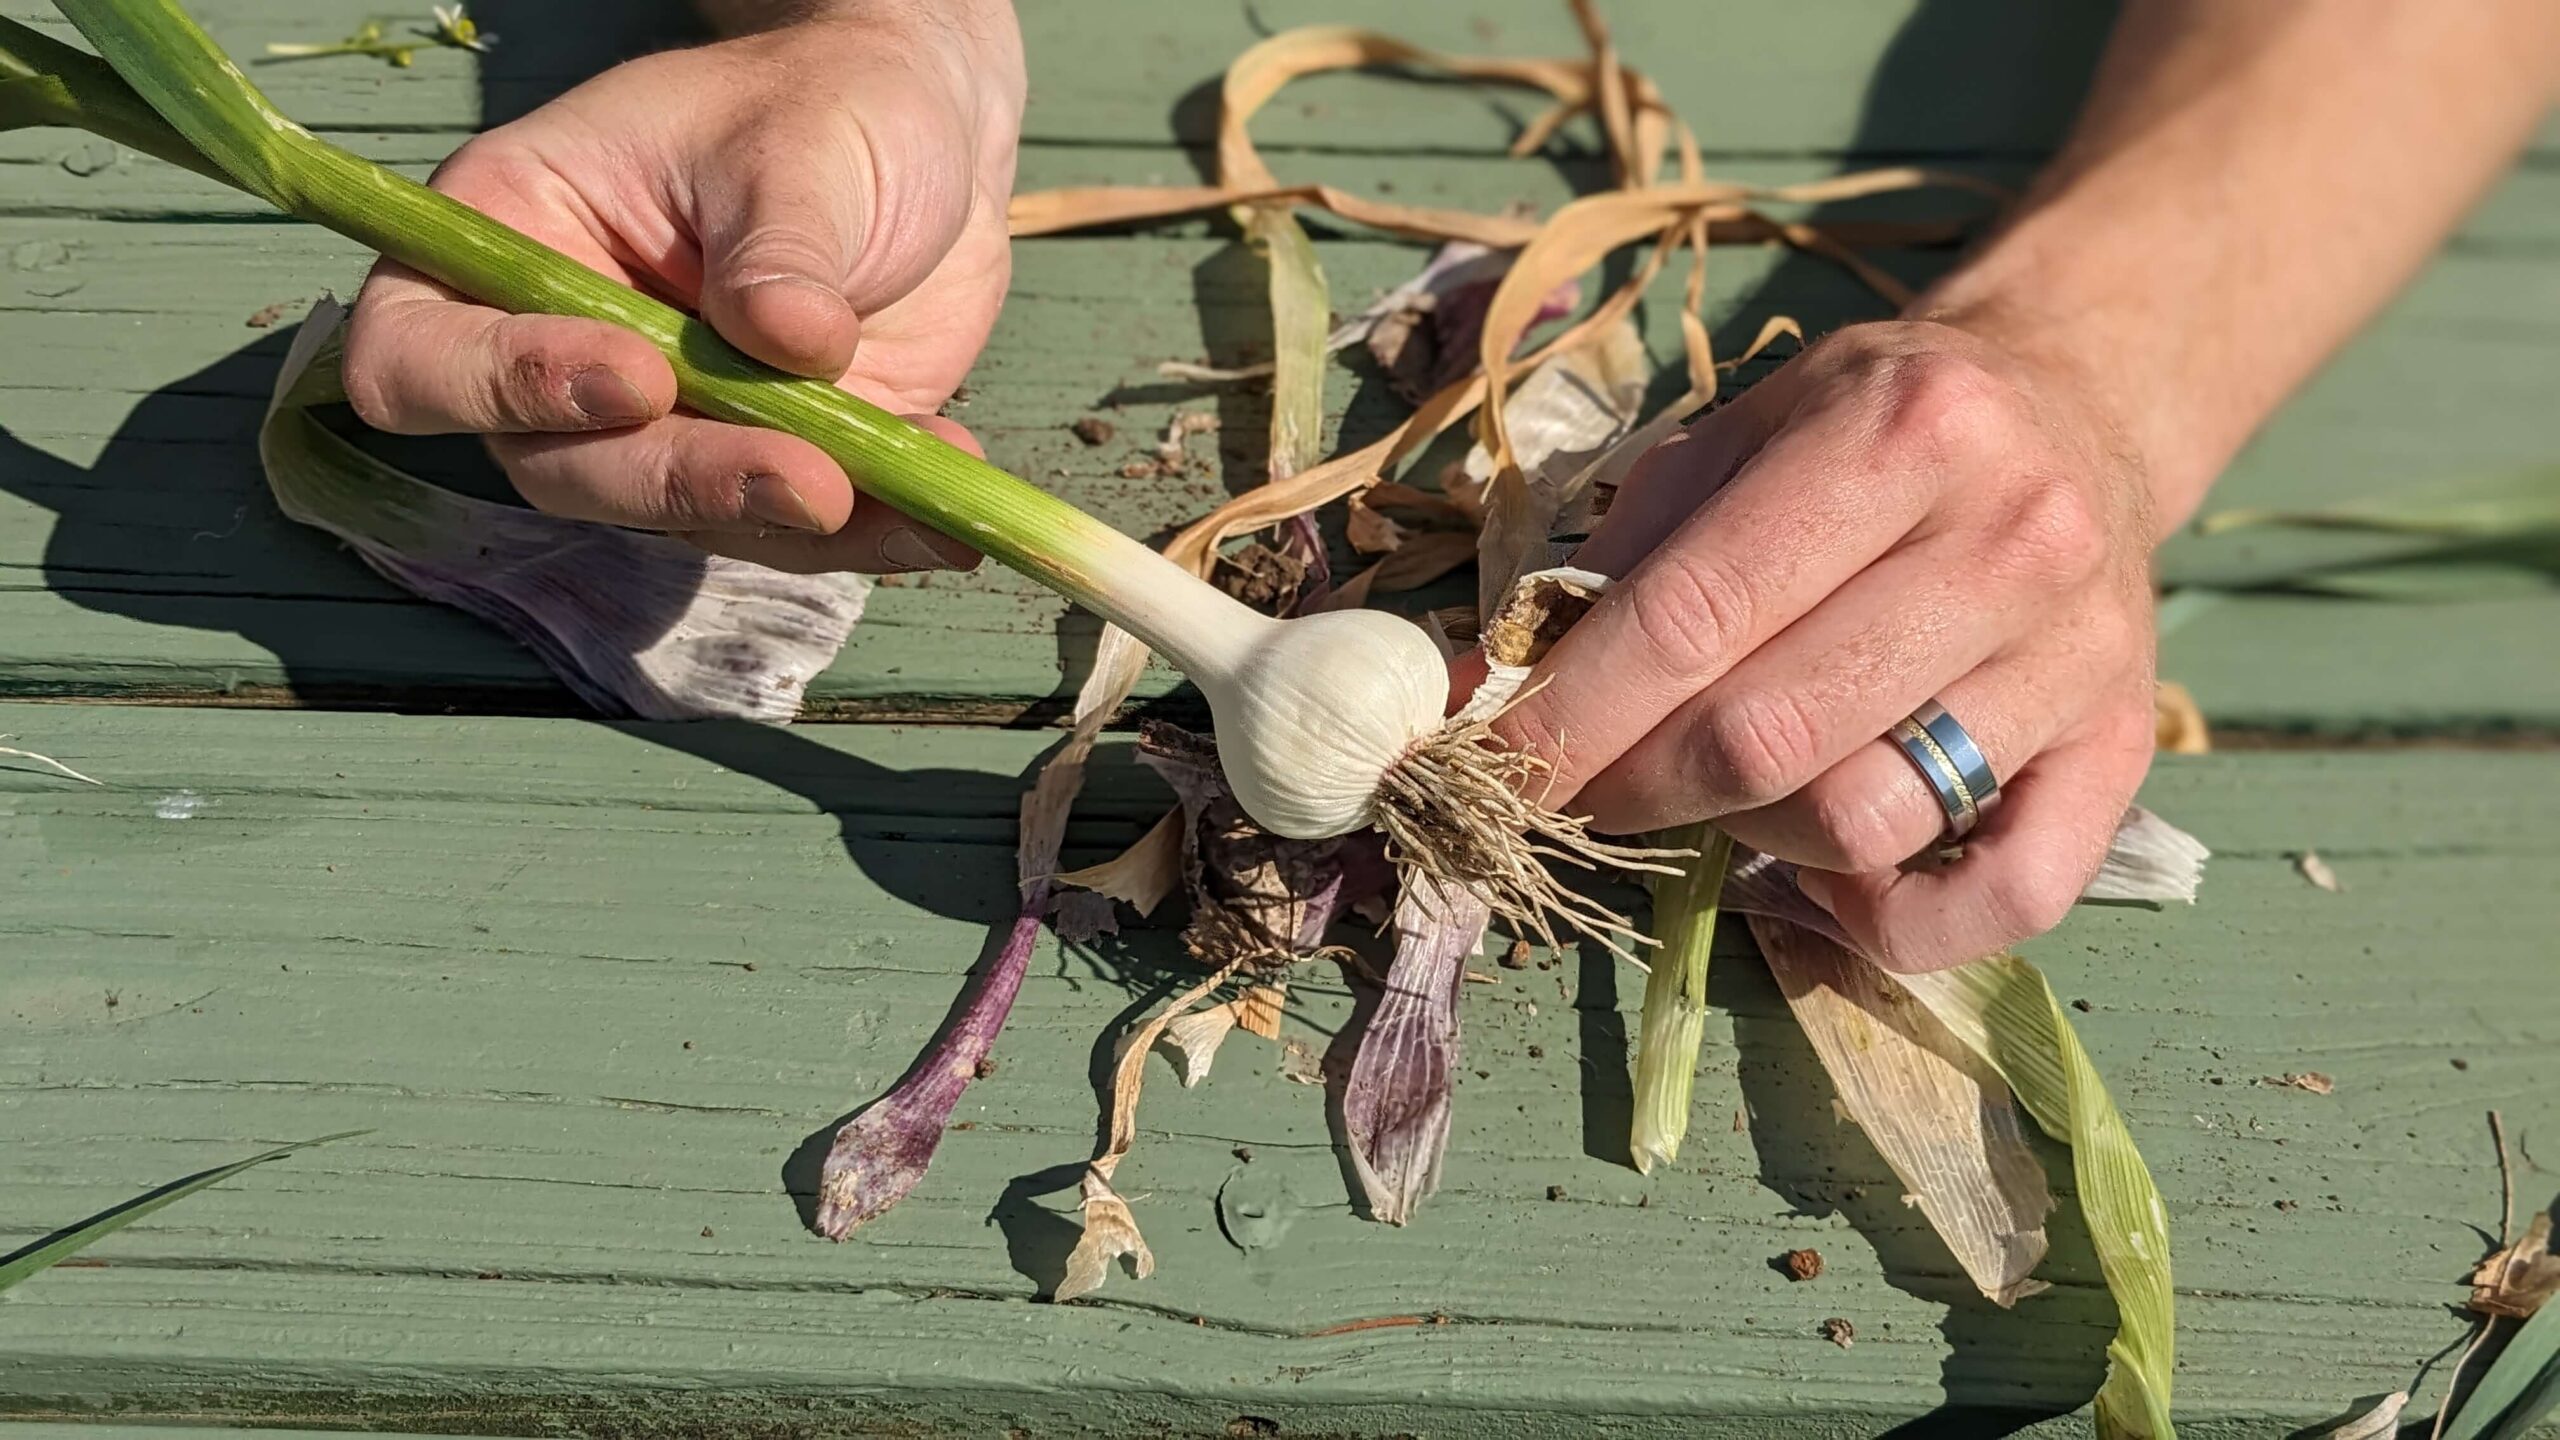
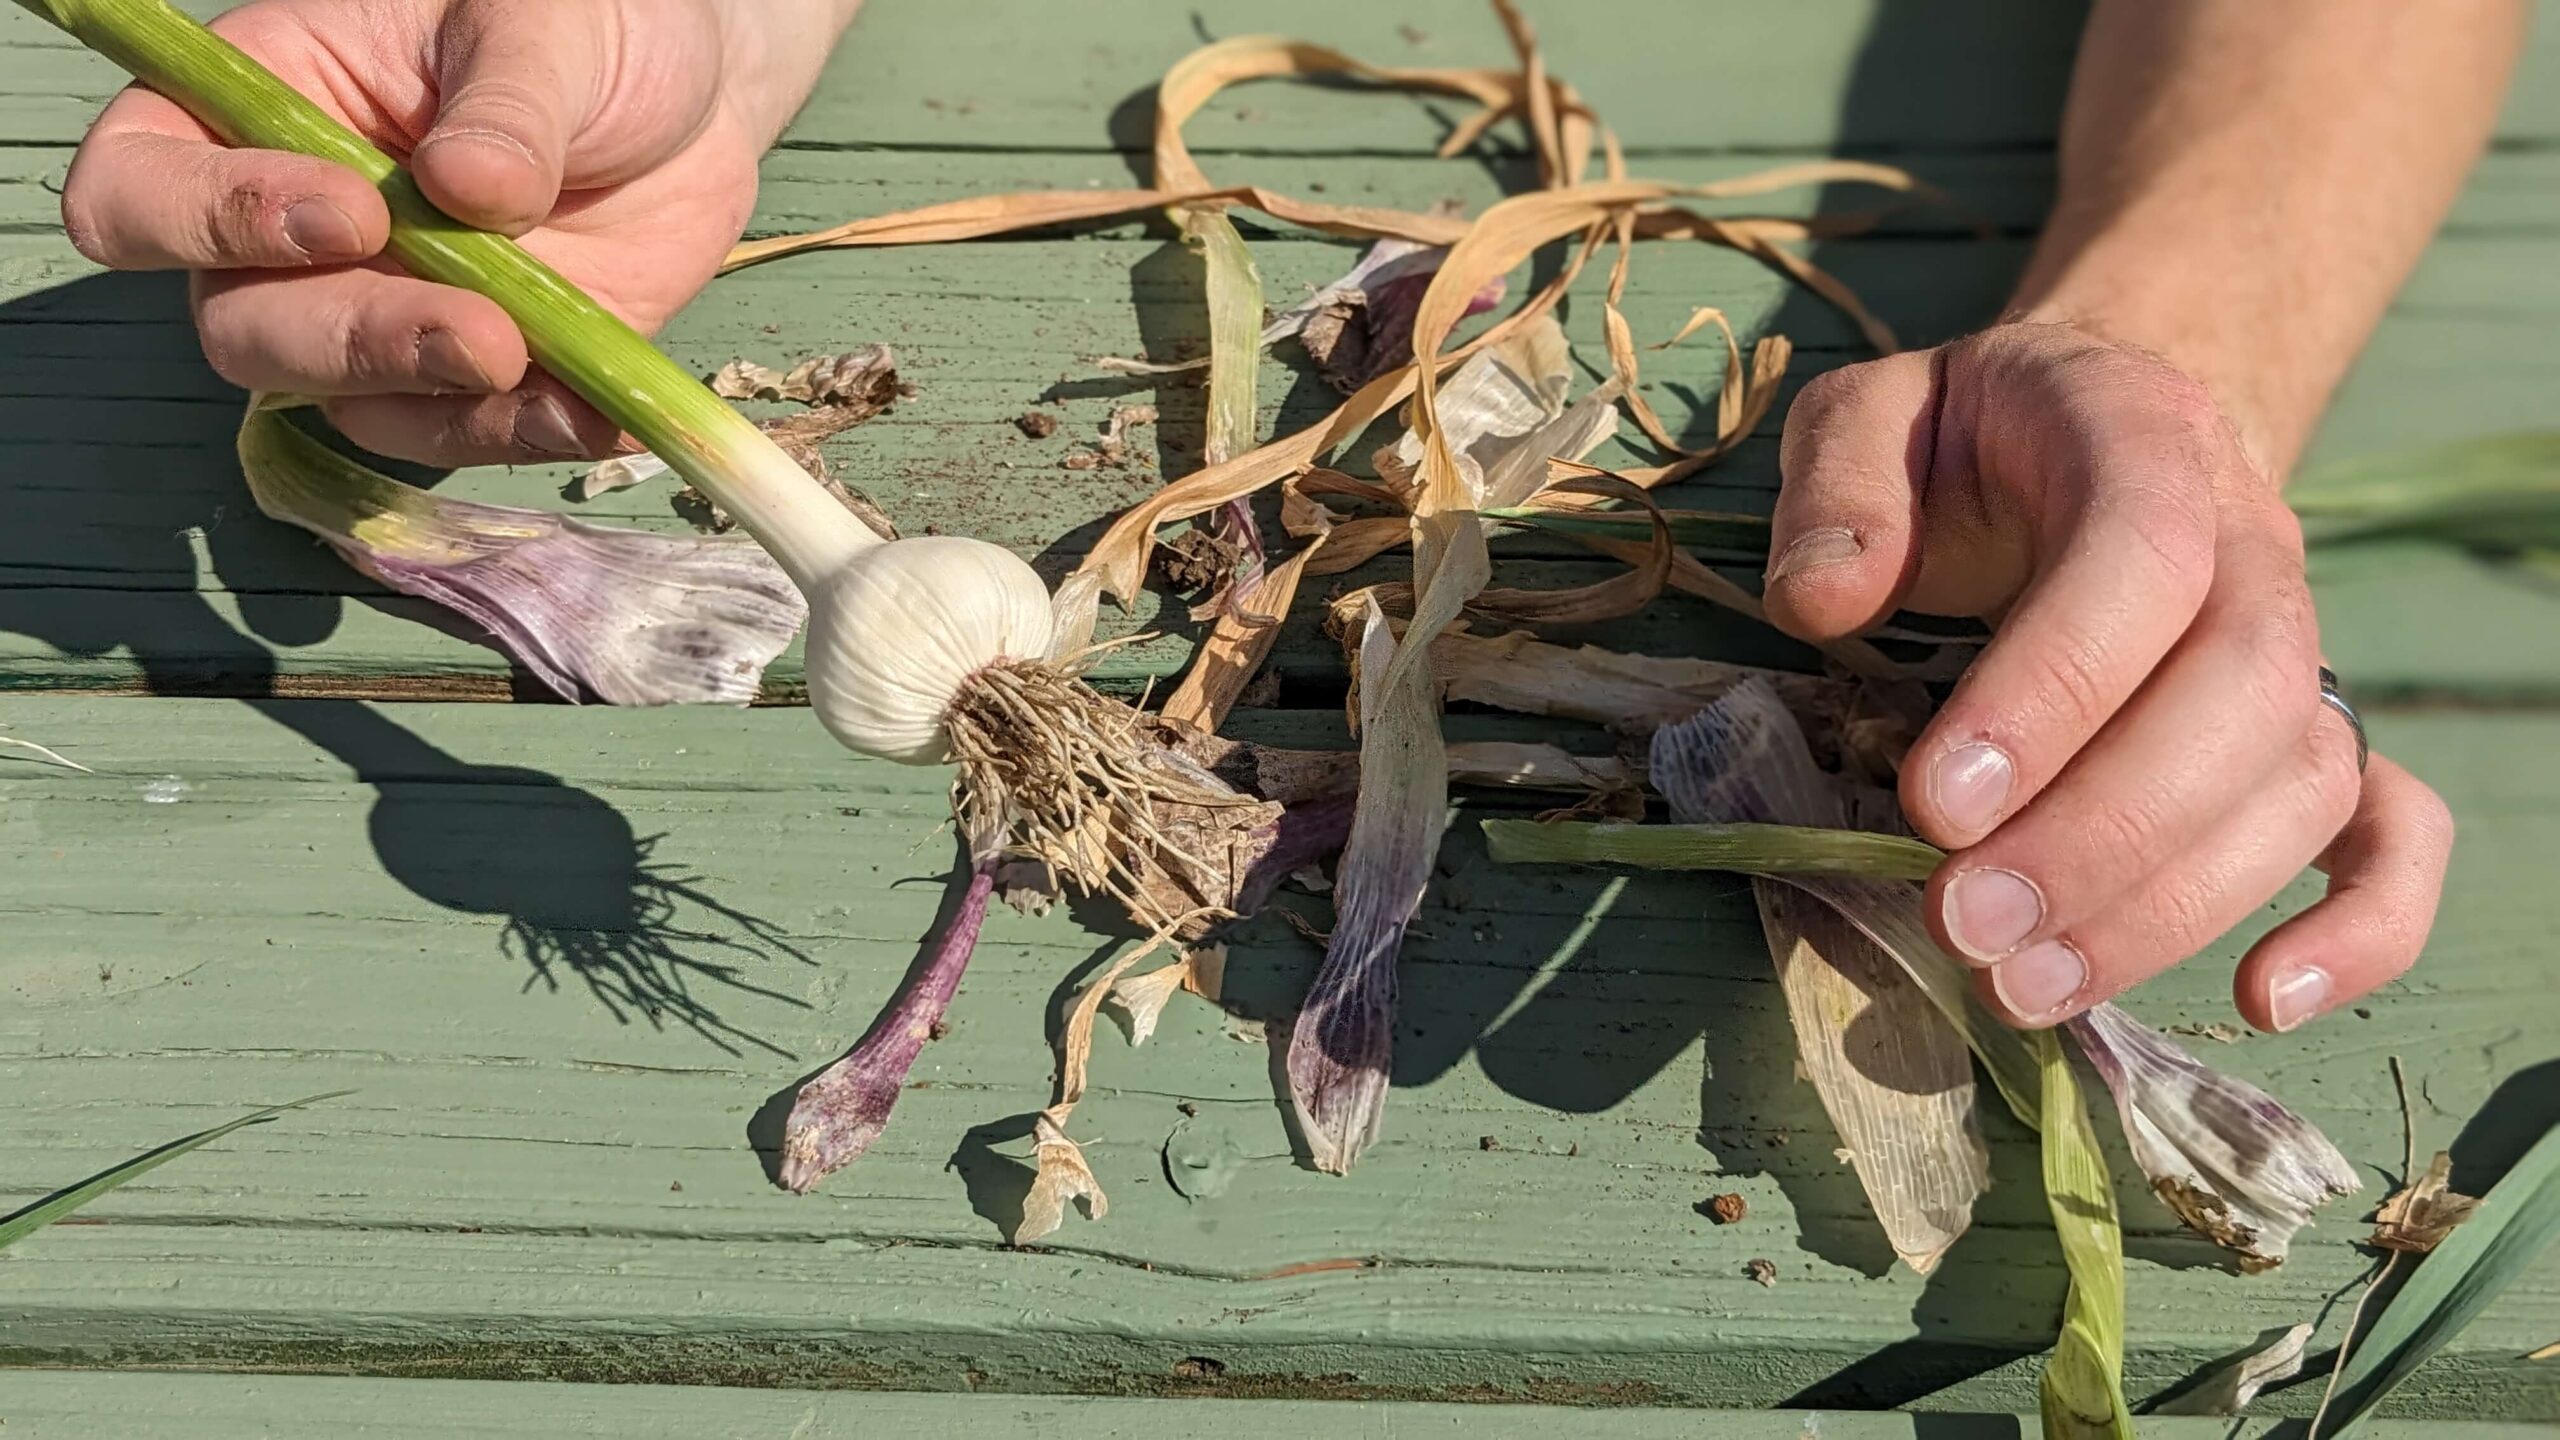
Next, we pulled the two leaves that formed the outer two layers of the garlic bulb “skin” away and broke them off at the roots.
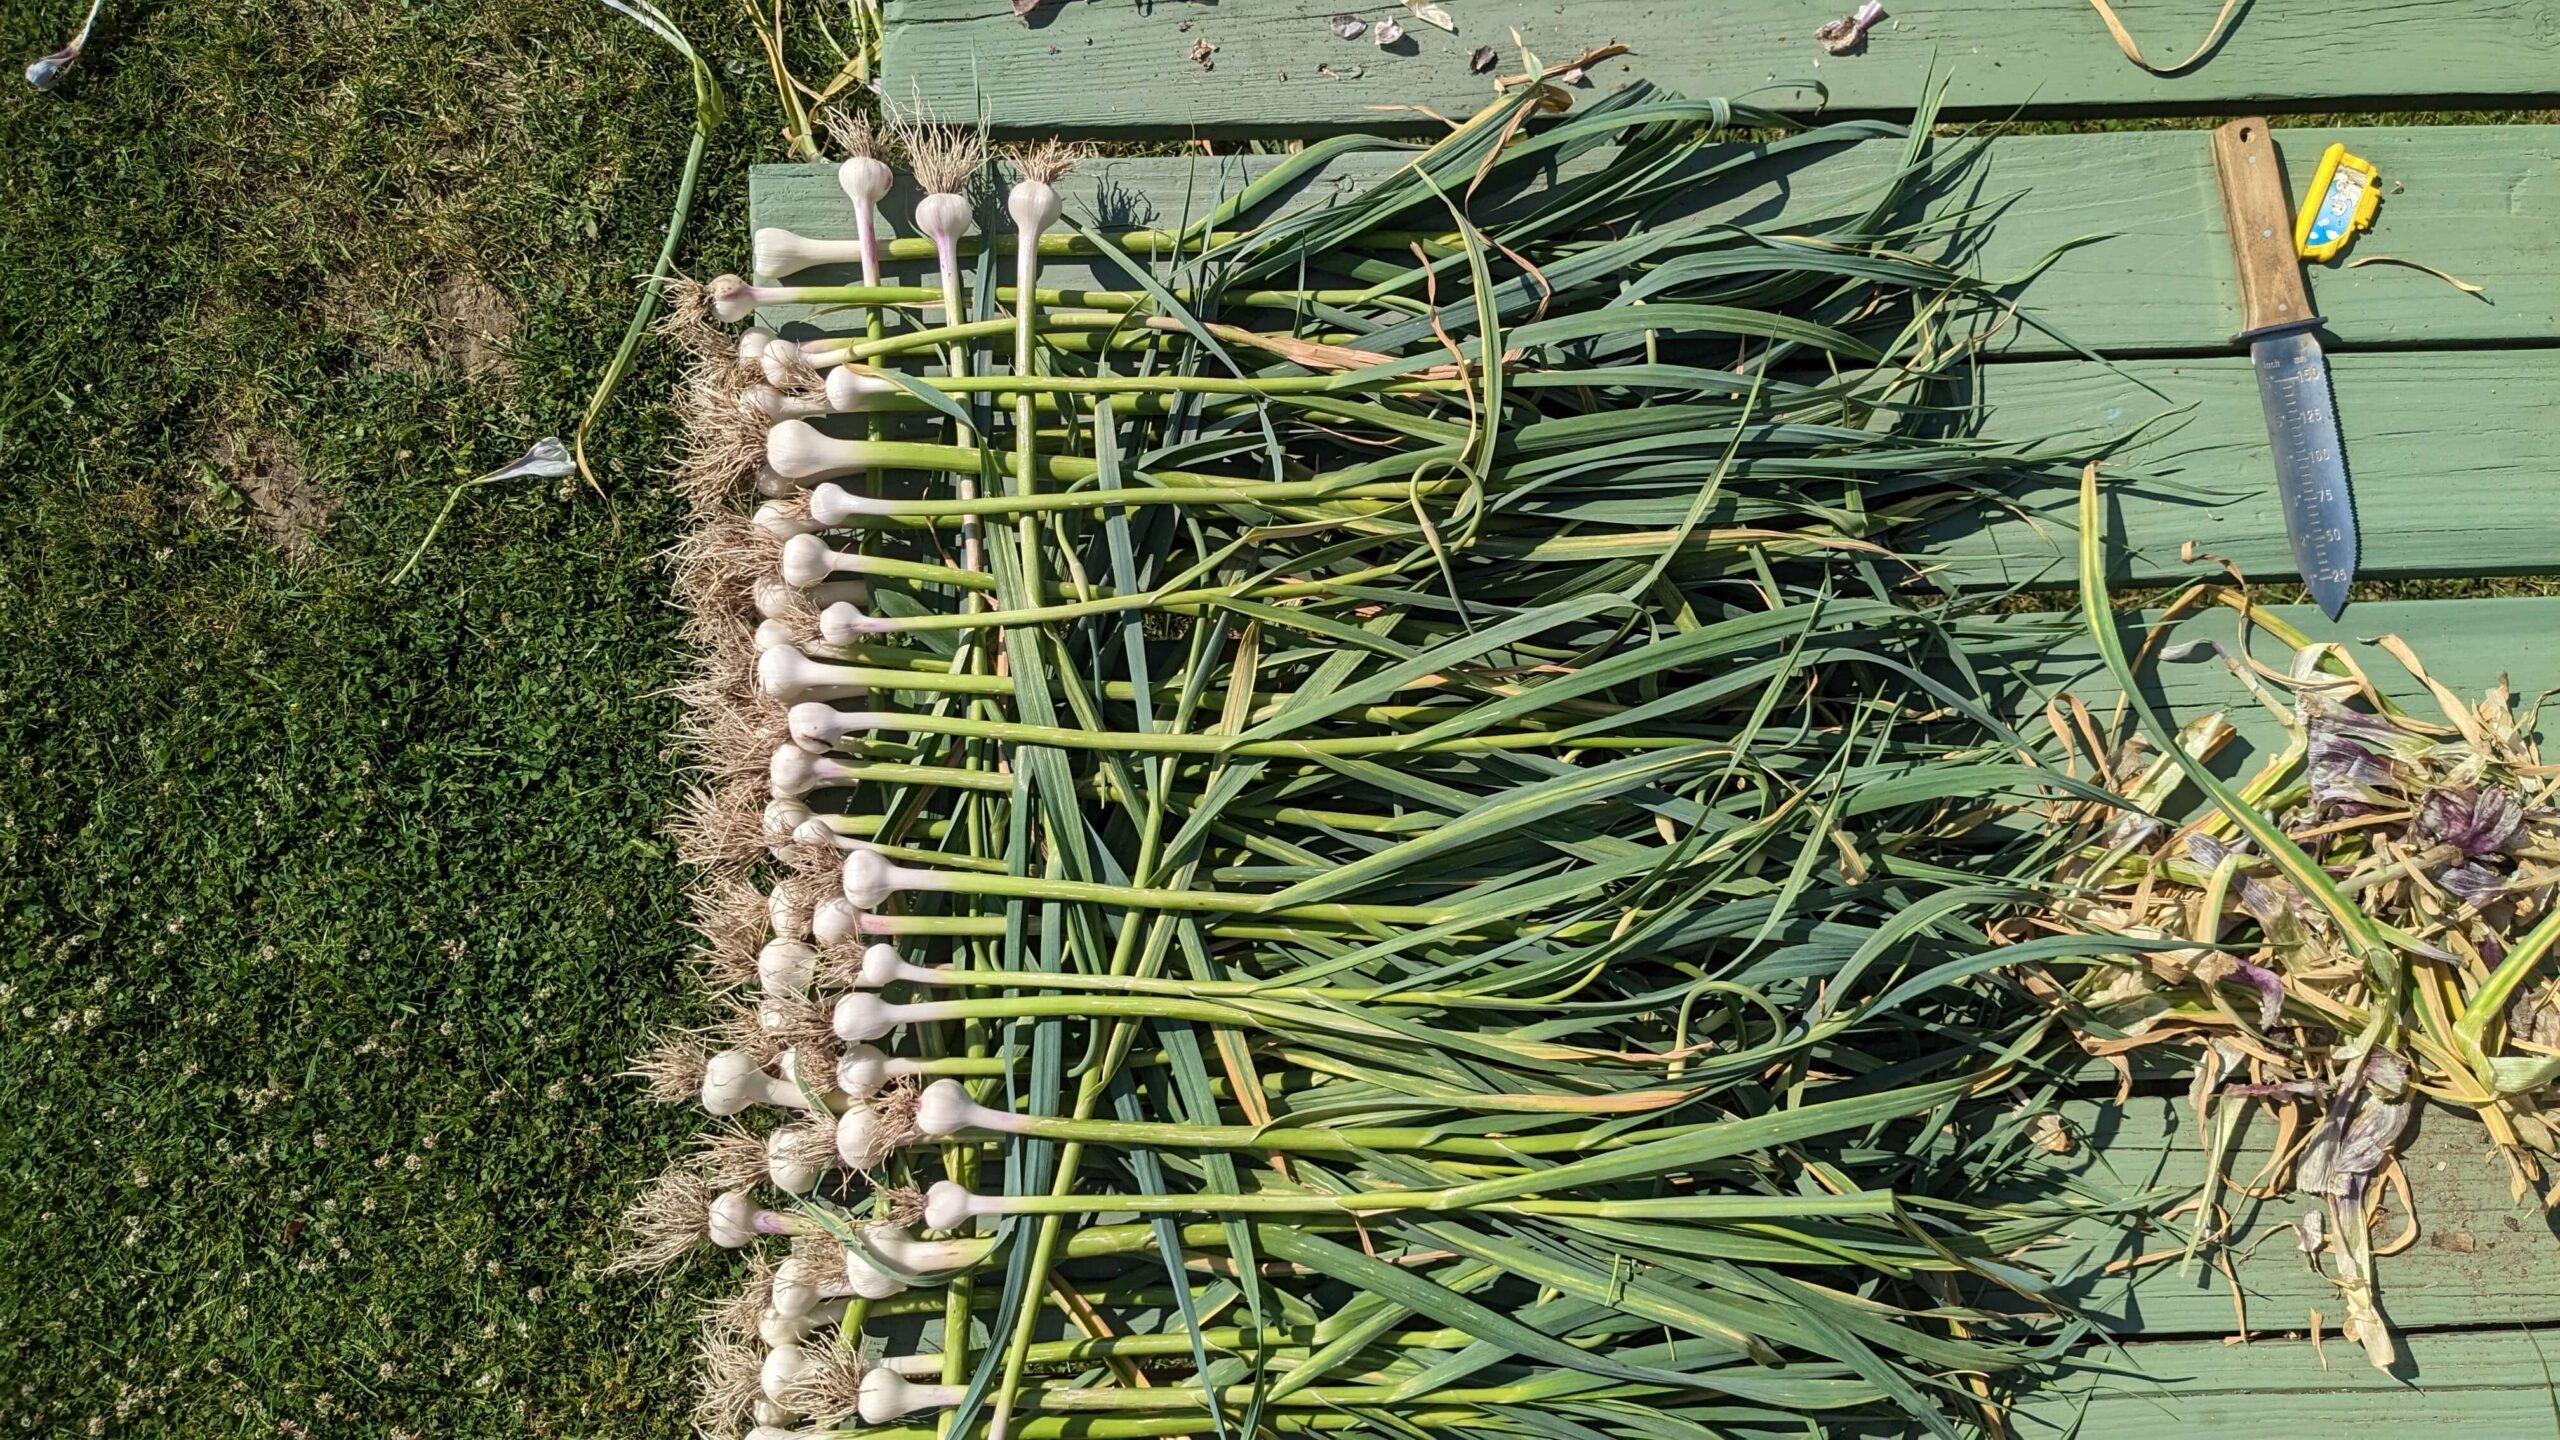
We then lay them in a loose but organized weave on our picnic bench. We let them cure in the sun for about 2 weeks until the leaves, stems, and roots were dry. In the future, I would give the garlic another week or two before we picked them and more time to cure. I didn’t this time though because we were leaving for an extended family vacation and we didn’t know if it would rain over that time, so we called it and brought them in the day before we left.
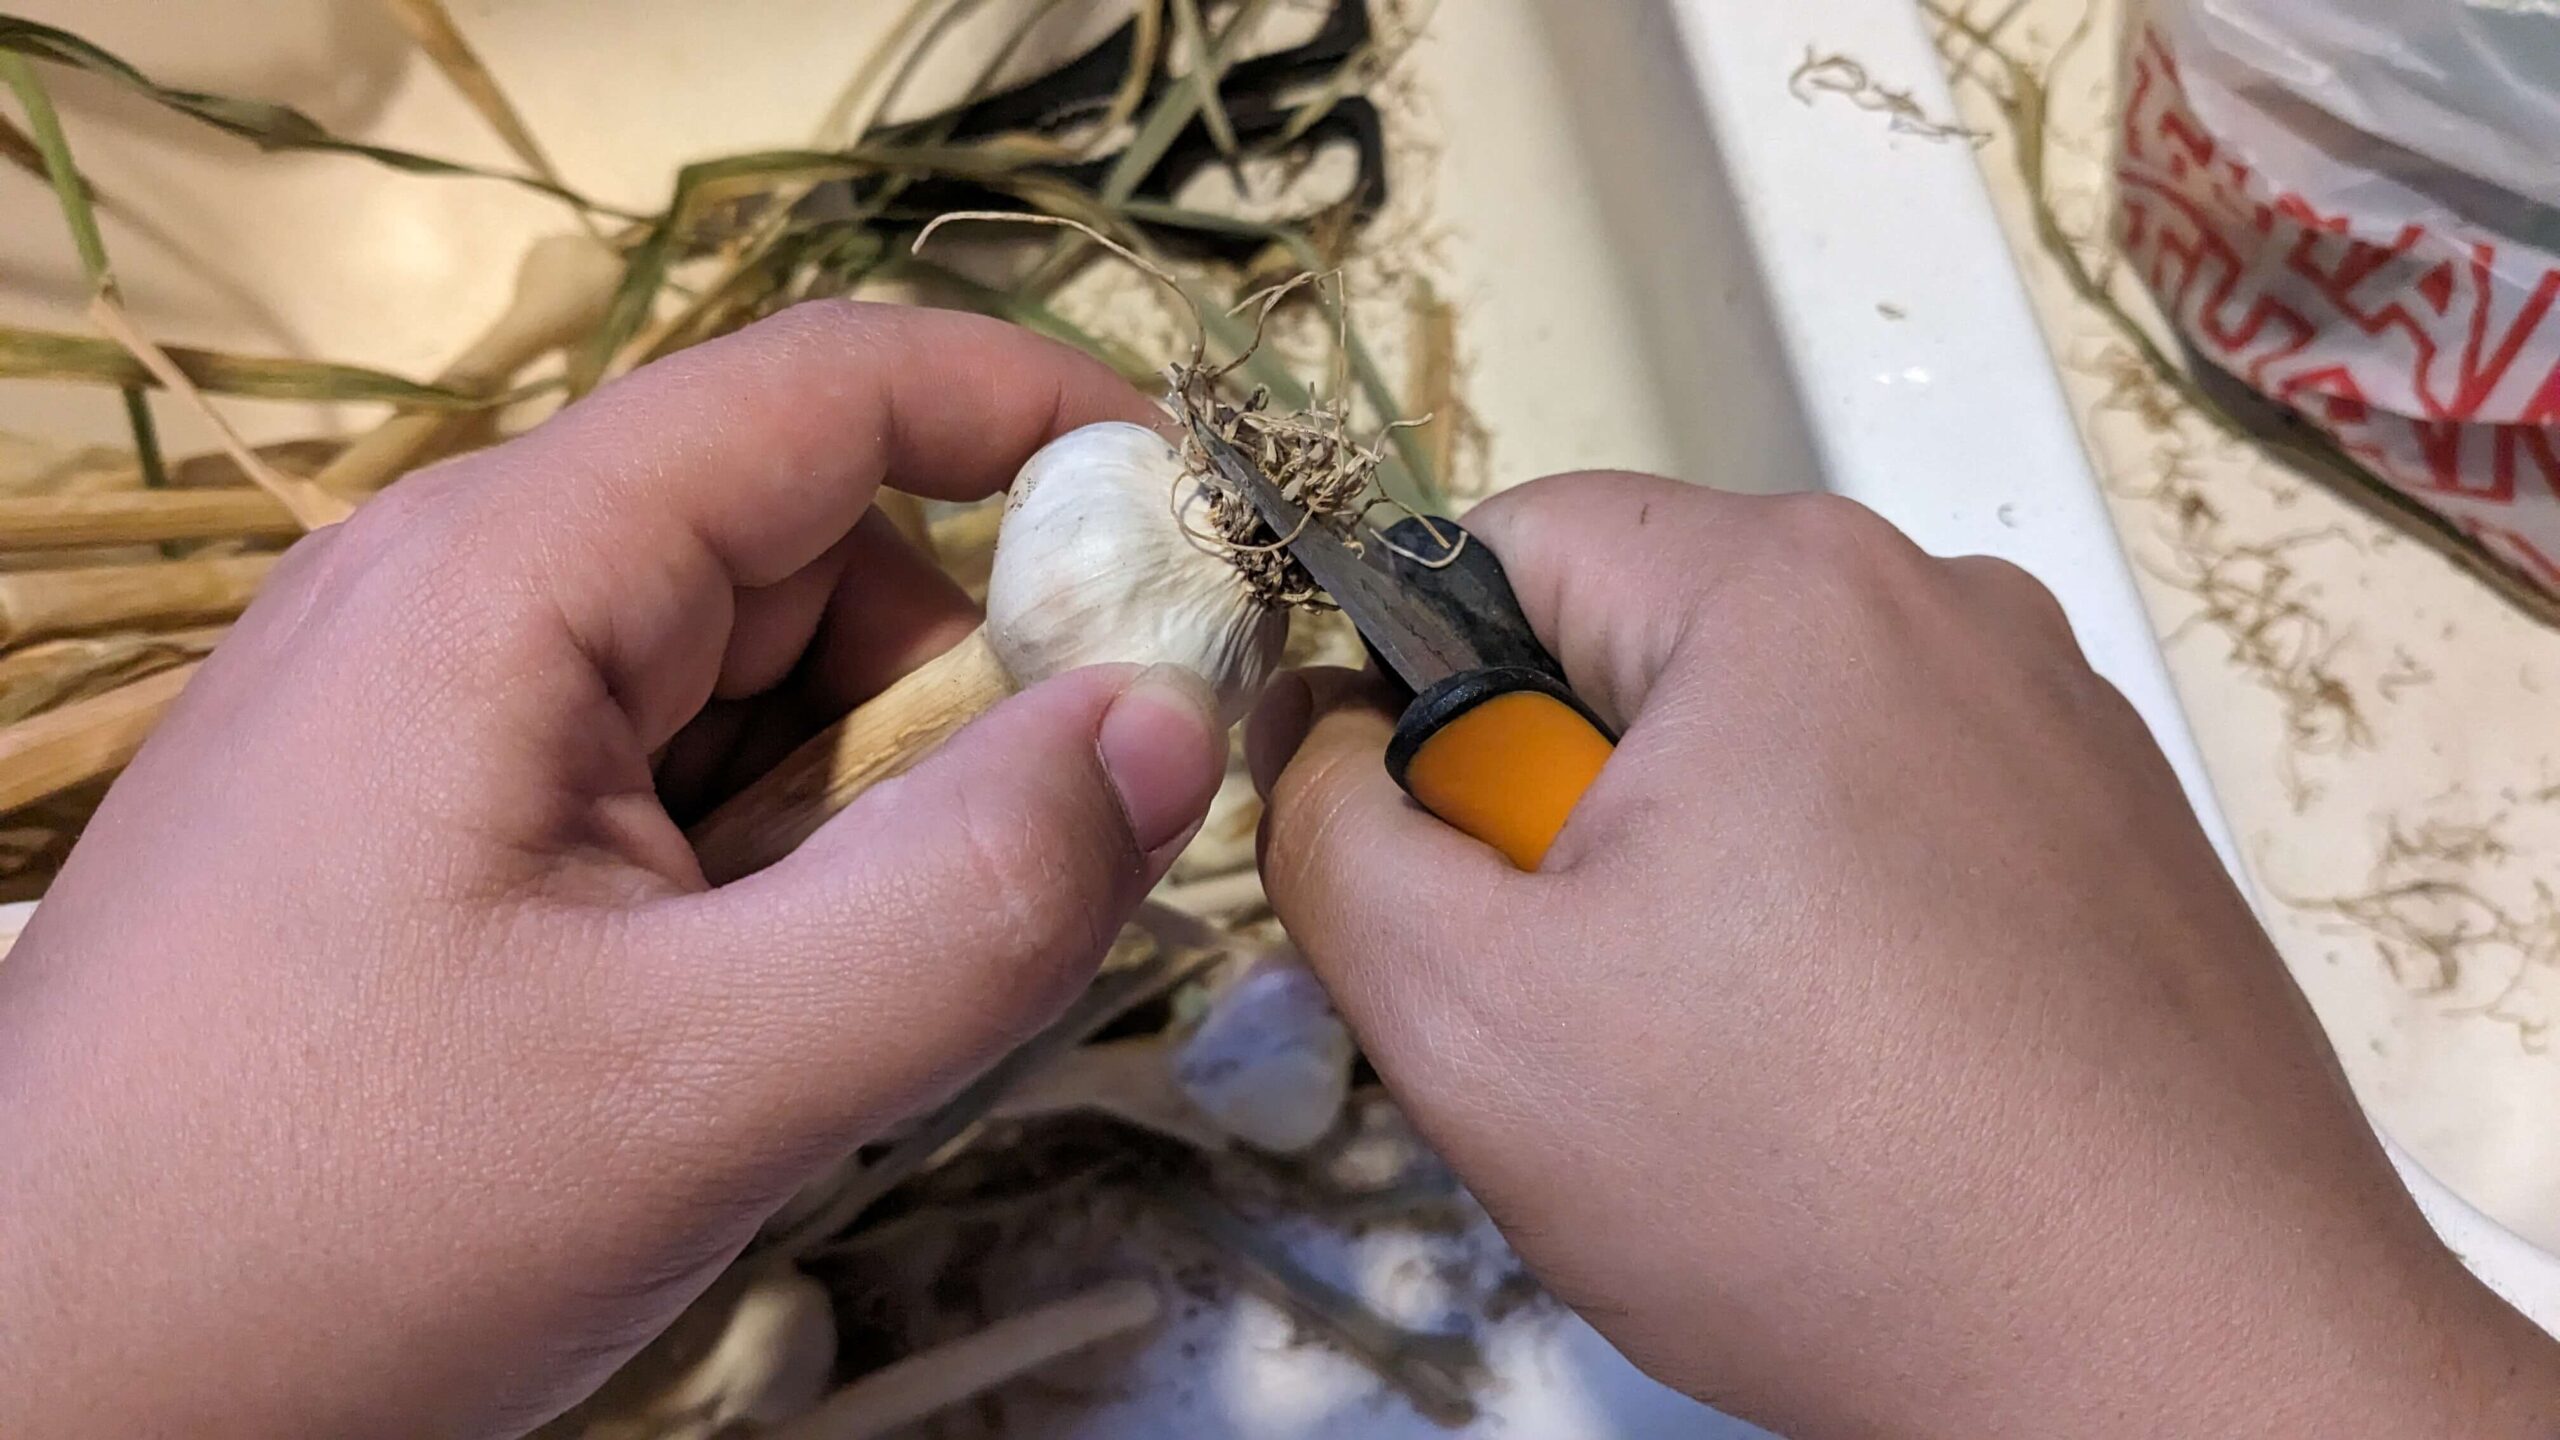
We then trimmed the roots with kitchen sheers and cut the stems of the garlic to about 1 inch long. We stored them in a cool area away from sunlight.
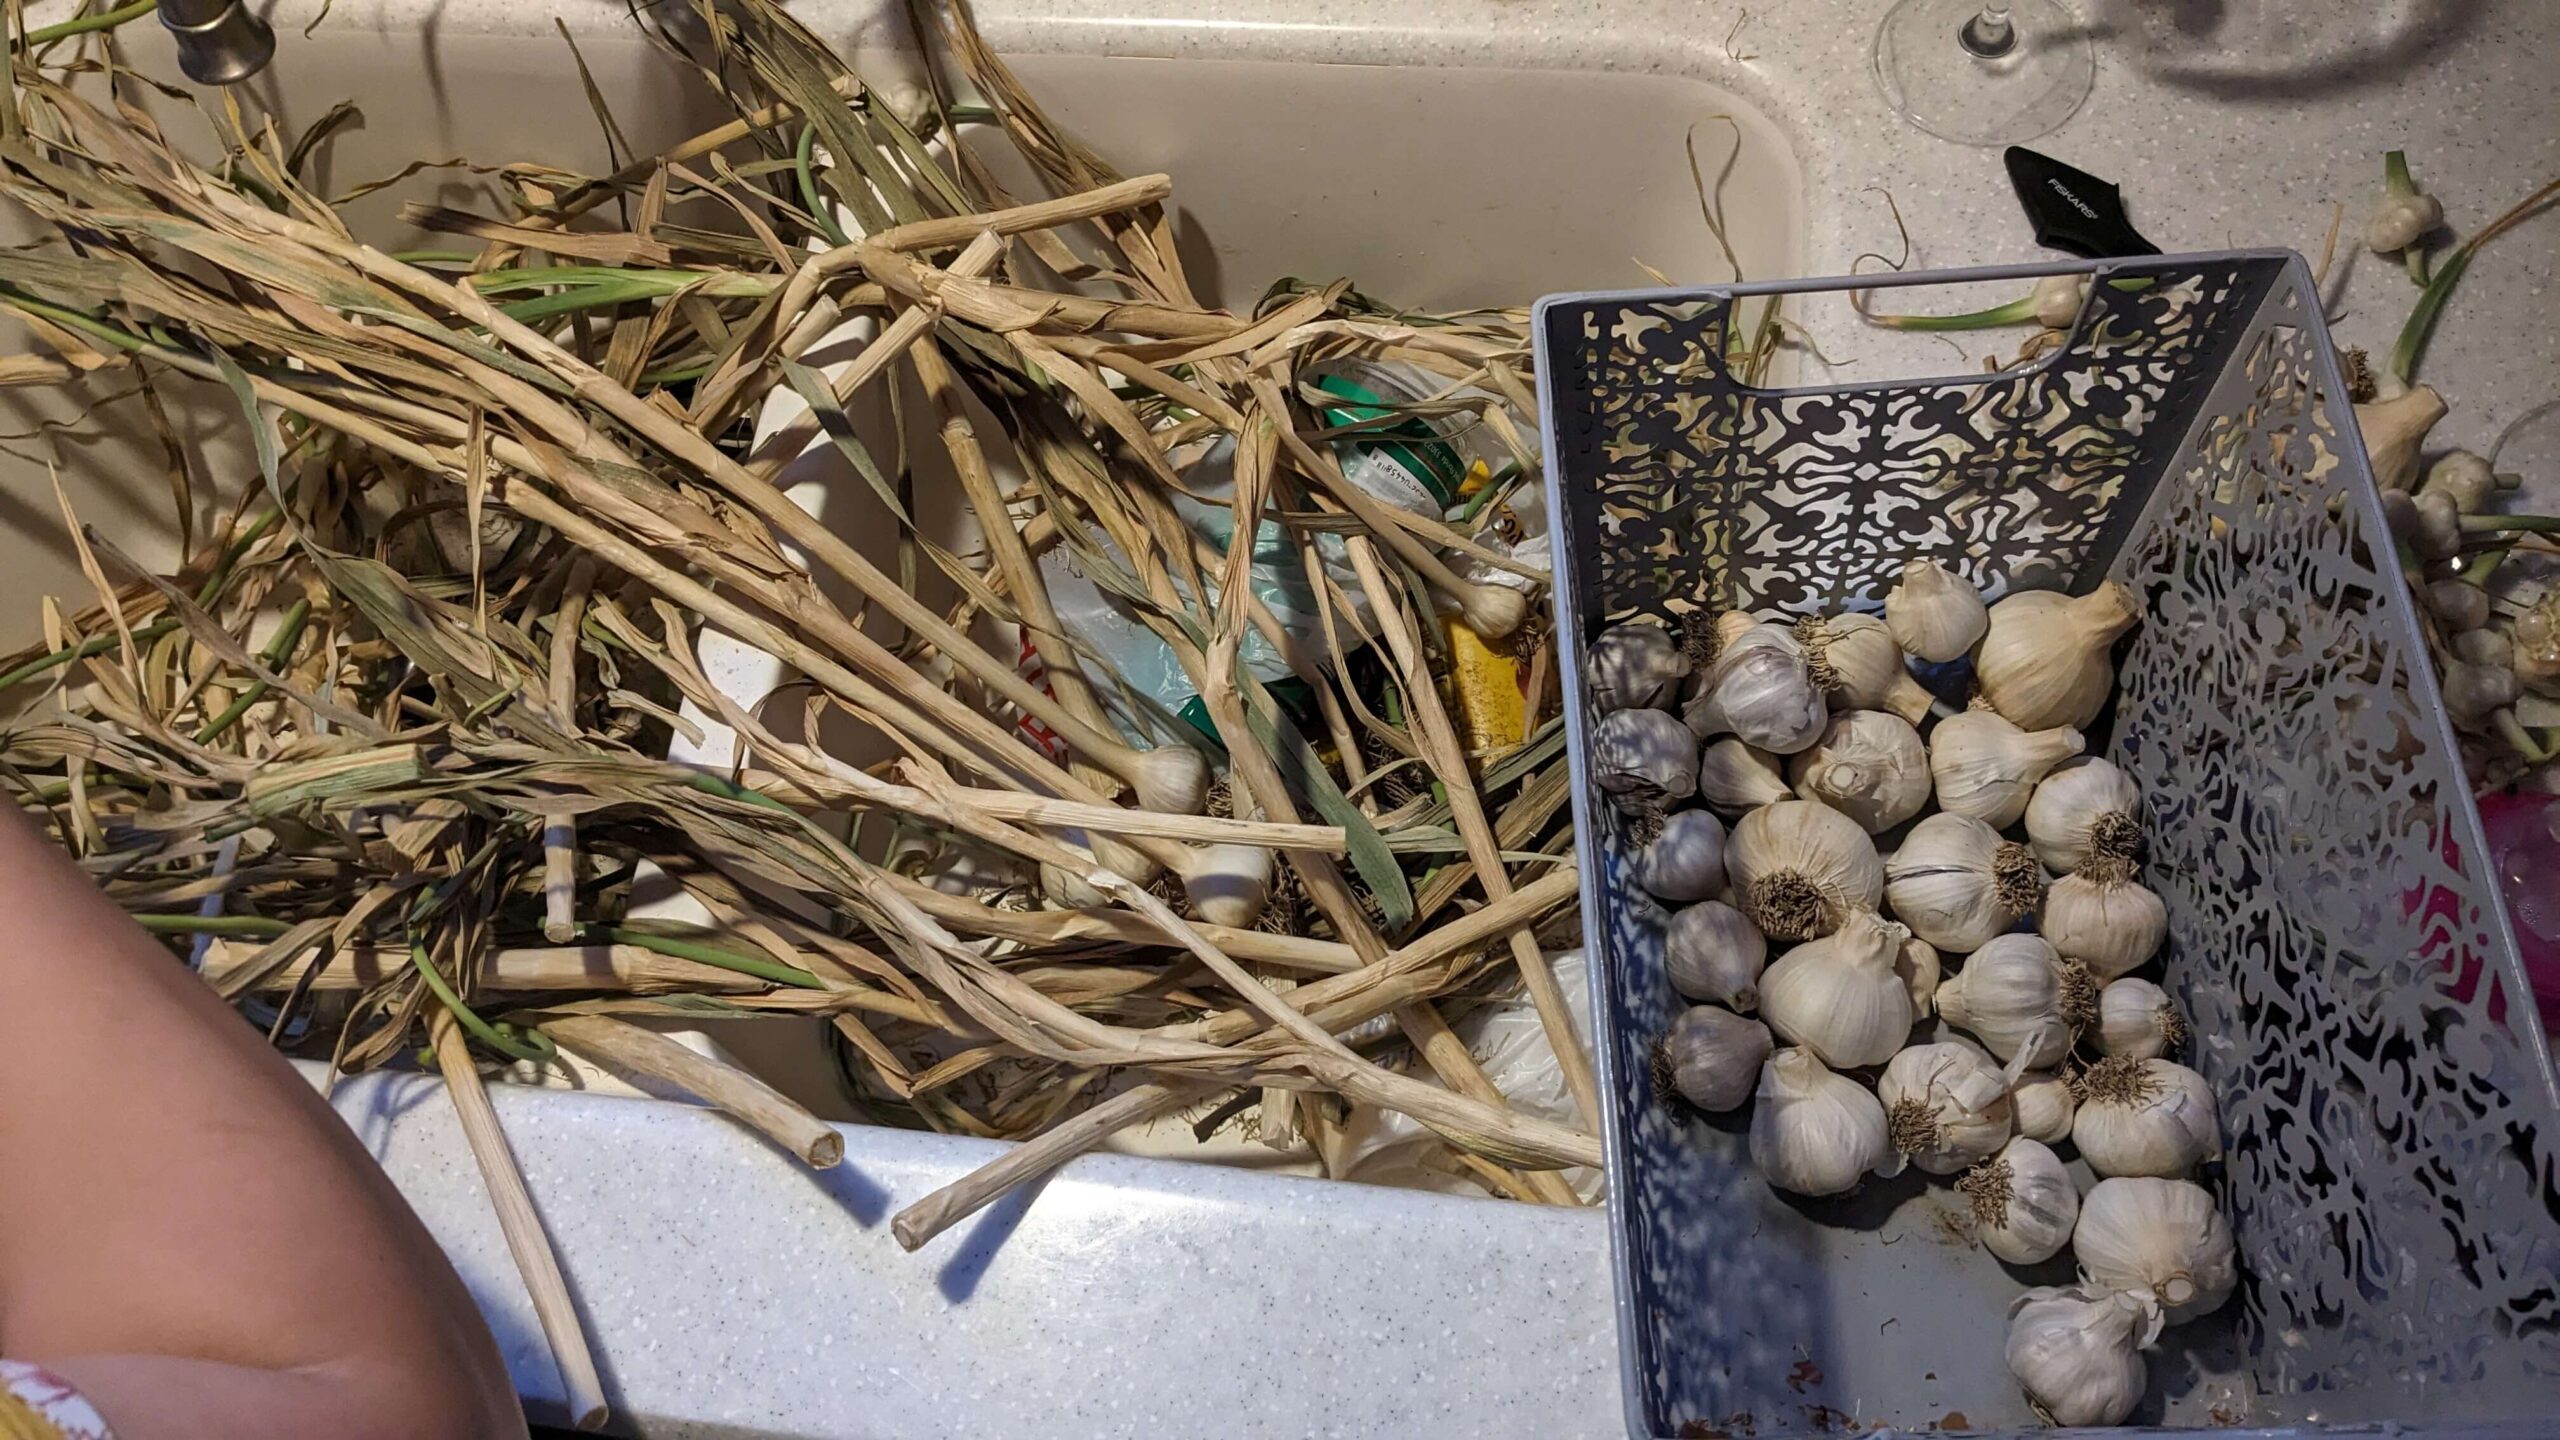
Some of our garlic was definitely not fully dried out, so we set that aside to be used immediately. There were others that must not have been fully dried out on the inside but we didn’t see it from the outside or the cut stems. Those began to go bad within about two months. But I used most of it for summer recipes that I was freezing or homemade canned pickles.
Our conclusion:
We loved having the garlic grown organically in our yard, and I’m looking forward to trying again this coming year. We are going to try two soft neck varieties next and compare that to our experience with hard neck. One day I want to try growing elephant garlic.
If you’ve grown garlic, I would love to hear what kind and how it went in the comments below!
Save it for later!
