How to decorate a baby’s room on a budget
Deciding to decorate our first baby’s room when she was born was easy. When we had our daughter a few years ago, we were blessed by generous friends and family. They held a lovely baby shower for us. We were overwhelmed in the best way by beautiful outfits and bows and room decor. We had so much fun decorating her room with artwork, flowers, family pictures, and elephants. When she was here and ready to move into her room, her room was ready for her.
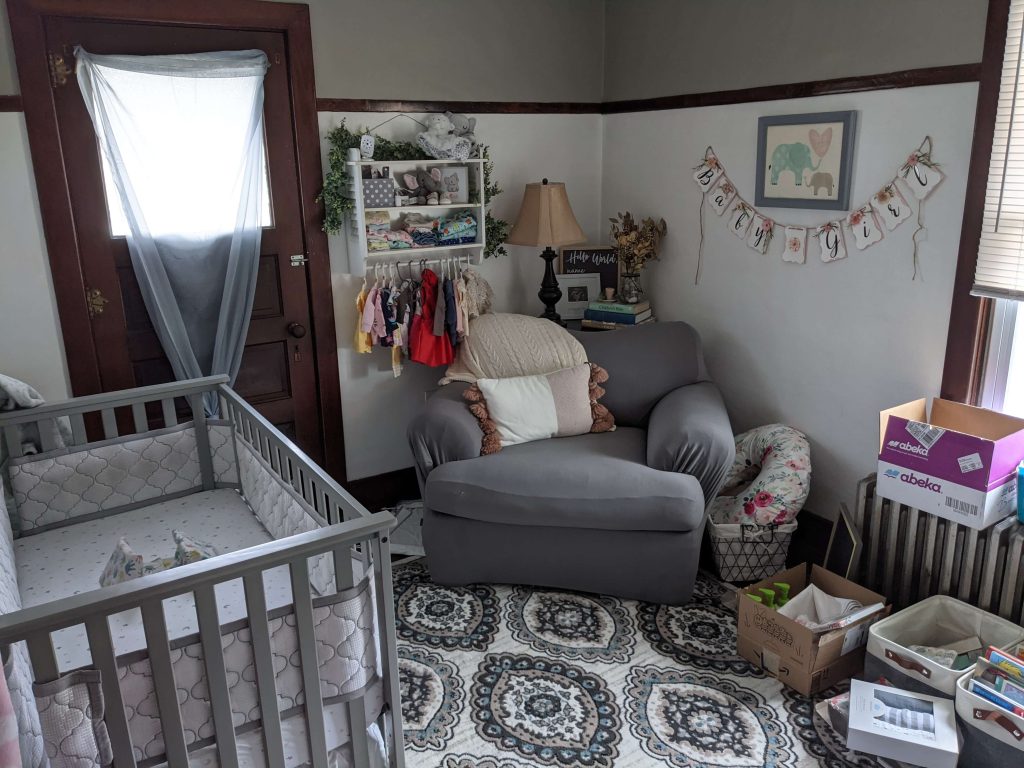
Fast forward two years and our son was born and we didn’t even have his crib set up. We knew he would be in our room for a while so we didn’t feel the need to rush to have everything ready. When he was ready we would be putting him in a crib in the same room as his sister.
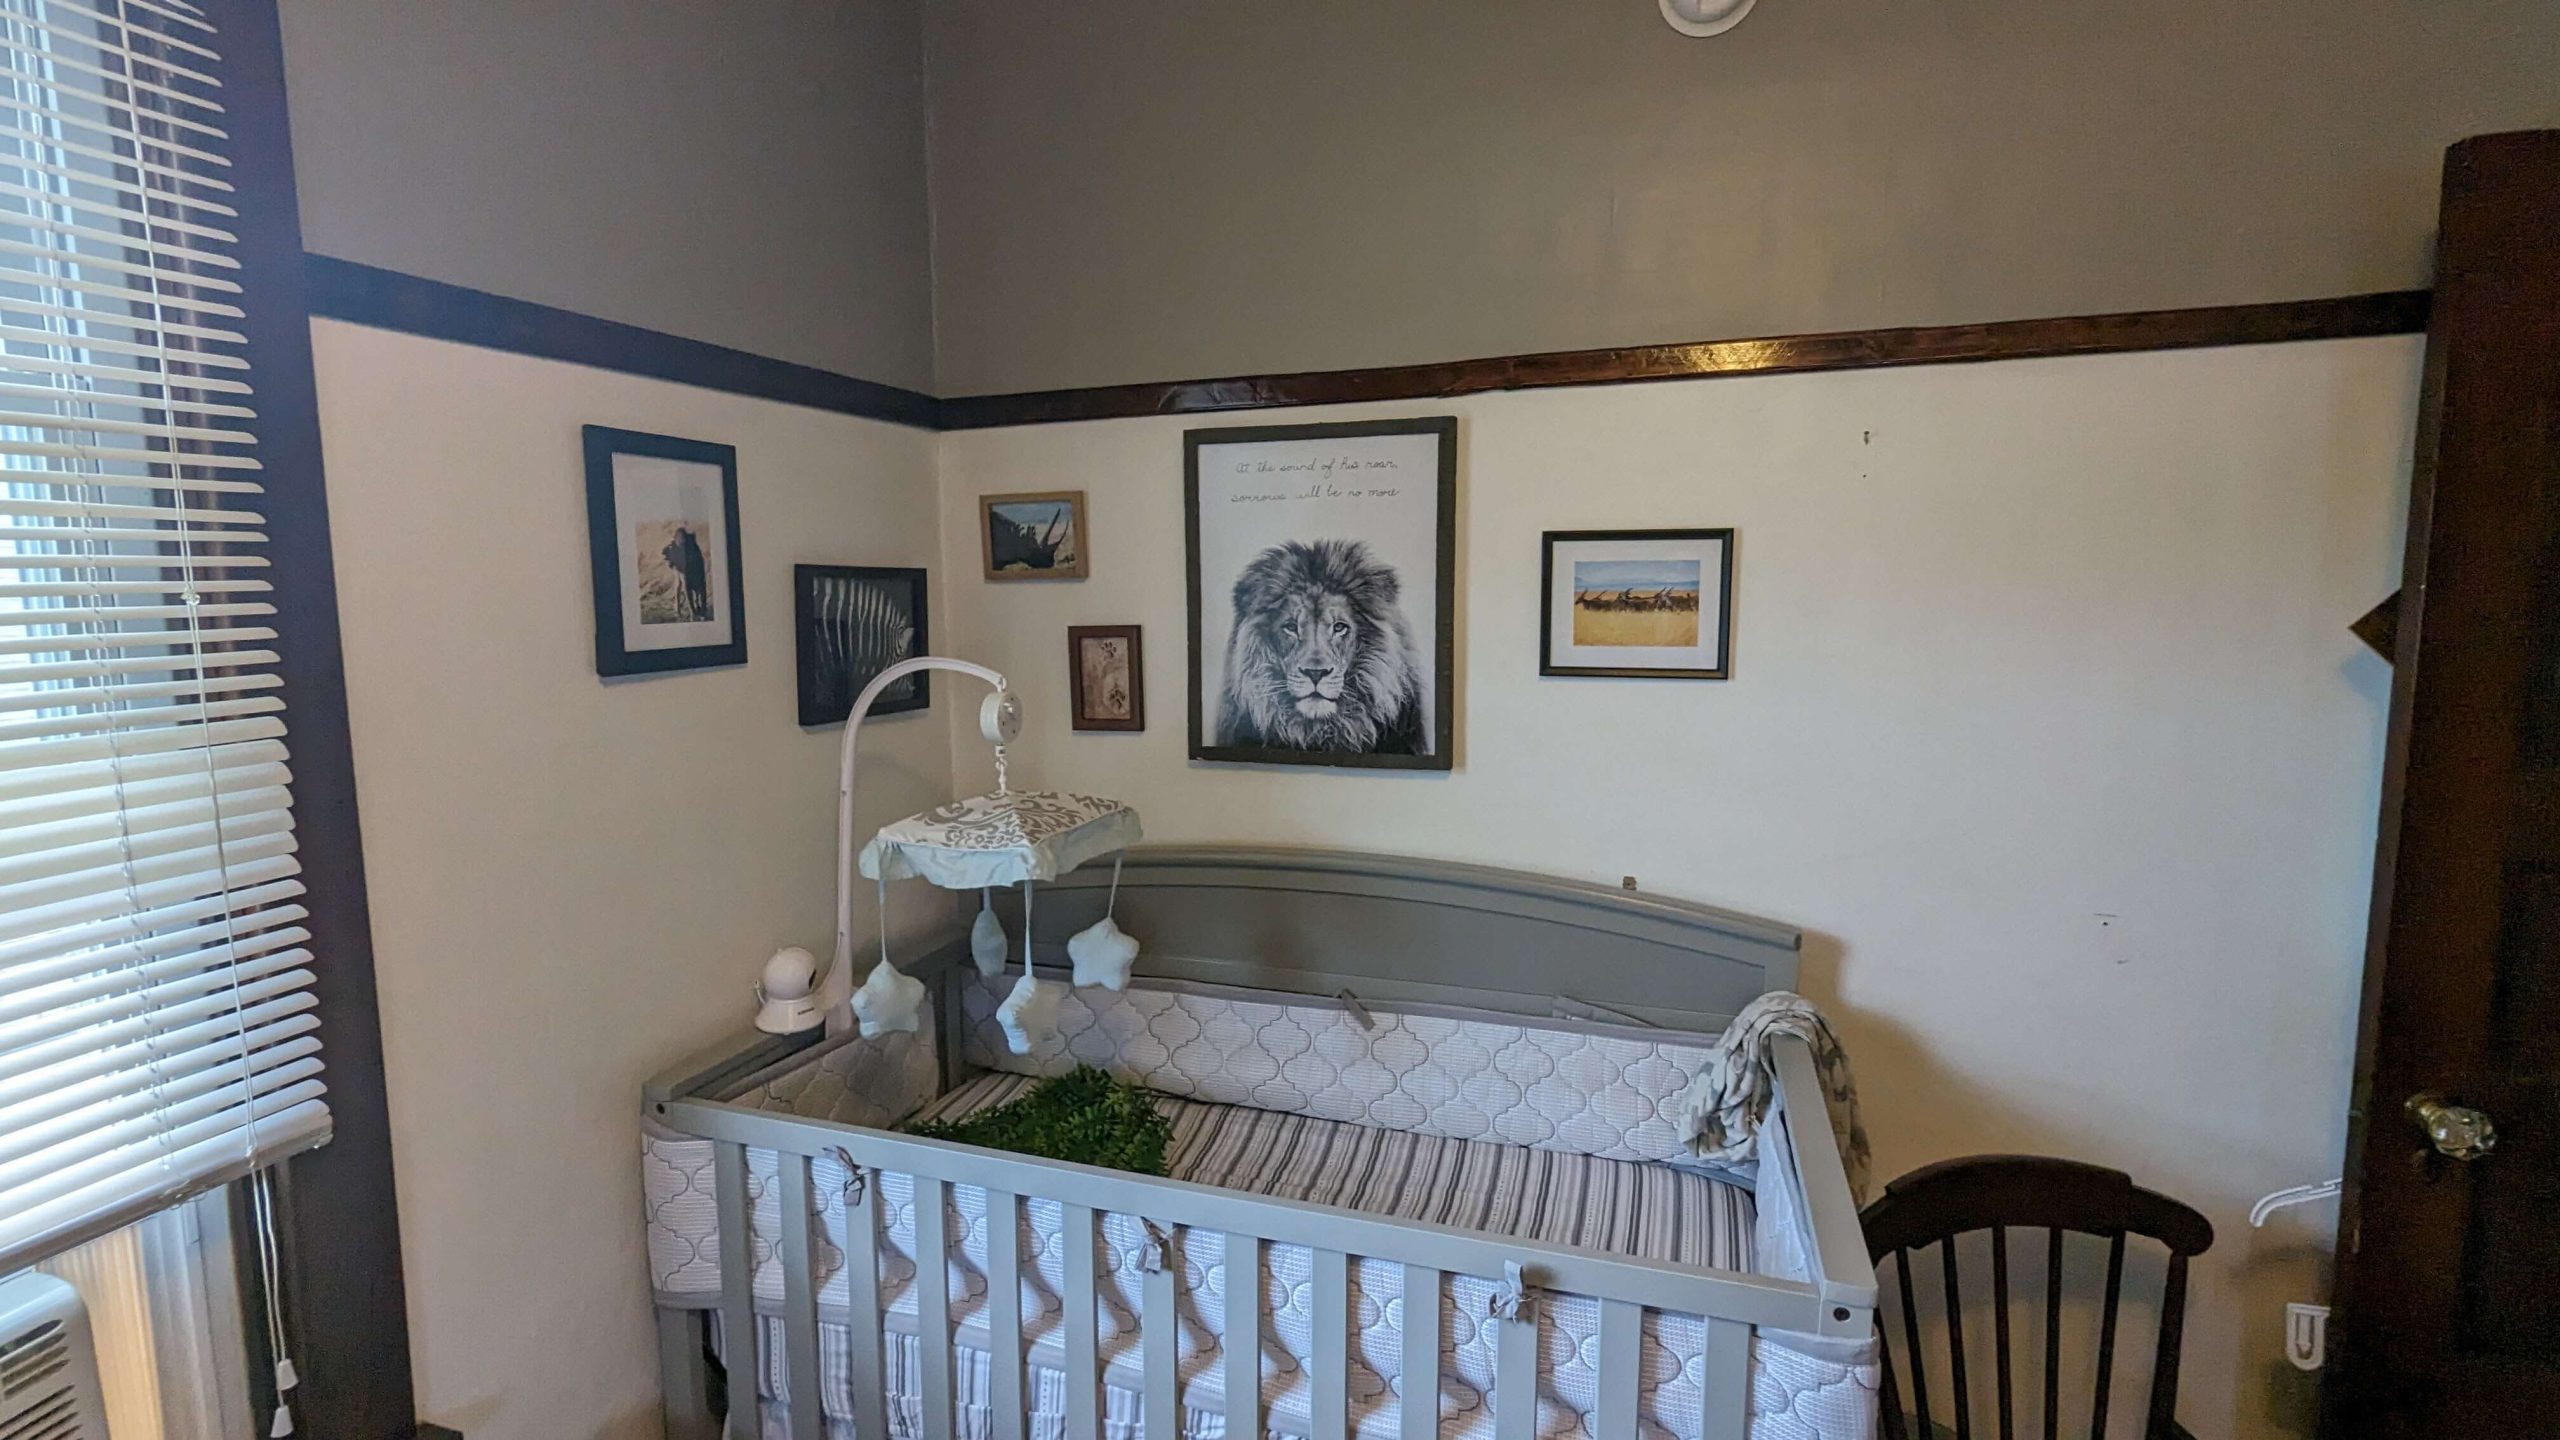
When it was time we built the crib and put it in his side of the room but we had no decor, no plants, nothing that was truly for him. Well, we had decided before he was born that we would have his animal be a lion, his sister had elephants and we wanted one for him. So he had a stuffed lion to go on the side of his crib that matched our desired theme and a hand-me-down mobile that doesn’t work or match the theme. The other hold-up is that we wanted to decorate the baby’s room on a budget.
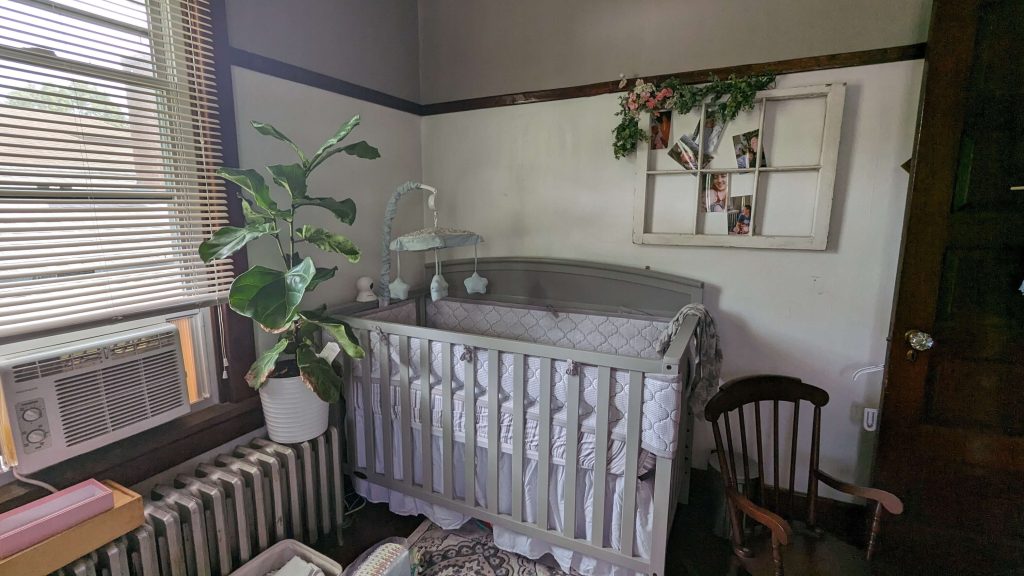
![]() Frugal Living Tip: One thing that I will recommend to every new mom or even new homeowner or renter that I talk to, when registering for or buying bed sheets, bed skirts, throw pillows, blankets, towels, or area rugs, going gender-neutral is a great way to guarantee at least a little bit of money savings in the long run. When I was pregnant and registering for my daughter’s shower, I wanted to register for every beautiful pink, soft peach, and floral swaddle, blanket, and bed set I could find, but I settled by registering for mostly greys and whites and then got a few accessories in more feminine colors. It was a little sad back then, but now I’m so grateful because we didn’t have to buy any crib sheets or swaddle blankets for our little boy. This saved us probably close to $100 but possibly more
Frugal Living Tip: One thing that I will recommend to every new mom or even new homeowner or renter that I talk to, when registering for or buying bed sheets, bed skirts, throw pillows, blankets, towels, or area rugs, going gender-neutral is a great way to guarantee at least a little bit of money savings in the long run. When I was pregnant and registering for my daughter’s shower, I wanted to register for every beautiful pink, soft peach, and floral swaddle, blanket, and bed set I could find, but I settled by registering for mostly greys and whites and then got a few accessories in more feminine colors. It was a little sad back then, but now I’m so grateful because we didn’t have to buy any crib sheets or swaddle blankets for our little boy. This saved us probably close to $100 but possibly more
We also knew that we wanted him to have a beautiful lion artwork above his crib to match his sister’s elephant and flower-themed side but we wanted it to be personal to him. The biggest difference between his sister’s room two years ago and his side of the room now is that anything that we wanted we would have to pay for and source ourselves but we are trying to pay off debt and spending lots of money on a baby’s room is definitely not in the budget.
So we waited.
Finding cheap wall decor
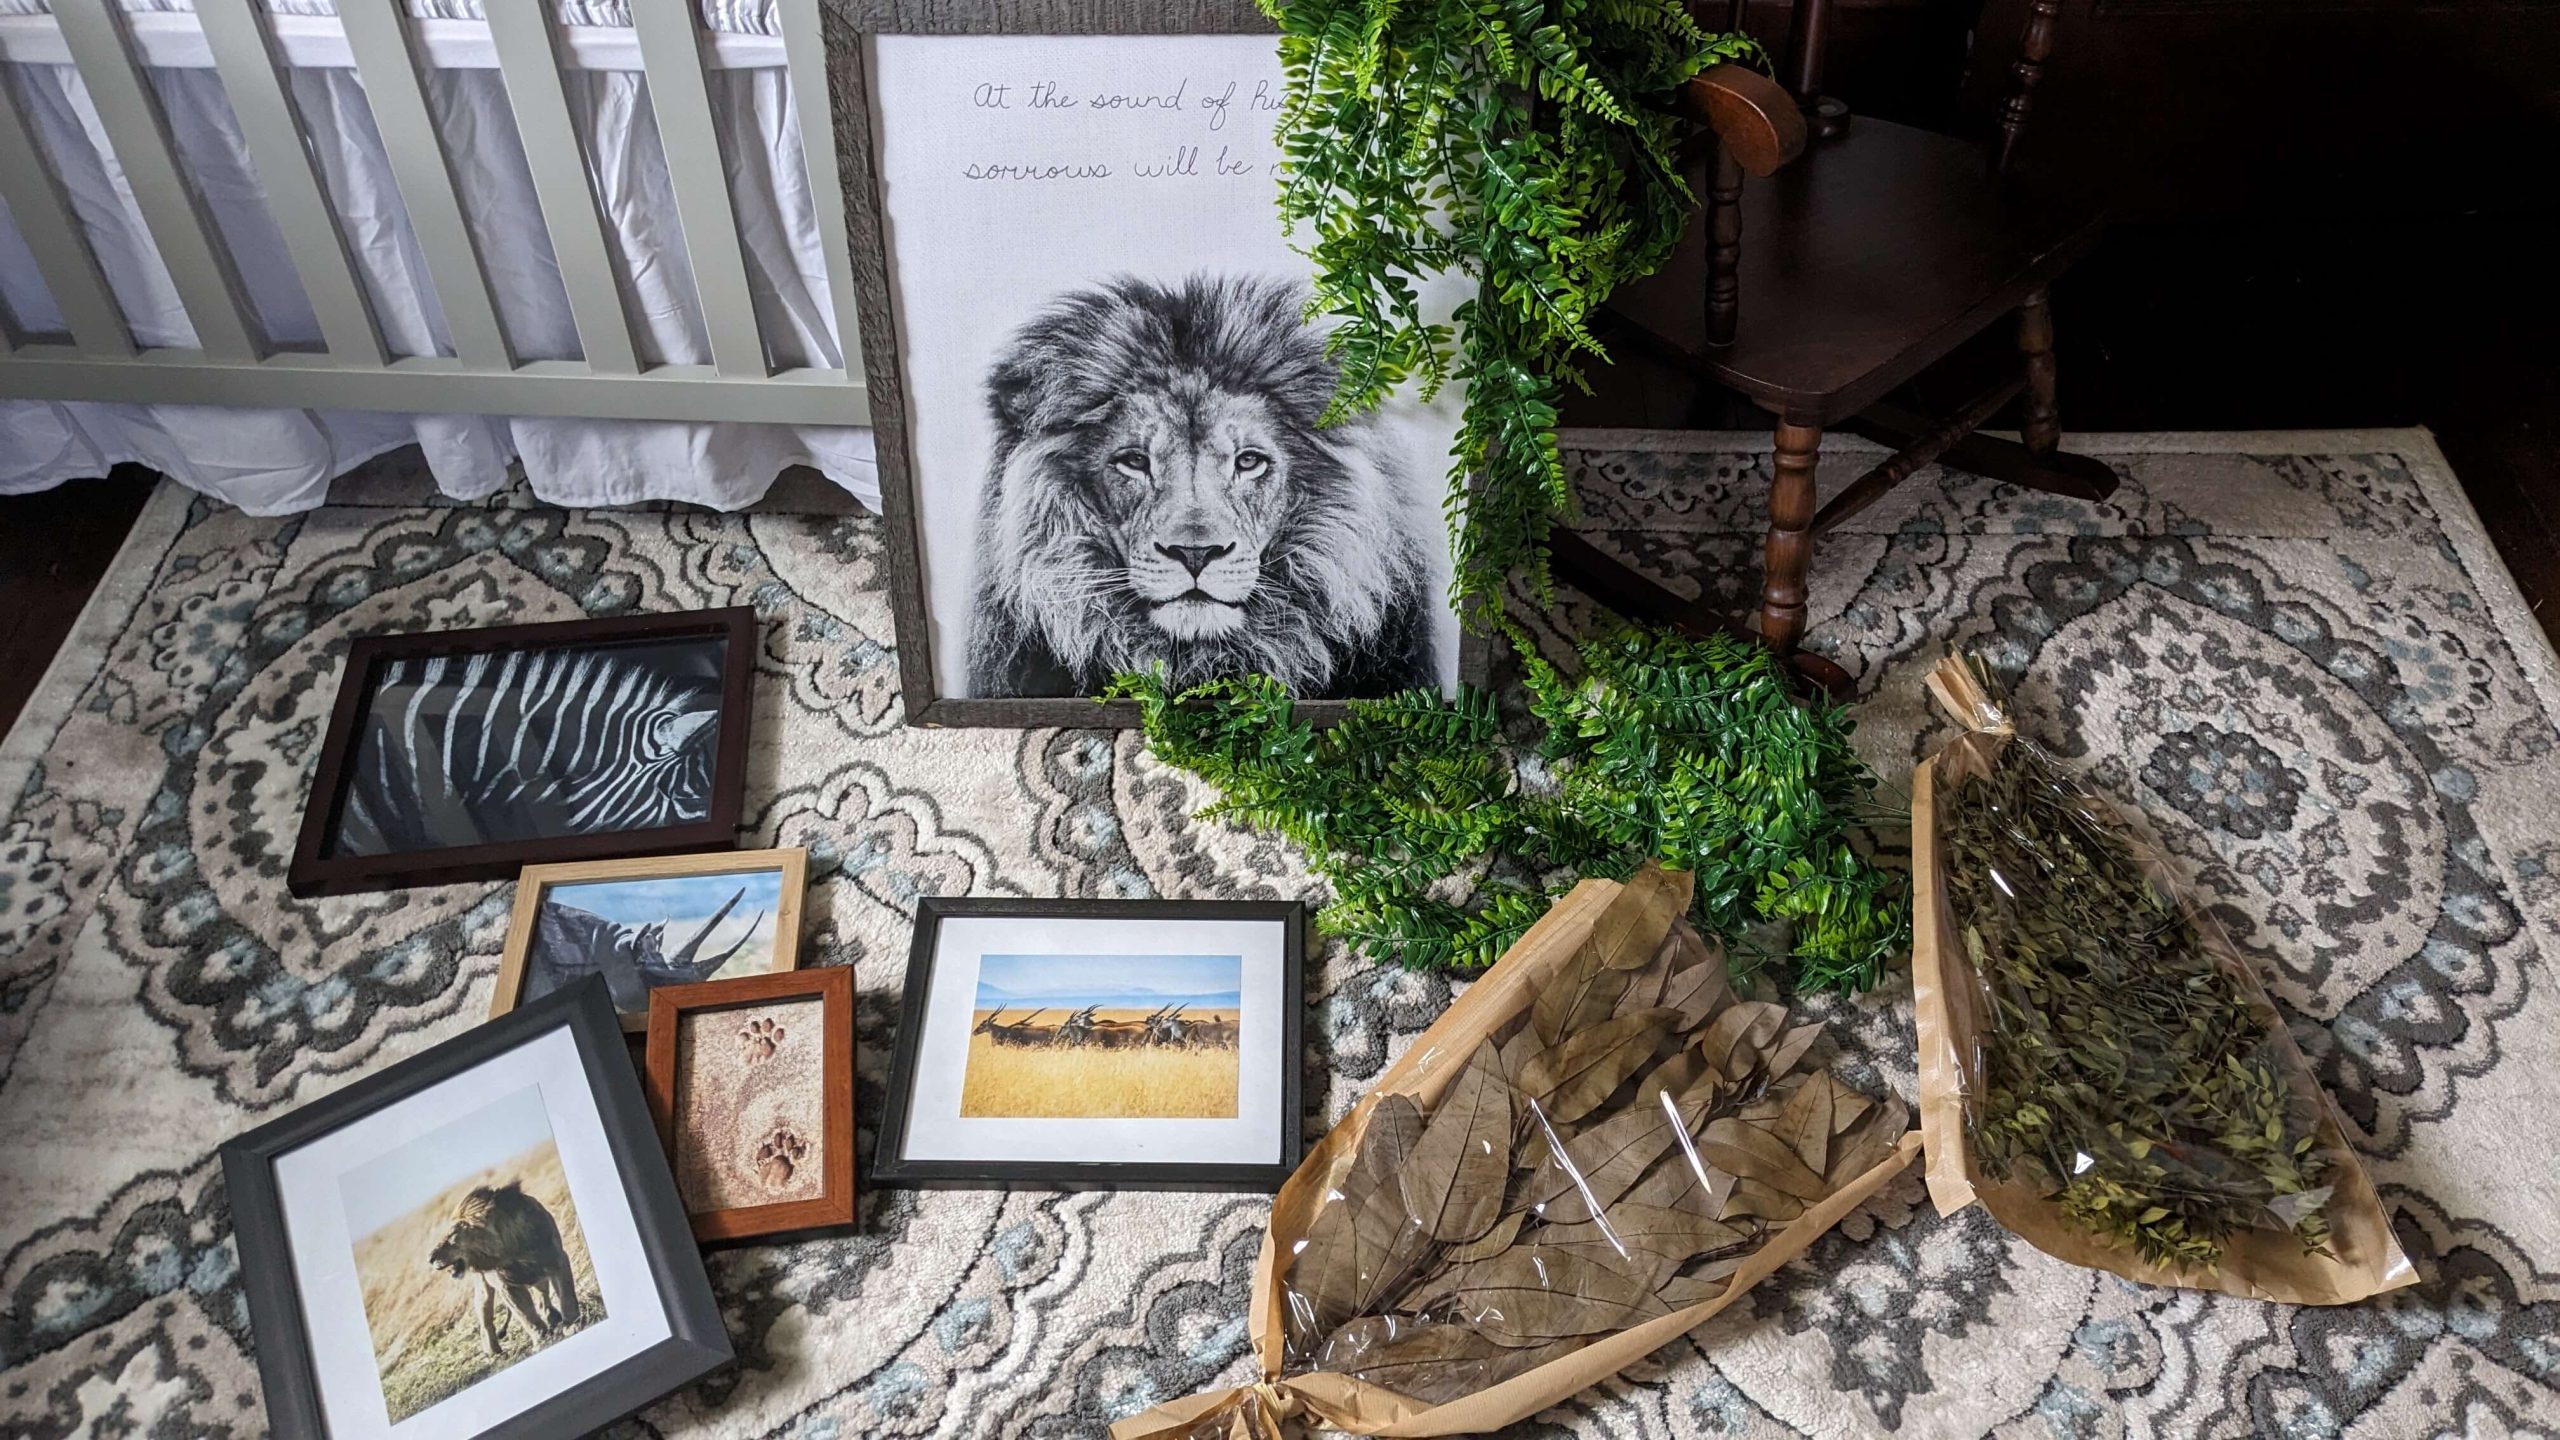
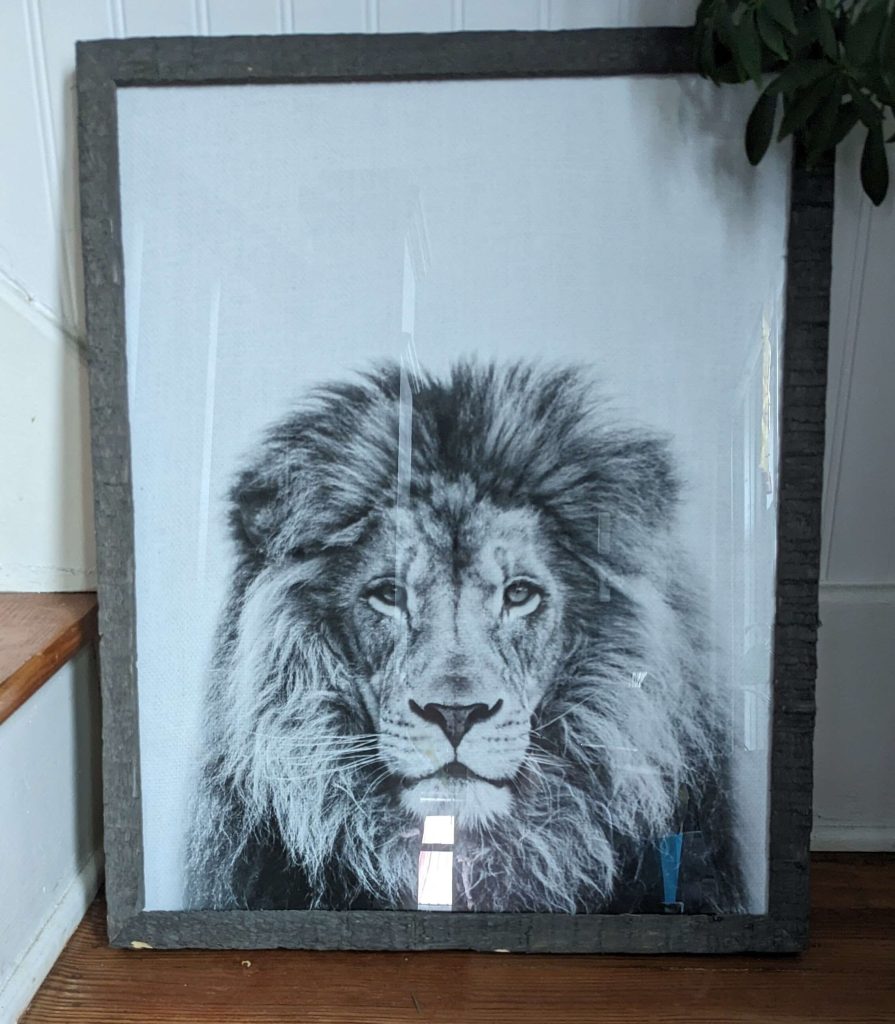
We went consignment shopping a few months after he was born and Bennett walked through the wall art section and found this lion wall art! It was only $10 and we had extra money in our baby line item on the budget so we took the deal and brought the lion home.
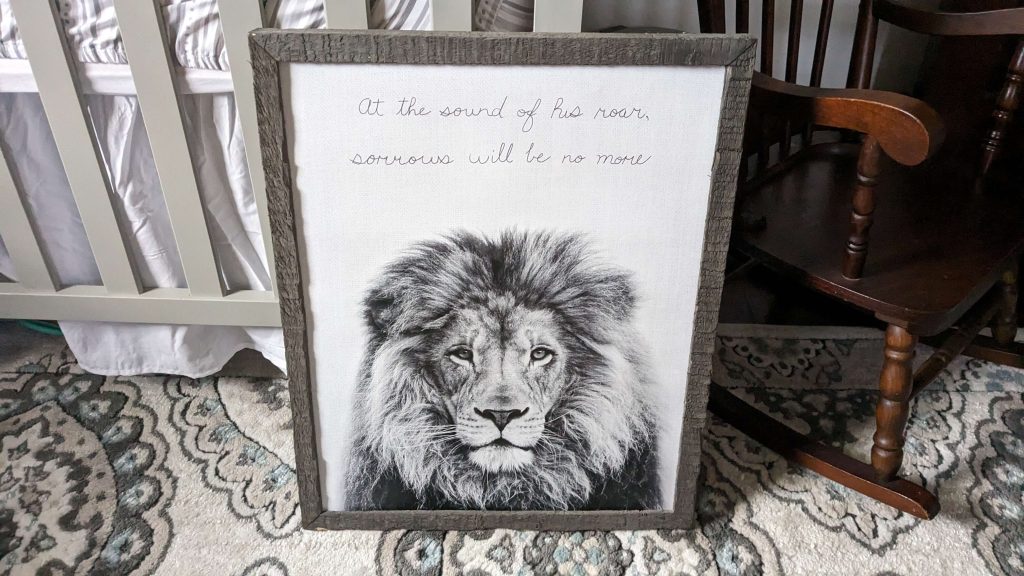
Ellanor’s elephant art has a small sweet saying on it and we wanted his to match in some way so we decided that a quote from Lewis’s namesake on the art would be perfect and handwriting is one of Bennett’s many talents.
So we spent some time looking up quotes that we might want and then once we both agreed on one, he typed the quote into a Google document and played around with font options. Once we found one that we liked, he spent less than a half hour one evening writing it onto the picture.
When we were deciding what we wanted the new baby’s room to look like I had searched for pictures and inspiration on Pinterest and I landed on the idea of a safari gallery wall. So I spent a month looking on Facebook marketplace and in consignment shops, Goodwills, and Restores for safari-themed pictures and couldn’t. I was disappointed and not wanting to wait for who knows how long until I found several pictures I resorted to looking on Amazon and Etsy. While there were beautiful and adorable things on both sites, just one item was more than I was hoping to spend on the entire project.
Then an idea hit me. There are so many safari photos online so why not see if there were any I could find that were free? Plus, we have unused picture frames and some used ones that could be repurposed. So I googled “free stock photos” and low and behold there were options. I found photos that I liked on the first two sites I opened. They were pexels.com and unsplash.com.
I typed in an assortment of ideas including lion, safari, savannah, jungle, giraffe, and baby safari. I saved all of the ones I thought that I might like and then tried my best to envision how they might look with the lion art that we already had. Once I narrowed it down to five options, I picked the one I liked the best to be an 8×10 printed one.

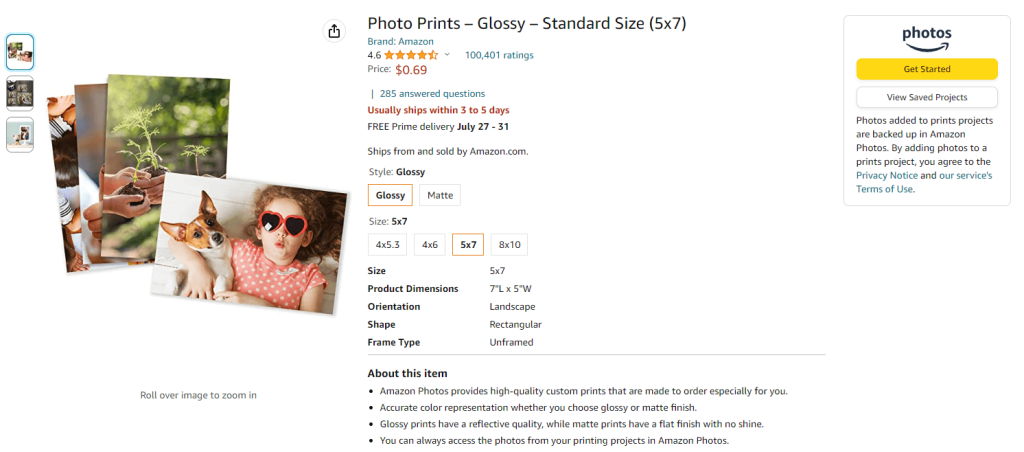
On Amazon, prints for a 4×6 are $0.17, a 5×7 are $0.69, and an 8×10 is $2.09. I ordered 4 5×7 prints and 1 8×10 print.
If you do this, just be careful when you are uploading the pictures you want to print, Amazon does its best but it will pick where the photo should be centered for the print and will cut off portions of the photo so that it is just right for the size. I almost had some things off-centered or animal heads missing but Bennett caught it before we placed the order. So I went back through, centered everything where I wanted, and placed the order. And with that, $4.85, and about three days later, I had some great safari prints sitting on my dining room table.
Once I had the pictures, I went around my house pulling old frames, or frames that we don’t really see because of their location. I had two 8×10, one 4×6, and two 5×7 frames. This could have caused a problem because of the sizes that I ordered, I probably should have checked what I had before I ordered them but I made it work! I took the back off of the frames and took white printer paper and traced the size of the frame onto the paper. I cut that out and used that as a border for the picture.
Then, I taped the picture to the center of the white paper and it made it look like I had a matting around some of the pictures. I found the one picture that I felt would do the best if it was smaller and once again turned it over and traced the backing of the 4×6 frame onto the photo, and then cut and fit it to size.
The only other thing that I knew that I wanted for the room was greenery, I had some dried flowers and greens around the house, but I wanted a more fern-like appearance, so with a quick Amazon search I found a two-pack of fake ferns for $11.75 that had good reviews. I ordered that and when they came they were vacuumed-sealed so I opened it up and gave everything a good stretch and fluff the day before I wanted to set up the room.
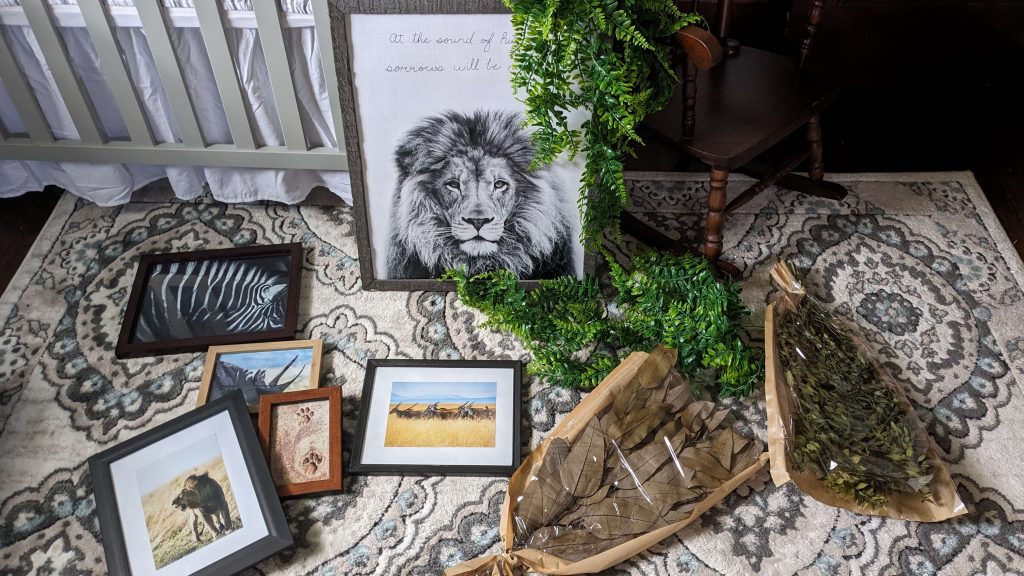
Setting up the baby’s room
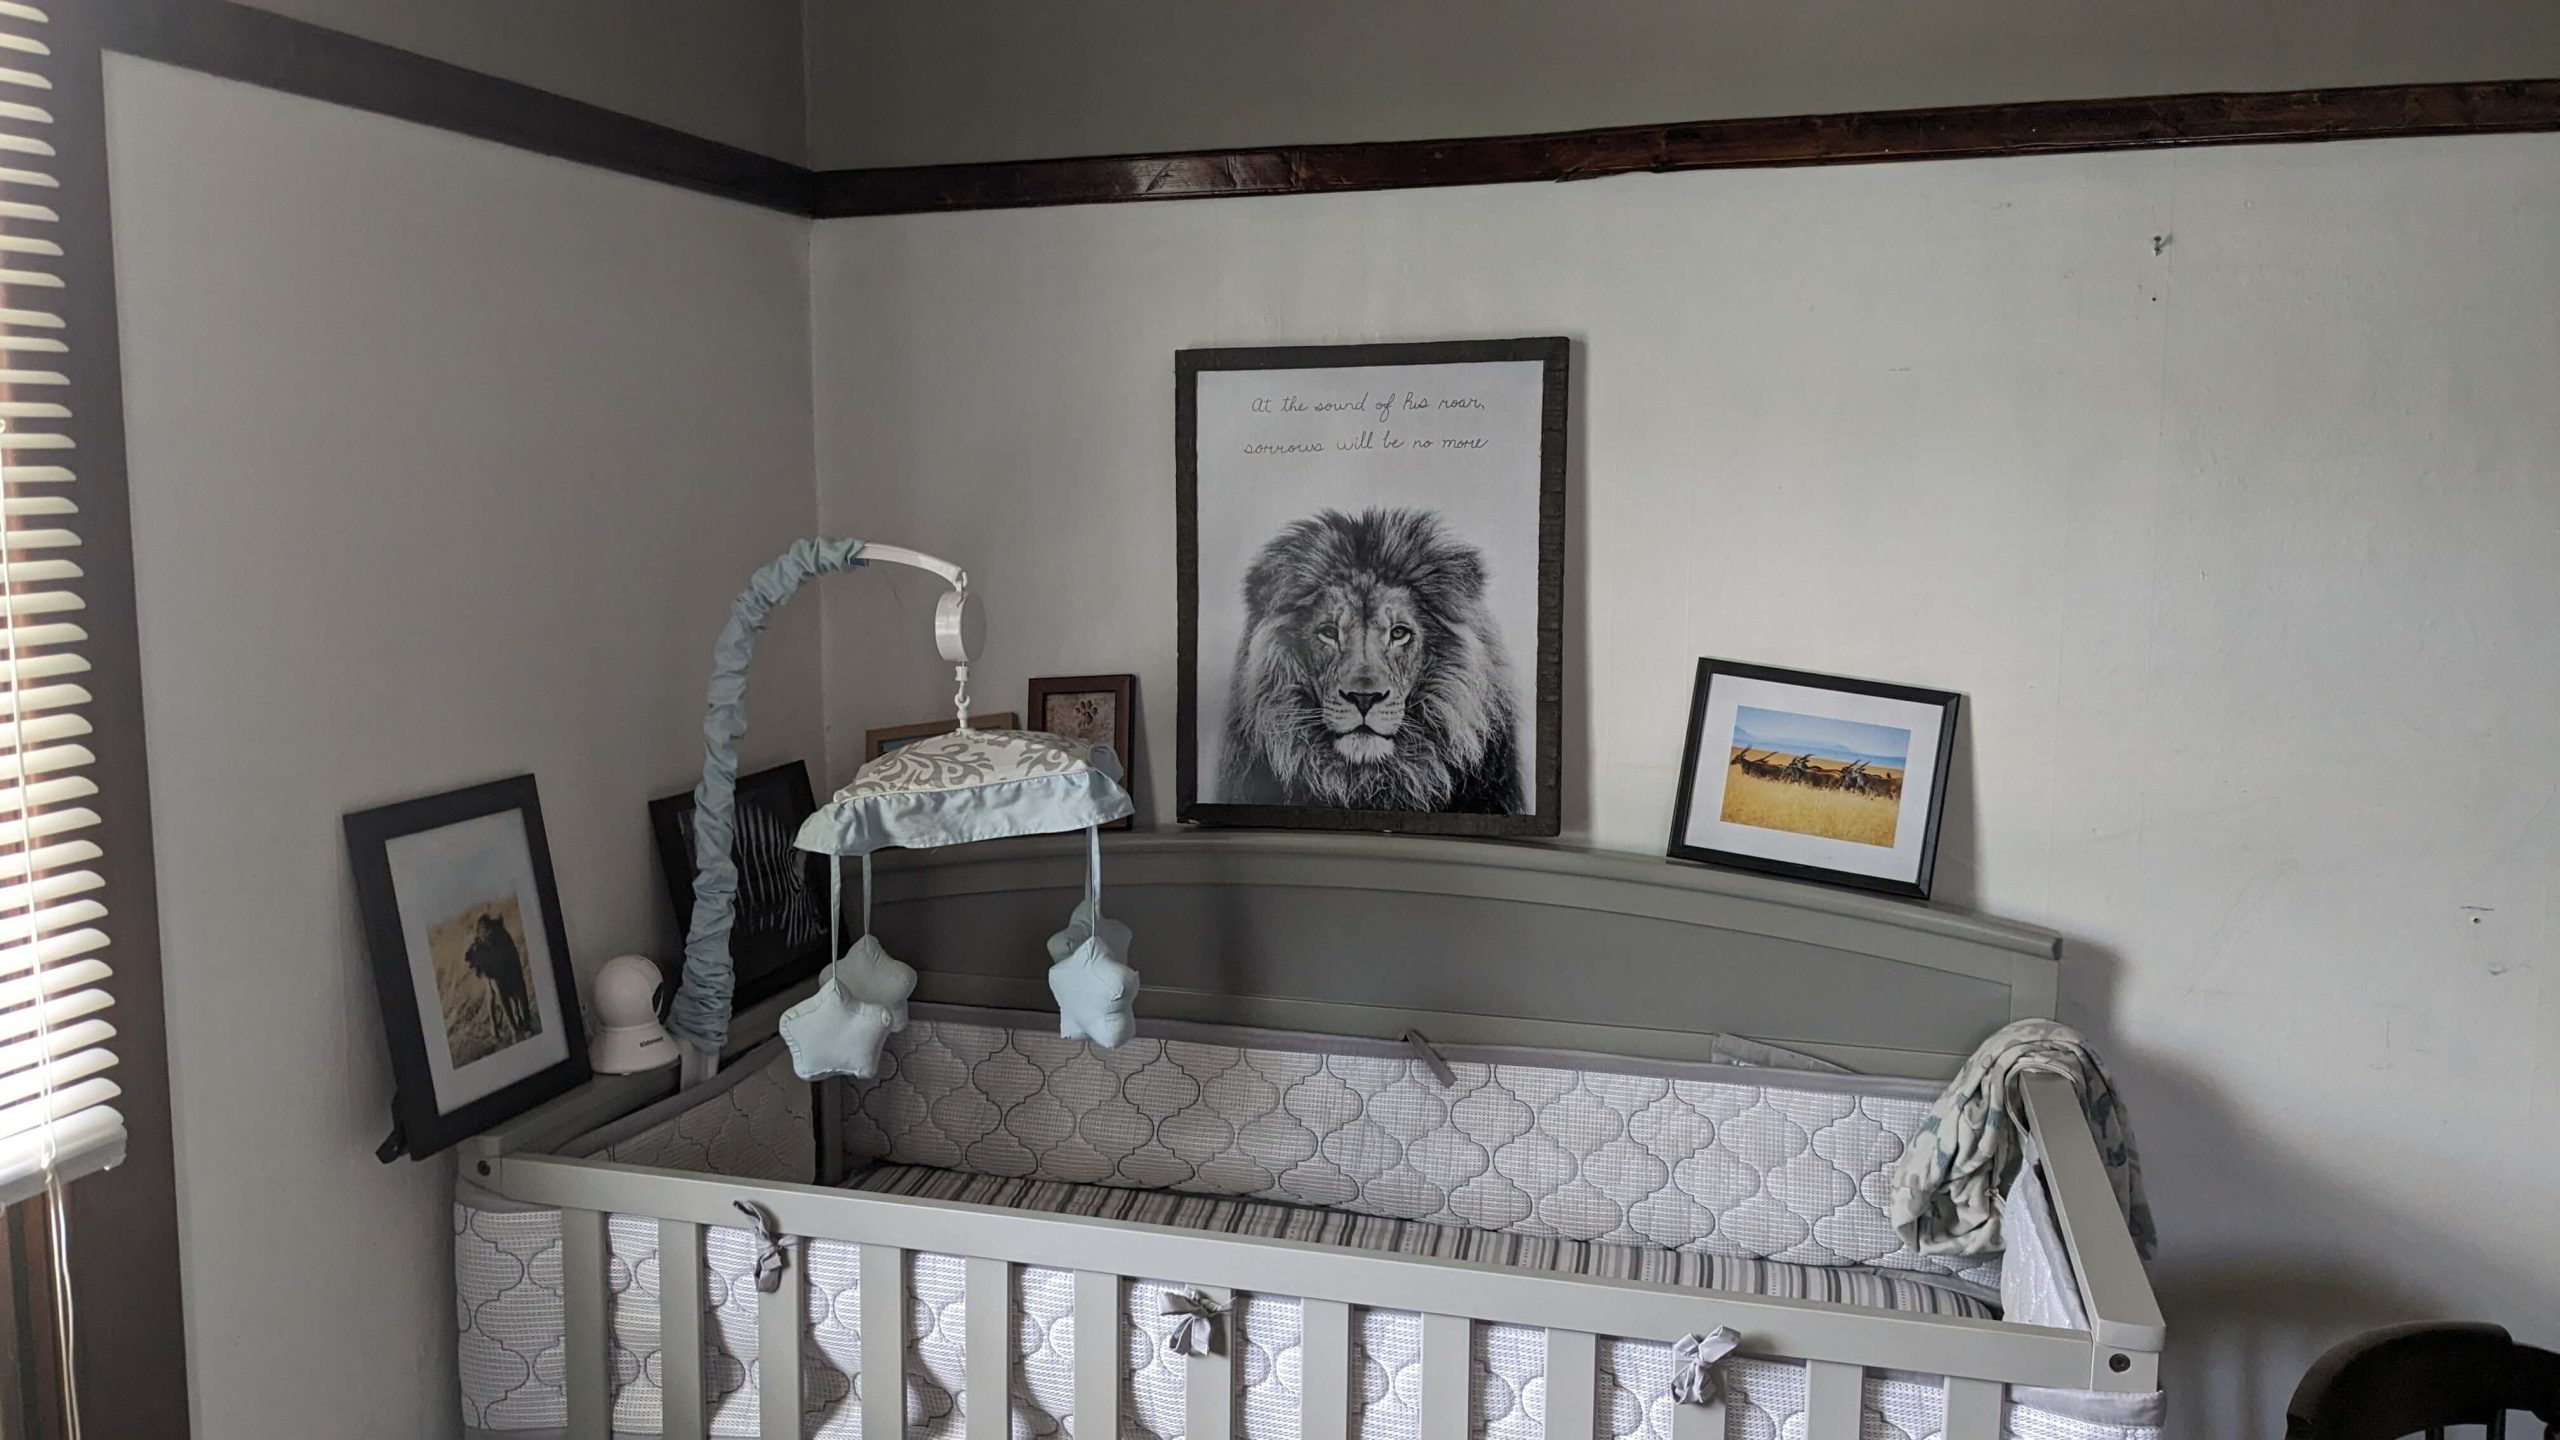
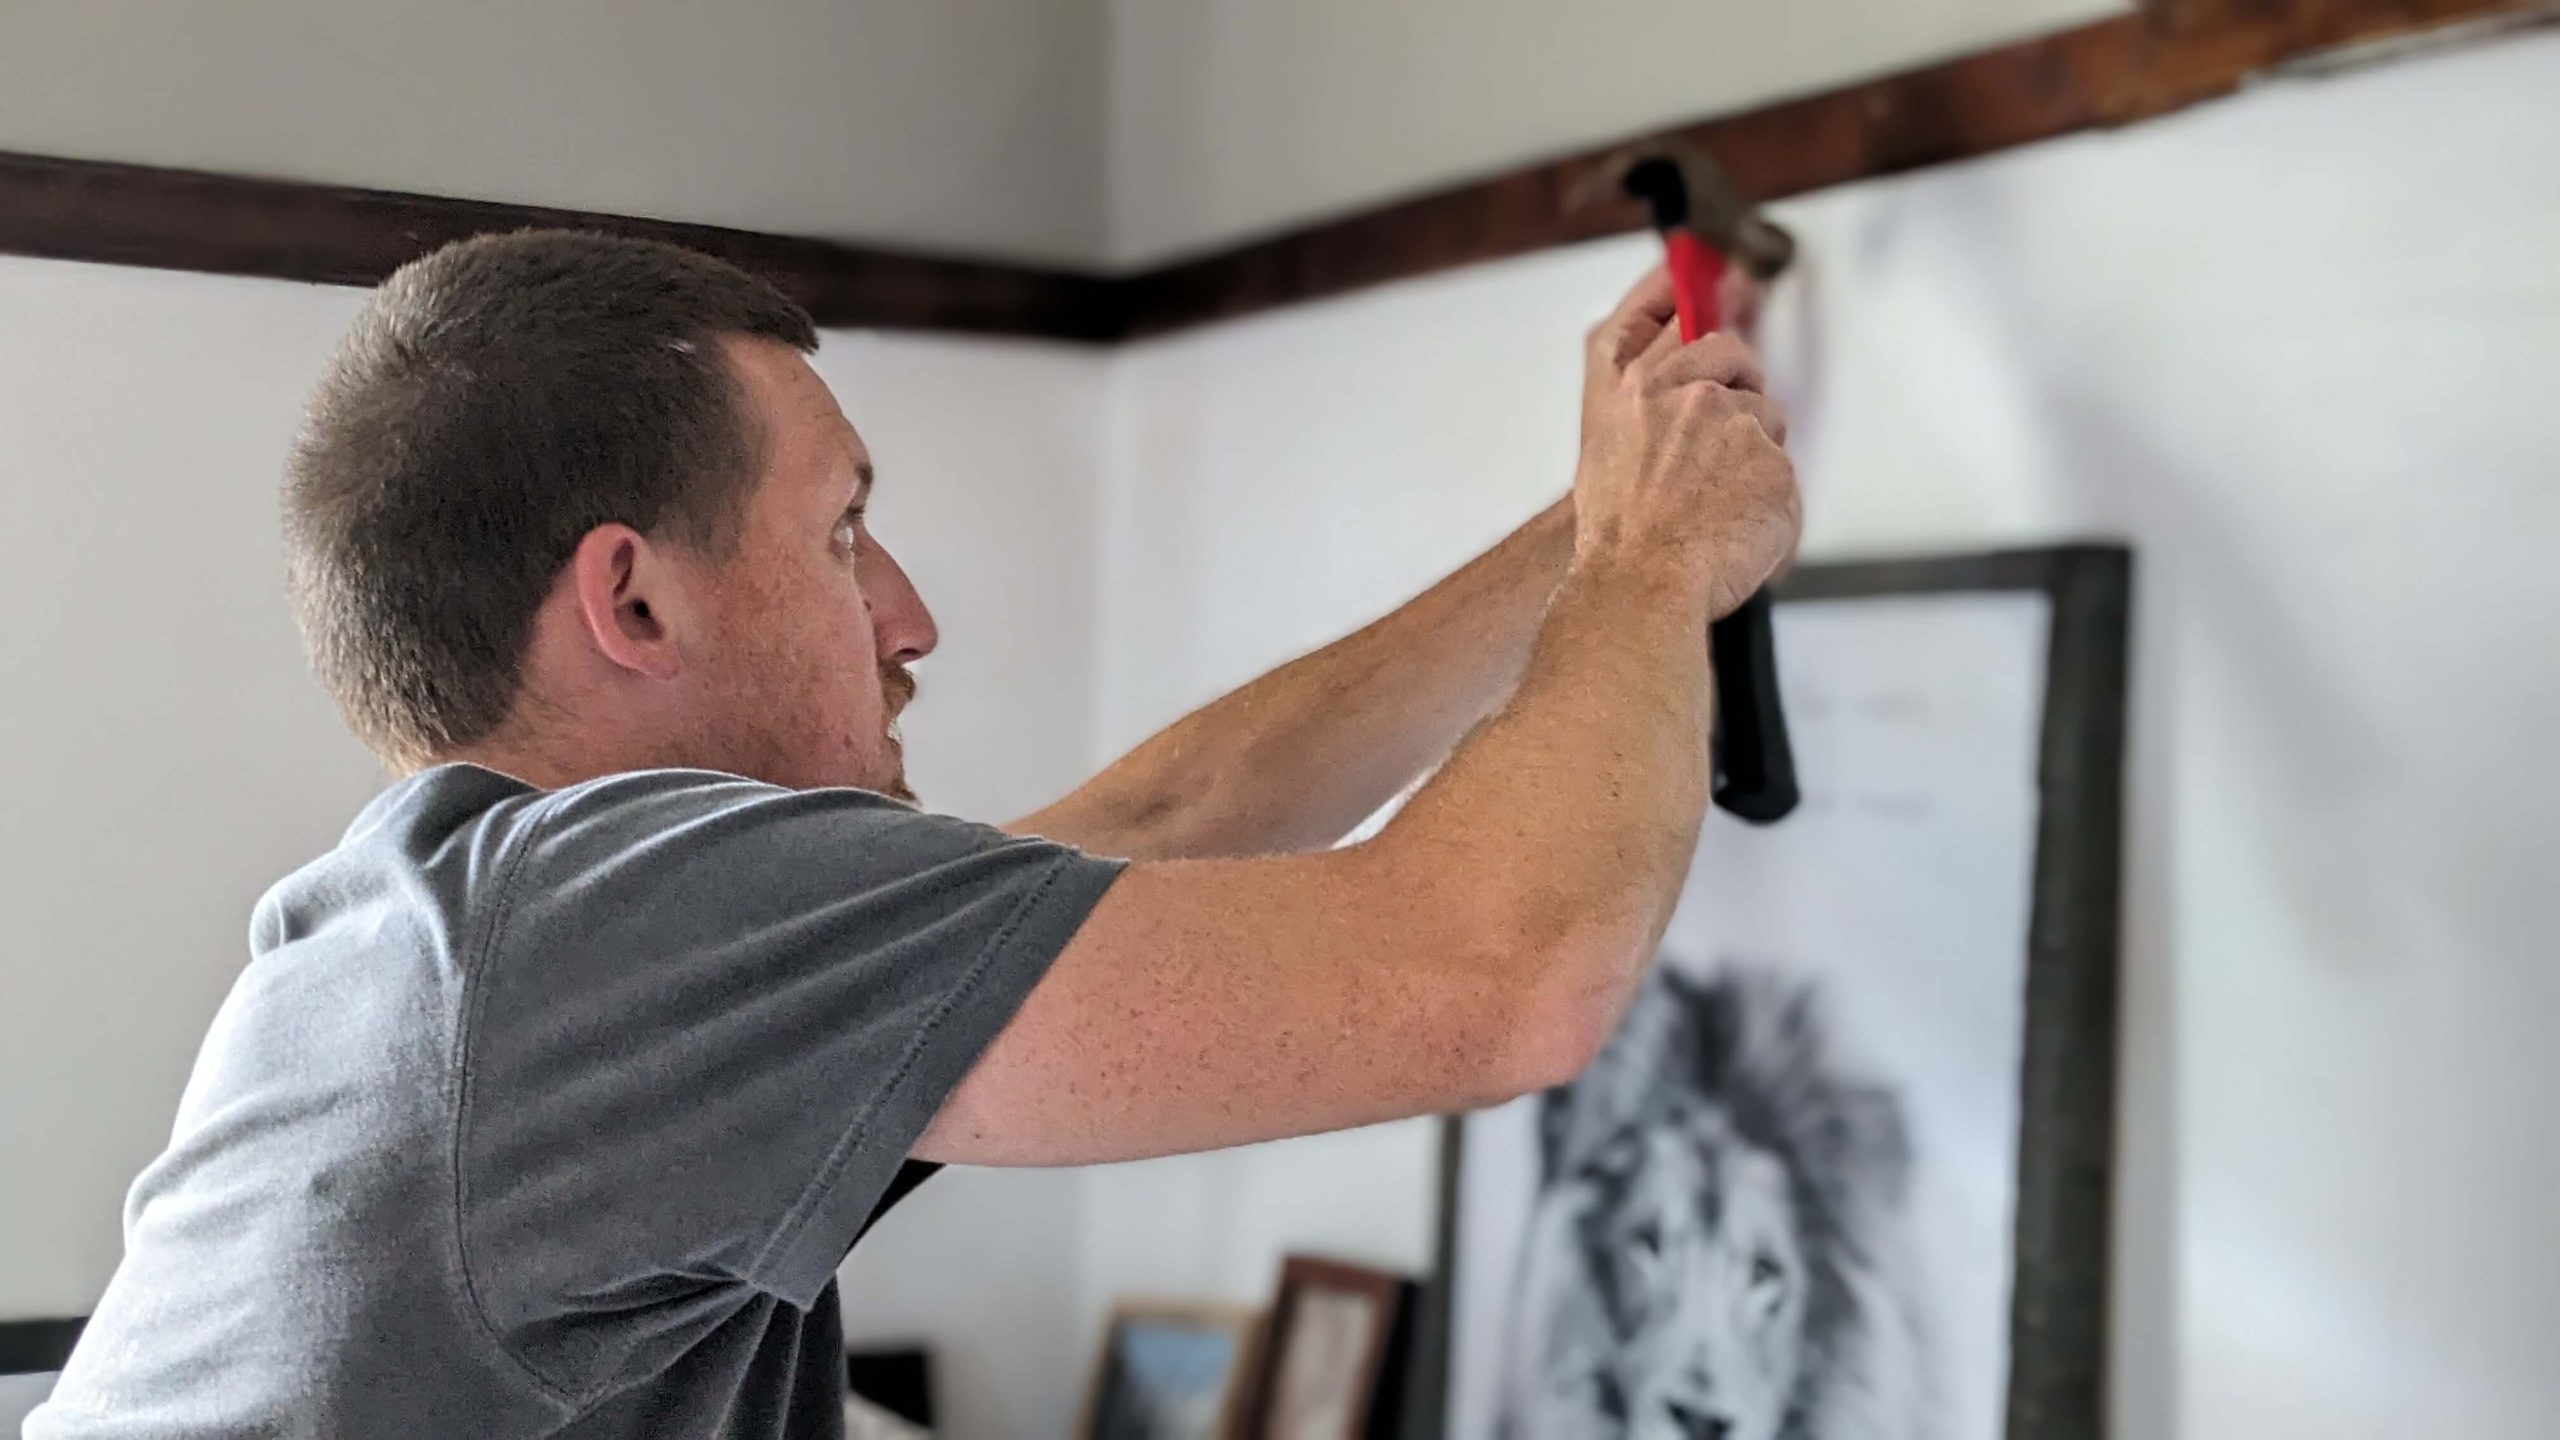
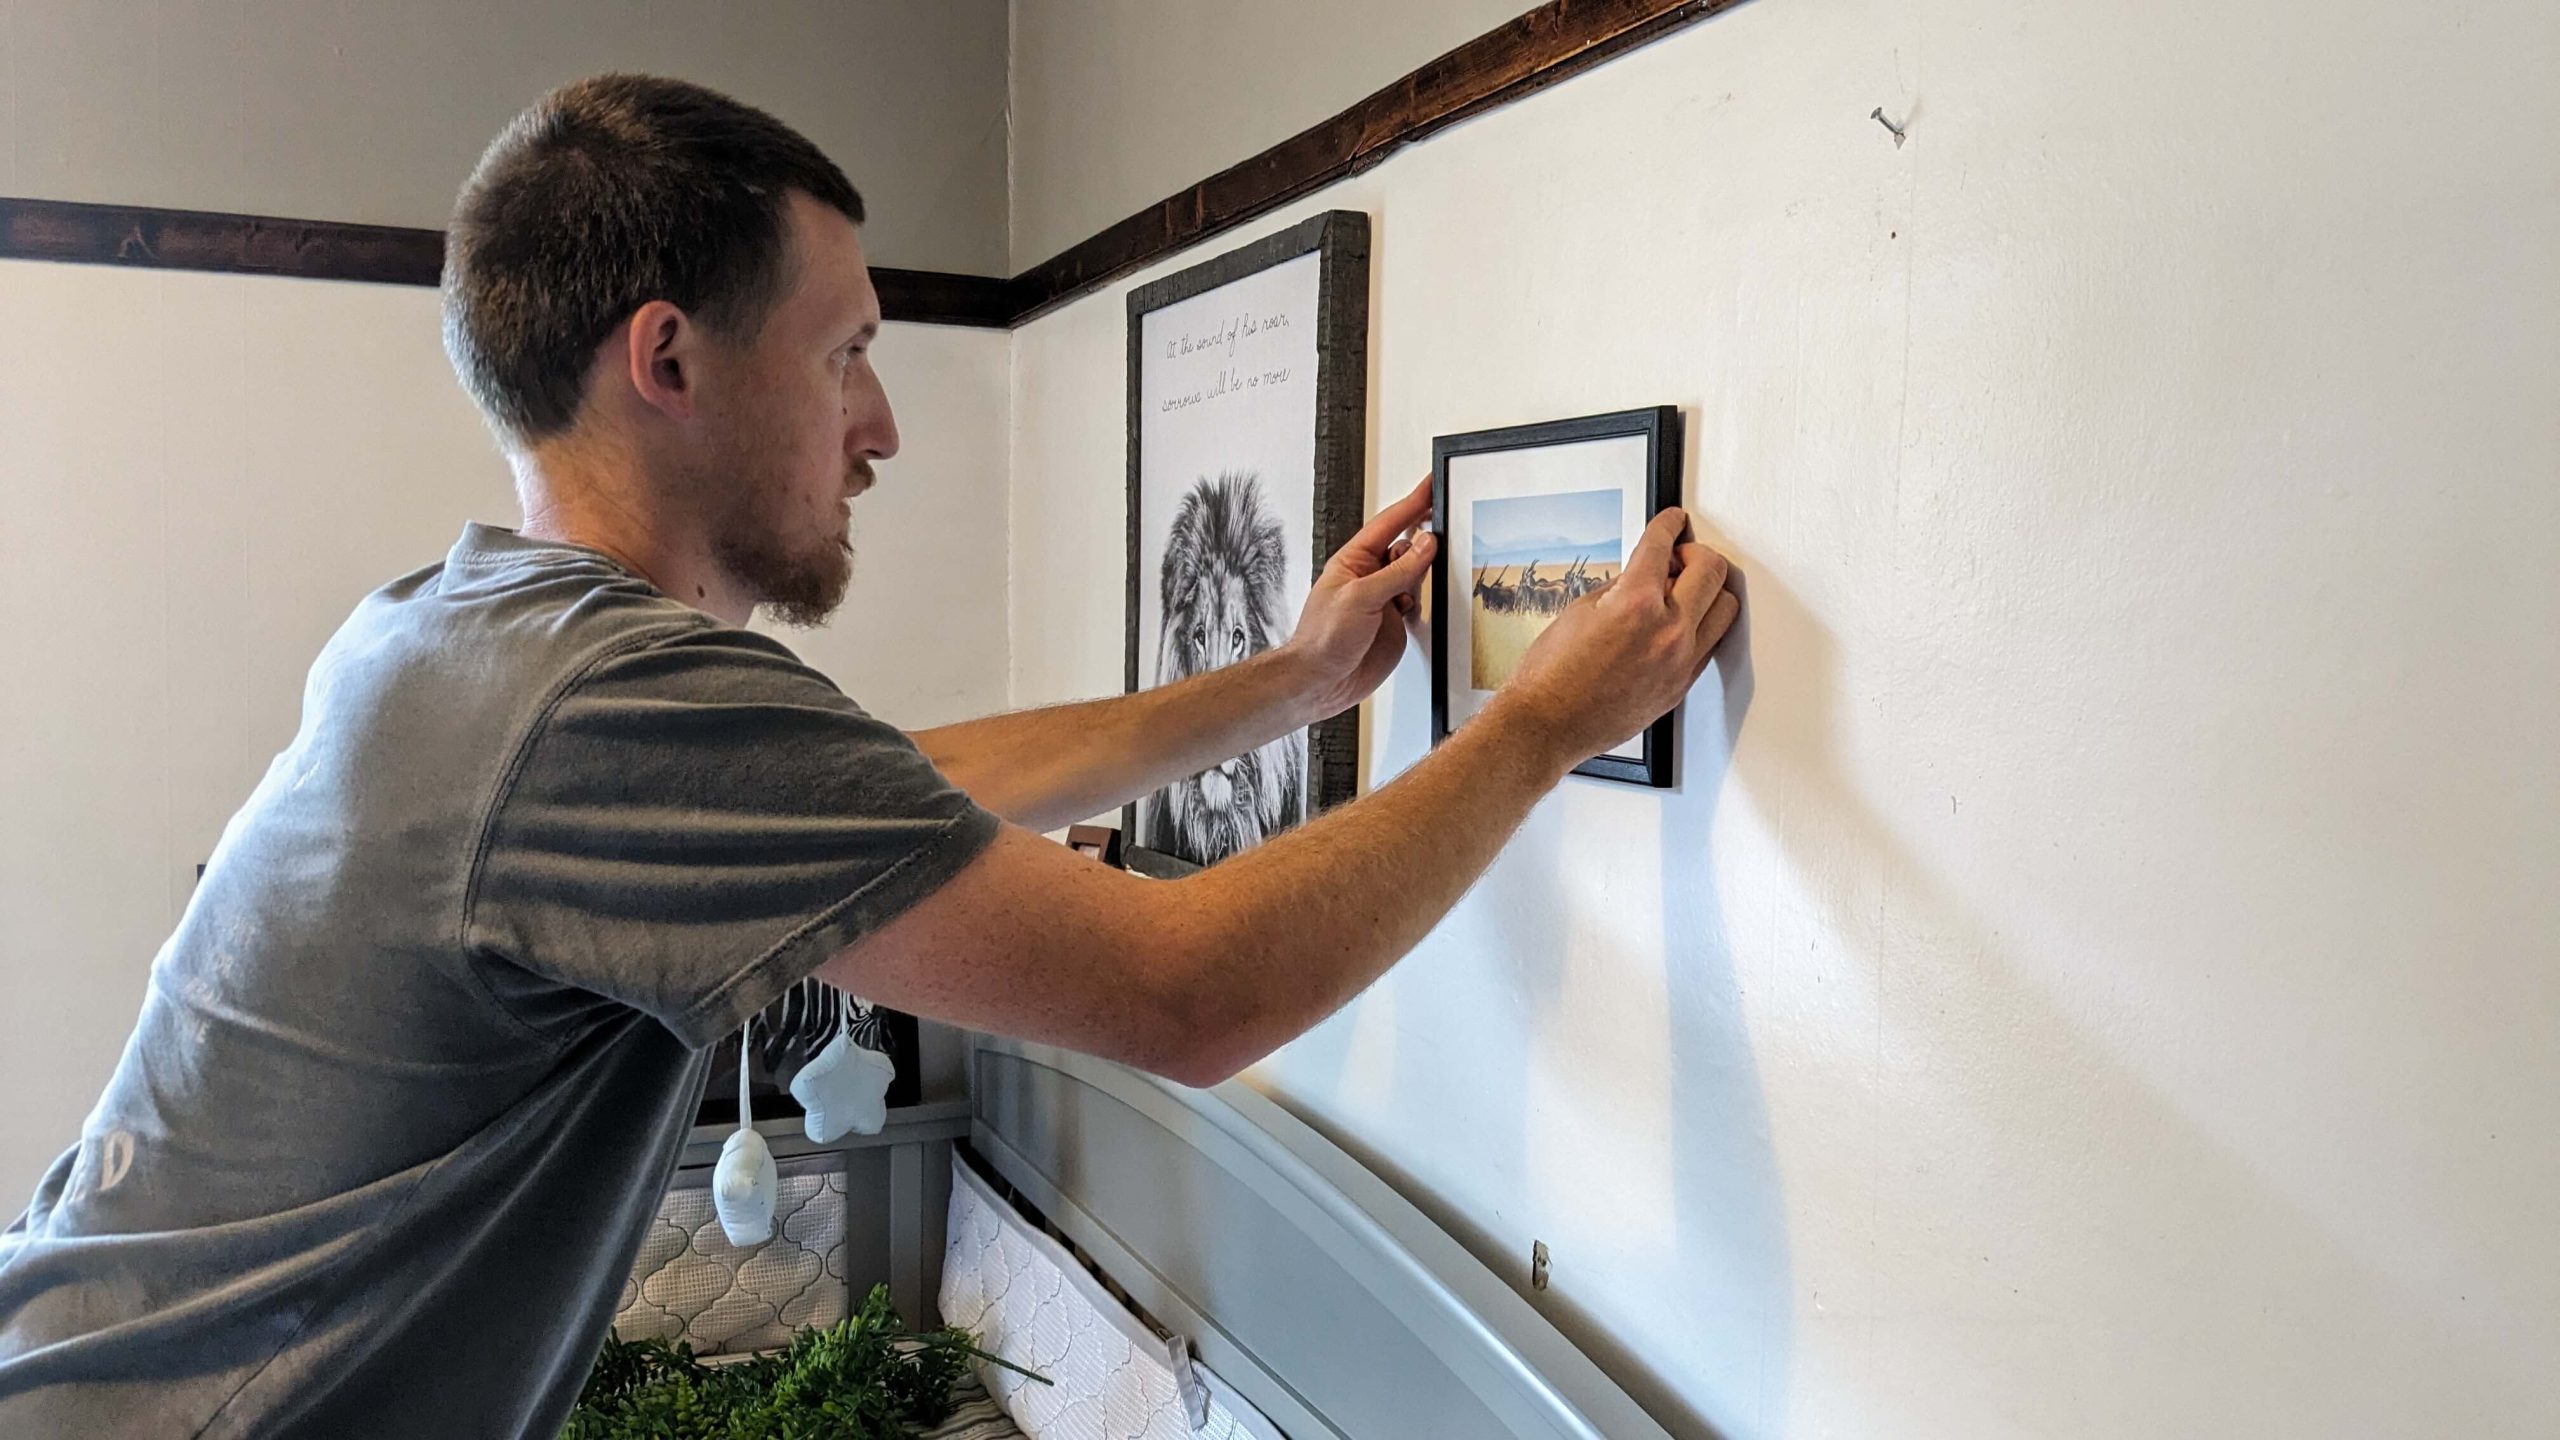
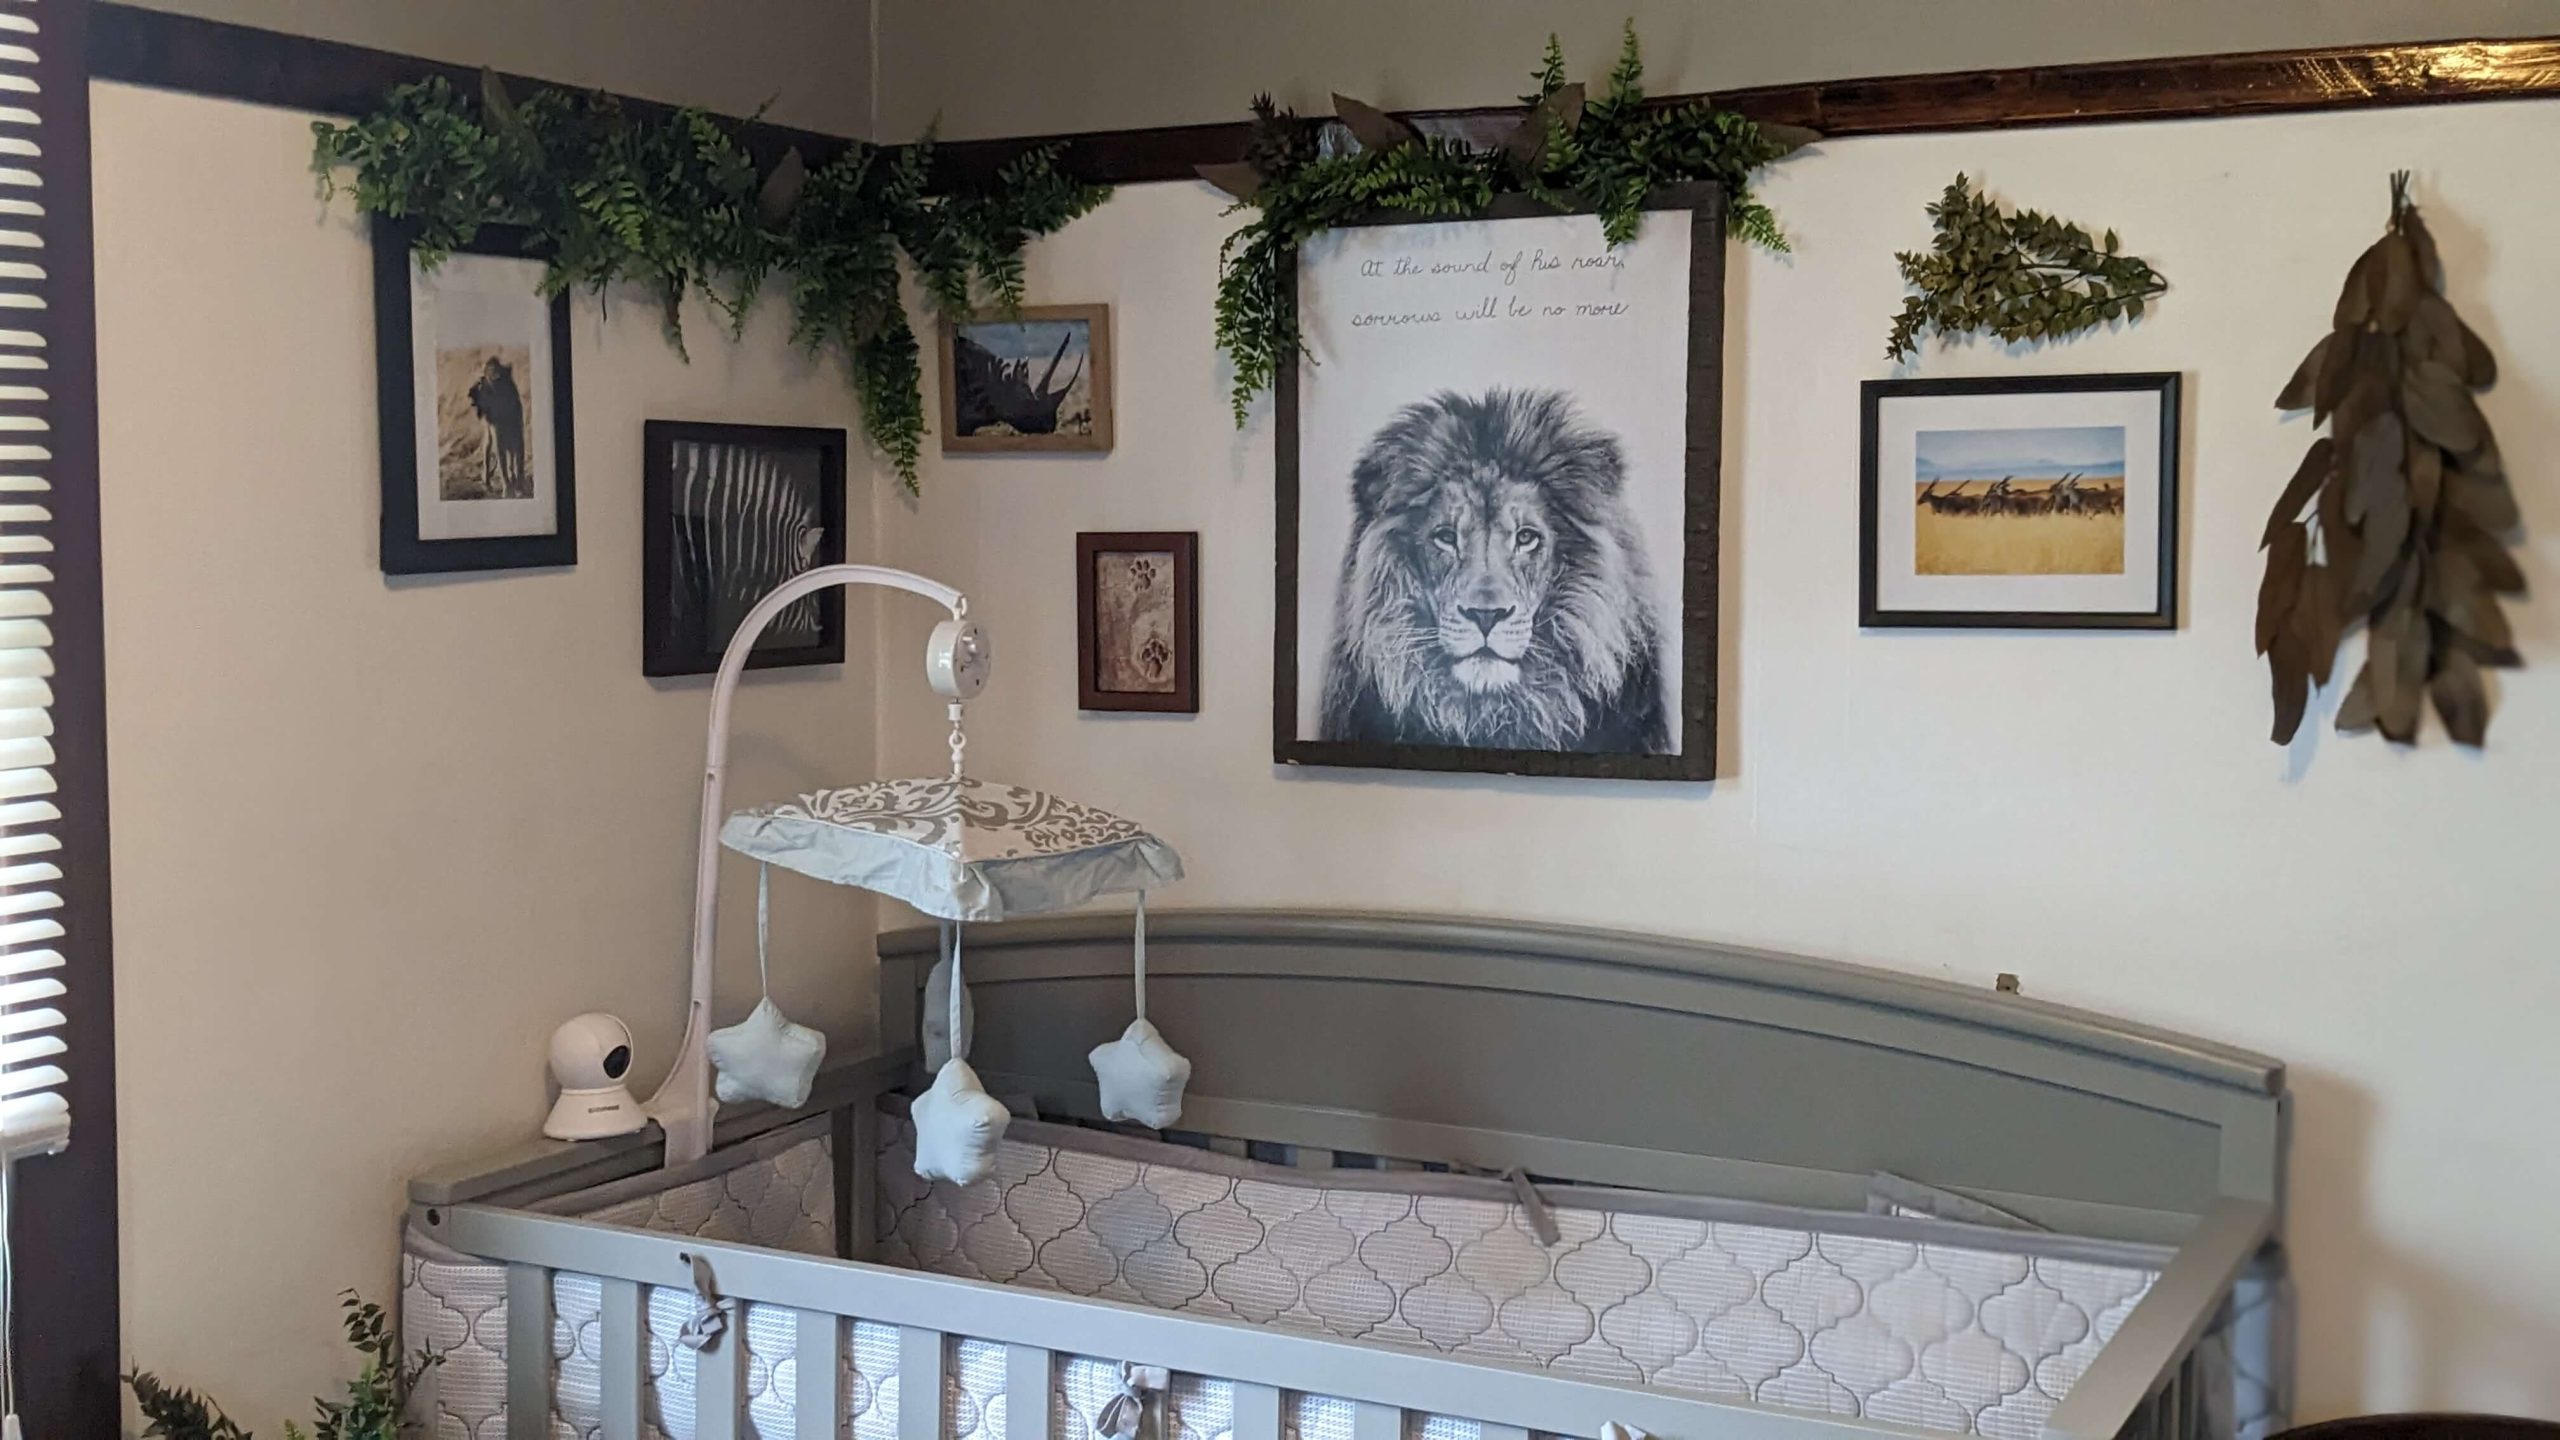
I for some reason thought that this would take a half hour, maybe an hour tops. It took closer to two hours. I’m very grateful that Bennett took the kids while I did the decorating portion of this, or who knows how long would have taken. I gathered my greenery, the picture frames, and the lion art and rested each on the crib in the area that I thought I might like to hang on the wall. I played around with the shapes and sizes until I was happy. Then Bennett hung each picture on the wall stepping back after each one to evaluate and make sure we were happy with the placement.
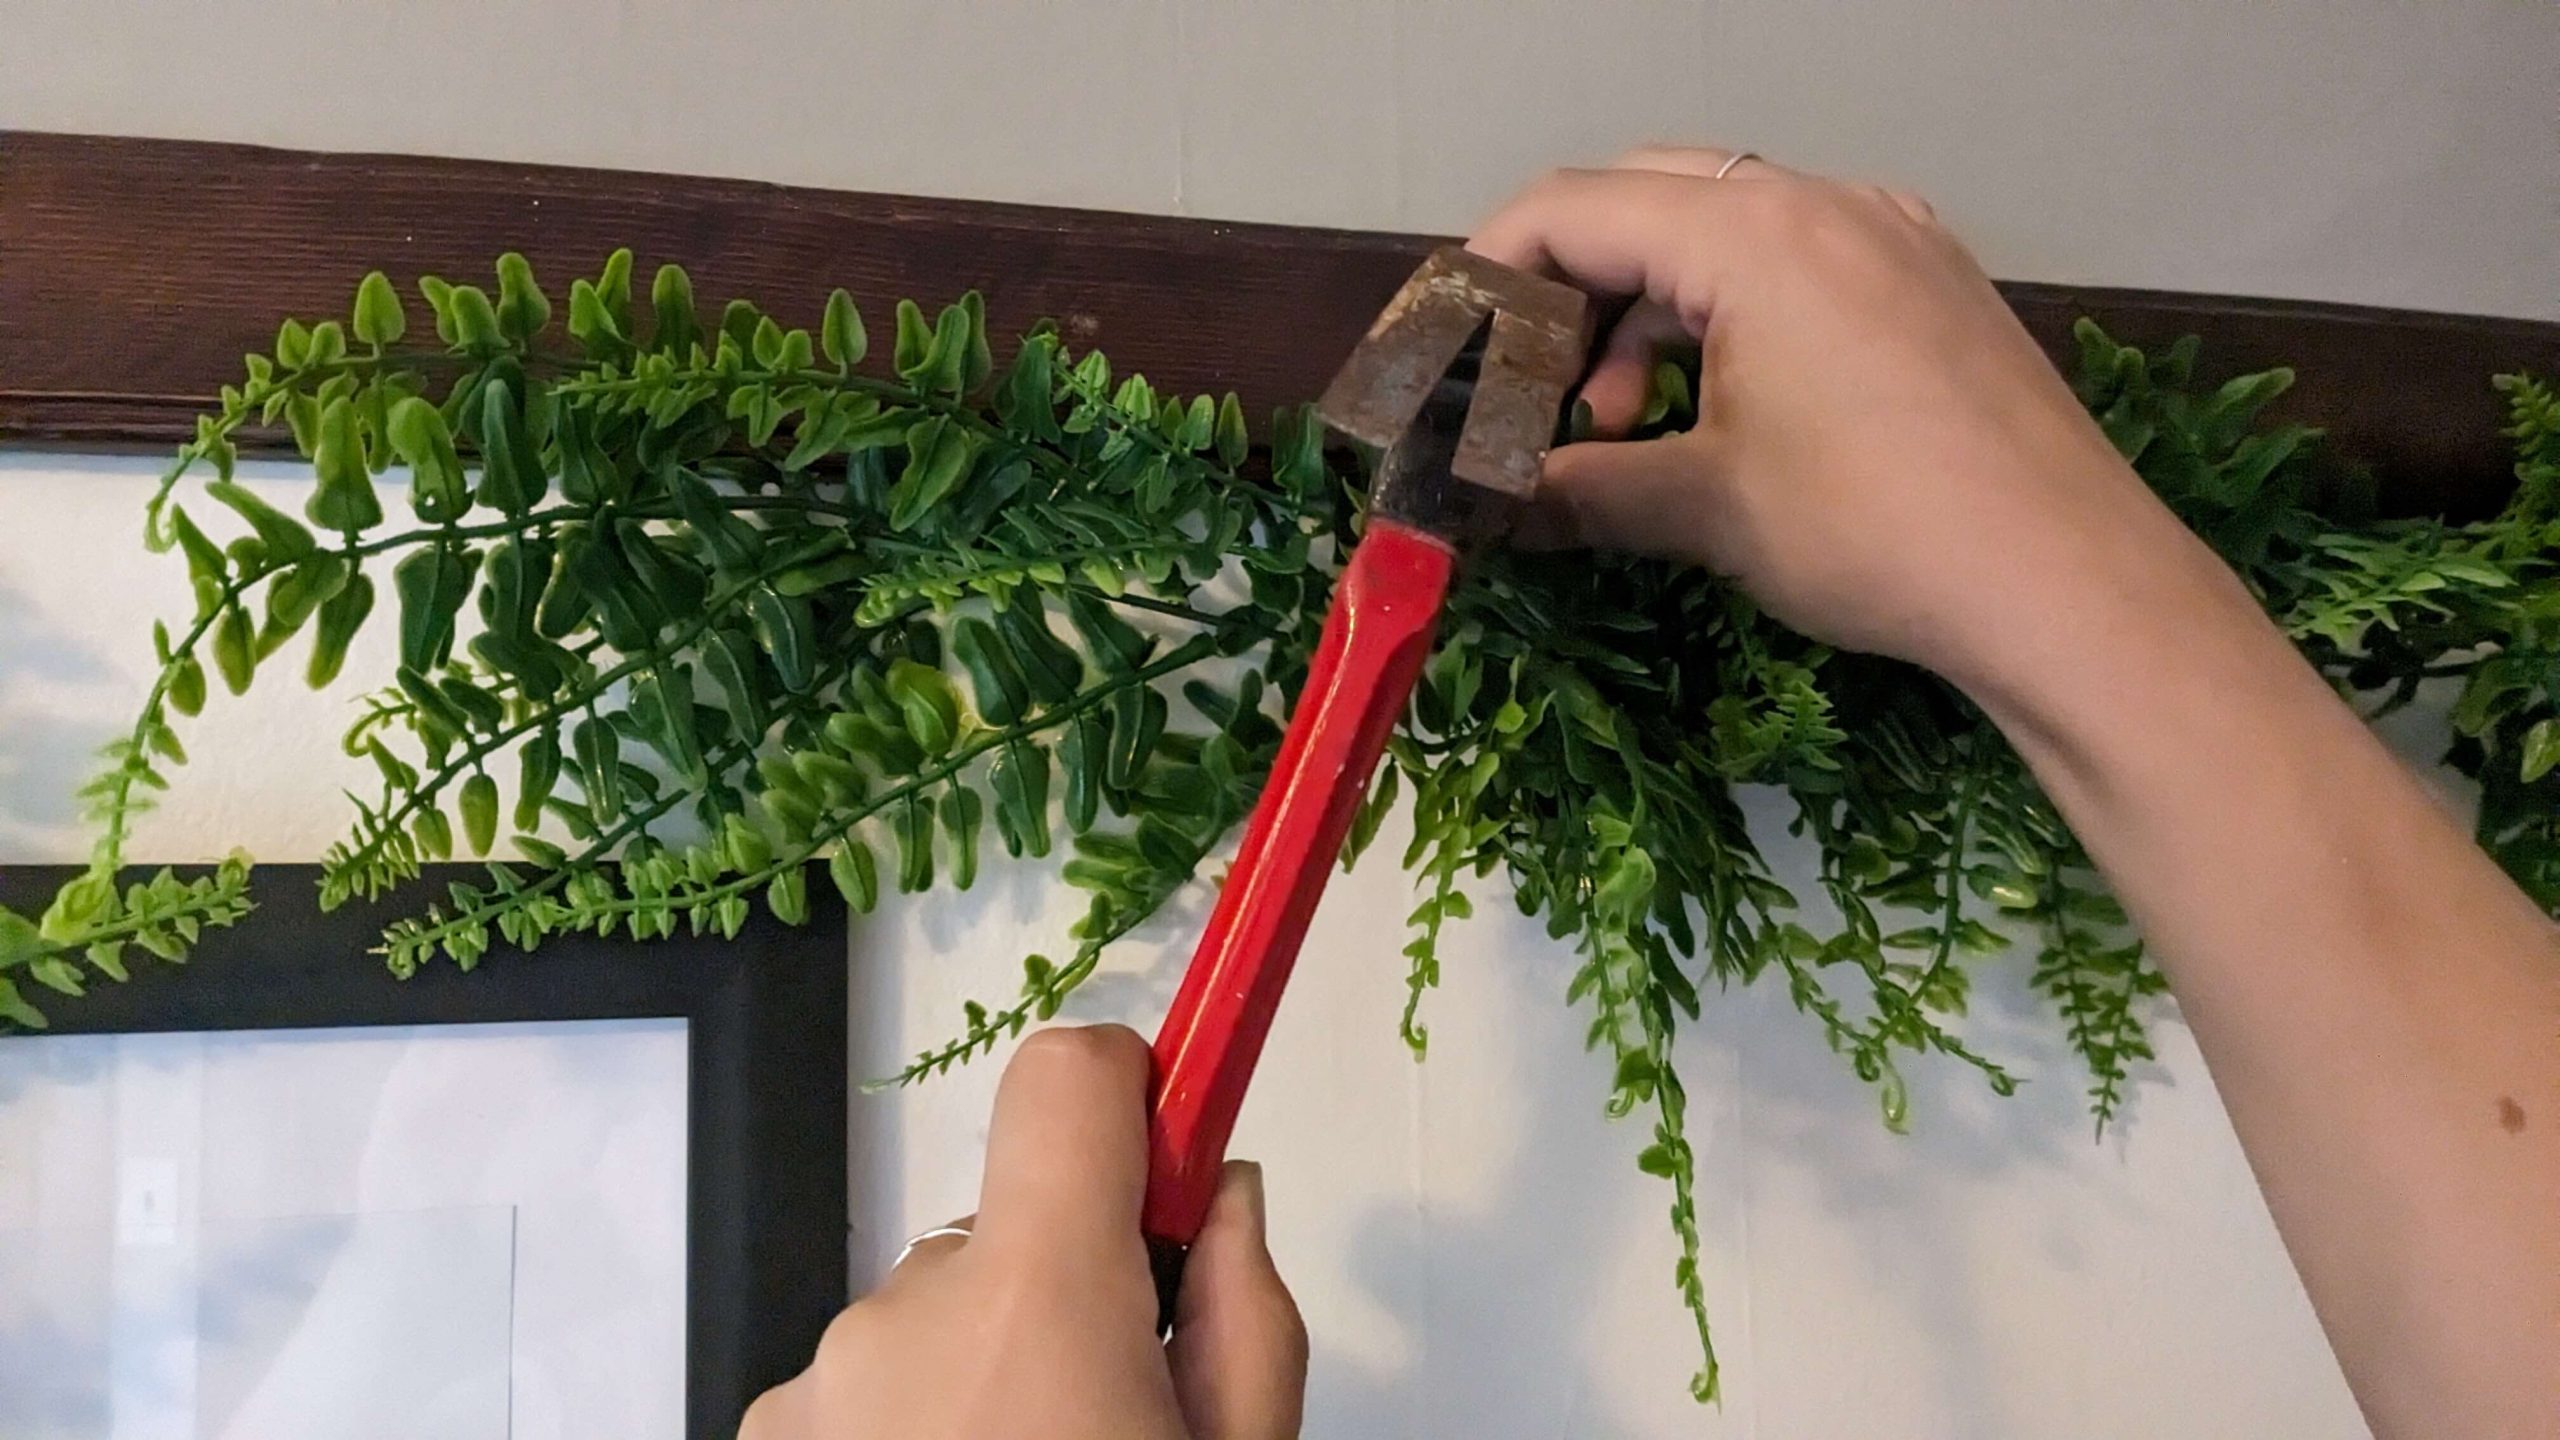
Once we were sure of the placement I started with the greenery. My biggest tip when it comes to greenery is that it is okay to take it apart! The organized person in me, the everything-is-black-and-white person in me feels like there is no way that should be okay, but it works so much better. I took the ferns that I got from Amazon apart, and then in my house I had some dried leaves and branches from the Joanna Gaines line at Target that I had gotten at an overstock store a year or two ago and I took each one of those apart as well.
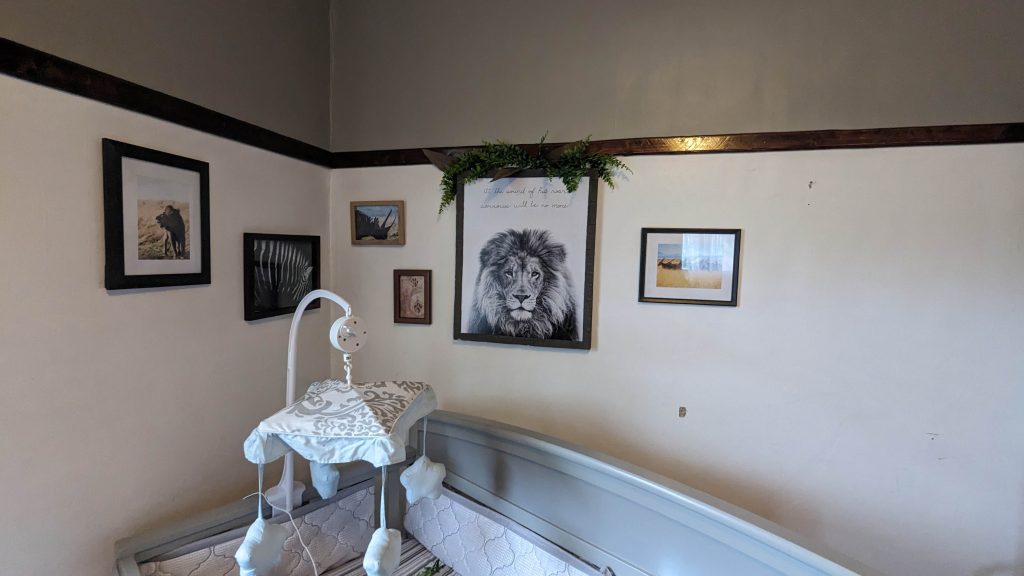
I bent and manipulated branches and leaves together, and using small finishing nails tacked them up into place. Once I had started doing the greenery over the lion art, I realized I definitely wanted some in the corner to make the area feel a little bit more cohesive. But once I started that I felt like the picture on the right side of the lion felt out of place or empty, so I played around with that for a little bit and realized that just taking a bunch of the dried darker leaves and bunching them and hanging them vertically, and taking the smaller dried leaves and hanging a small bunch of those horizontally over the picture really brought everything together.
I had a decent amount of the plastic ferns left over, and I still felt like the side of the crib felt a bit empty so I ran out to my porch and grabbed a pot that I don’t use, and brought it inside. I cleaned it up and filled it with some brown paper bags and a small piece of floral foam to give some height to it and put the remaining greens and plastic ferns in there. It took a little bit of playing around and arranging things to get to a point where I liked it, but I feel like it really brought the room together. I brought his stuffed lion into the corner as well and I’m really pleased with the result. In case you weren’t counting, the total cost to decorate his little Safari Gallery wall was $26.60.
Final Thoughts
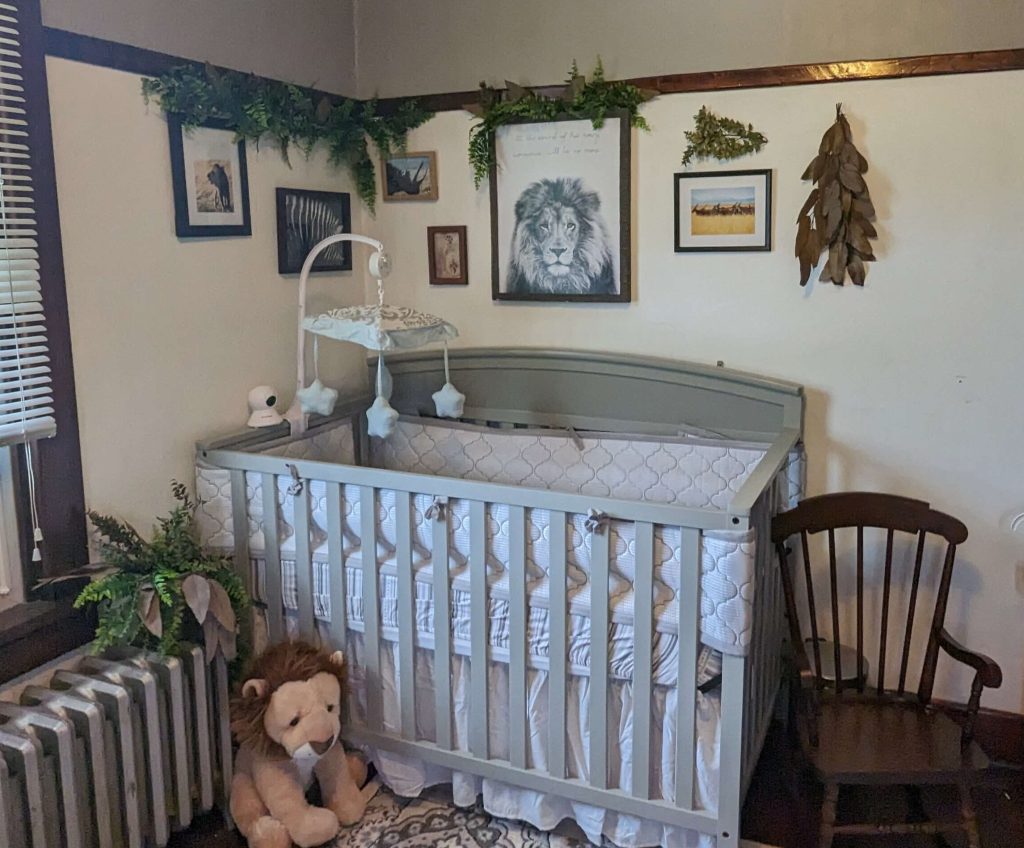
I feel like we were wise with our money by choosing to try to spend no more than $30 on the decor for Lewis’s room. I know that we could have left it completely plain and he probably would never have cared because let’s face it, he’s 6 months old. But to me, I wanted to make sure that when he looked back at the pictures, he knew that we wanted him to feel like it was his room as much as his sister’s even though she was there first.
So what do you think? Is this something that you could do in your baby’s room in your house, or maybe an office or your own bedroom? Let us know below!
